Posted by Jennifer Kotas
on January 30, 2024


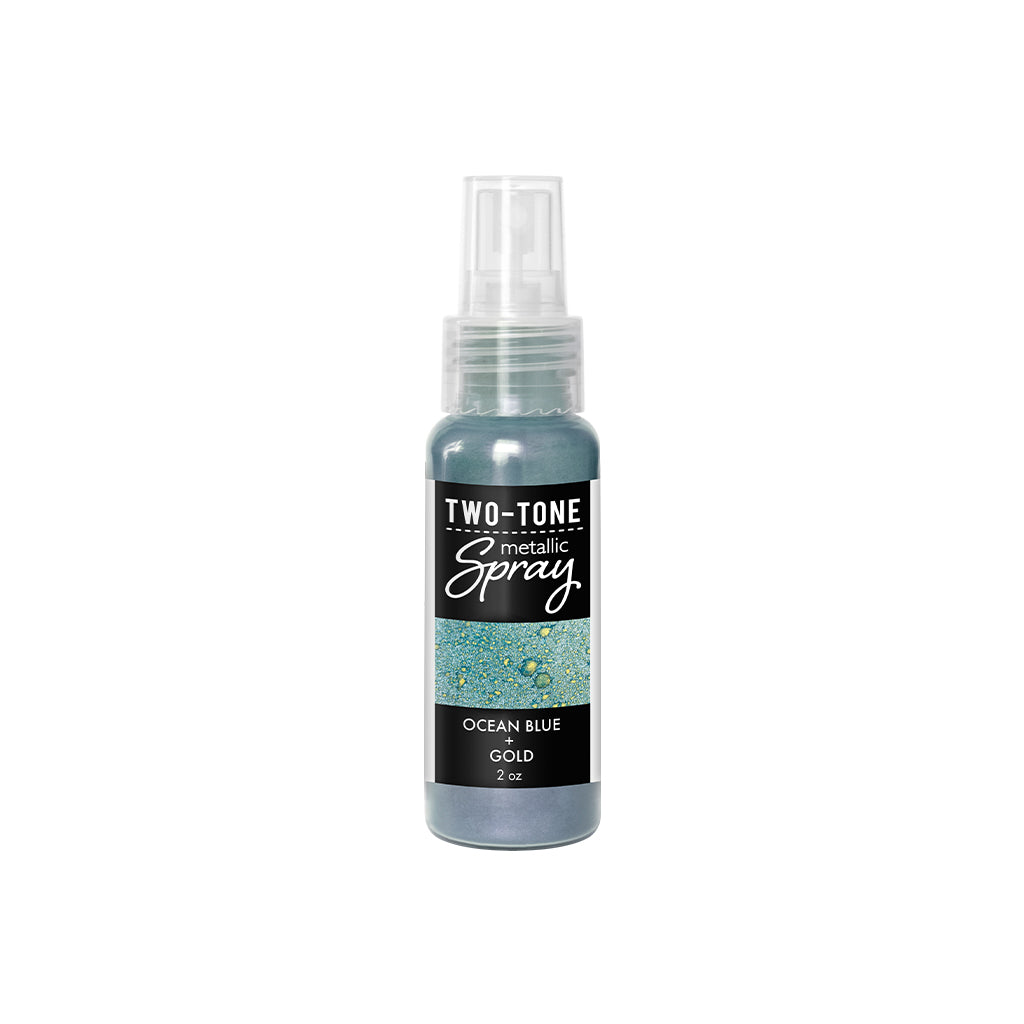
Hello! Jennifer Kotas here today and I’m sharing a card featuring the Large Sprinkled Dots Stencil and my favorite metallic spray, Ocean Blue and Gold Two-Tone Metallic Spray.

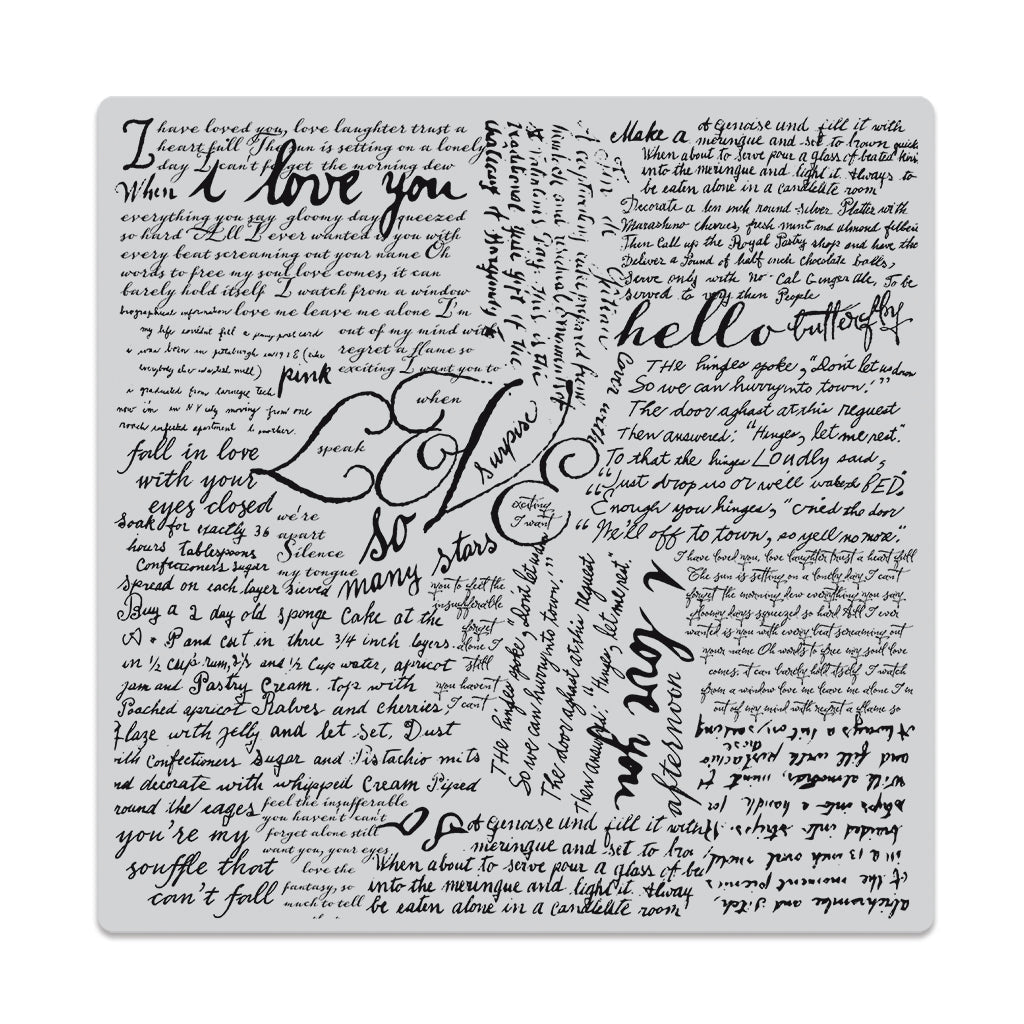
1. Stamp the Ode to Andy Warhol Bold Prints on a sheet of Luxe White Watercolor Paper using Deep Ocean Core ink. Use second generation stamping to make it lighter. Ink the stamp up, stamp on scrap paper then stamp on the panel without re-inking stamp.
2. Tape the Large Sprinkled Dots Stencil in place over the panel. Spray with Ocean Blue and Gold Two-Tone Metallic Spray. Repeat until covered as desired. Leave the stencil in place to allow wetter areas to dry a bit.
4. Thoroughly spray a scrap of watercolor paper with the same Ocean Blue and Gold Two-Tone Metallic Spray and let dry completely.
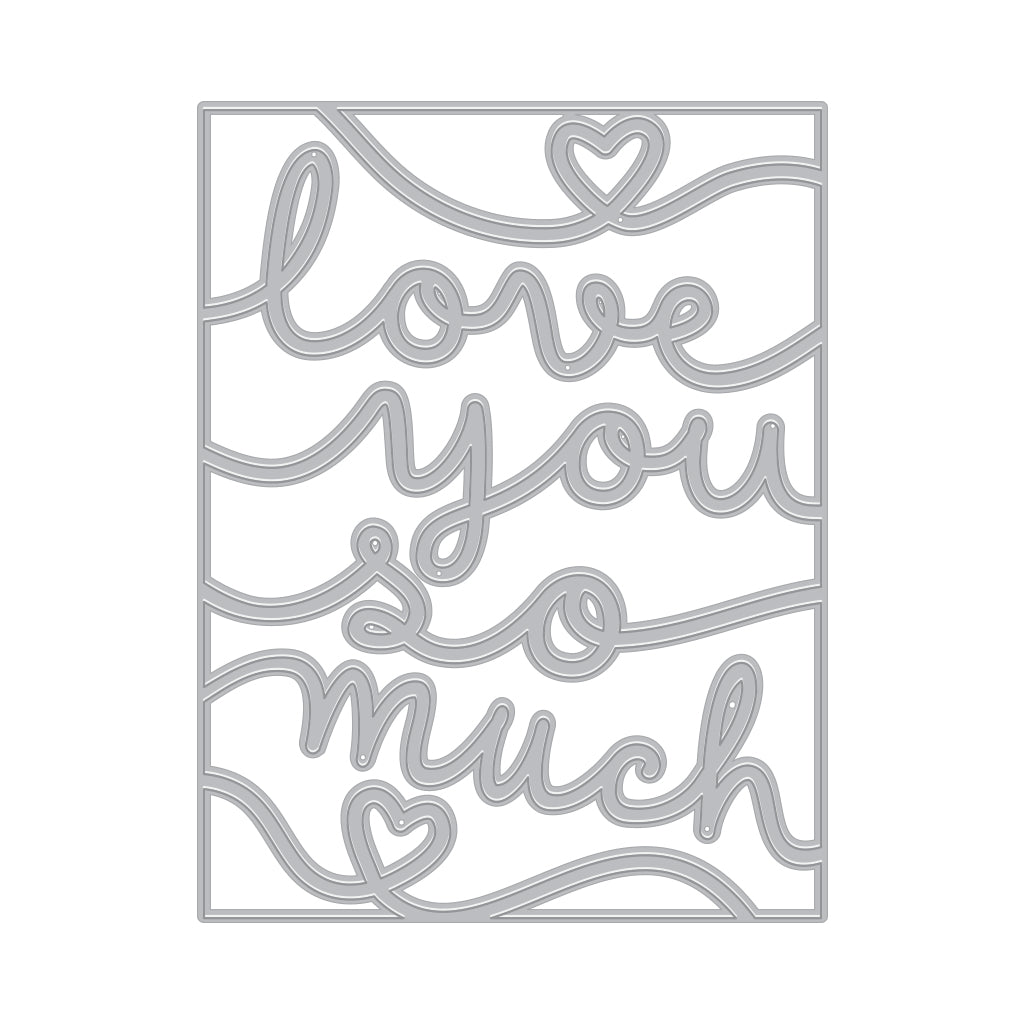
5. Once scrap is dry, die cut "love" and "you" from the Love You So Much Cover Plate. Cut the words twice more from scraps of white cardstock. Adhere together with Precision Glue.

6. Add a thin layer of Black Hero Wax to the bottom of the letters and set aside to dry.
7. Use the second largest die in the Nesting Rectangle Infinity Dies set to cut the stenciled panel and adhere to an A2 panel of Pitch Black cardstock. Then adhere to an A2 card base.
8. Stamp sentiment from I Love U Stamp & Cut XL with Deep Ocean Core ink and cut into a strip.
9. Die cut hearts from the Love You So Much Cover Plate using scraps from the stenciled panel. Cut twice more and adhere together.
10. Adhere die cut sentiment to card with Precision Glue, then add stamped sentiment with thin foam squares. Add hearts with liquid glue.

I love the texture created by the spray. Thanks for stopping by!

Click on products to shop:
|