

Posted by Michelle Short
on January 05, 2019


Hello and welcome as we continue the countdown to the release of the January My Monthly Hero Kit! Release day is Monday, January 7th at 1pm Eastern/10am Pacific. Now let's join Michelle for another look at this wonderful kit and optional add-ons!
What a wonderful kit! It is perfect for so many occasions. I went with a simple 'hello' card today using the main kit stamp set, as well as a couple of the add-on products.
I started off by stamping the flowers that will go in the containers first. These are from the main kit stamp set. I masked these off (making rough masks) and then stamped the bucket, pail and wooden crate below them. I masked these off too and then also the bottom of the card base below the images.
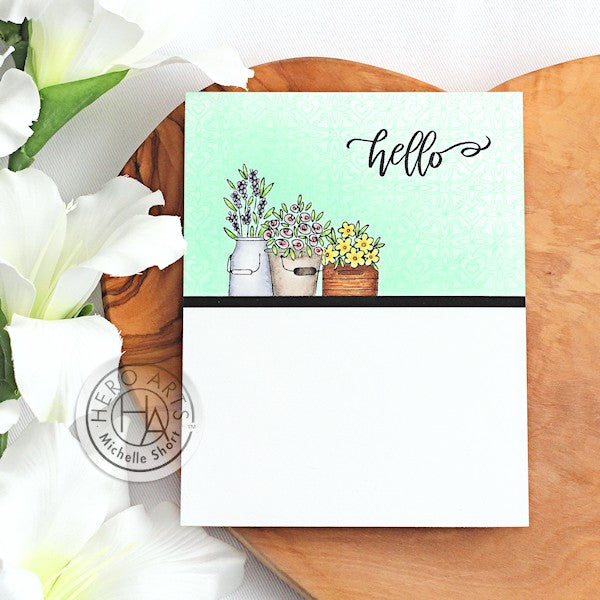
I took the Heart & Flowers Bold Prints (which is an add-on this month) and stamped this on to the card panel with Mint Julep Mid-Tone Shadow Ink. I then blended more ink on to the panel around the images with a blending tool. I removed the masks and coloured the images with Copic markers.
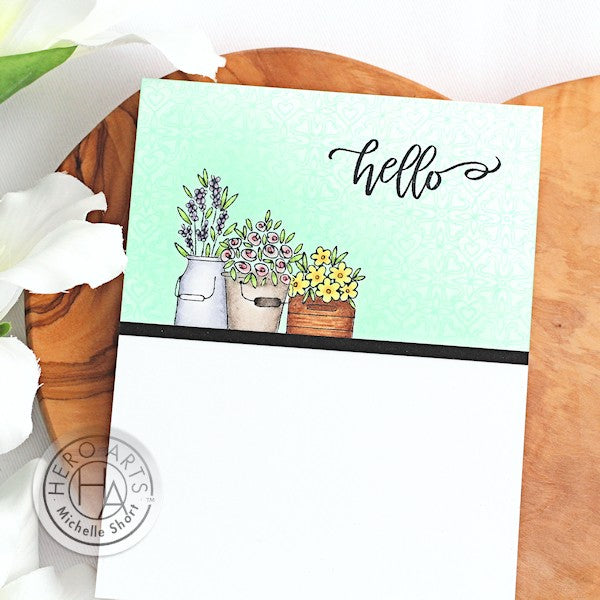
I took the 'hello' sentiment from the You Are Loved Flourish Messages set, which is also an add-on product this month (releasing on Monday with the kit) and stamped this in the top right hand corner with Intense Black Ink. The panel was added to a white A2 card base with tape runner and then to ground the images, I added a thin strip of black cardstock.
Win a kit before you can buy it! Just leave a comment on this (and every) Countdown to Creativity post! We’ll randomly draw one lucky winner from all the comments left across all countdown posts, and announce the winner first thing Monday morning, January 7th, before the kit launches at 10am Pacific. The more you comment, the more chances to win!
Good luck!























































































418 comments
I love the simplicity of this card. It is so elegant.
I love the colors you chose. They compliment each other very well.
Beautiful cards. They are amazing!
I just love the mint Julio background with the flower containers.
The background color just makes your card pop!
Thank You for sharing your talents!
I’m not sure if we are supposed to leave a comment here or on your blog so to be safe I’m commenting on both LOL! I really do love this card it’s so elegant and beautiful, I have always loved your style, Michelle! Keep up the great work!