Posted by Heather Ruwe
on November 27, 2023

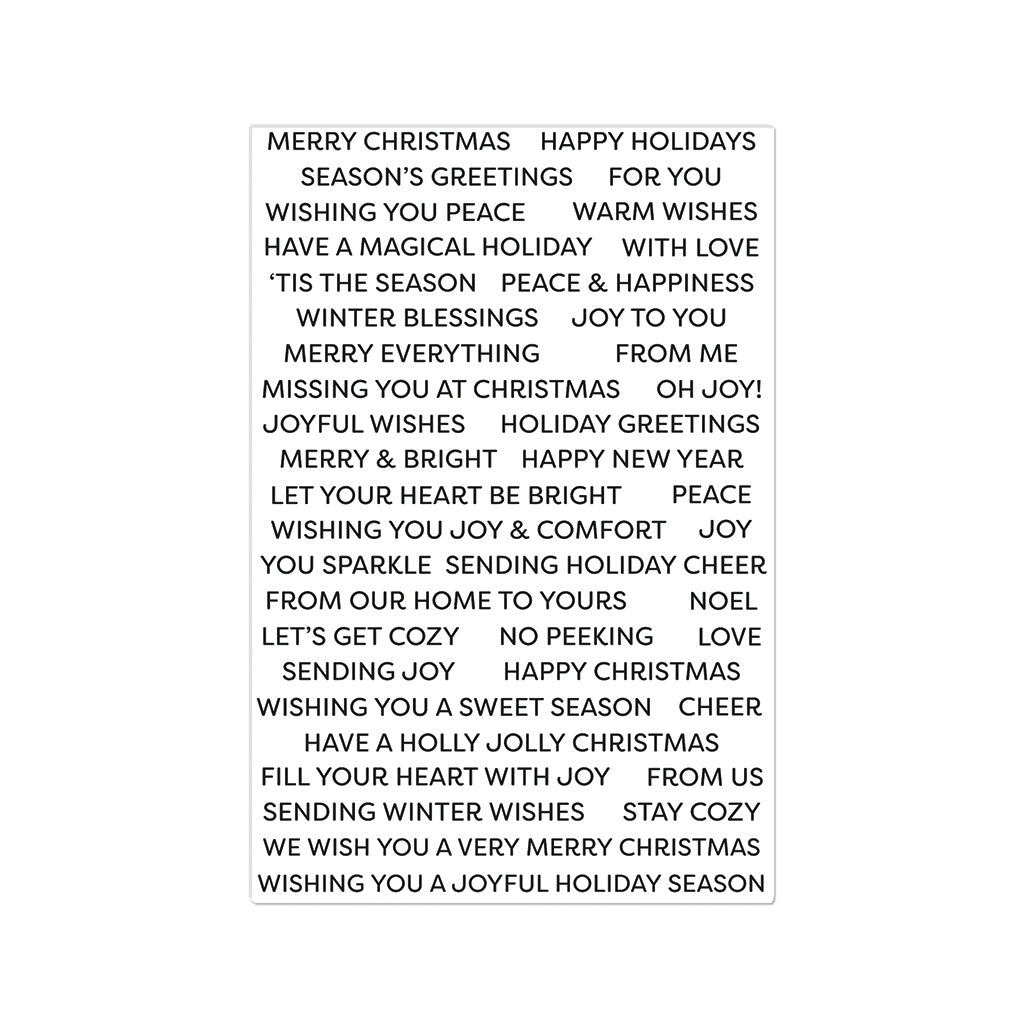
Hello there, crafty friends. It’s Heather Ruwe here and I’m excited to share my first project as part of the Hero Arts Creative Team. I have two cards to share today featuring the
Christmas Sentiment Strips
stamp set.

Here's a video sharing how to create these cards...
If you are having trouble viewing this video, please watch HERE on YouTube.
Both of these cards feature how to step up a sentiment stamp set. For the first card...
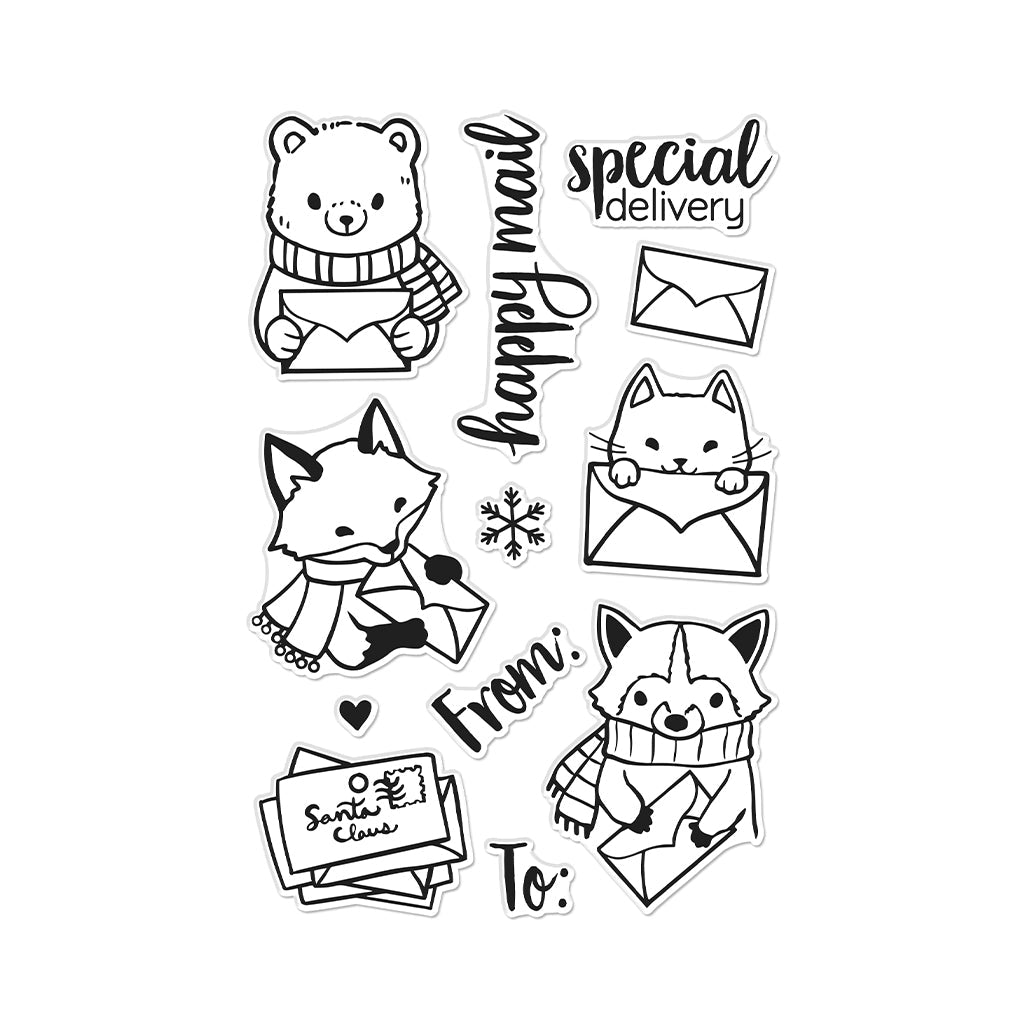
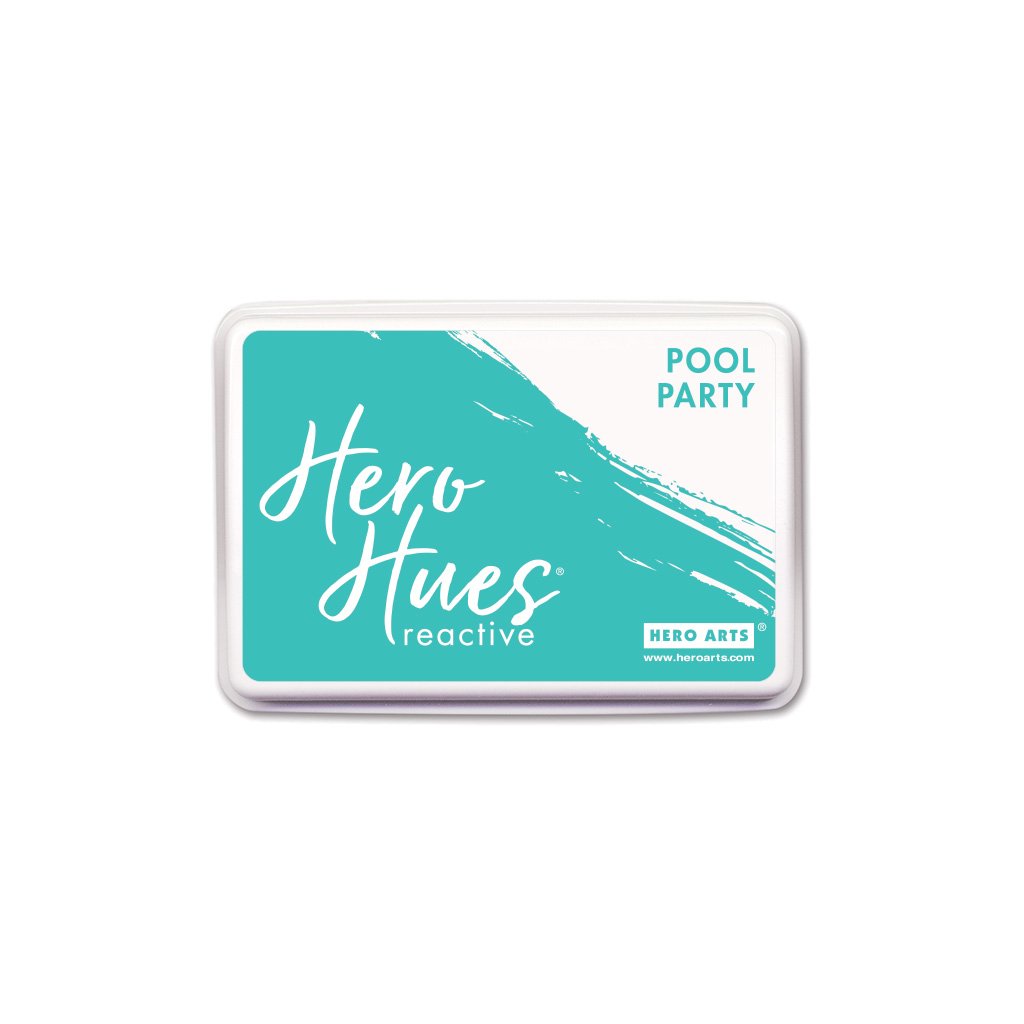
I cut the Sentiment Strips Die from masking paper. This way I can mask off the sentiment that I want to highlight. After I inked up the stamp set using Pool Party ink, I removed the masking strip and stamped the sentiments on an A2 sized piece of Deluxe Smooth White cardstock. I temporarily taped the Sentiment Strips Die on top but instead of cutting out the sentiments, I ran it through my die cut machine with an embossing mat to add texture and dimension. Next, I stamped the bear from the Winter Mail Critters stamp set, colored it with Copic markers, and used the coordinating die to cut it out. I adhered all the elements on to a note card created from Cherry cardstock.

For the second card...

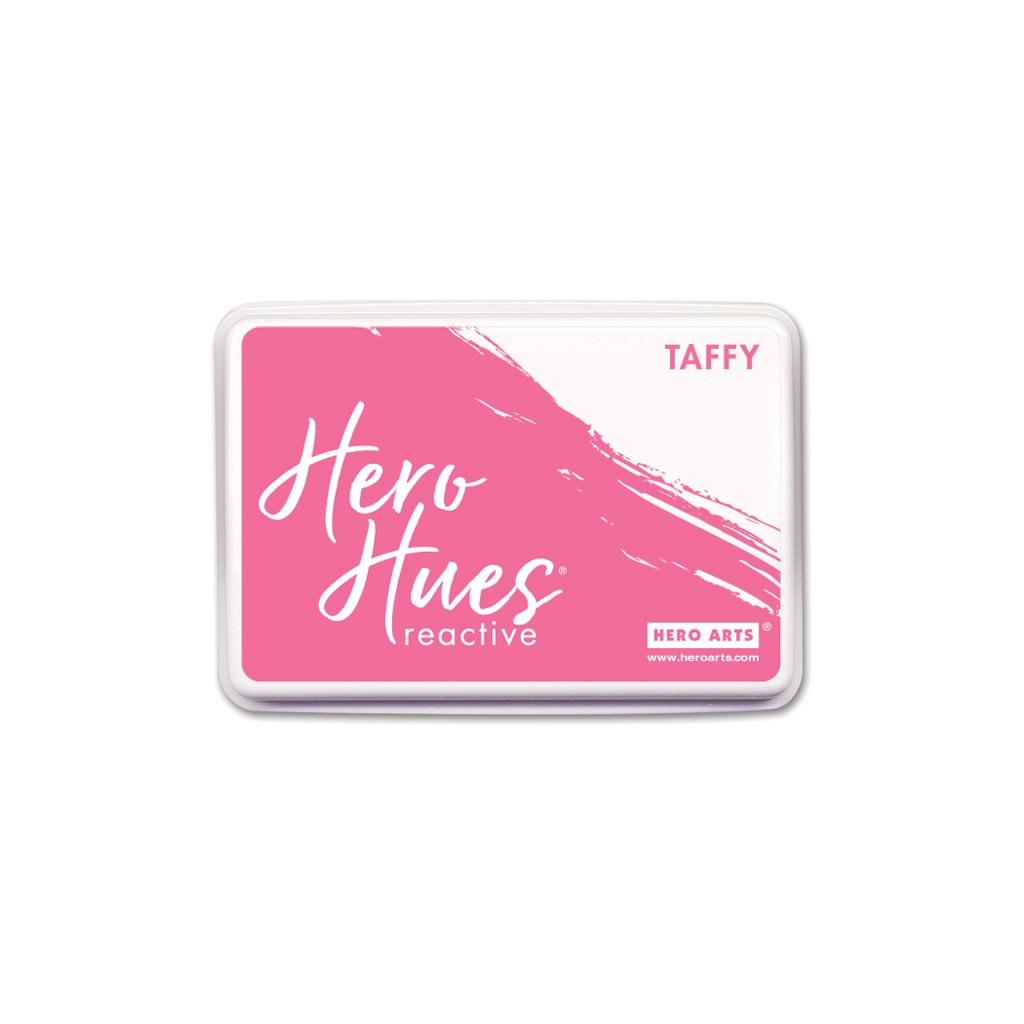
I repeated the same process for the background but this time I stamped on Peony cardstock using Taffy ink. Again, I masked off the sentiment I wanted to highlight. I ink blended on top of the background using the Sun Background Stencil . I ran the stencil on top of the background through my die cut machine with an embossing mat to add dimension to the pattern. I stamped the house image from the Winter Town Cheer stamp set and used the coordinating die to cut it out. I added all the elements to a note card created from Pitch Black cardstock. I finished off the cards by adding a coat of Sparkle Clear Lacquer Pen and Crystal Clear Lacquer Pen for some sparkle and shine.
I hope this video has inspired you to step up your sentiment stamp sets. Thanks for spending some time here today.

Click on products to shop:
|