Posted by Natasha Polite
on December 22, 2023

Hi crafty friends, Natasha Polite here. I am excited to be sharing my first blog post as a Creative Team member. I love the versatility of rub-on transfers, so I want to share one of my favorite ways to stretch my stash and use them.
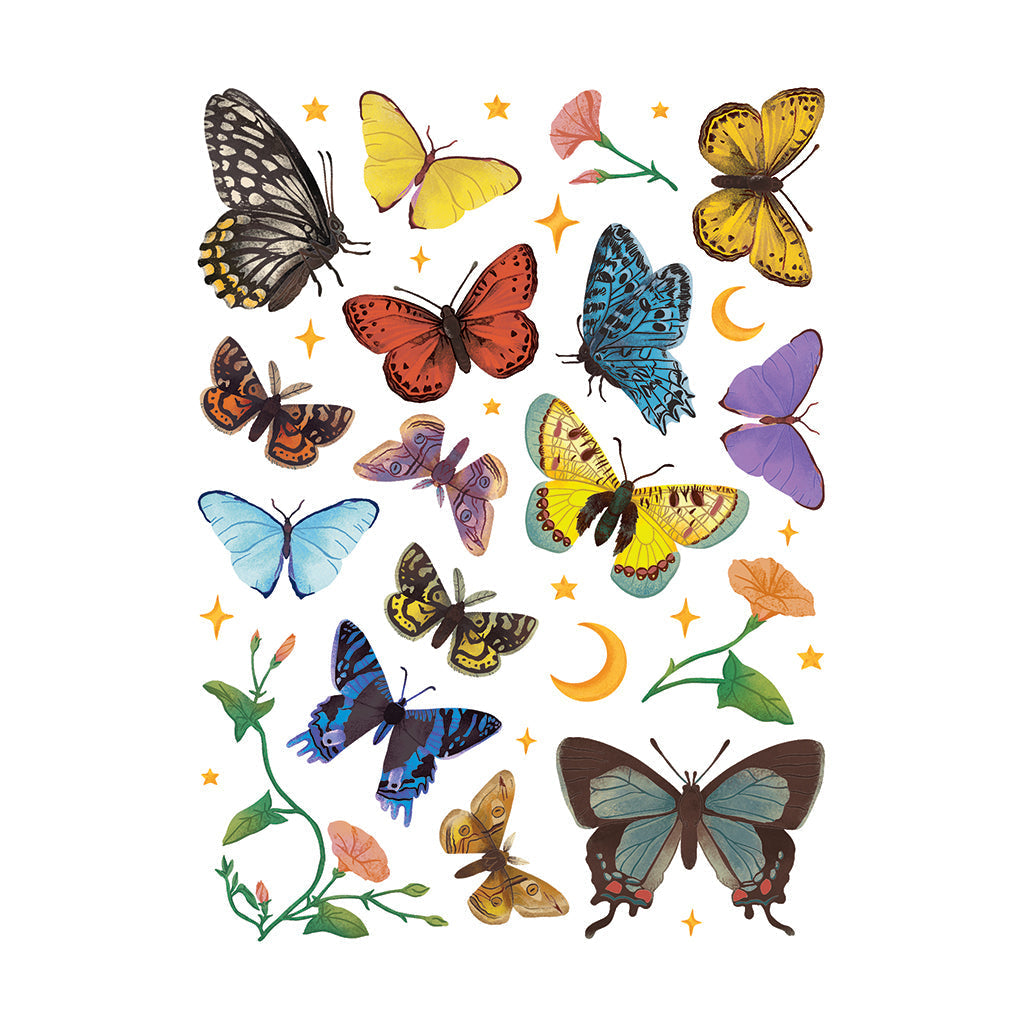
Grabbing the Butterfly Hero Transfers, an Acetate Card Panel, and scissors, I began cutting up one of the transfer sheets to separate each image. Alternatively, you can use vellum to achieve a similar look. I add each butterfly individually to the acetate and am careful and take my time to prevent any accidental scratches or tearing of the transfer. Once that is complete, I grabbed my scissors and fussy cut around each butterfly to create my die cuts.

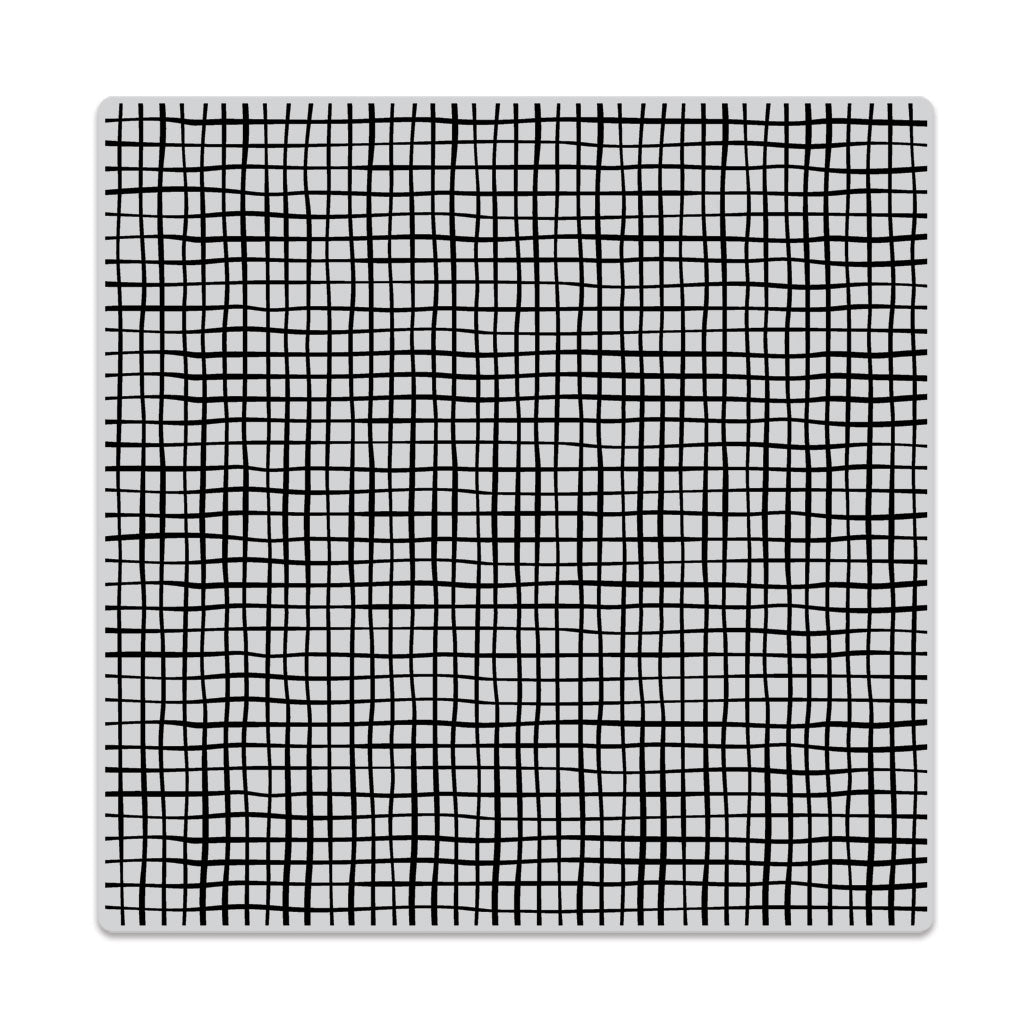
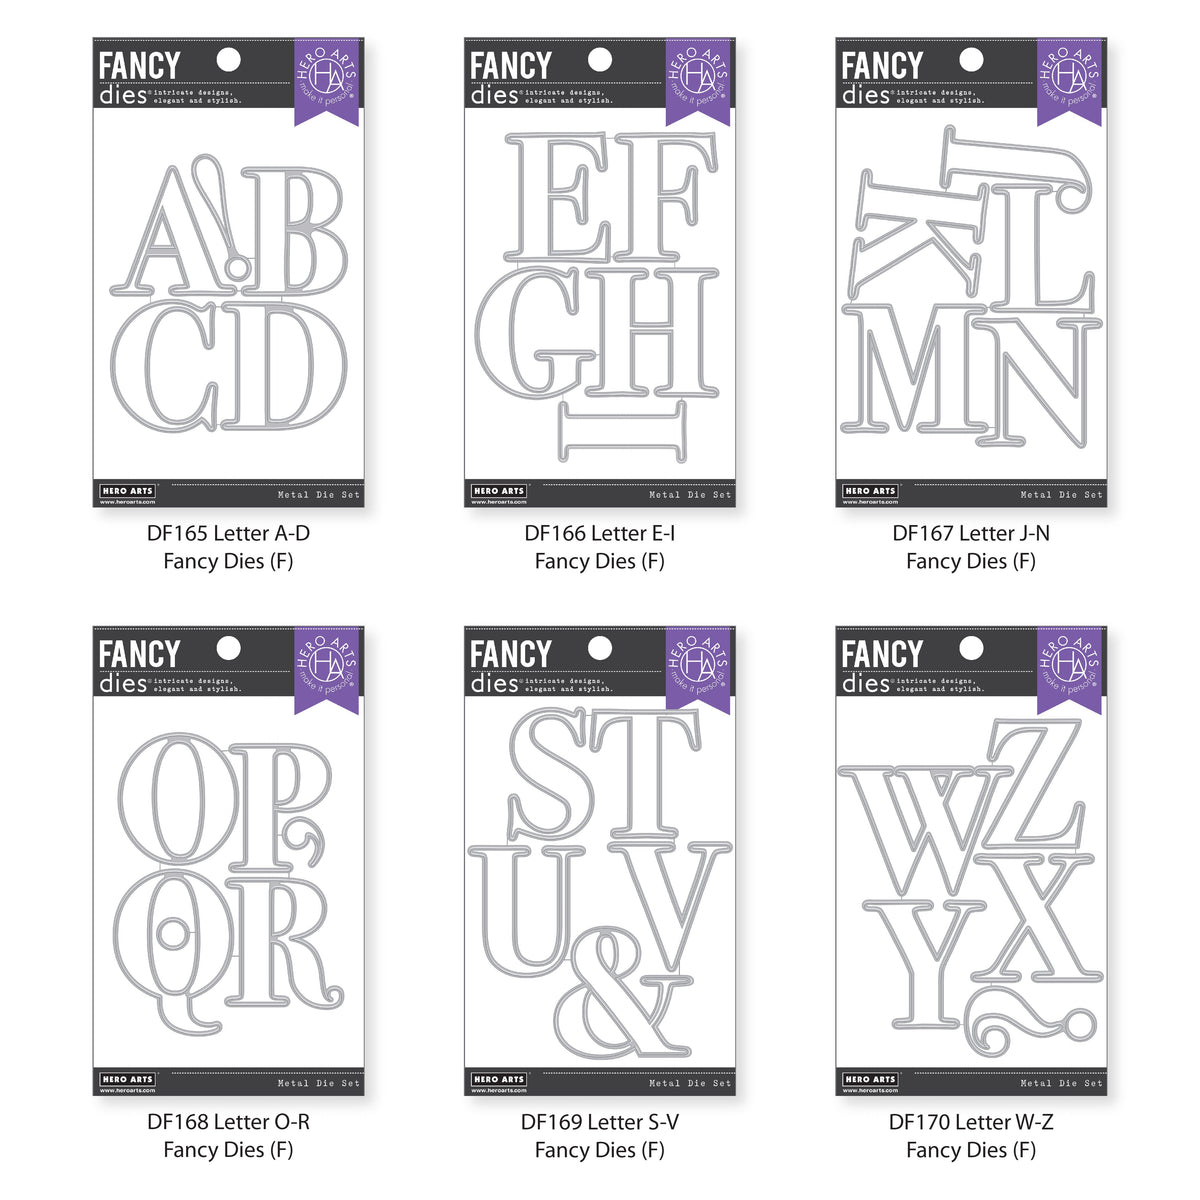
I then move on to die cut my Letter Fancy Dies from both Dove White and Pitch Black cardstock. I specifically use Letter E-I Fancy Dies, Letter J-N Fancy Dies, and Letter W-Z Fancy Dies to create the word "FLY." I layer these onto one another, offsetting a bit to the right. Moving onto my background, I grab an A2 sized white card panel and stamp the Burlap Bold Prints in Antique Ivory Core Ink. This creates a light texture to my background. Due to the colors of the butterflies, I add a bit of splatter using Splash and Lemon Drop Reactive Inks.

Using the letters that I die cut, I make a note of where each letter will be placed, remove them, and then add two floral elements from the transfer sheet directly onto the background. I cut the largest floral element into two sections, allowing each piece to peek behind a different letter. Once I was satisfied with placement, I adhered "FLY" using foam adhesive.
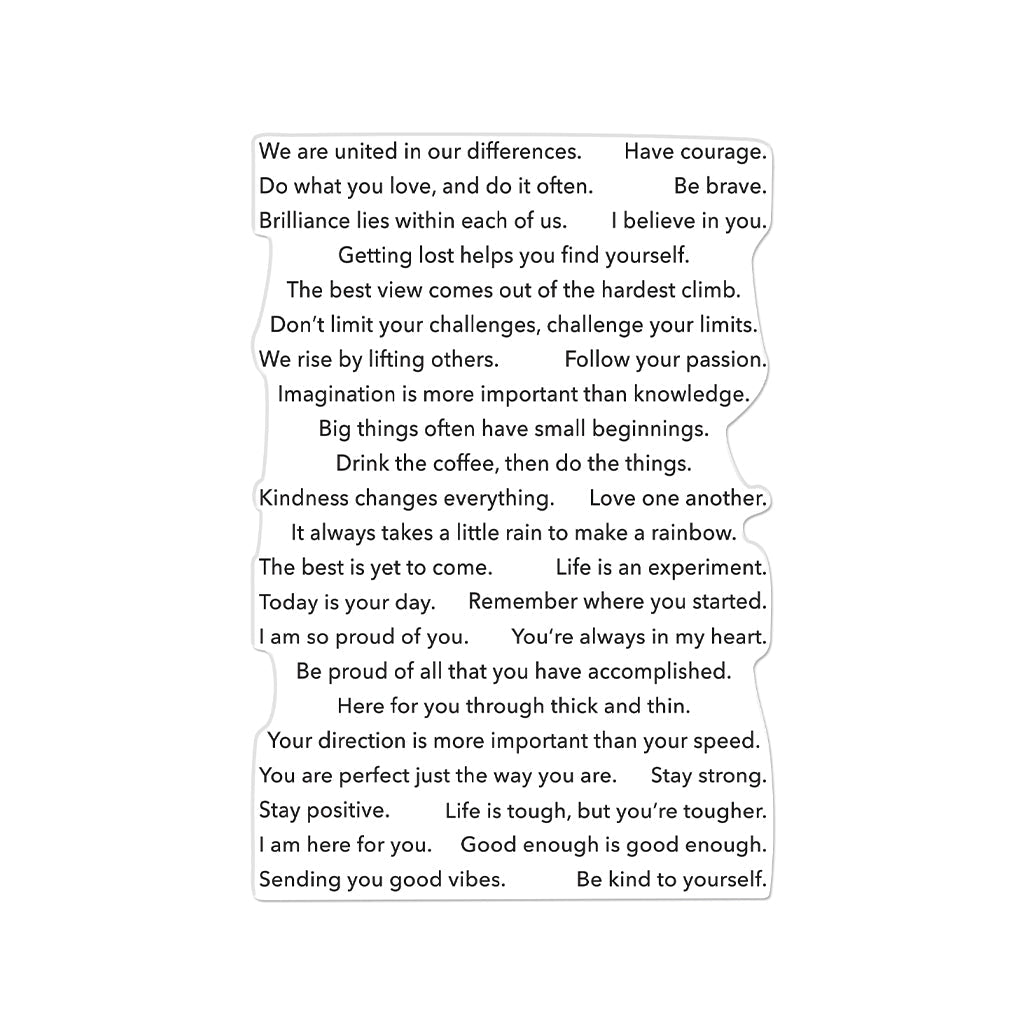
My sentiment comes from the Encouragement Sentiment Strips stamp set. I stamped the full stamp using Intens-ified Black ink and die cut using the Sentiment Strips Die. I felt the sentiment I chose was perfect for this card, as butterflies begin as tiny caterpillars. Once die cut, I popped this into place with foam tape. As you can tell, this card will be filled with dimension.

Now it is time for the butterflies! I began by cutting one of the wings off of two of the smaller butterfly die cuts. This allows me to position the butterflies as if they have landed onto a letter. The three remaining butterflies are cascaded from the bottom of the the "L." All of the butterflies are popped up with foam tape. I play with the wings by folding them upward, and when placing each butterfly, I am mindful of where the foam tape is placed. Centering the foam tape allows both wings to move, while adding the foam tape onto one side keeps part of the butterfly stationary.
For my final touches, I tuck the remaining floral element from the transfer sheet behind one of the butterflies and also add stars around the panel to fill space. I also grab a white gel pen and add highlights on the letters and butterflies. Finally, I cut down my panel to 4" x 5.25" and adhere it to an A2 panel of Mustard cardstock.

And there we have it! What do you think? Will you be creating die cuts using your Hero Transfers to stretch your stash a bit?
Happy Crafting!

|