Posted by Natasha Vacca
on February 27, 2024

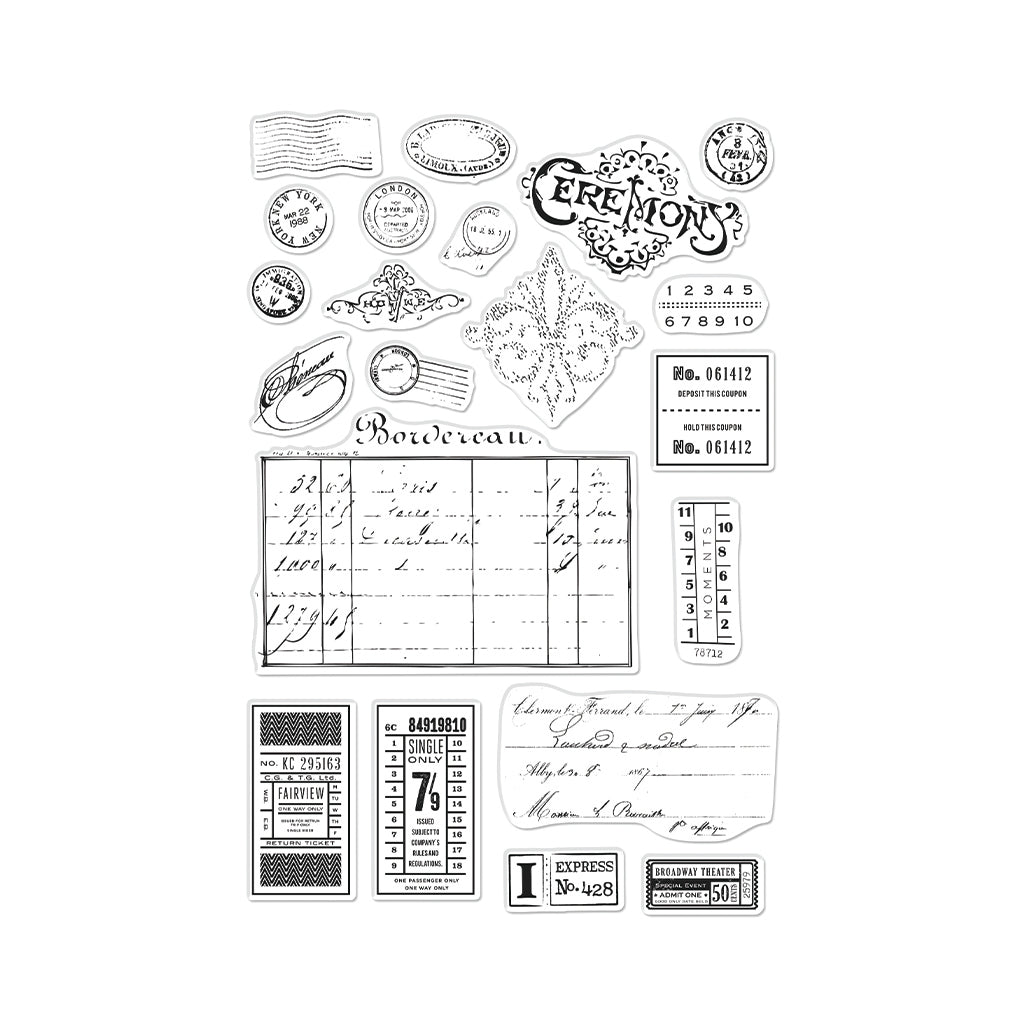
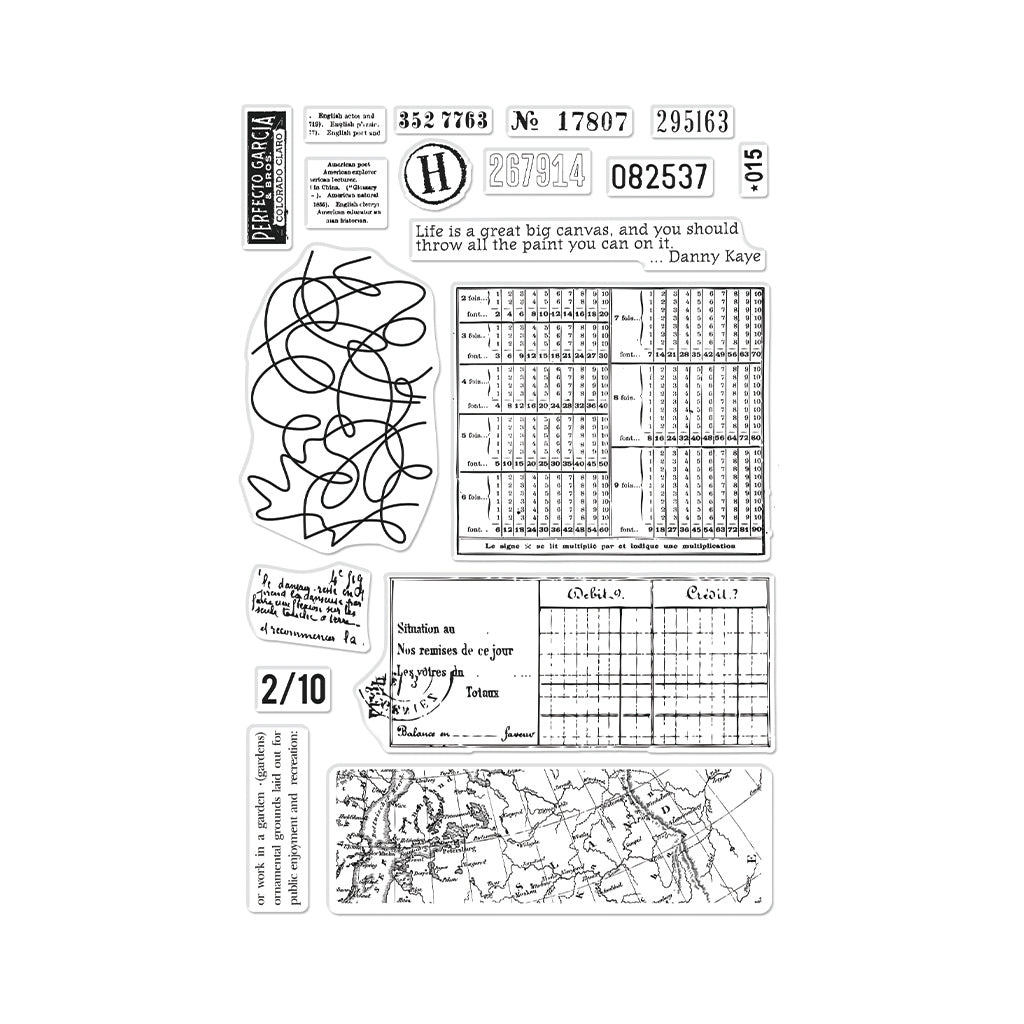
Hello crafty friends, it is Natasha here today and I am excited to be back up on the Hero Arts blog sharing an idea on how to use two new stamp sets to create your own vintage ephemera. I am using Vintage Postmarks and Tickets and Vintage Map and Ledger from the new 2024 Spring Catalog. So let's get started!

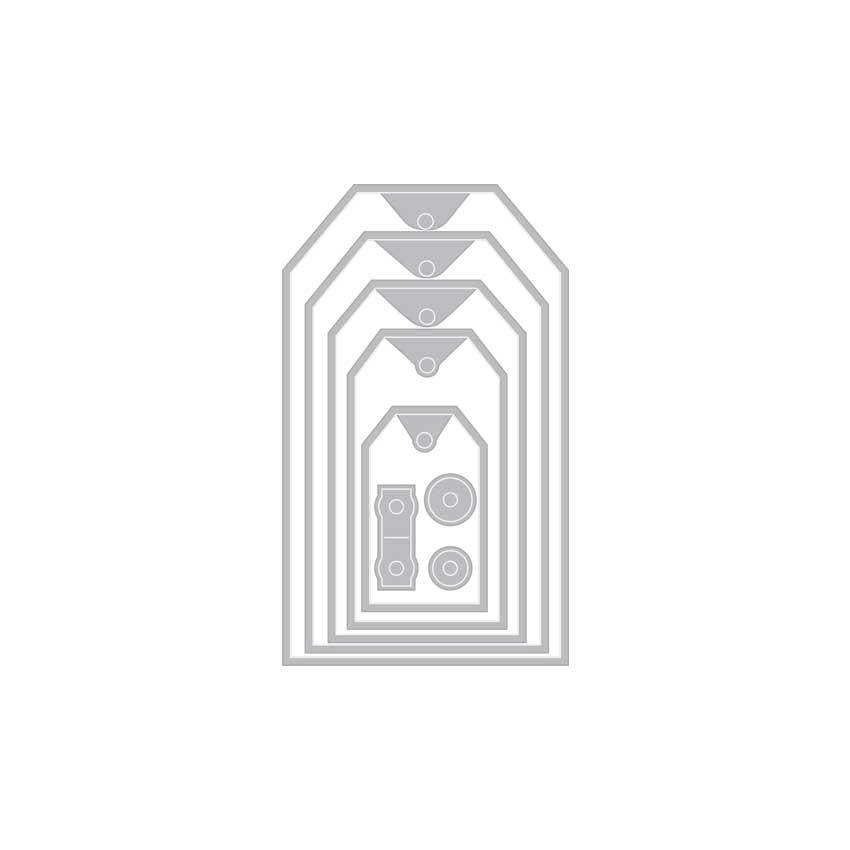
I started with a piece of Luxe White Watercolor Paper. I created an inky background on the paper using Hero Arts Reactive Inks. I used: Fruit Punch, Creamsicle, Lemon Drop, Key Lime Fizz, and Blue Raspberry. I place the ink onto my work surface, spritz the ink with water, then smoosh the paper into the ink. I dry the paper with my heat tool, then spritz the panel with water droplets and pick up color with with a paper towel. I repeat this process several times until I have the texture I am looking for. Once the panel was dry, I trimmed the panel using the Tag Infinity Dies. I also created a few smaller panels using Hero Arts Reactive Inks and Luxe White Watercolor Paper. These were made for the ticket ephemera bases.
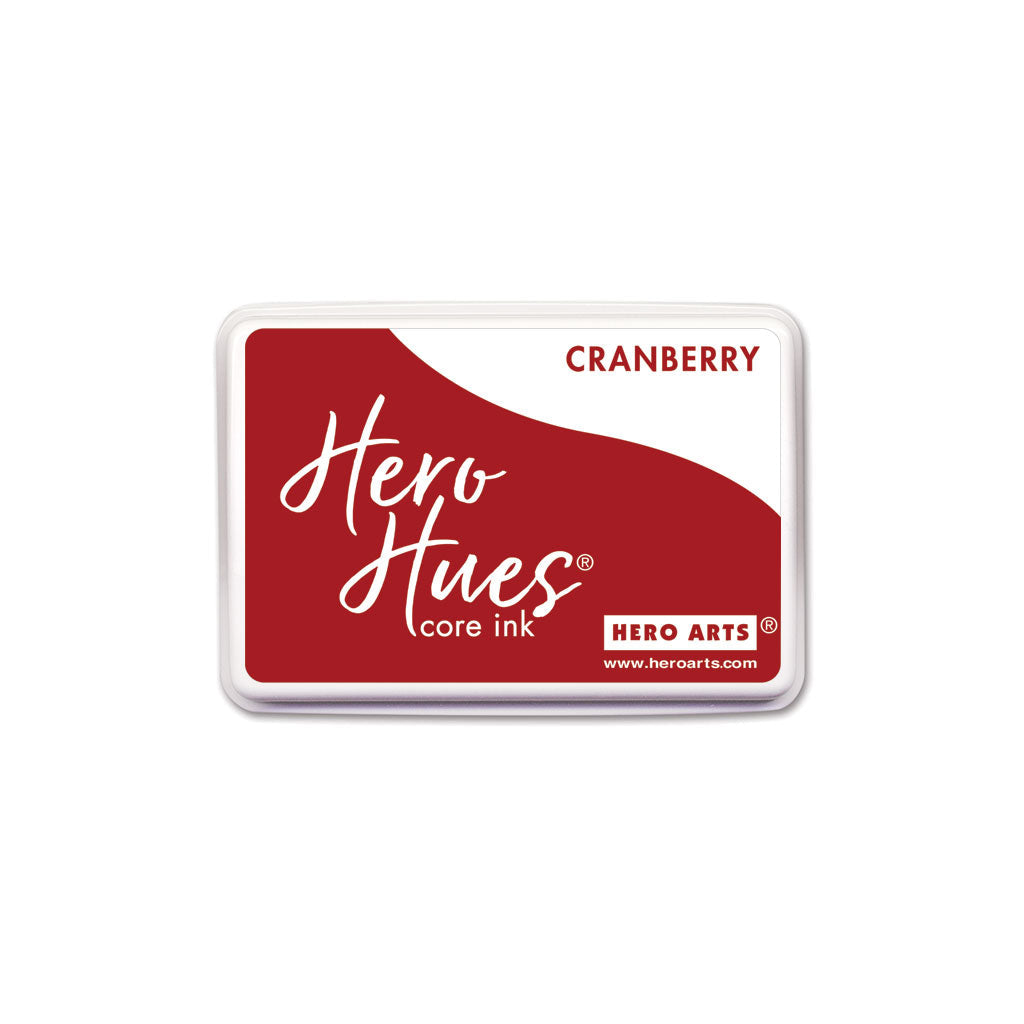
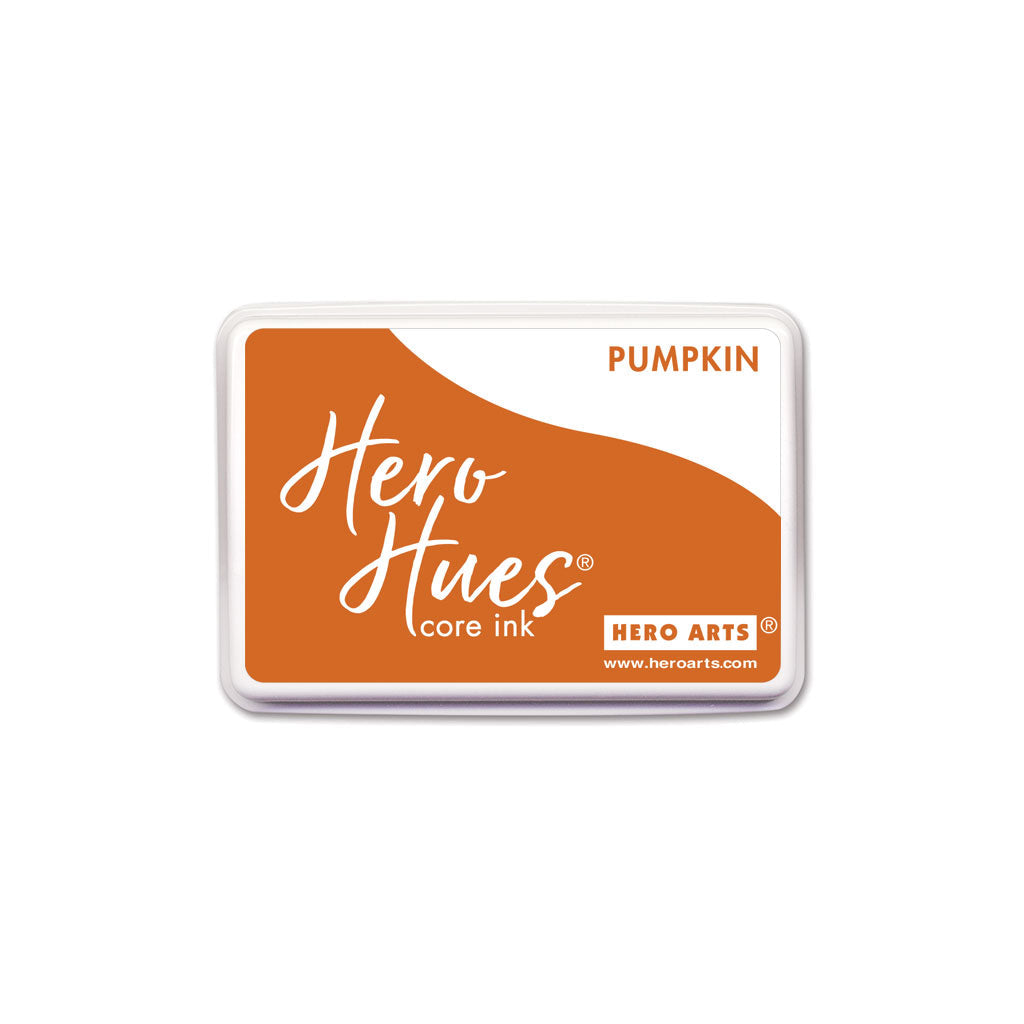
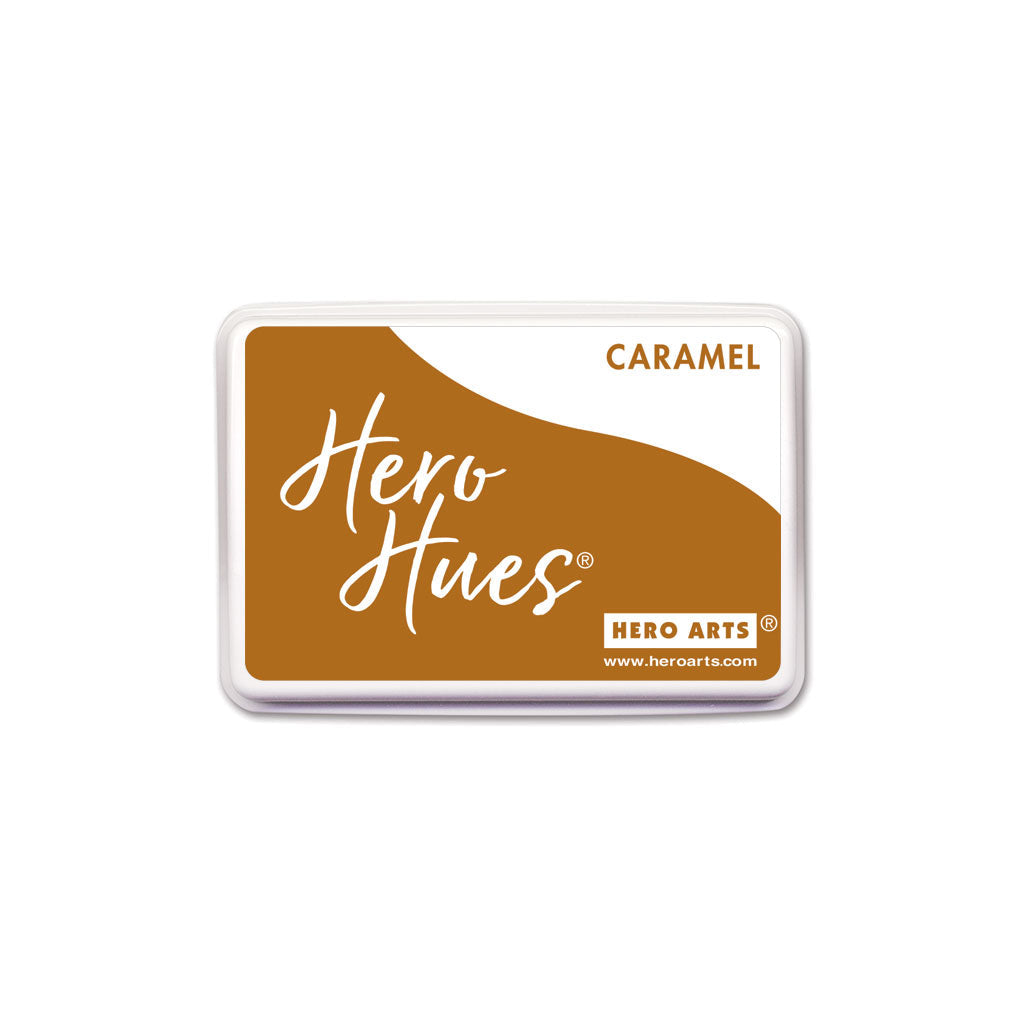
 Once my panels were completely dry, I started to work on my ticket ephemera using both Vintage Postmarks and Tickets and Vintage Map and Ledger. I stamped the tickets and the ledger using Hero Arts Core Inks. I used: Aquatic, Pumpkin, Caramel, and Cranberry. Once the tickets were all stamped, I trimmed the tickets using scissors and distressed the edges with my scissors as well. I then added ink to the edges to create a distressed look using Caramel and Espresso Core Inks.
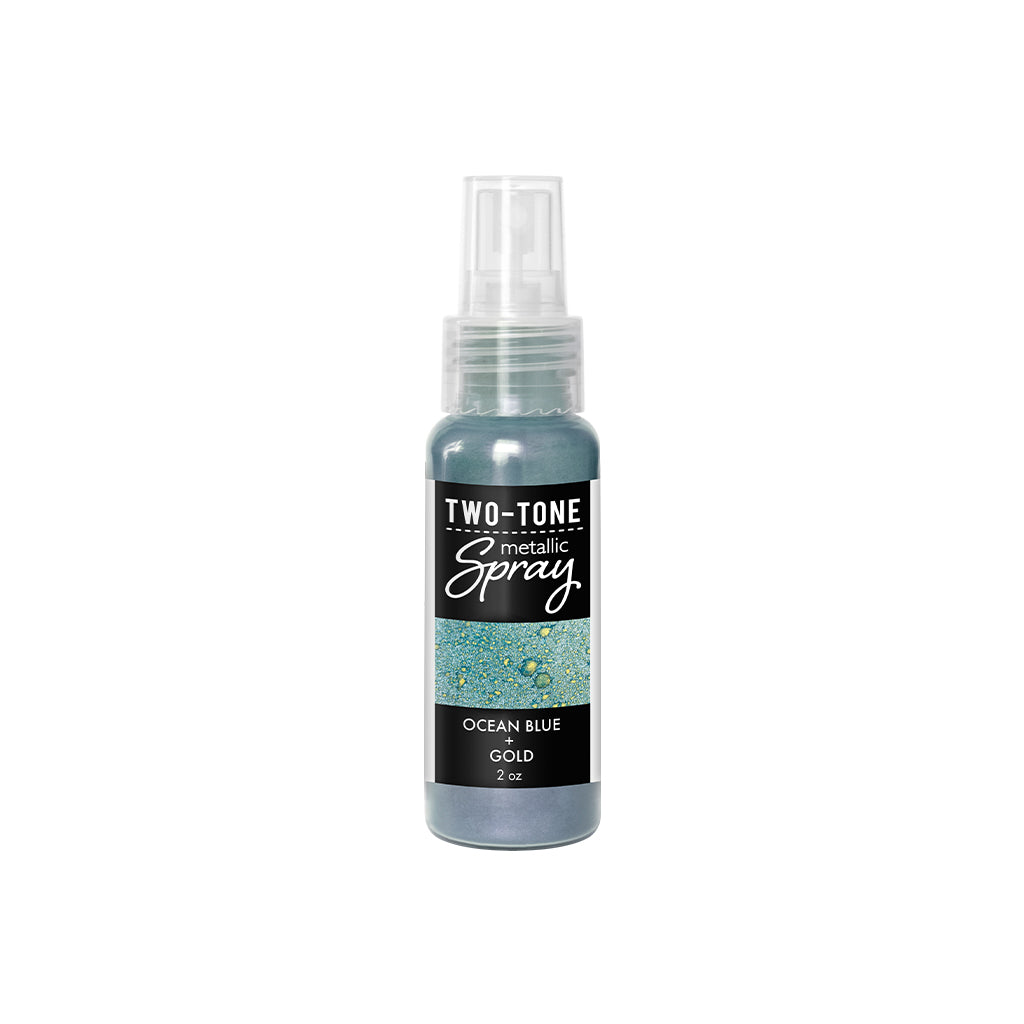
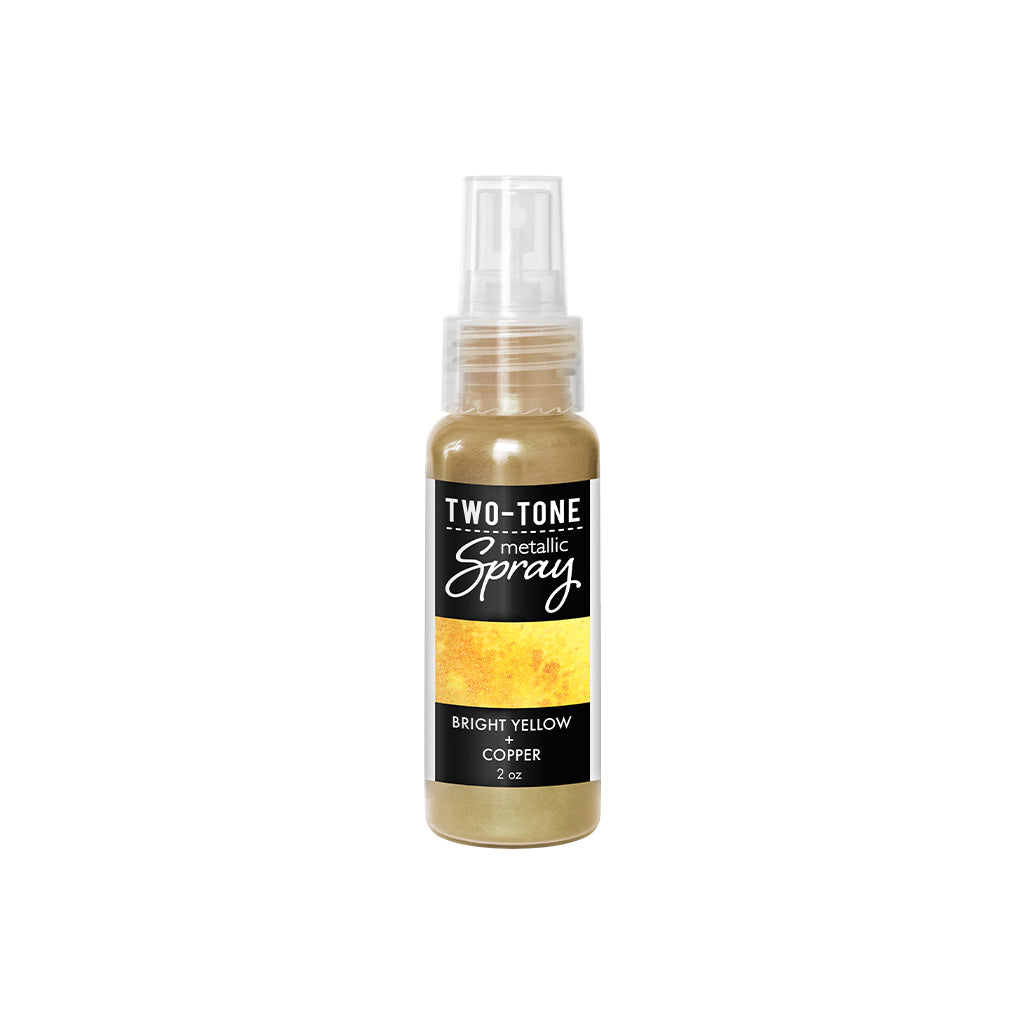
  Next I created a panel using Hero Arts Two Tone Sprays in Ocean Blue and Gold, as well as Bright Yellow and Copper. I sprayed each color onto Arctic cardstock. I allowed the panel to dry and then die cut the butterfly two times using the Delicate Butterfly Fancy Die. I die cut the outline layer one time, then a second time with the detail die as well. On the detailed top layer I added Embossing and Watermark Ink and heat set with the new Iridescent Bronze Embossing Powder. I added Core Inks to the edges for added distressing in Caramel and Espresso. I then adhered the butterfly together using Precision Glue.
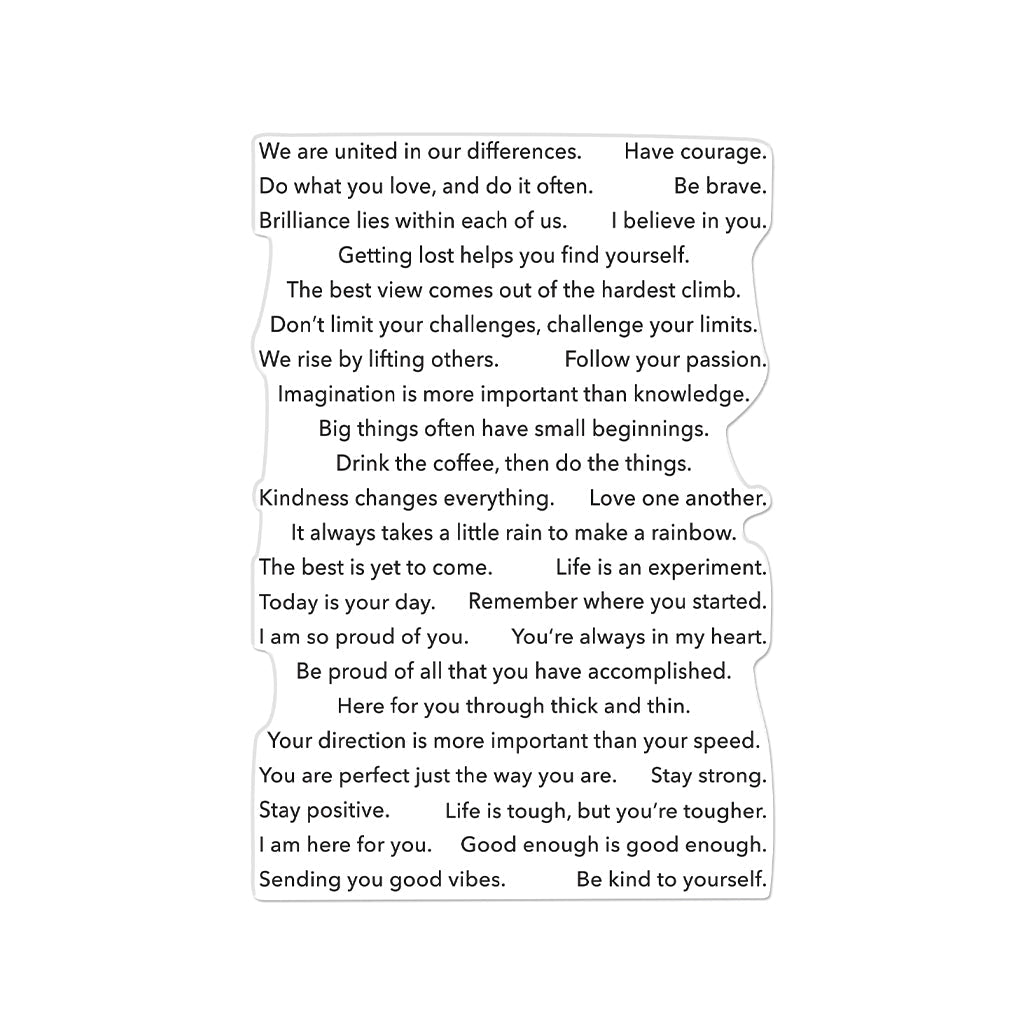
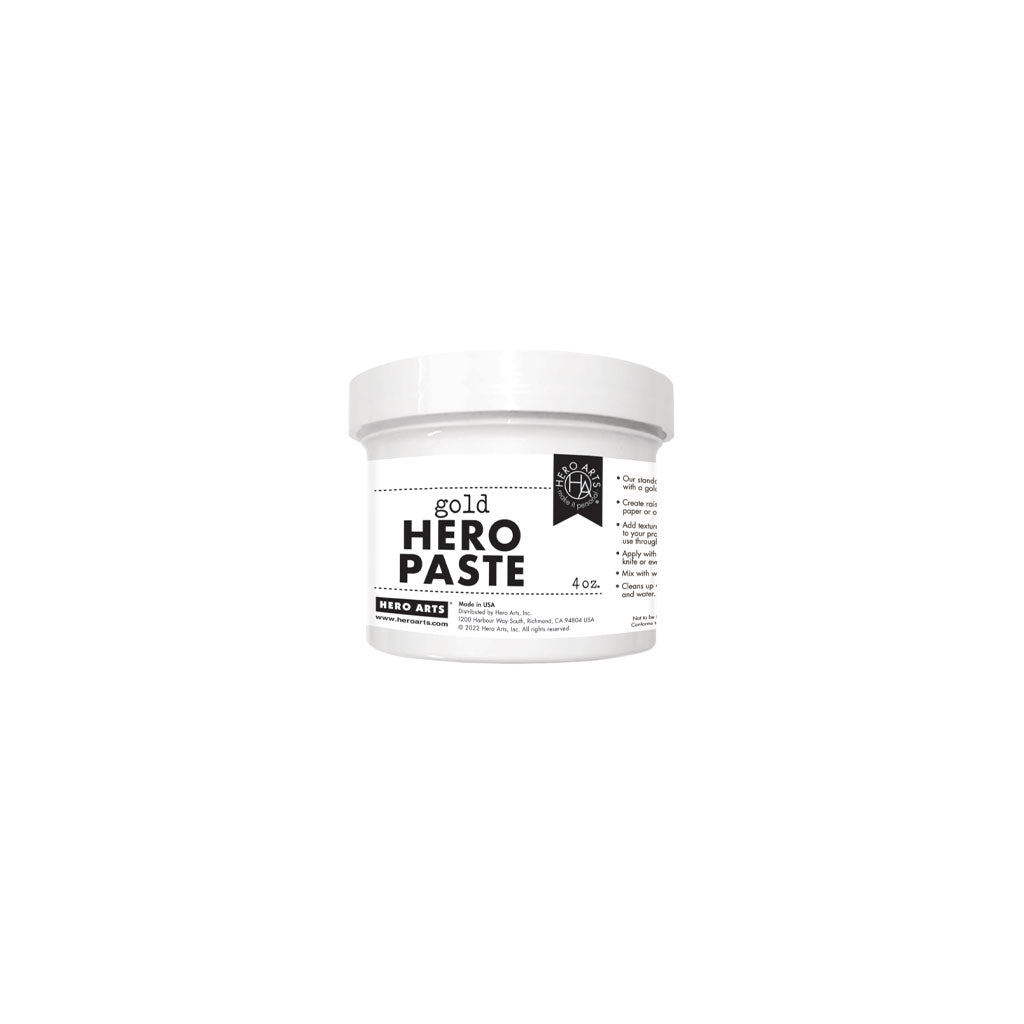
 Next I started to work on my tag background. I had a piece of scrap from my Hero Arts Reactive Inks background and trimmed two small pieces for the bottom of my tag. On one layer I used the Hole Punch Edge Fancy Die for added visual interest. I also used a piece of scrap from my background to trim two olive branches using the Dove and Olive Branch Fancy Die. I added Embossing and Watermark Ink to the olive branches and heat set with the new Iridescent Bronze Embossing Powder. I added texture to the background using stamps from both sets Vintage Postmarks and Tickets and Vintage Map and Ledger. I stamped the images using Pitch Black ink. I also added texture using the Leaves and Abstract Shapes Stencil with Hero Arts Gold Paste. I used my palette knife to apply the gold paste to various sections of my tag background. I then adhered all the layers of ephemera, the butterfly and my sentiment from Encouragement Sentiment Strips using Precision Glue. I added twine and some cheesecloth under the butterfly for added texture, as well as Caramel and Espresso Core Inks to the edges of the tag. I finsished with splatters using White Glimmer Metallic Ink.
 Thanks so much for stopping by today! I can't wait to see your handmade ephemera too!

|