Posted by Jessica Frost-Ballas
on September 14, 2023

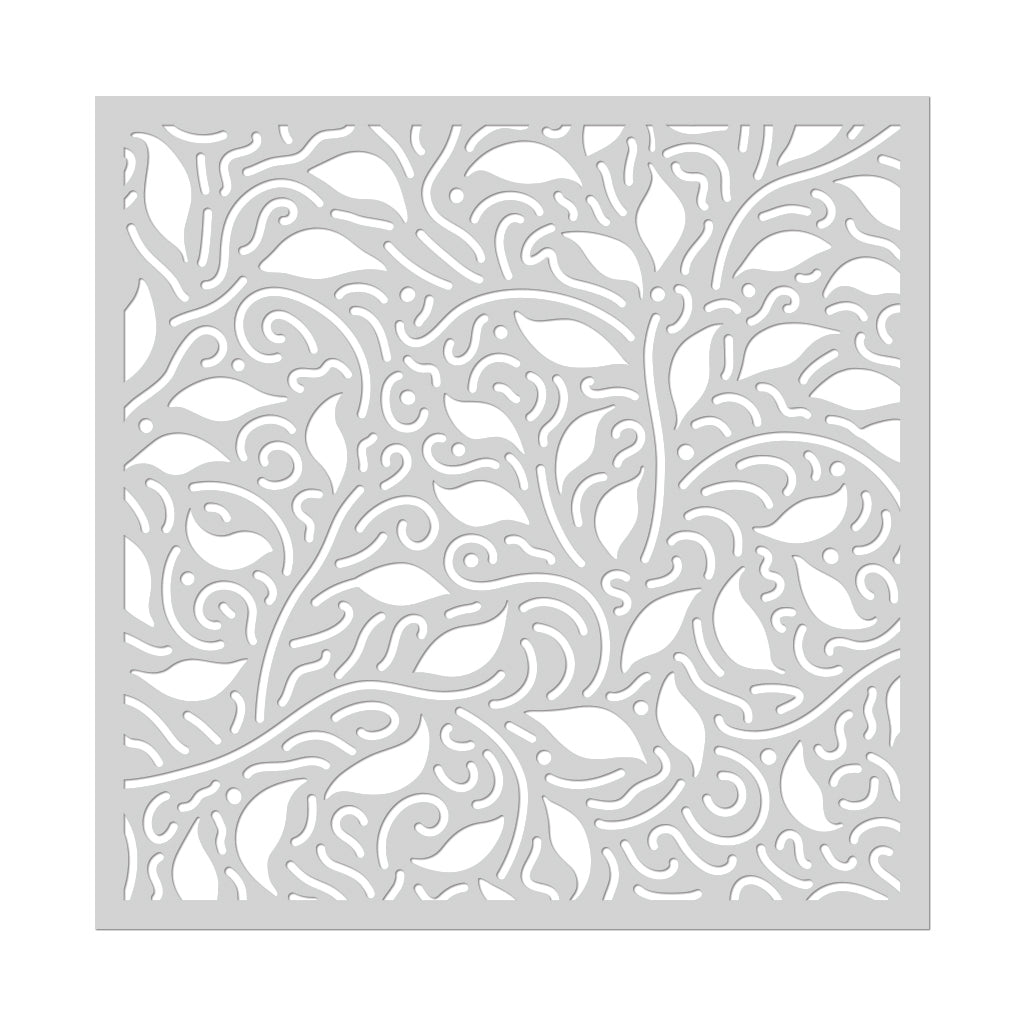
Good morning! Jess here with a vibrant card to say thanks or celebrate Thanksgiving featuring ink blending and dry-embossing. I love using stencils as they were originally intended but sometimes it's fun to change things up a bit! Today I'm using the new Leaves and Swirls Stencil to dry-emboss a dimensional background on my card panel.

To start, I take the Leaves and Swirls Stencil and place it on a panel of Plum cardstock. I run it through my die-cutting machine with the following plate sandwich (from bottom to top): base cutting plate > rubber embossing mat > cardstock > stencil> top cutting plate. When I remove the cardstock I can see the pattern from the stencil pressed into the cardstock. If you don't get that result you might try again and add a shim of another layer of cardstock or two. You might need to play around a bit with your particular die-cutting machine to find the best sandwich!
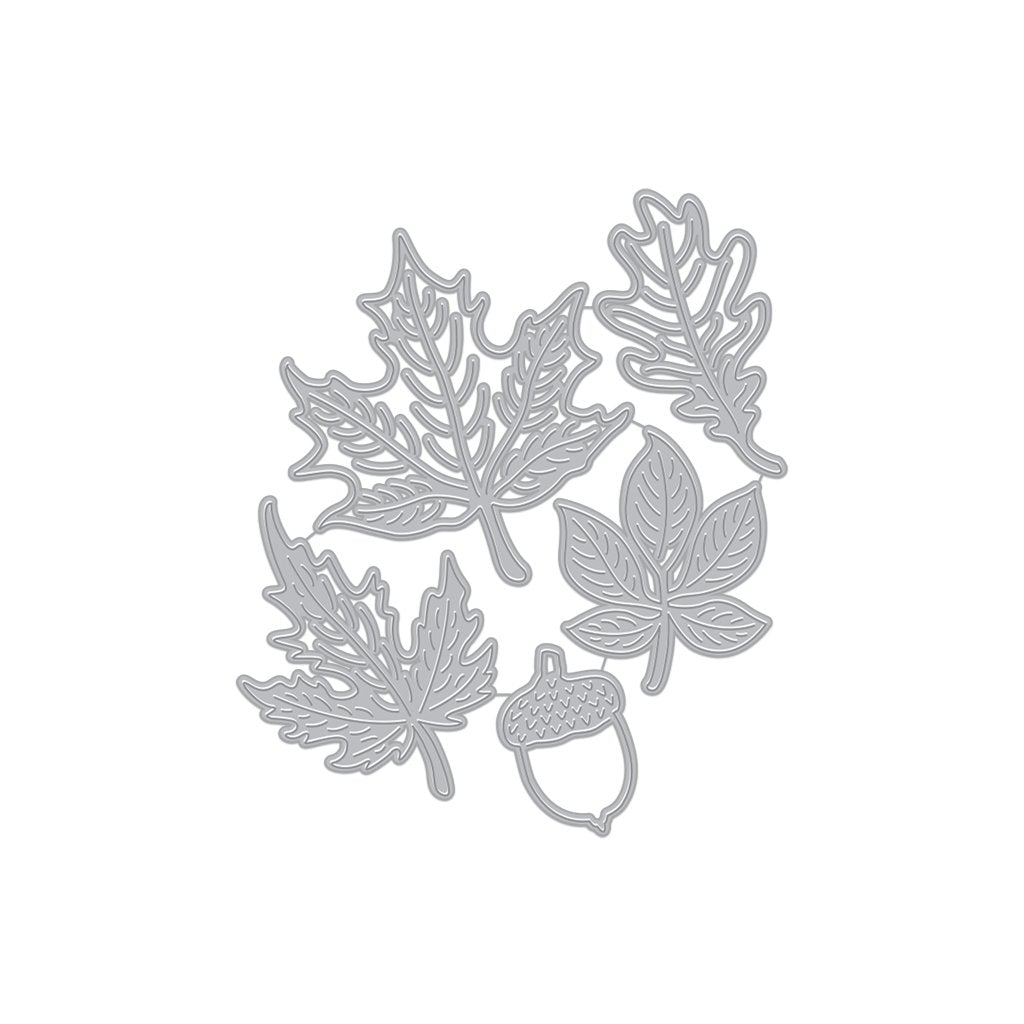
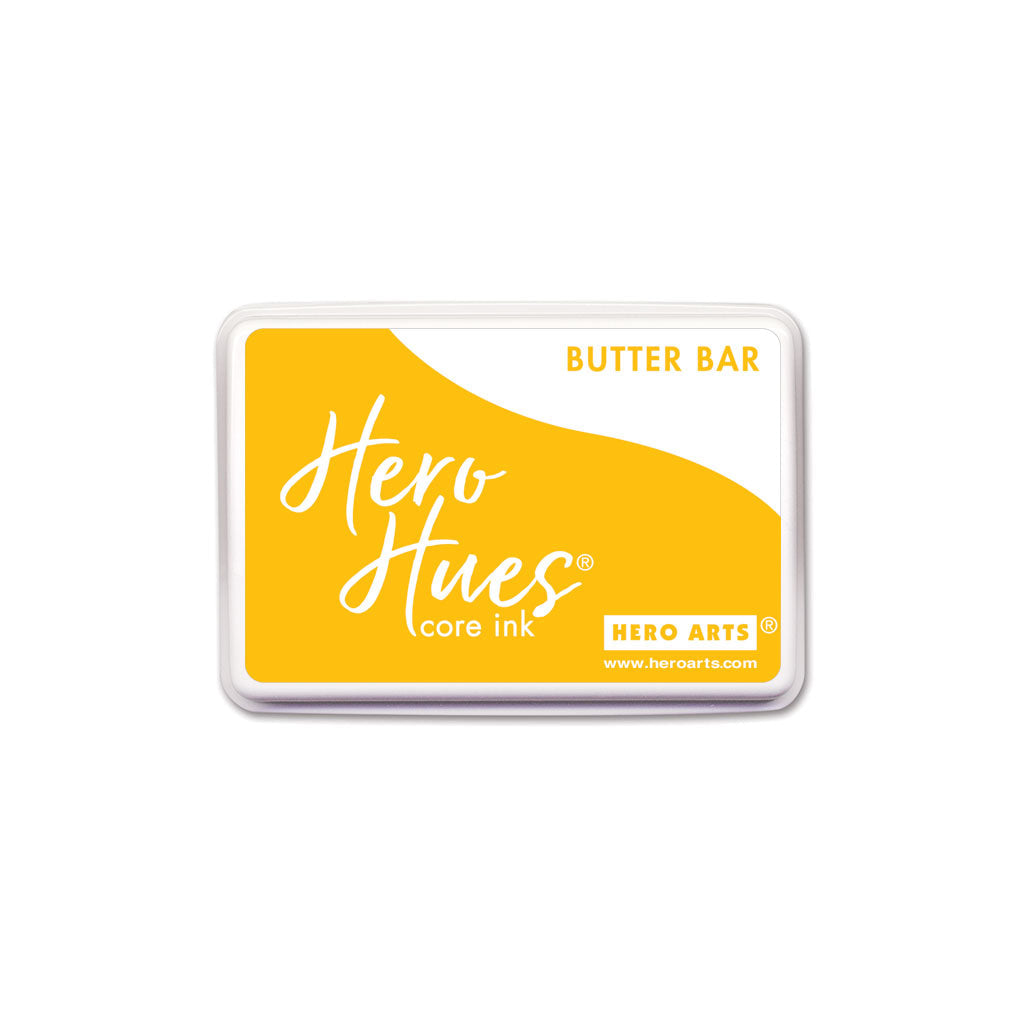
Next I blend a little Intens-ified Black ink around the edges of the panel and set it aside to dry. Then I die-cut the Autumn Leaves Fancy Dies from Deluxe Smooth White cardstock and randomly blend several Hero Hues Core inks over the leaves in a bold fall palette. I use Butter Bar, Papaya, Pumpkin, Crimson, Plum, Raspberry Jam, and Grape Juice Core inks.

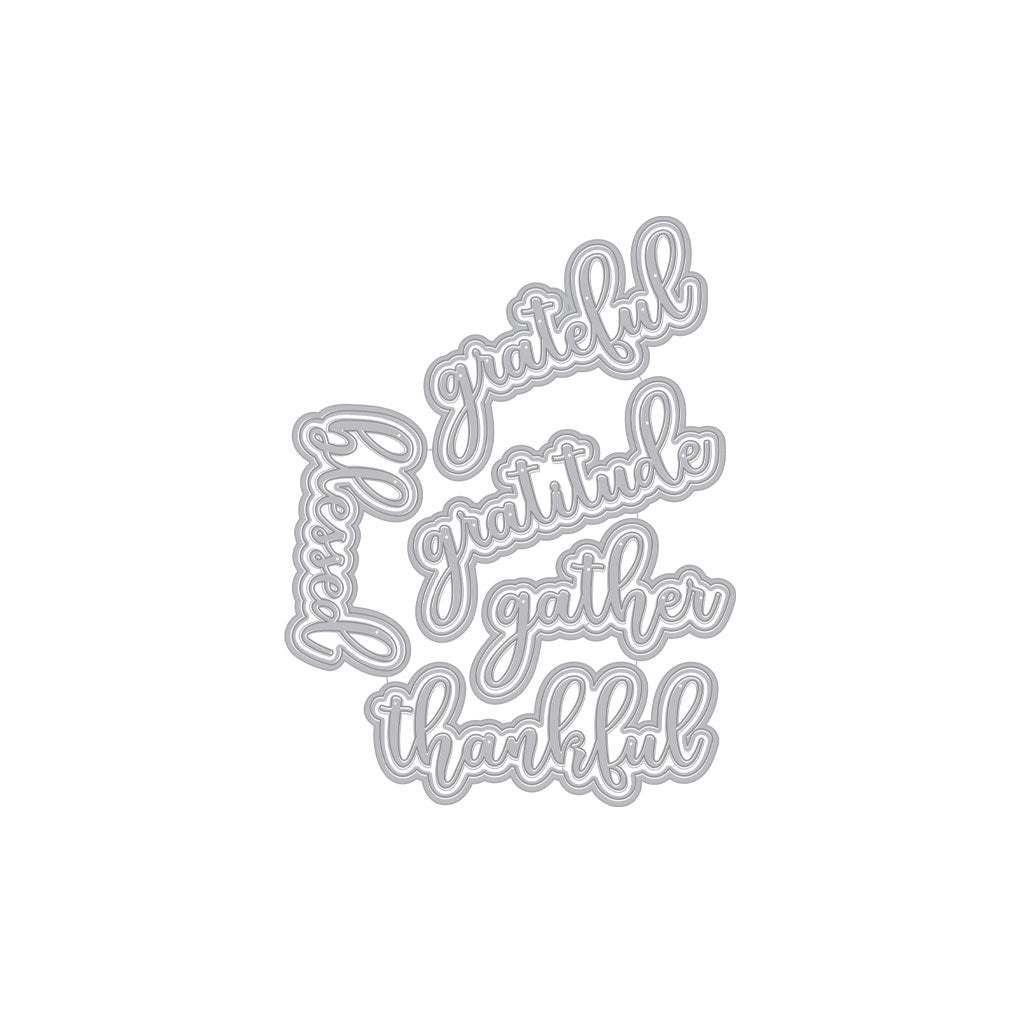
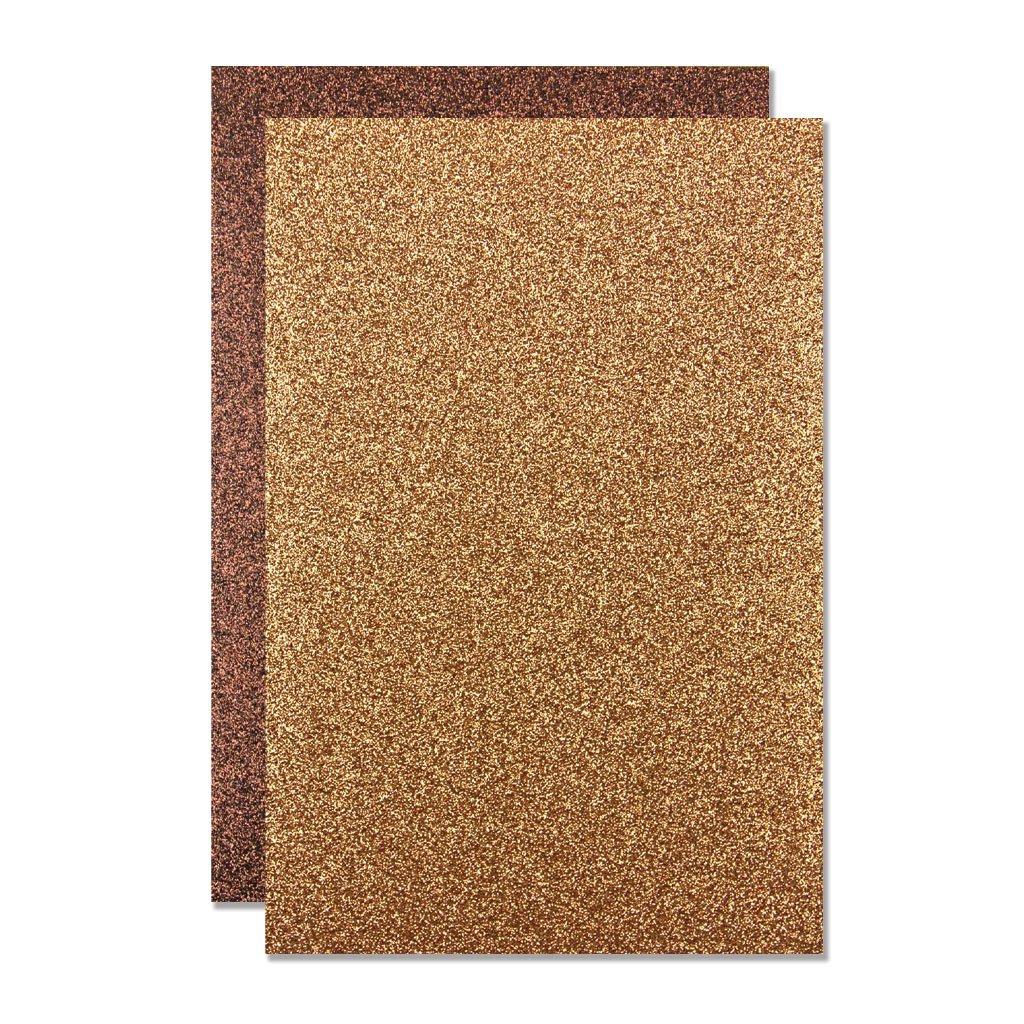
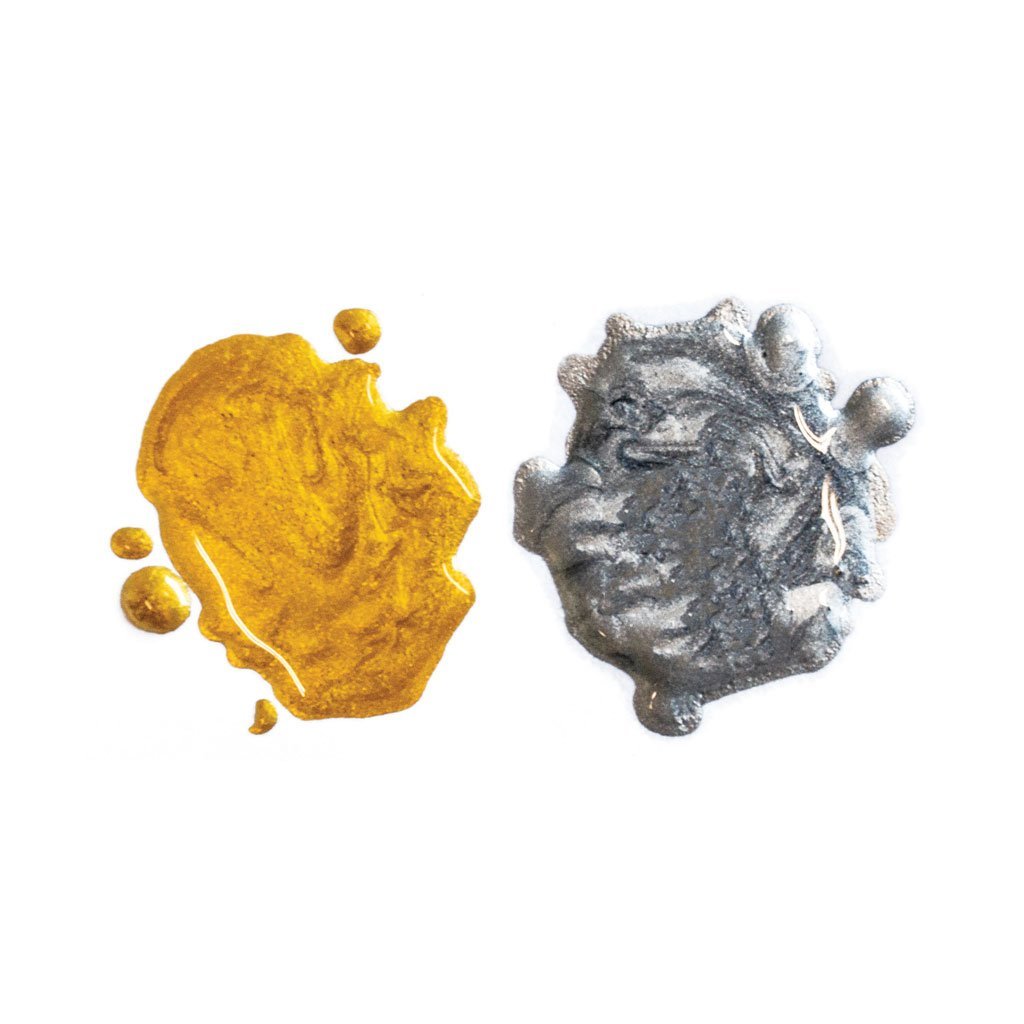
Once I finish blending I place the leaves and my dry-embossed panel into a scrap box and splatter them with watered down with Gold Glimmer Metallic Ink. I let them dry completely while I work on the rest of the card. I die-cut the 'grateful' word from the Grateful Words Fancy Dies using Fall Glitter Paper and Plum cardstock. Then I cut apart a stamp from Winter Foliage Stamp & Cut XL and stamp the beginning and ending of my sentiment onto Plum cardstock with Embossing & Watermark Ink and heat-emboss them with Brass Embossing Powder. I trim them down to thin labels.
Finally I arrange my leaves over the dry-embossed panel and adhere them with Precision Liquid Glue XL. Then I use foam mounting tape to add the sentiment and finish the card!
Plum is one of my absolute favorite Hero Hues cardstocks! I love how beautifully it works for autumn themed cards and I hope you love it, too. Thanks so much for stopping by and have an amazing day!

Click on products to shop:
|