Video: The Gilded Age Collection Inspiration | Best Wishes Foiled Card with Laura Volpes
Posted by Spellbinders Team on March 04, 2019

Video: The Gilded Age Collection Inspiration | Best Wishes Foiled Card with Laura Volpes

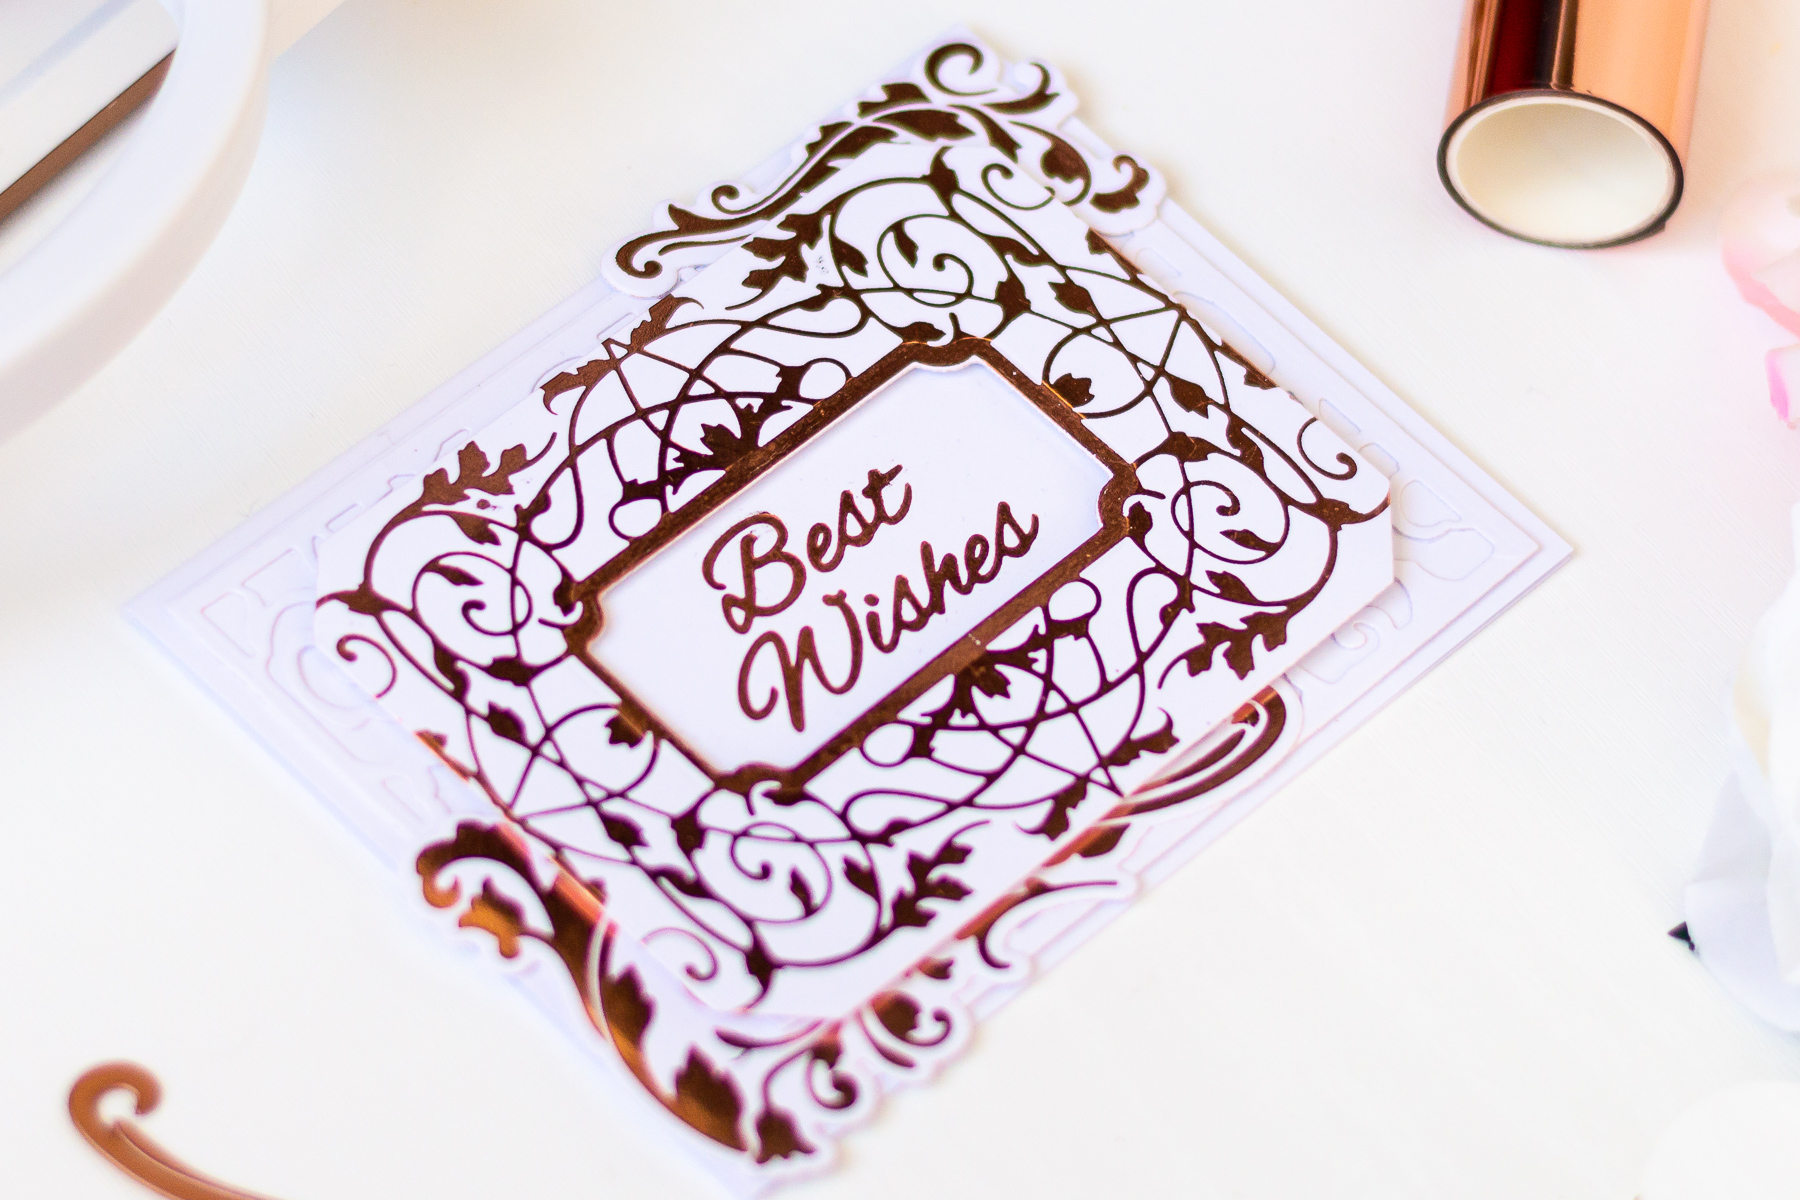
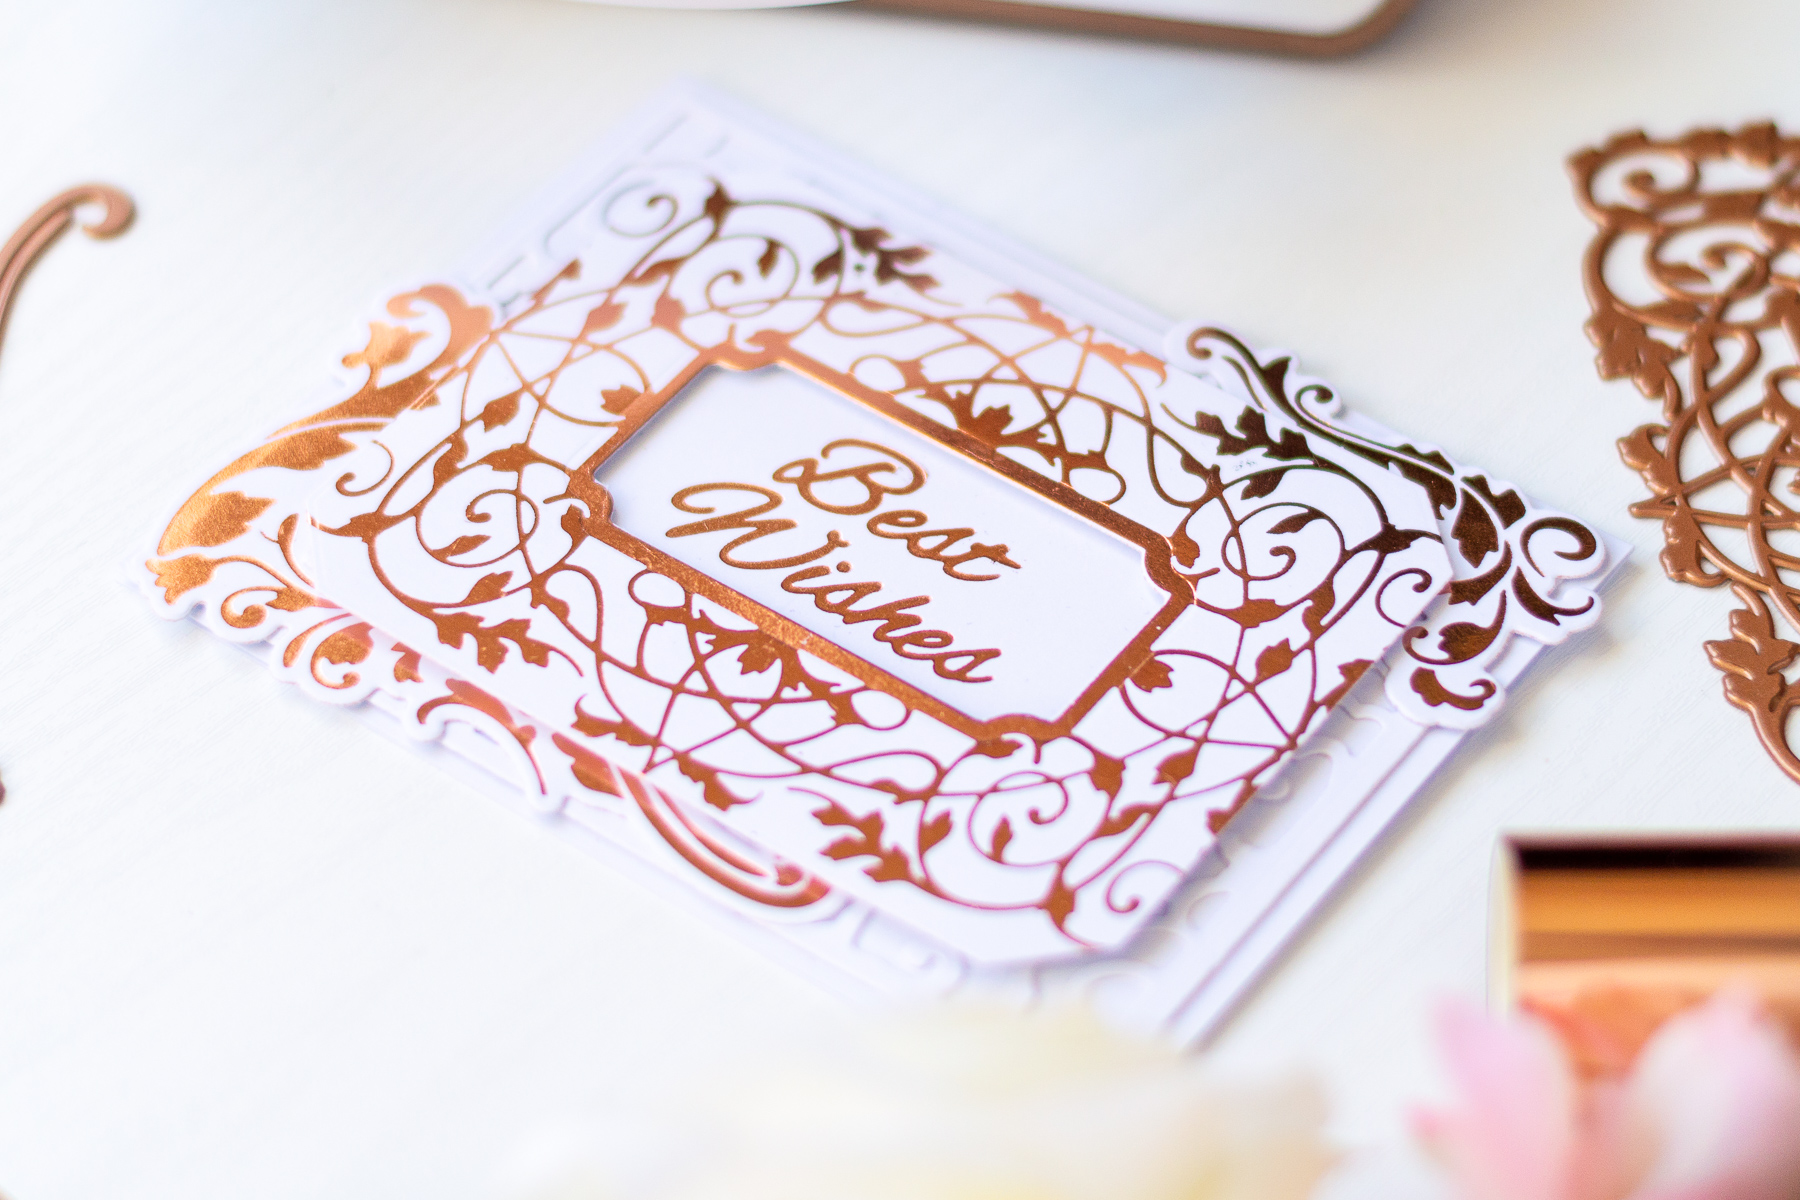
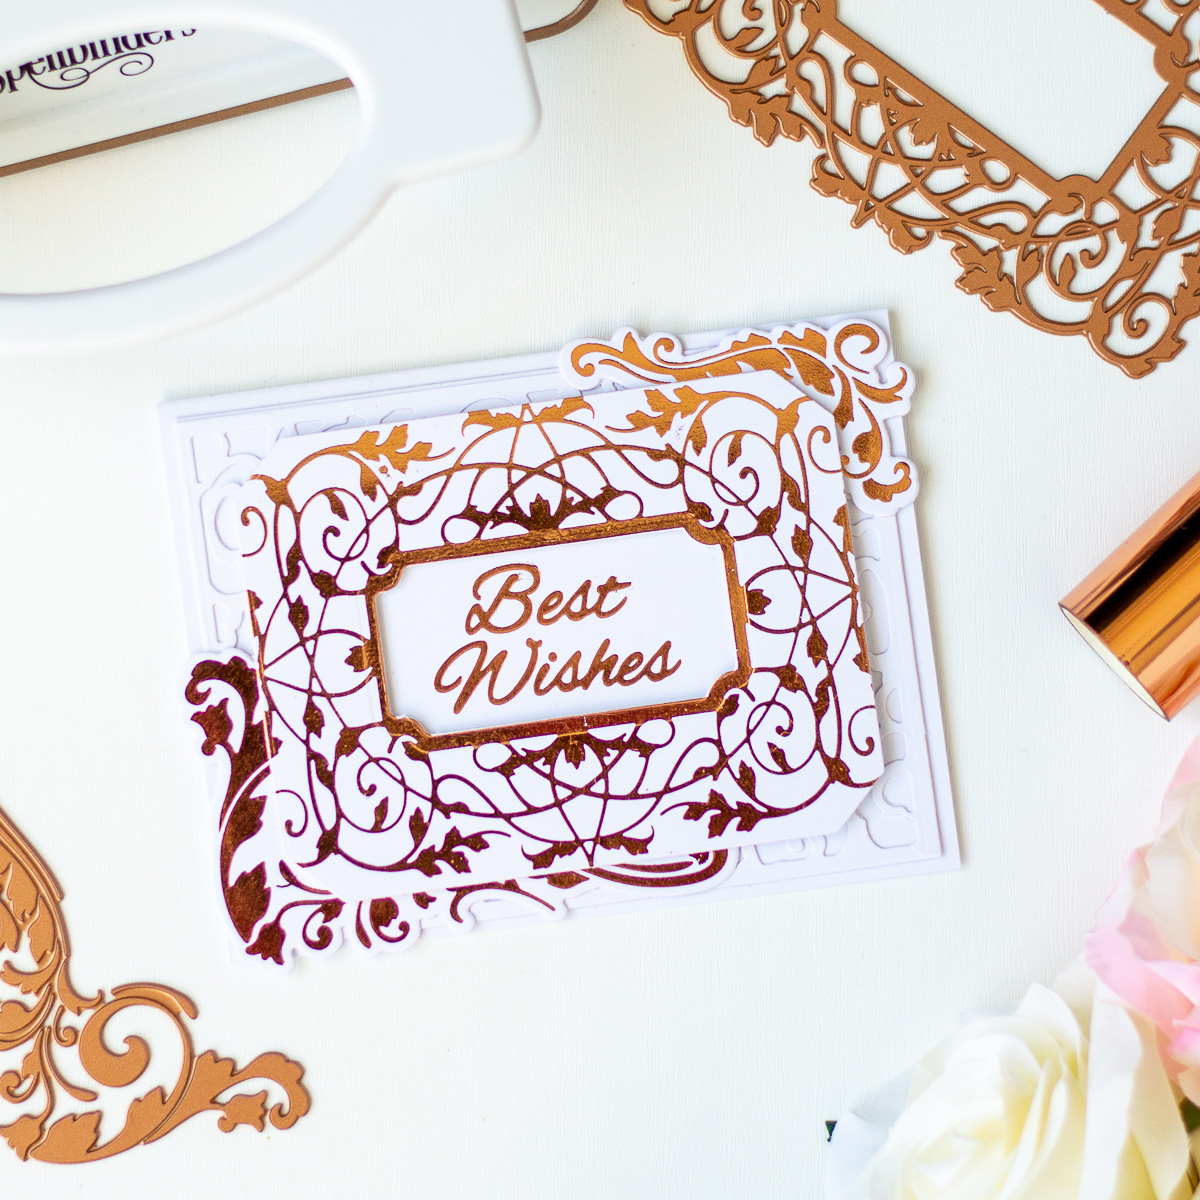
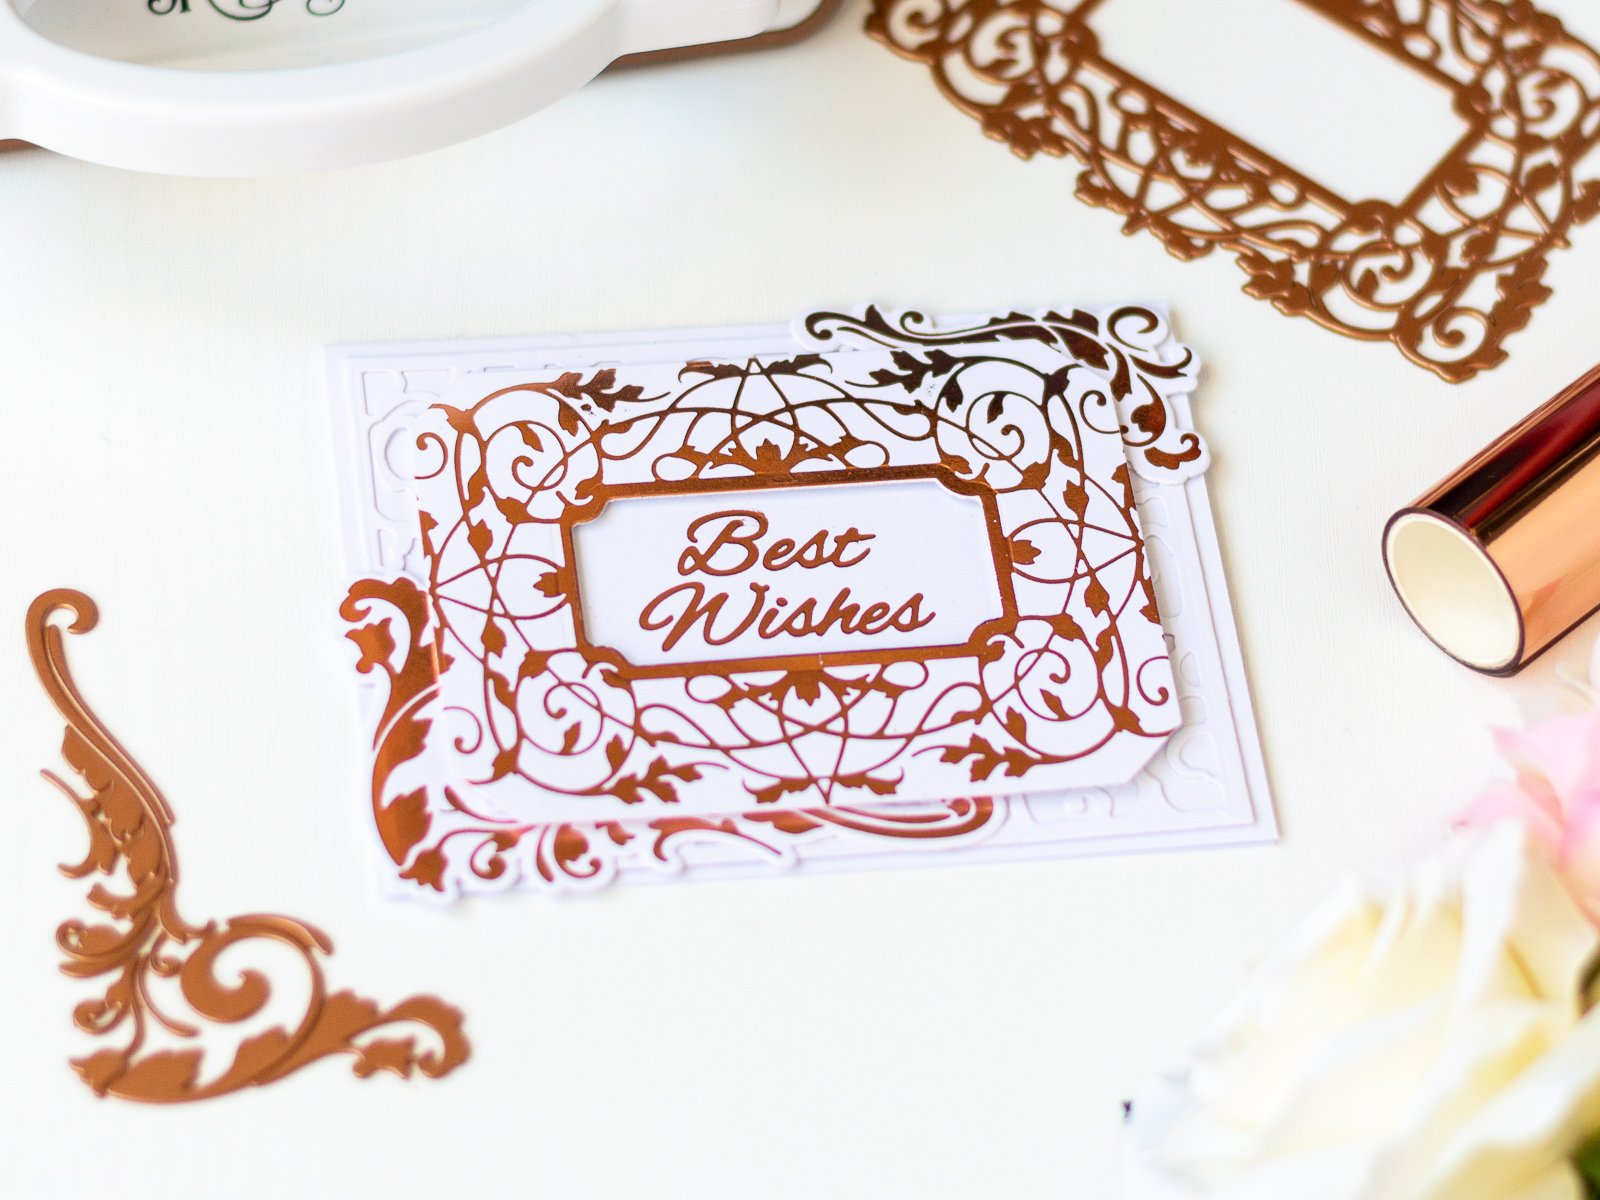
Hi everyone! It's Laura Volpes, from A bit of my crafts, and today I am absolutely thrilled to be a guest on the Spellbinders blog and YouTube channel and to share a card created with some beautiful products from the new Gilded Age Glimmer collection by Becca Feeken.
Video: The Gilded Age Collection by Becca Feeken for Spellbinders - Inspiration | Best Wishes Foiled Card with Laura Volpes

Because I really wanted to emphasize the beauty of the designs, I went for a clean look and used only white cardstock and one color of Glimmer Hot Foil Roll - Blush. I started by using the Glimmer Hot Foil System to foil the Gilded Vines on a sheet of white cardstock. I then used the Gilded Nested Rectangle to create a panel, which will be the focal panel for the card.

Video: The Gilded Age Collection by Becca Feeken for Spellbinders - Inspiration | Best Wishes Foiled Card with Laura Volpes

To create some decorative elements, I foiled the Gilded Leaves on some more white cardstock and die cut them with the coordinating dies, included in the Gilded Leaves Shaped Panel set. I used the Lucky Clouds dies to die cut a solid rectangle and one with the design of the clouds out of some more white cardstock. These will add dimension and subtle texture to the background of the card.

Video: The Gilded Age Collection by Becca Feeken for Spellbinders - Inspiration | Best Wishes Foiled Card with Laura Volpes

For the sentiment I used the Best Wishes Hot Foil Plate, which is included with the Glimmer Hot Foil System. I die cut a window in my focal panel using the die in the Gilded Vines Glimmer Hot Foil Plate and layered the panel on top of the one with the sentiment. I used one layer of foam tape to create some dimension.

Video: The Gilded Age Collection by Becca Feeken for Spellbinders - Inspiration | Best Wishes Foiled Card with Laura Volpes

I glued everything on a top folding A2 card base, and that finished off my card. If you would like to see the making process for today's card, make sure to watch the video tutorial I created for the Spellbinders YouTube channel.

VIDEO TUTORIAL

Watch the video tutorial below or on YouTube to learn how to make this project:

Spellbinders Supplies:

Other Supplies

Nuvo Deluxe Adhesive, Scotch 3M Foam Tape, Heavyweight Smooth White Cardstock. And that's it for today! I really hope you liked this card and enjoyed the video tutorial. If you would like to see more inspiration from me, make sure to visit me on my blog and YouTube channel - I hope to see you there! Thank you all so much for stopping by and have a great day! Laura

Leave a comment

Your email will not be published. Please note, comments need to be approved before they are published.


  • Just Add Cake, S3-495, S4-1522, S5-635, S4-1450, S4-1476

    Spellbinders Blog

    Create an Easy Interactive Birthday Card with Spellbinders Card Spinners

    Hi, crafty friends! Lisa Tilson here, and I'm delighted to be with you today sharing a fun interactive birthday card featuring the new Spellbinders Card Spinners. If you've ever wanted to add movement to your handmade cards without complicated mechanisms, these spinners make it incredibly easy! For today's project, I'm using the Large Card Spinner to create an adorable birthday monster that spins with just a...

  • Colorful Halloween Card Tutorial with Scalloped Frames, E3D-180, S6-272

    CS-8-101

    Halloween Card with Embossed Scalloped Frames and Drac Die Set

    Turn layered scalloped frames into a colorful Halloween gallery wall! This step-by-step tutorial shows how to emboss and arrange the Scalloped Frames, assemble the adorable Drac character from Simon Hurley's Halloween Hugs Collection, and create a playful handmade Halloween card full of dimension and color.