Happy Labor Day, crafty friends! Our offices are closed on Monday, Sept. 7. Support returns Tuesday, Sept. 8. Until then, stay crafty!
20% off Sitewide*
20% off Sitewide*
20% off Sitewide*
20% off Sitewide*
20% off Sitewide*
20% off Sitewide*
20% off Sitewide*
20% off Sitewide*
20% off Sitewide*
20% off Sitewide*
Item added to your cart
Shop by
Posted by Spellbinders Team on September 14, 2018
Video Friday | Copic Colored Holiday Die D-Lites with Nichol
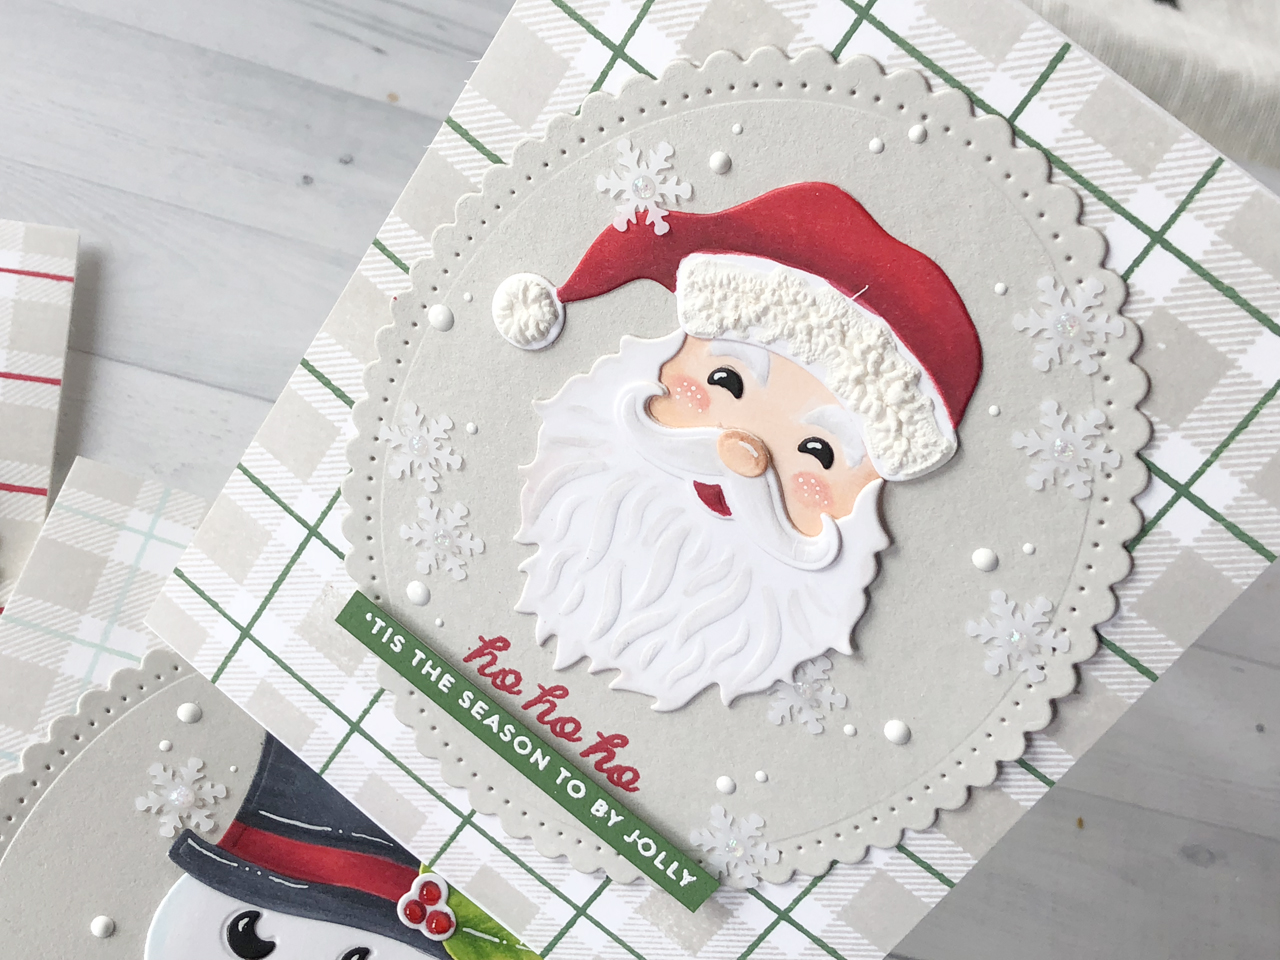
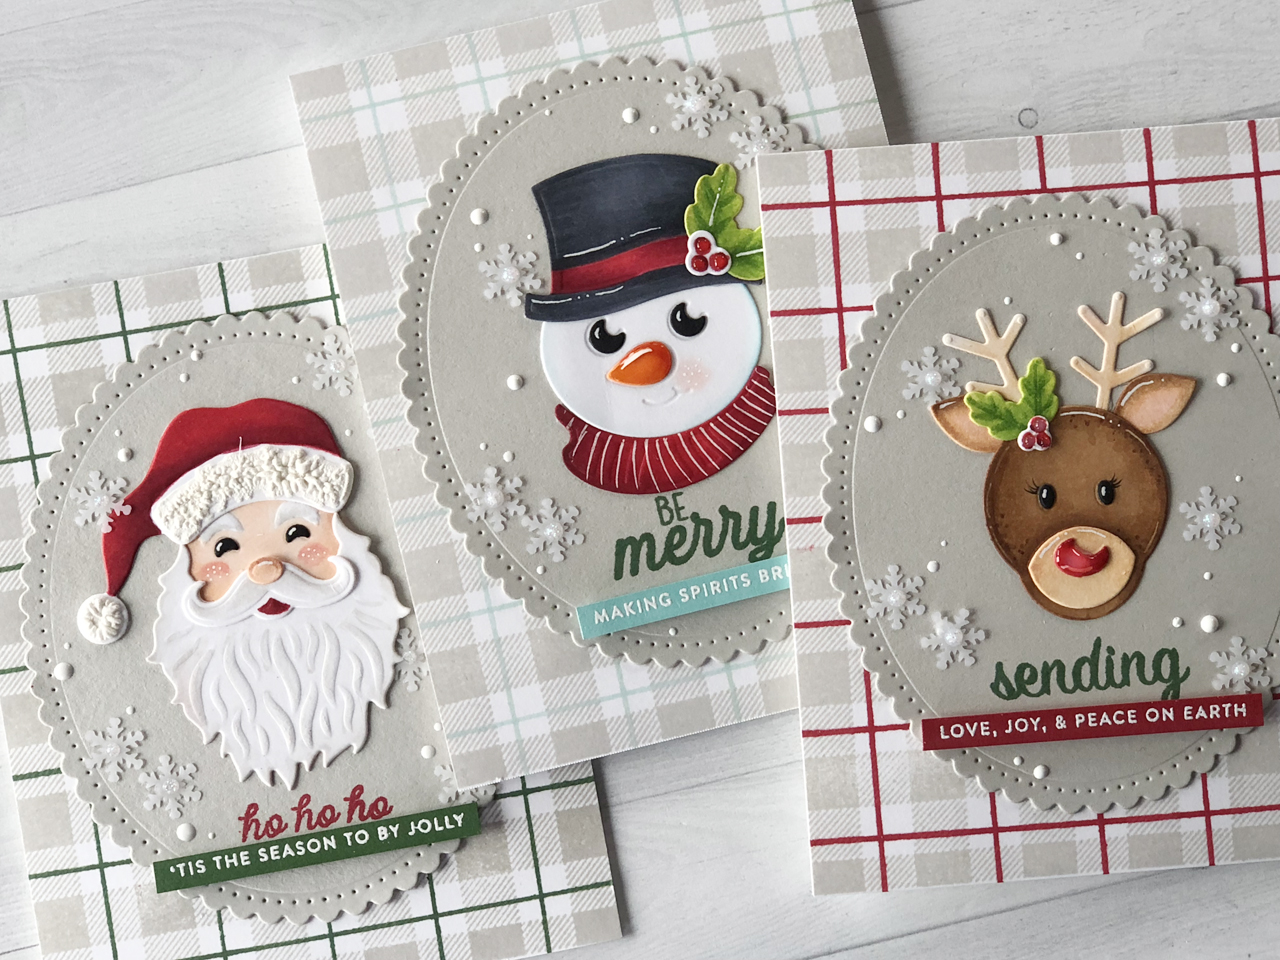
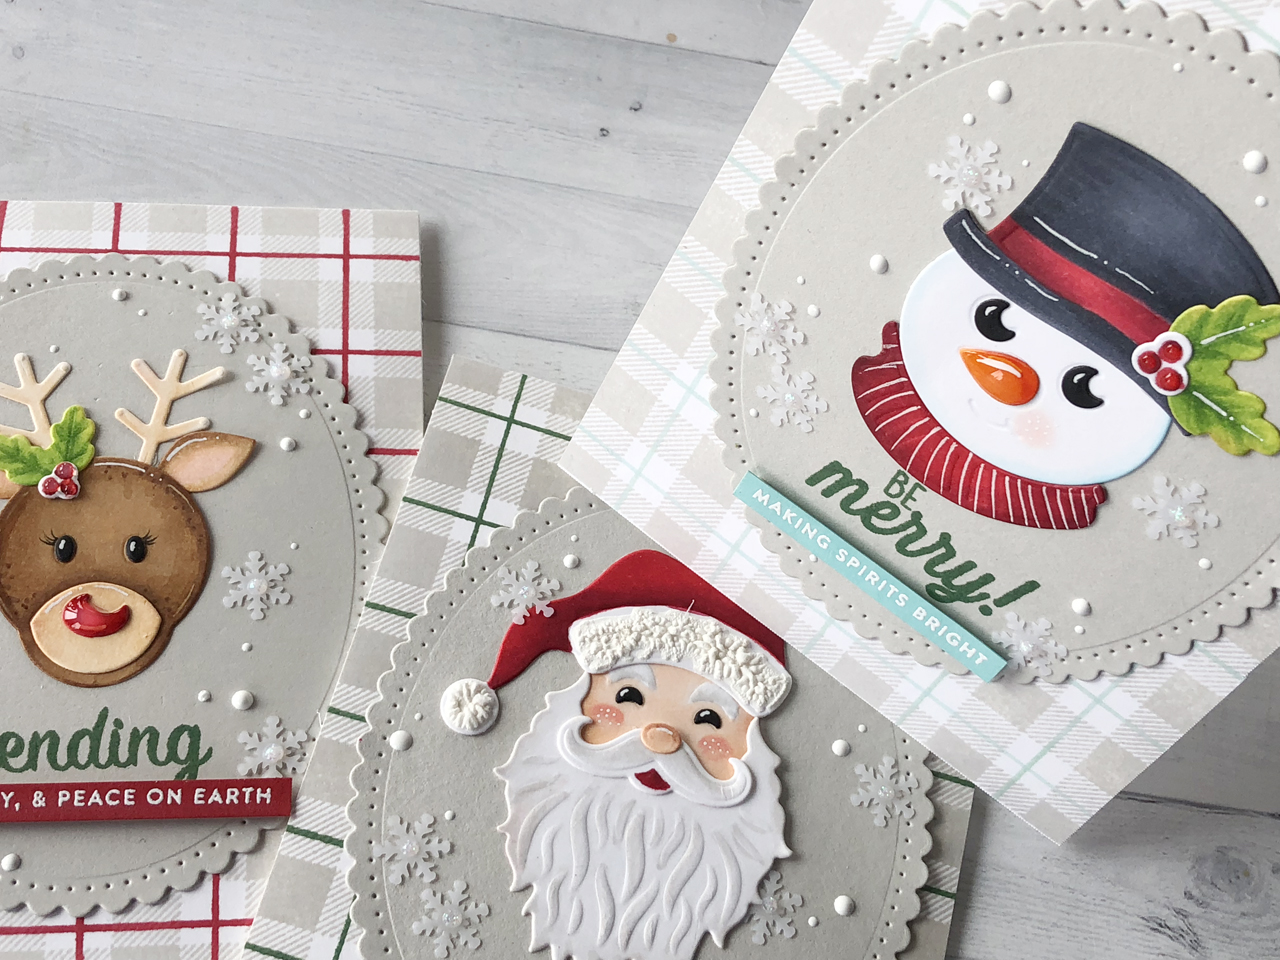
Hello everyone. This is Nichol Spohr and I’m so excited to be sharing a set of three Christmas cards featuring dies from the 2018 Holiday Die D-Lites Collection. I die cut the Die D-Lites Reindeer, Santa, and Snowman Dies from smooth white cardstock and colored in the pieces with Copic Markers before assembling and adhering to a Fancy Edged Oval. The Copic coloring gives these die cuts so much depth and dimension and is a great way to customize your die cuts!
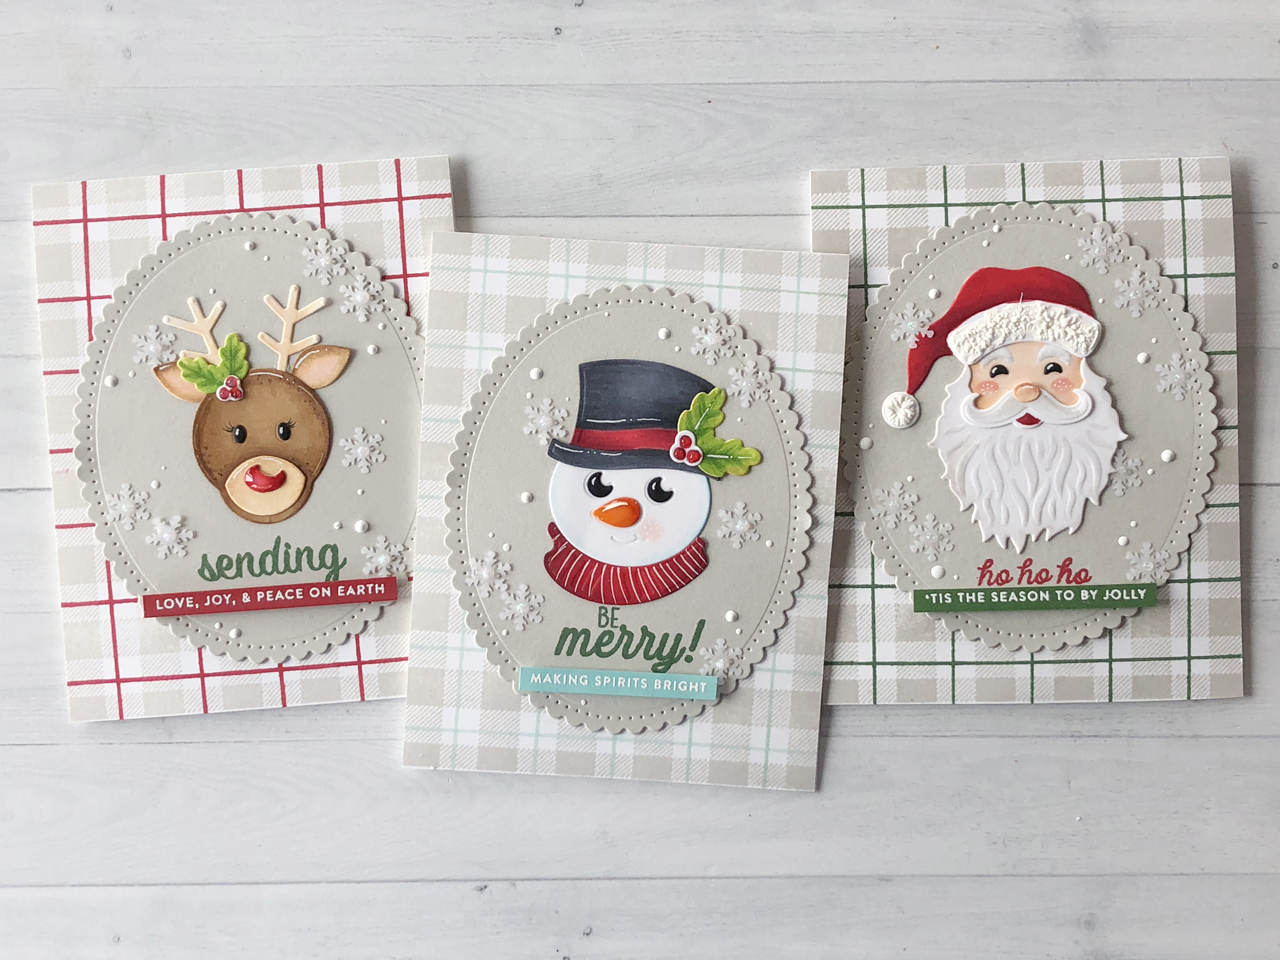
The backgrounds for all three cards were created by stamping a plaid background builder stamp on smooth white cardstock with light gray ink and either red, green, or aqua ink.
A light gray cardstock circle was die cut using a Fancy Edged Oval Die and adhered to the center of each plaid background.
A scripty sentiment was stamped directly on each oval with either green or red dye ink. An additional sentiment phrase was stamped on cardstock using clear embossing ink and heat set with white embossing powder before being trimmed into a thin strip and adhered under the script stamped greeting with foam adhesive.
The Die D-Lites Reindeer, Santa, and Snowman Dies were die cut from smooth white cardstock and colored in with Copic Markers. The eyes for all three were die cut from black cardstock.
The colors of Copic Markers used for the Santa are as follows:
Face: E00, E11, E13, R00, R20
Hat and mouth: R35, R37, R39
Beard, mustache, eyebrows: W00, W1, W3
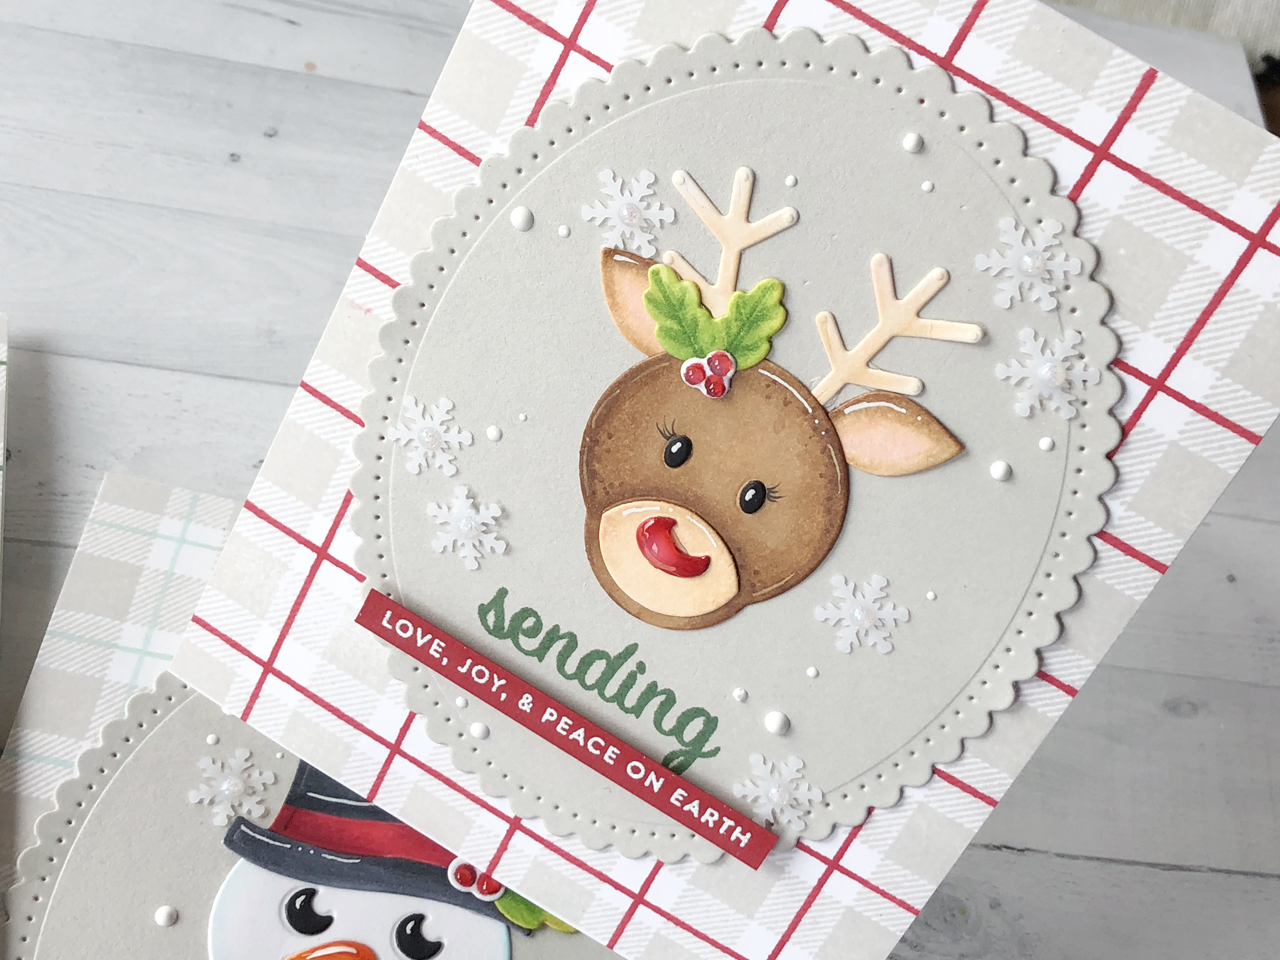
The colors of Copic Markers used for the Reindeer are as follows:
Antlers and muzzle: E50, E53, E55
Face and ears: E50, E53, E55, E57, R00
Holly and berries: R35, R37, R39, YG21, YG23, YG17
The colors of Copic Markers used for the Snowman are as follows:
Face: BG0000, BG01, R00, Colorless Blender
Nose: YR04, YR09
Scarf, berries, hat band: R35, R37, R39
Holly: YG01, YG23, YG17
Hat: C5, C8
The images were assembled on each oval and finished with white pen detailing. Glossy Accents was added to the reindeer and snowman noses. A snow marker was used to create texture to the Santa hat trim and pompom.
Each card was finished with a scattering of snowflake sequins and Nuvo Crystal Drops in White Blizzard and Gloss White.
VIDEO TUTORIAL
Watch video tutorial below or on Youtube to learn how to make this project:
Neenah Smooth Cardstock; Simon Says Stamp Fog Cardstock; Lawn Fawn Noble Fir, Mermaid, Black Licorice Cardstock; Gina K Designs Red Velvet Cardstock; Concord & 9th Plaid Background Stamp; Simon Says Stamp Fa La La Stamp Set; Hero Arts Winter Holiday Messages Stamp Set, Wishes Stamp & Cut Set; Lawn Fawn Lobster Ink; Simon Says Stamp Evergreen, Maliblue, Fog, Clear Embossing inks; Simon Says Stamp White Embossing Powder; Marvy Snow Marker; Tonic Nuvo Crystal Drops in Gloss White and White Blizzard; Sakura White Opaque Glaze Pen; Hero Arts Snow and Berry Sequin Mix; Darice Foam Adhesive Strips; Lawn Fawn Glue Tube; Ranger Glossy Accents
I hope this has inspired you to try coloring in your die cut images with markers or other coloring mediums. Thank you so much for joining me today and I look forward to sharing more die cutting ideas with you soon!
Share this article
8 comments
does anyone know what she used to stamp the sentiments and the greetings? please help me

Mary, Nichol used Marvy Snow Marker. Be sure to check the “Other Supplies” section at the end of the post where Nichol listed all other supplies she used to make these cards.
what did you use to make the snow?
what did you use to stamp the backgrounds of the cards and the colors you used?
what did you use for the sayings and words?
Very pretty cards, I love them all. Thank you for sharing.
Hi, crafty friends! Lisa Tilson here, and I'm delighted to be with you today sharing a fun interactive birthday card featuring the new Spellbinders Card Spinners. If you've ever wanted to add movement to your handmade cards without complicated mechanisms, these spinners make it incredibly easy! For today's project, I'm using the Large Card Spinner to create an adorable birthday monster that spins with just a...
Turn layered scalloped frames into a colorful Halloween gallery wall! This step-by-step tutorial shows how to emboss and arrange the Scalloped Frames, assemble the adorable Drac character from Simon Hurley's Halloween Hugs Collection, and create a playful handmade Halloween card full of dimension and color.
Celebrate treasured memories with a handmade vintage journal featuring interactive pages, pockets, vintage photos, and layered embellishments. This step-by-step tutorial showcases creative ideas for building meaningful double-page spreads with Esther Glas' Turn the Page collection.
8 comments
does anyone know what she used to stamp the sentiments and the greetings? please help me
Mary, Nichol used Marvy Snow Marker. Be sure to check the “Other Supplies” section at the end of the post where Nichol listed all other supplies she used to make these cards.
what did you use to make the snow?
what did you use to stamp the backgrounds of the cards and the colors you used?
what did you use for the sayings and words?
Very pretty cards, I love them all. Thank you for sharing.