Glimmer Hot Foil System | Letterpress Techniques for Holiday Cards. Video
Posted by Yana Smakula on October 11, 2018

Glimmer Hot Foil System | Letterpress Techniques for Holiday Cards. Video

Hello Spellbinders' fans! This is Yana Smakula and in this blog post & video tutorial I will show you how you can create a beautiful Letterpressed Holiday cards using our new Spellbinders Glimmer Hot Foil system. I’ll talk about best papers to use and will share several tips and tricks with you in this video.
Spellbinders Glimmer Hot Foil System | Letterpress Techniques for Holiday Cards #glimmerhotfoilsystem #spellbindersglimmer #letterpress #neverstopmaking #spellbinders

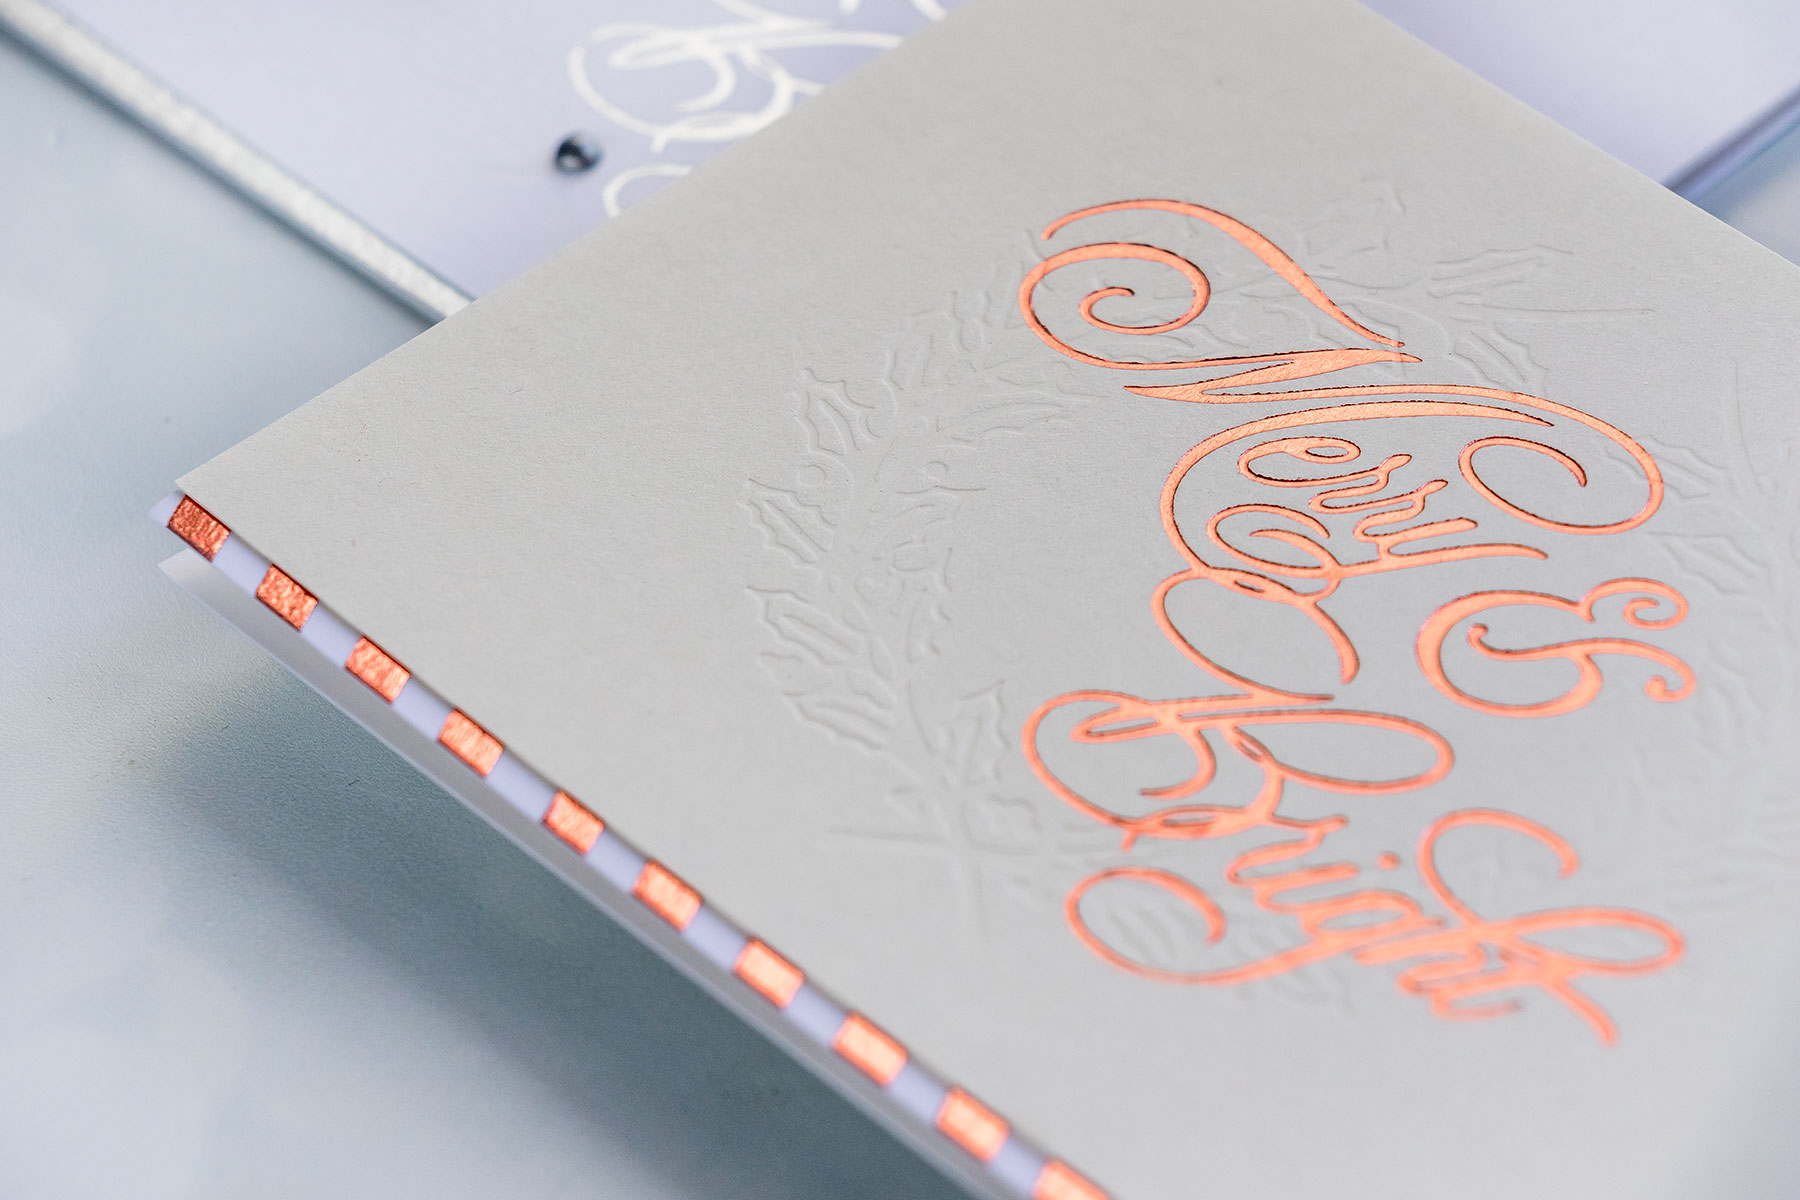
If you are new to the Glimmer Hot Foil system be sure to watch our Introductory video and Basics of Foiling video to learn more. Letterpress technique is very hard to show on camera or on photos, but it displays beautifully in real life, there’s nothing out there quite like it. Letterpress is different from embossing or debossing as it leaves the back side of you paper completely flat. Letterpress is a popular technique used in business cards and also wedding invitations. We’re excited to bring letterpress to cardmaking.

Spellbinders Glimmer Hot Foil System | Letterpress Techniques for Holiday Cards #glimmerhotfoilsystem #spellbindersglimmer #letterpress #neverstopmaking #spellbinders

When you combine foiling and letterpressing the order in which you do things matters. It is best to foil first and letterpress later as foiling over a letterpresses image will not give you optimal results. It’s best to use specialty paper for letterpress such as watercolor or letterpress paper. If you don’t have either of those you can still letterpress with our Glimmer Hot Foil system and plates on regular smooth cardstock. It’s best to use 110 lb cardstock or thicker for great results.

Spellbinders Glimmer Hot Foil System | Letterpress Techniques for Holiday Cards #glimmerhotfoilsystem #spellbindersglimmer #letterpress #neverstopmaking #spellbinders

Instructions:

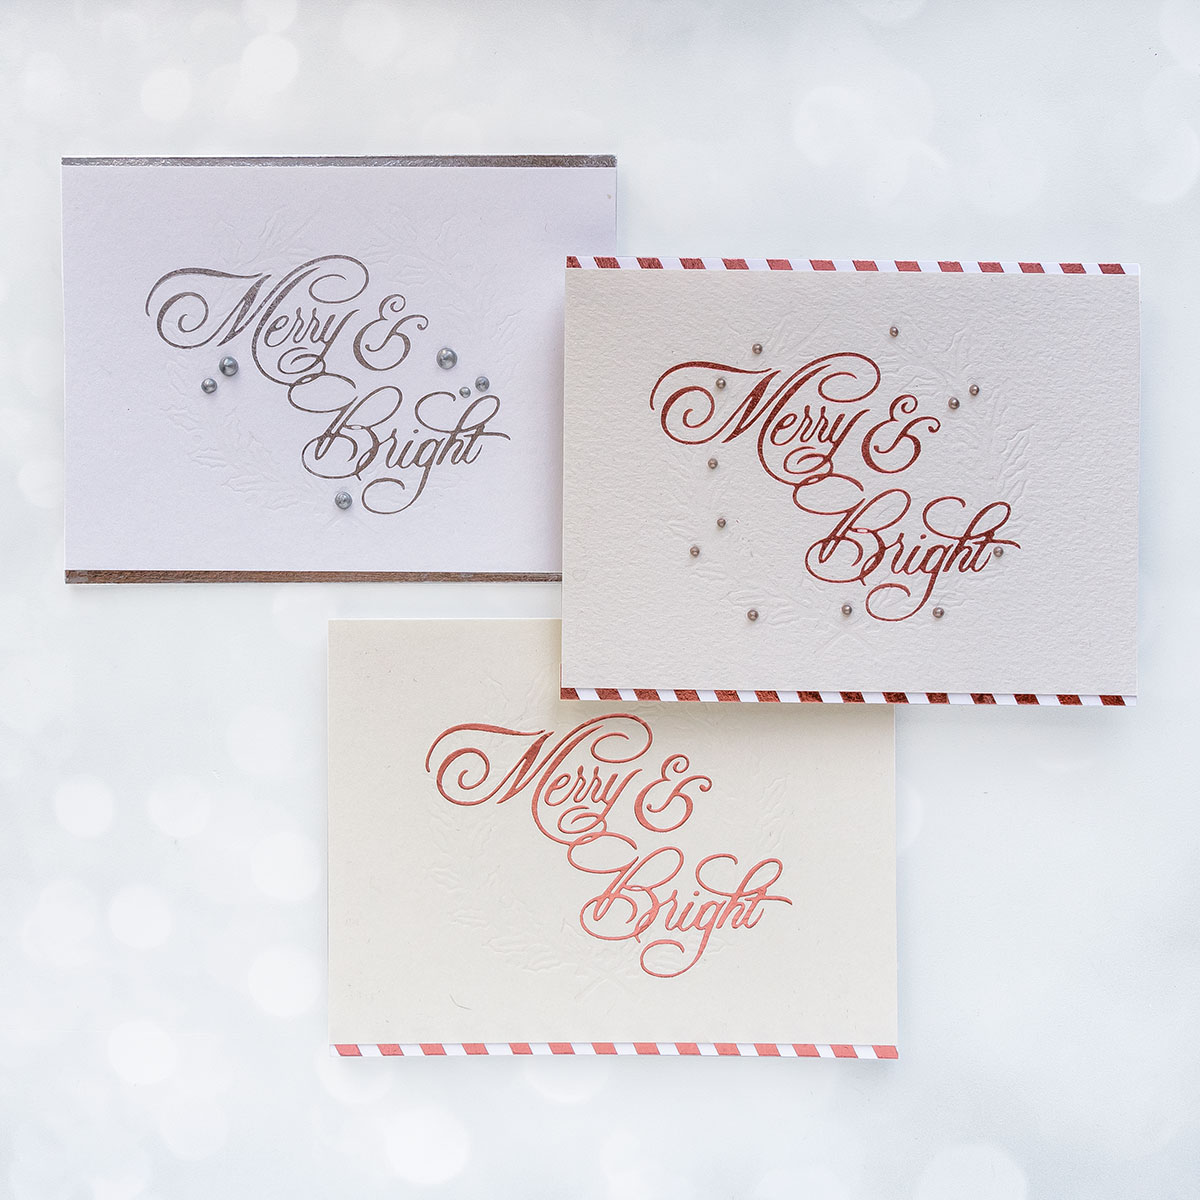
  • Hot Foil Merry & Bright in Silver foil on  letterpress paper before I adding lettepressing.
  • Letterpess the Wreath. To do so first position  Wreath Glimmer Hot Foil plate on  foiled panel and secure place using small pieces of low tack tape. Be careful to not place the low tack tape over your foiled design as the tape will lift up the foil.
  • Use  regular shims that come with Glimmer machine and also a cardstock shim for better results. Send through your die cut machine to letterpress.
  • Adhere your foiled and letterpressed panels onto A2 white top folding card bases,
  • Embellish with liquid pearls.

VIDEO TUTORIAL

Watch video tutorial below or on Youtube to learn how to make this project: We hope you enjoyed this video tutorial and will give this idea a try!

Spellbinders Supplies:

Leave a comment

Your email will not be published. Please note, comments need to be approved before they are published.


  • Just Add Cake, S3-495, S4-1522, S5-635, S4-1450, S4-1476

    Spellbinders Blog

    Create an Easy Interactive Birthday Card with Spellbinders Card Spinners

    Hi, crafty friends! Lisa Tilson here, and I'm delighted to be with you today sharing a fun interactive birthday card featuring the new Spellbinders Card Spinners. If you've ever wanted to add movement to your handmade cards without complicated mechanisms, these spinners make it incredibly easy! For today's project, I'm using the Large Card Spinner to create an adorable birthday monster that spins with just a...

  • Colorful Halloween Card Tutorial with Scalloped Frames, E3D-180, S6-272

    CS-8-101

    Halloween Card with Embossed Scalloped Frames and Drac Die Set

    Turn layered scalloped frames into a colorful Halloween gallery wall! This step-by-step tutorial shows how to emboss and arrange the Scalloped Frames, assemble the adorable Drac character from Simon Hurley's Halloween Hugs Collection, and create a playful handmade Halloween card full of dimension and color.