


Posted by Michelle Short
on April 15, 2019

Hello there, Michelle here, and today I have a card to share with you using the Color Layering Dragonfly stamp set along with creating a subtle background for it with dry embossing.
I created a video on how I made the card which you can see here:
If you are having trouble viewing the video, you can watch it here on YouTube.
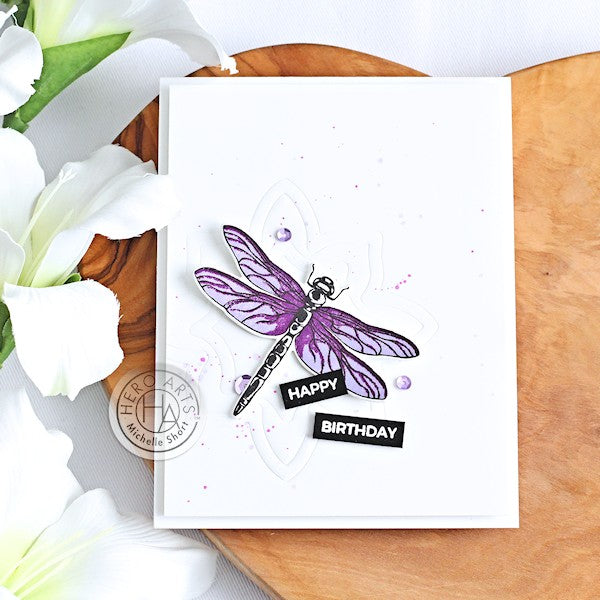
I started off my card by creating the dragonfly. I first stamped the shading layer of the dragonfly wings (I found it easier to line up the image by stamping this layer first) with Grape Juice Mid-Tone Shadow Ink . I then stamped the outline using Intense Black Ink , followed by the solid wing colour in Passion Flower Mid-Tone Shadow Ink . I coloured the body of the dragonfly with a BV20 Copic Marker and cut it out using the Color Layering Dragonfly Frame Cuts .
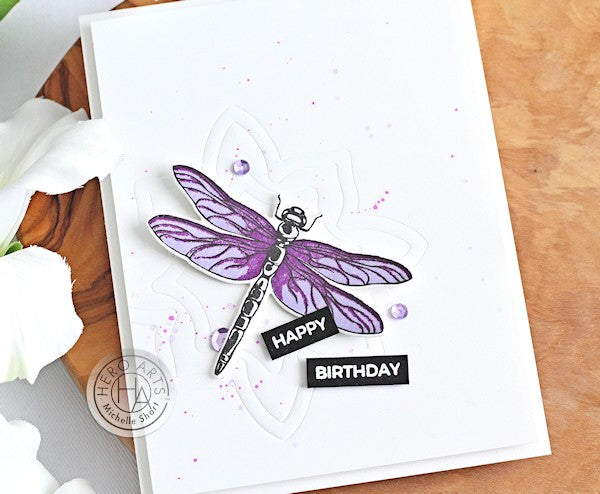
I took a 5.25" x 4" panel of Hero Hues Dove White Cardstock and embossed two of the dies from the 3-Part Ornaments Frame Cuts set onto it, in the bottom left hand corner. This gives a lovely subtle background to create the focal point on the card. I took the same purple inks that I used on the dragonfly, smooshed them on to a non-stick mat and and added a little water, as well as a spray of White Iridescent Shimmer Spray . I splattered this mixture on to the panel to give some added interest and sparkle.
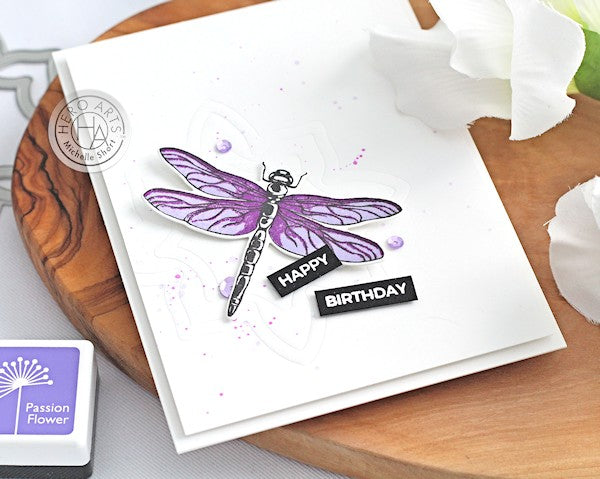
The panel was added to an A2 top folding white card base with foam sheet and double sided tape. I then added the dragonfly on top with foam tape, adding a double layer under the tips of the wings for more dimension. I took the 'happy' and 'birthday' sentiments from the Mix & Match Compliments stamp set and stamped these on to Hero Hues Pitch Black Cardstock with Versamark Ink . I applied White Detail Embossing Powder and heat set. They were cut in to strips and added to the card with more foam tape. To finish off, I added a few sequins from the Butterfly Garden Mix with Precision Glue .
I really like how the subtle dry embossing helps to bring your eye to the focal point. Thank you so much for stopping by today, happy stamping!























































































11 comments
You did a great job with this card
I love this card and I too forget that I can use dies in this way for backgrounds. Simply elegant!
Gorgeous card Michelle, I often forget that you can dry embos with your die cuts. It’s a beautiful background and I love the purple Dragonfly.
Thank you so much for your inspiration.
Beautiful, love the embossed background, beautiful dragonfly!
So beautifully done, thanks for sharing.