


Posted by Michelle Short
on March 26, 2018

Hello there, Michelle here and today and I am creating a cute scene using the Woodland Tea Party stamp set and coordinating Frame Cuts. I am creating a background for my card with Bold Inks and using different layers to create dimension.
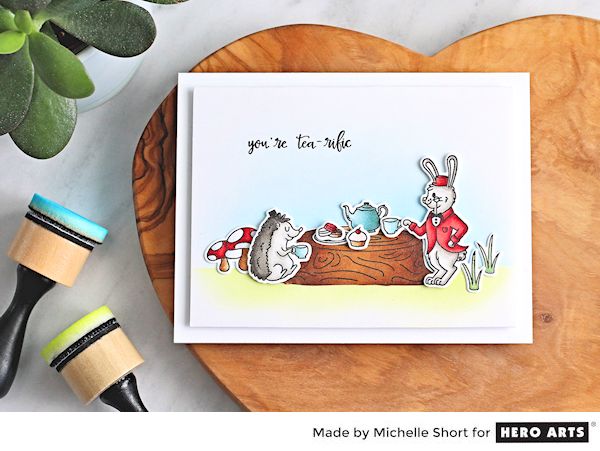
I have created a video showing how I made the card, which you can see below:
If you are having trouble viewing this video, please try watching it HERE in HD on YouTube.
I started off my card by stamping the images that I wanted to use from the Woodland Tea Party Stamp Set . These were stamped twice using Intense Black Ink in the Mini MISTI for a nice bold ink impression. I then coloured the images using Copic Markers. The colours that I used are listed in the video. The images were die-cut out using the Woodland Tea Party Frame Cuts .
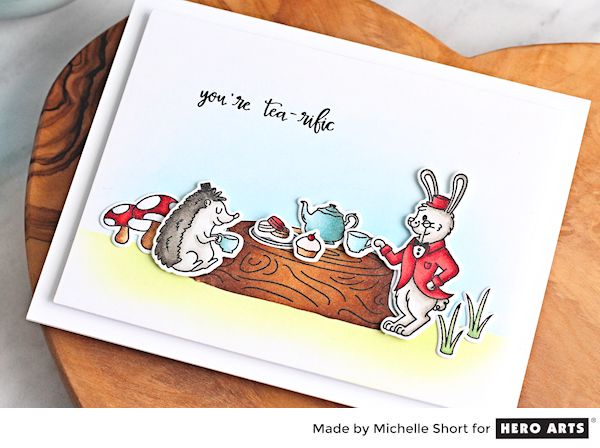
I took a piece of Bristol cardstock and die-cut this using the third largest of the Nesting Rectangle Infinity Dies . I masked off the top portion first using post-it tape and then blended inks below for the grass. I used Green Apple Bold Ink as well as Moss Bold Ink for some added depth. I removed the post-it tape and placed this over the grass portion. I then used Summer Sky Bold Ink to create the sky.
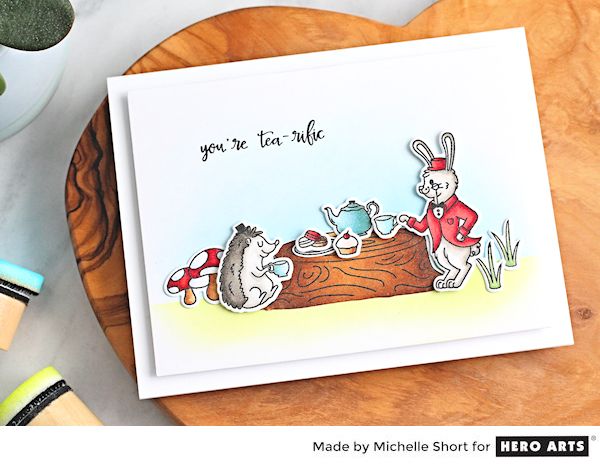
I placed the panel back in to the Mini MISTI and stamped the 'you're tea-rific' sentiment using the same Intense Black Ink. The panel was then added to a white A2 card base with foam sheet and double sided tape. The critters were added on top with a combination of tape runner and thin foam squares. I really like the thinner foam to add another layer of dimension to the card, without adding too much bulk.
Thanks for stopping by today, happy stamping!























































































11 comments
Lovely scene :)