


Posted by Michelle Short
on July 15, 2019

Hello there, Michelle here and today I have a card and video to share with you using the From The Vault Celestial set. This is a wonderful set, perfect for creating fun backgrounds. Today I thought I would create a night sky as a background for my focal image.
Here is the video showing how I made the card:
If you are having trouble viewing this video, you can watch it HERE in HD on YouTube.
For my card, I started off by creating the night sky background. I took a panel of Periwinkle Hero Hues Cardstock as my base for ink blending.
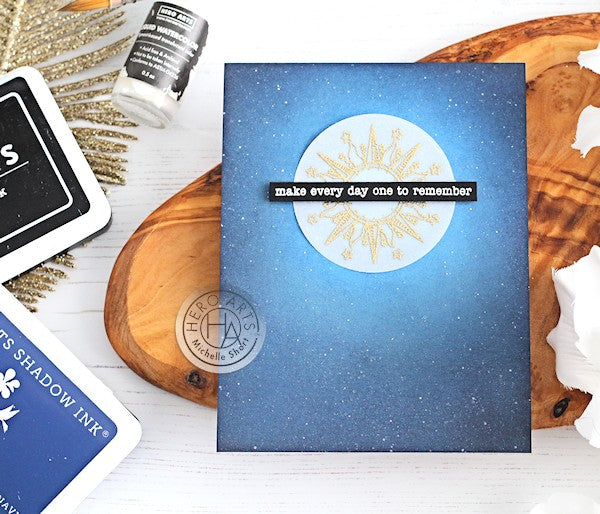
I first added Blue Hawaii Reactive Ink on to the panel using an ink blending tool. I kept the top middle area clear from ink, so that it shows the Periwinkle colour. I then added on Navy Mid-Tone Shadow Ink around the edges, followed by Intense Black Ink . This really darkened up the sky and gave it a night-time look. I took the White Iridescent Shimmer Spray and splattered this on to the panel using a paintbrush. I also added on splatters of White Liquid Watercolor to look like stars.
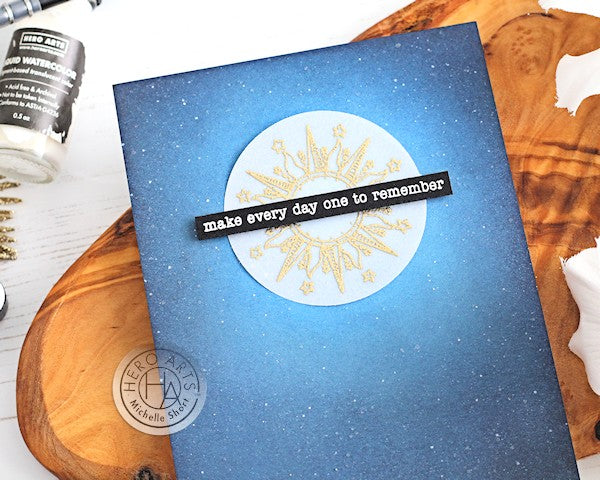
For the focal point, I took the From The Vault Celestial set and stamped the celestial sun image on to Classic Vellum Layering Paper using Clear Embossing & Watermark Ink . I applied Gold Glitter Embossing Powder and heat set. This was then die cut using a Nesting Circle Infinity Die .
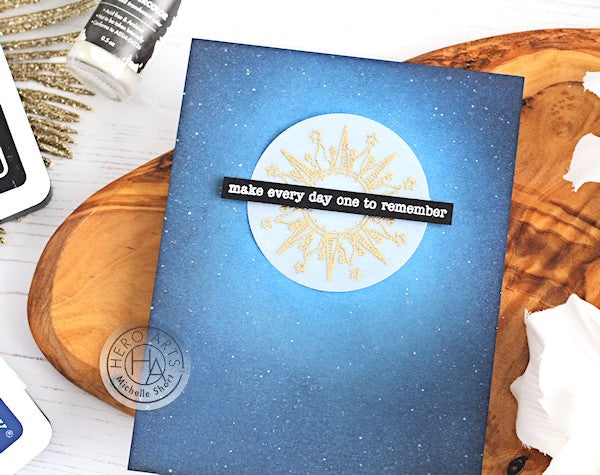
I took the sentiment from the same set and stamped this on to Pitch Black Hero Hues Cardstock using the same Clear Embossing & Watermark Ink. This time I applied White Detail Embossing Powder and heat set. This was then cut into a strip. I added the sentiment to the sun piece first, using foam tape and then added adhesive to the back of the vellum behind the sentiment, so that it does not show though.
I think the image works really well with the night sky and I love the added sparkle from the shimmer spray, as well as the embossing glitter. Thanks so much for stopping by today, I hope you have a great day!























































































20 comments
Not complicated, but extremely lovely. The vellum and gold adds an elegant note.
Really pretty card. I enjoyed the video, great tip using the colored cardstock. Thanks.
Very pretty card and great video instructions
Beautifully done Michelle. Love everything about this card but then Hero Arts make it easy to make easy cards with their beautiful stamps and kits. Thank you for sharing your video
Thanks for instructions on how to make this beautiful card. Didn’t ever think to use bluish ink on bluish paper! A lot of these skies seem very difficult to recreate, but you’ve made the process a lot easier while still having a sparkly fun card. Thanks for sharing your idea!