


Posted by Channin Pelletier
on January 20, 2020

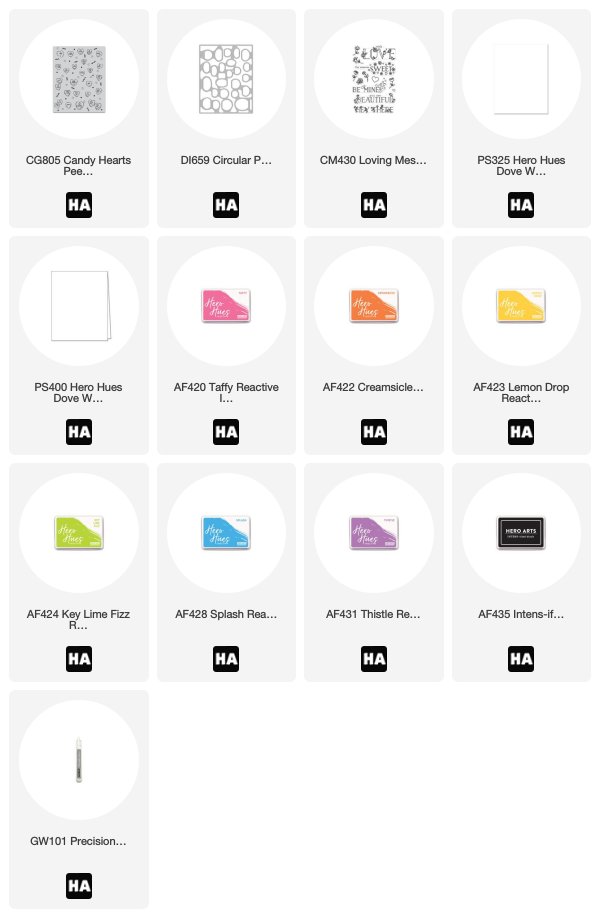
Hello, friends! It’s Channin here with a new card and video to share! In today’s video I create a fun Valentine’s themed card featuring the Candy Hearts Peek-a-Boo Cling Stamp and Circular Peek-a-Boo Doors Fancy Die . However I take a slightly atypical approach with these incredible stamps and dies! Please check out the video below to see the whole process.
(If you are having trouble viewing this video, please try watching it HERE on YouTube.)
First, I created the background for my front panel by ink blending a rainbow of Reactive Inks onto an A2 (4.25” x 5.5”) panel of Dove White cardstock . Next, I sprinkled water over the panel with a paint brush to add water spots. Once the panel was dry I then die cut it with the Circular Peek-a-Boo Doors Fancy Die .

I then stamped the Candy Hearts Peek-a-Boo Cling Stamp in Intens-ified Black Ink onto the front of an A2 top-folding card base . Next, I stamped a sentiment from the Loving Messages stamp set onto a scrap of white cardstock. I then Copic colored all the candy hearts and the hearts in the sentiment.
Pink: RV10, RV23
Orange: YR00, YR02
Yellow: Y02, Y08
Green: YG00, YG23
Blue: B00, BG23
Purple: V12, V15

Once I finished coloring I then cut the sentiment out and added foam tape to the back. I finished the card by adhering the panel with glue onto the card front and then the sentiment onto top.
I hope you enjoyed today’s card and video! Thank you so much for stopping by!

Click on the products to shop:























































































12 comments
Oh my goodness I am SO in love with this set!!! Gorgeous card!!
Love this card and die. Are you going to come up with additional stamps that can be used with the die? That would be great!
She mentions a precision paper trimmer. What is that
That background with the reactive inks looks so wonderful. I can’t help but think how much fun my granddaughters would have if they received this fun card. Nicely done!
Love this card. Thanks for sharing.