


Posted by Michelle Short
on June 28, 2019


Hello! We are continuing the countdown to the release of the July My Monthly Hero Kit! Release day is Monday, July 1 at 1pm Eastern/10 am Pacific. We will be here for the rest of the weekend, sharing inspiration before the launch. Now let's join Michelle for another look at this fabulous kit!
Hello, Michelle here and I am delighted to be sharing the second countdown idea with you today. What a wonderful kit this month! I have to be honest, I am definitely more of an indoor person but I love landscapes, so I was instantly drawn towards the trees and mountains in the main stamp set.
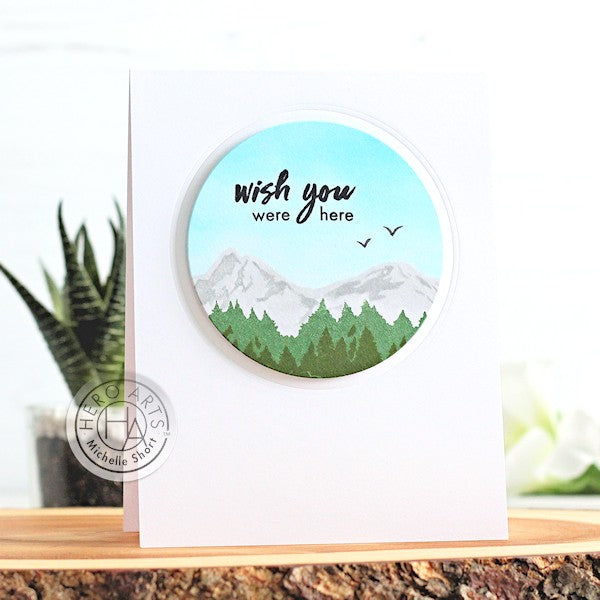
I started off my card by die cutting a panel of Hero Hues Dove White Cardstock using a Nesting Circle Infinity Die. Using my Mini MISTI, I placed the first layer of trees at the bottom of the circle and stamped this using Pine Bold Ink. I stamped the second layer on top with Forever Green Mid-Tone Shadow Ink. I made a mask for the trees before stamping the mountains.
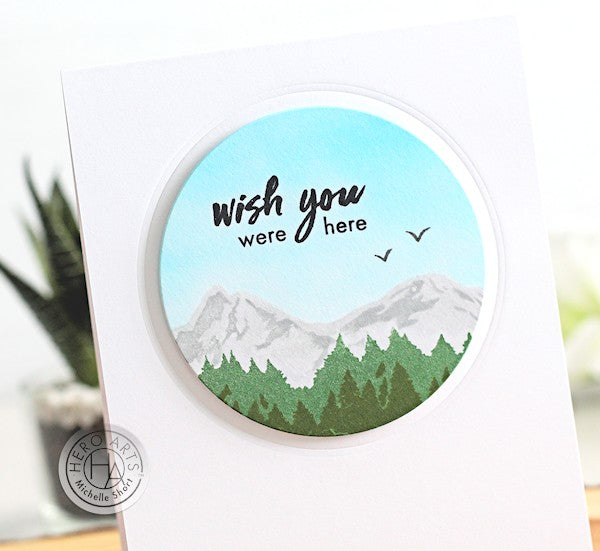
I stamped the first layer of mountains using Soft Granite Shadow Ink. Because I wanted the ink to be lighter, I stamped off first on to a scrap piece of paper and then stamped the residual ink on to the piece. I did this a few times to get the colour that I wanted. I then stamped the second layer with the full strength of Soft Granite Ink.
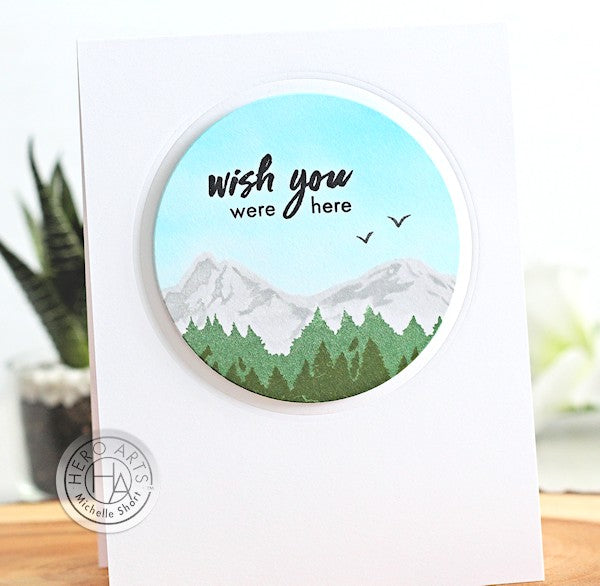
The mask was removed and the sky coloured using pale blue Copic Markers. I then stamped the birds using Charcoal Mid-Tone Shadow Ink. The sentiment was stamped using Intense Black Ink. I took a top-folding card base and embossed the next largest Nesting Circle Infinity Die on the front panel. The image panel was adhered on top with foam tape.
Win a kit before you can buy it! Just leave a comment on this (and every) Countdown to Creativity post. We’ll randomly draw one lucky winner from all the comments left across all countdown posts. The winner will be announced first thing Monday morning, July 1st, before the kit launches at 10am Pacific. The more you comment, the more chances to win!
Good luck!























































































357 comments
What a simple, beautiful card.
Beautiful card! I love the simplicity! The mountains and fir trees remind me of my visit to Yosemite!
Beautiful card Michelle—really great for an ’anyone’s card! The colors you chose give the feeling of late spring, early summer. Makes me want to be outside. Thank for sharing—I’m looking forward to the full release tomorrow.
This looks like THE place to be at this summer. And the view… Awesome :)
Wonderful card. Love the colors and serenity of the layout.