


Posted by Michelle Short
on February 27, 2018

Hello there, Michelle here and today I am using the new Layered Topiary Stamp Set and coordinating Frame Cuts. It is a beautiful set that can be used for so many occasions. I thought I would go with a hello card for today.
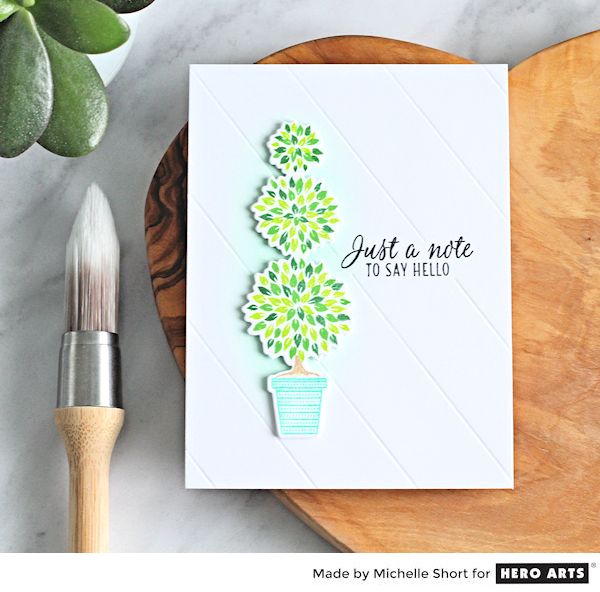
I started off by die cutting the topiary frame cut from white cardstock. I thought die cutting then stamping may be easier to help with lining up the images. Then using a stamp-a-ma-jig, I stamped each layer one by one. I used Green Apple Bold Ink, Fresh Lawn Mid-Tone Shadow Ink and Pine Bold Ink for the leaves. Creative Team member Janette, recommended picking up the stamps exactly how they are orientated from the backing sheet, and I have to say, this helped a lot when trying to line them up. Once I had stamped the bottom tier, the top two tiers went a lot quicker and easier. Although this is not a stamp layering set, it does work in a similar way.
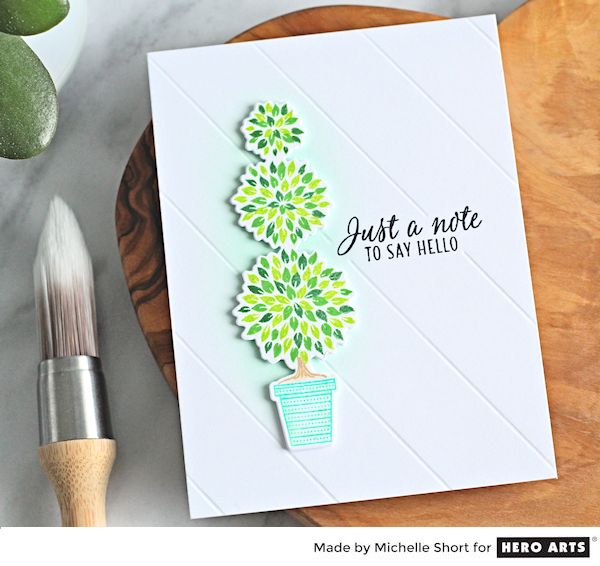
I stamped the bottom stem/trunk with Soft Brown Shadow Ink. There is a piece to go in between the other tiers, but I decided not to use it on my card today. I then stamped the pot using Aegean Bold Ink. Using a blender pen, I added a little Mint Julep Mid-Tone Shadow Ink to the pot also, for some added interest.
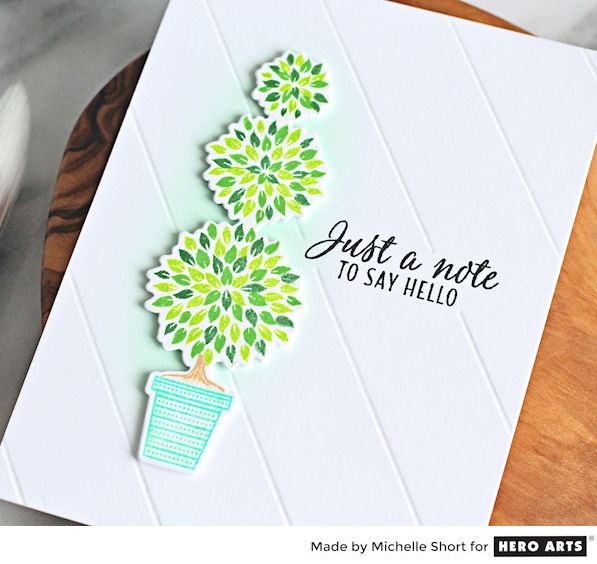
I took a white 4.25" x 5.5" card panel and stamped the sentiment on to this using Intense Black Ink. Using a stencil blending brush, I blended over Mint Julep Ink on to the left hand side of the panel. I then scored diagonal lines in to the cardstock using a bone folder and a score board. The panel was added to a white A2 card base with tape runner and then topiary image added on top with foam tape. Although the card has quite a lot of layers to it, it is still a fairly flat card, which is great for mailing.
Thank you so much for stopping by today, happy stamping!























































































14 comments
very pretty
Beautiful card! I love the simplicity of it. A lovely card, Michelle!
Beautiful card! I love the addition of the scored diagonal lines—I think it really adds to the overall design. Thanks for the inspiration!
I love your use of colors on the leaves,Michelle. A very pretty card.
This is so pretty Michelle, a great idea about picking them up from the backing sheet…Very good idea, TFS!