


Posted by Hussena Calcuttawala
on May 07, 2018
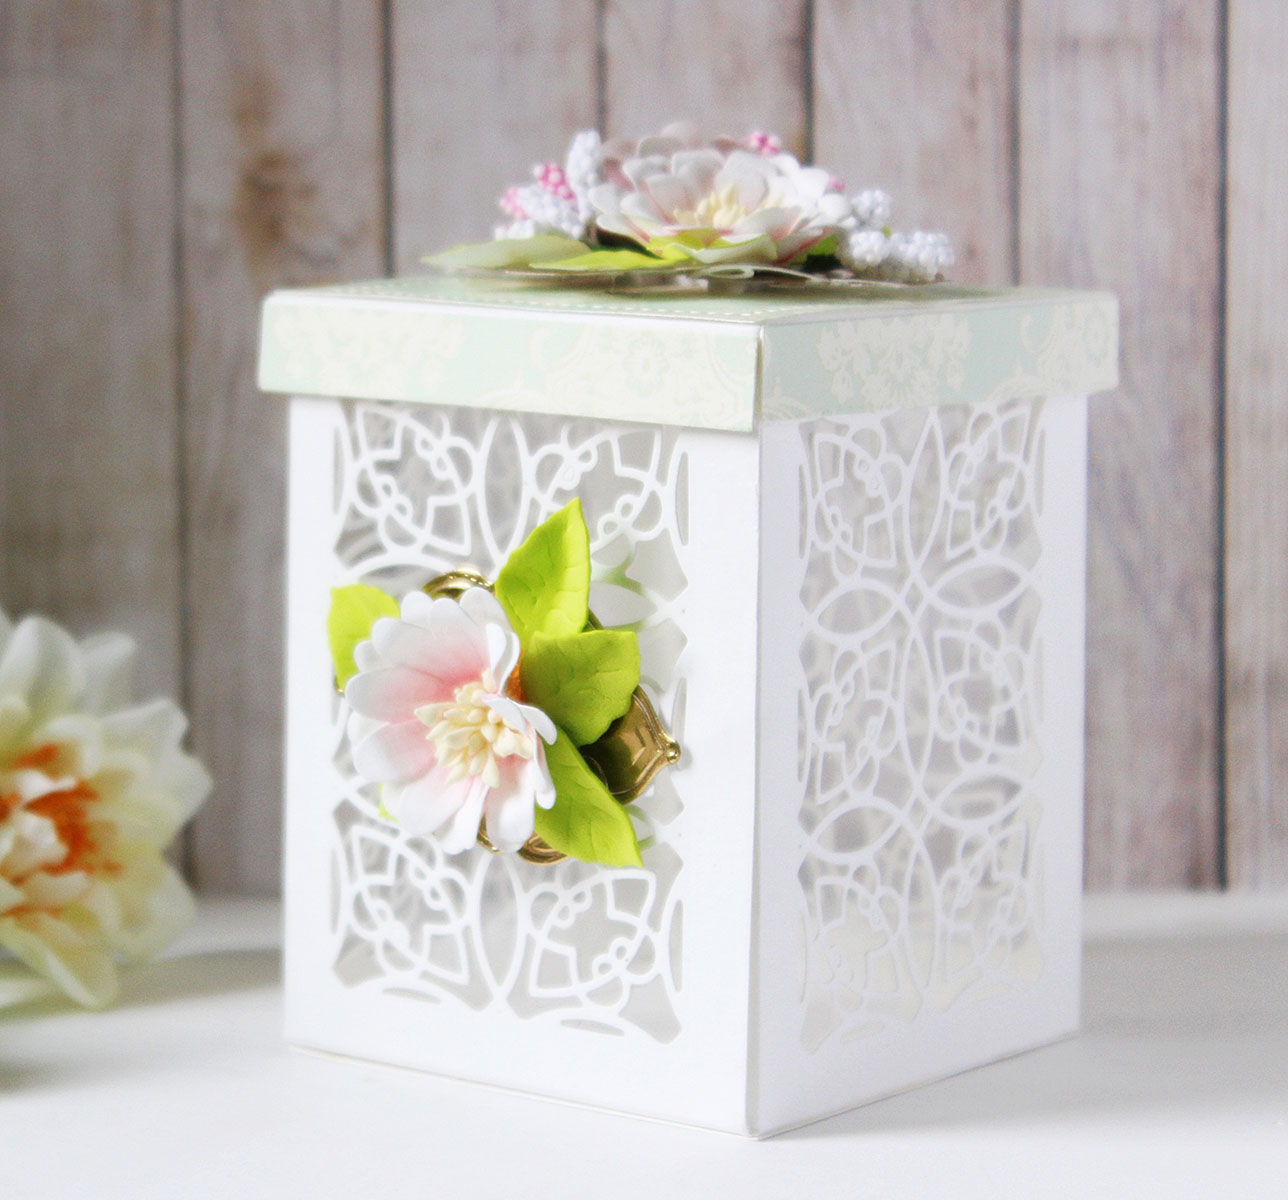
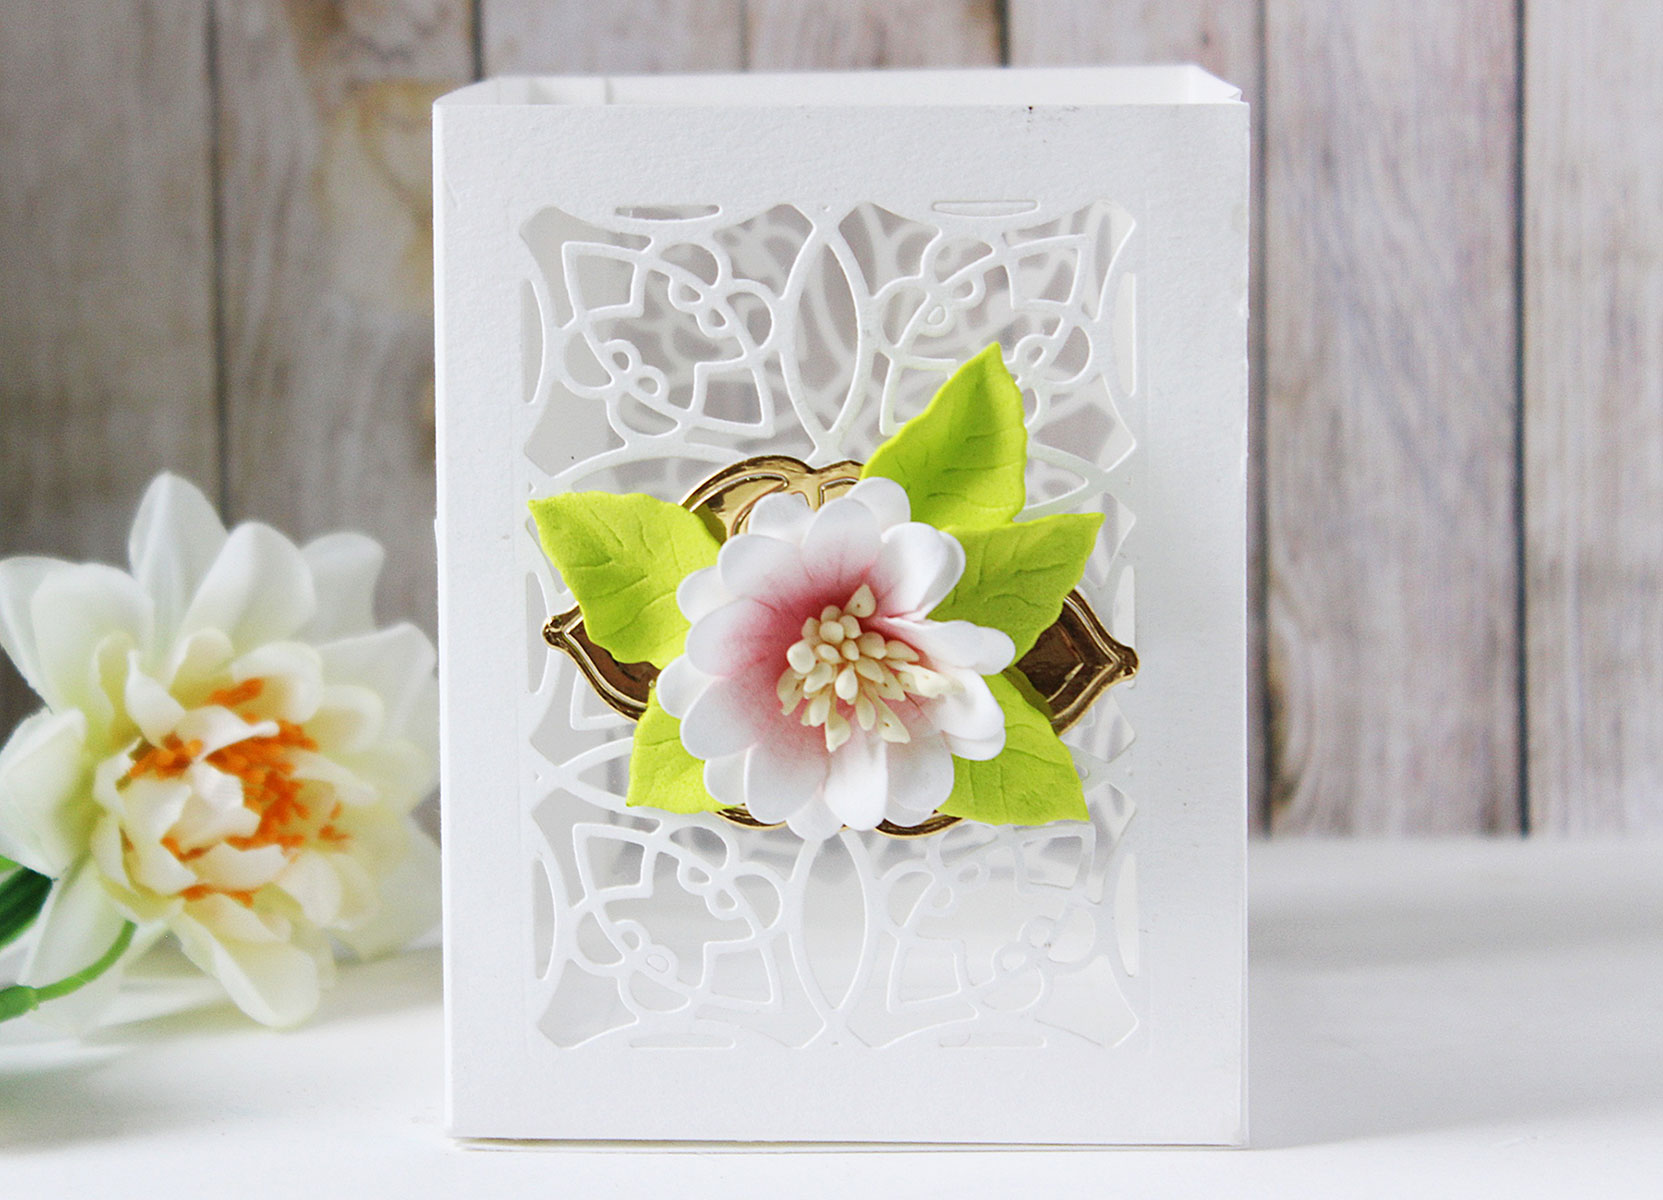
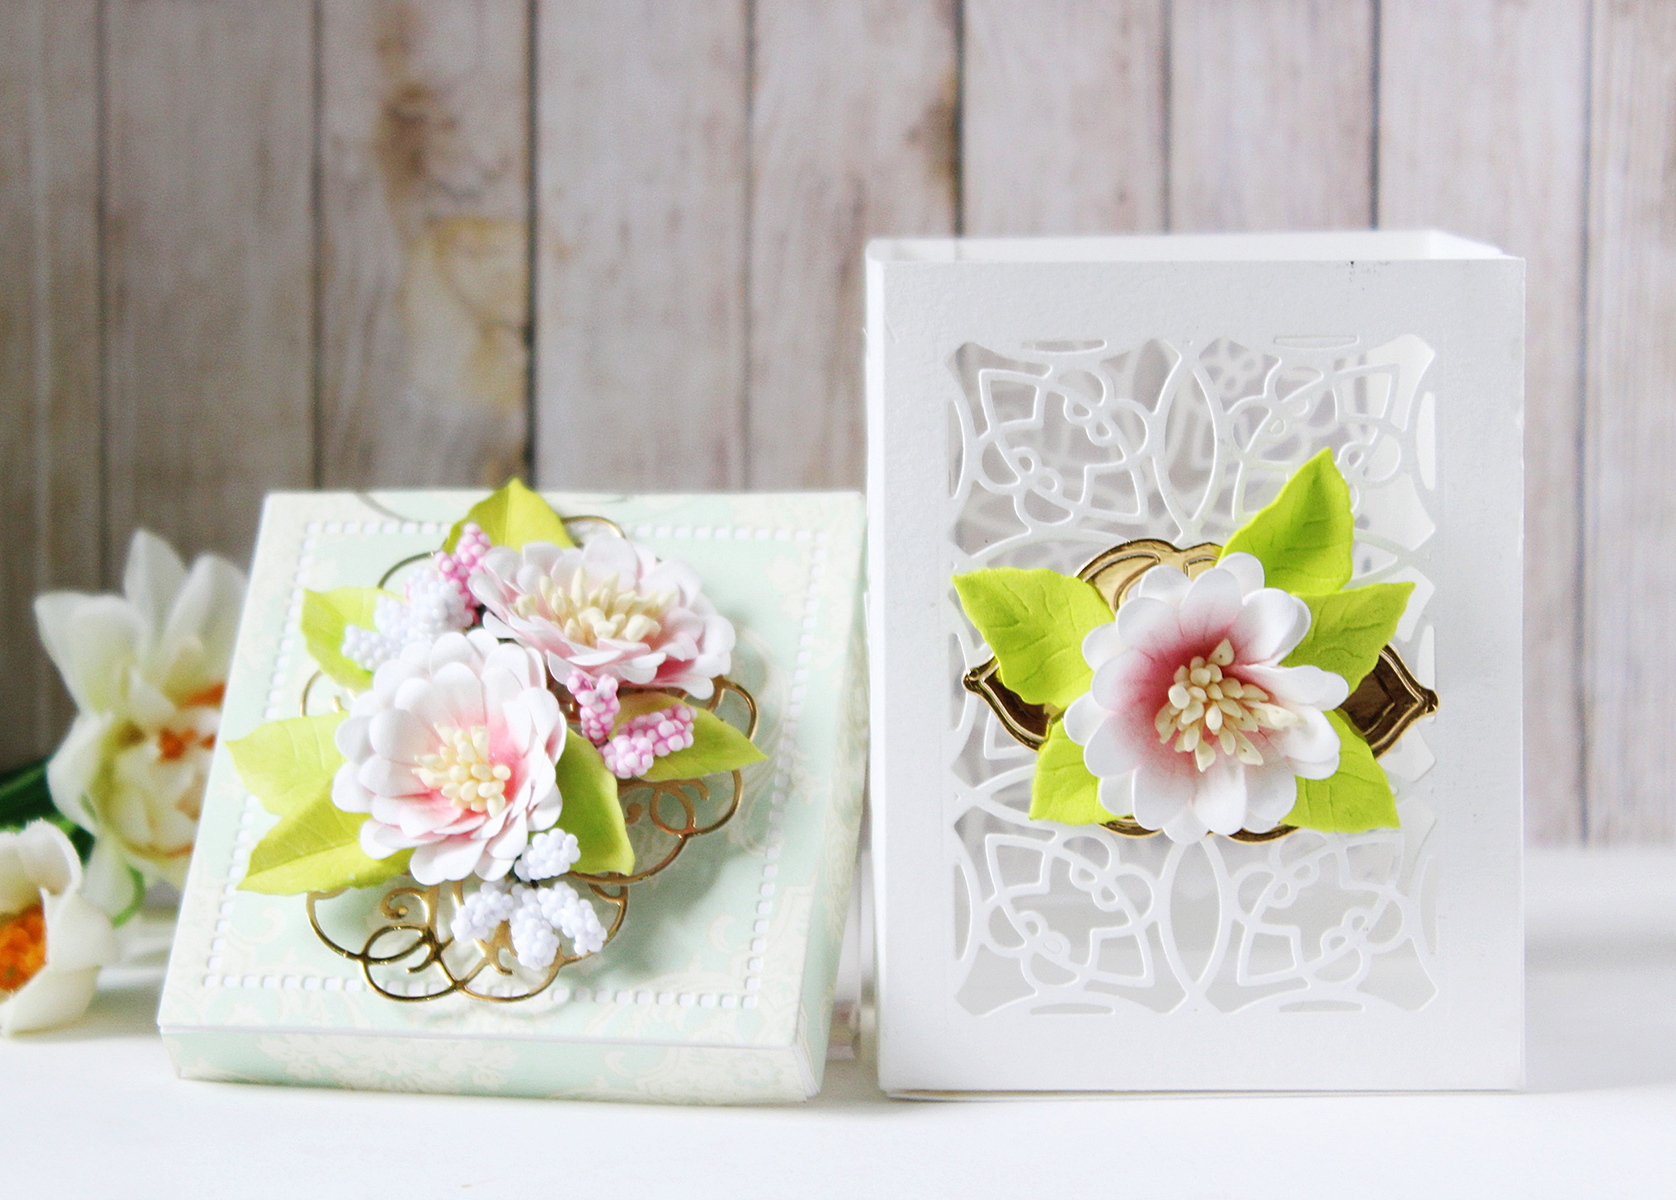
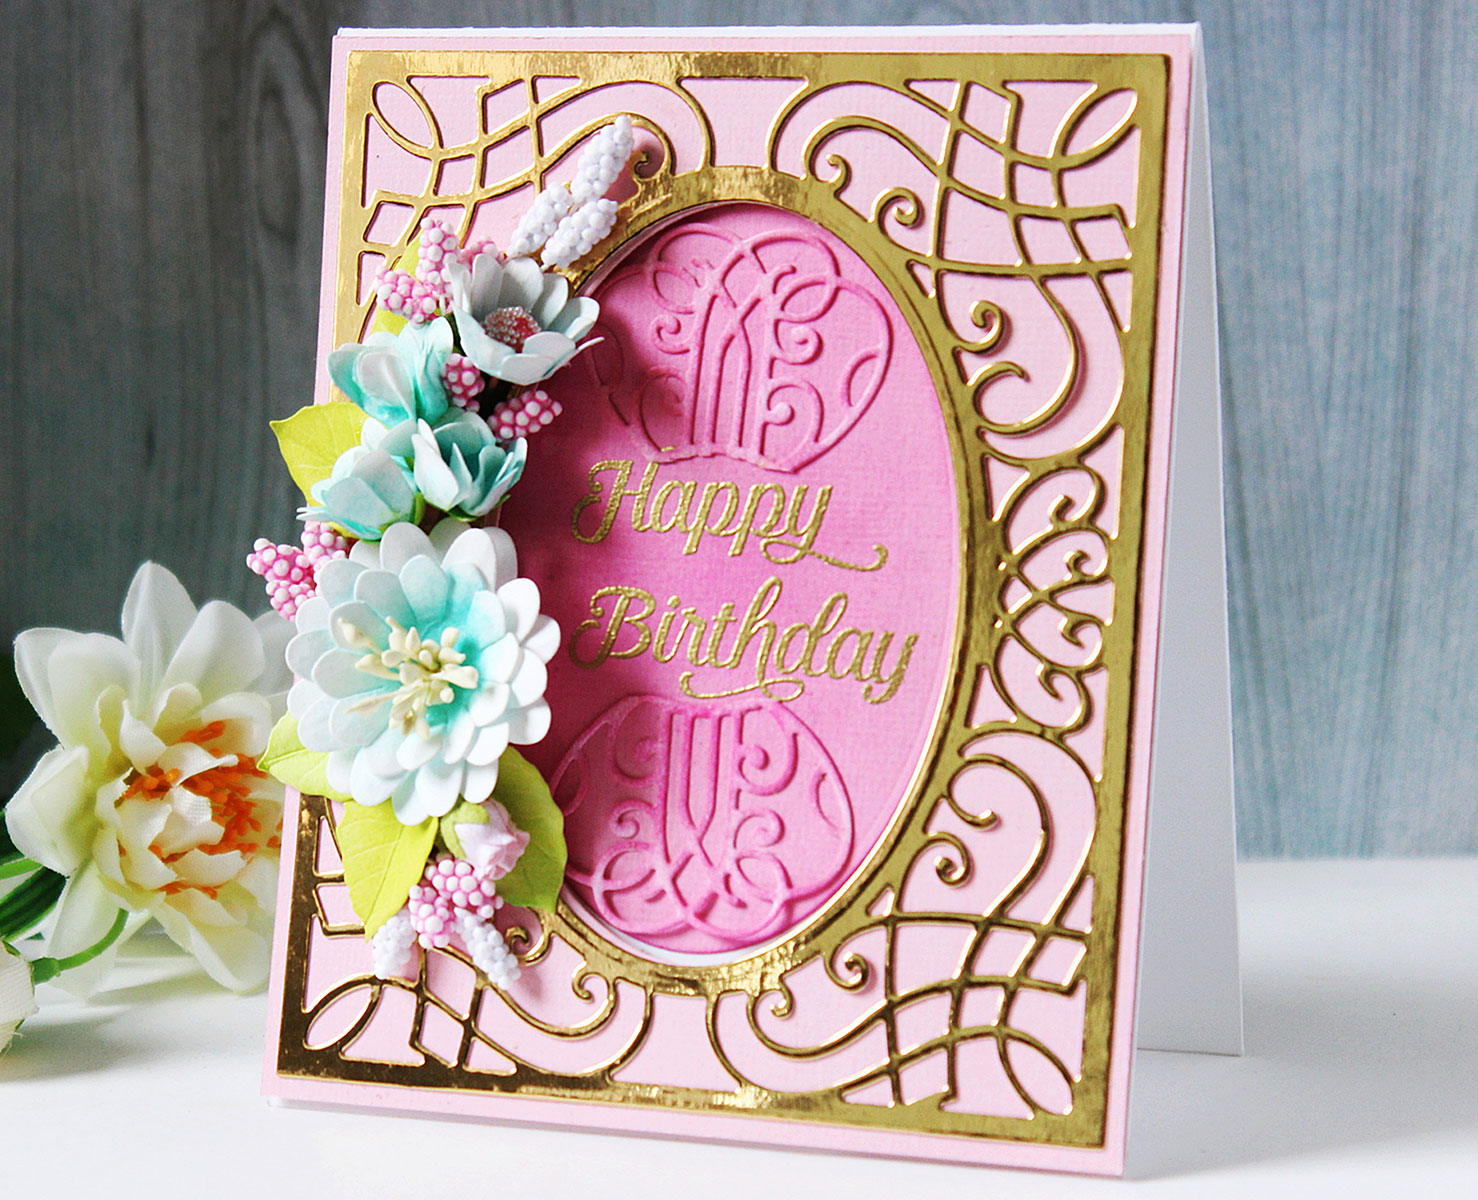
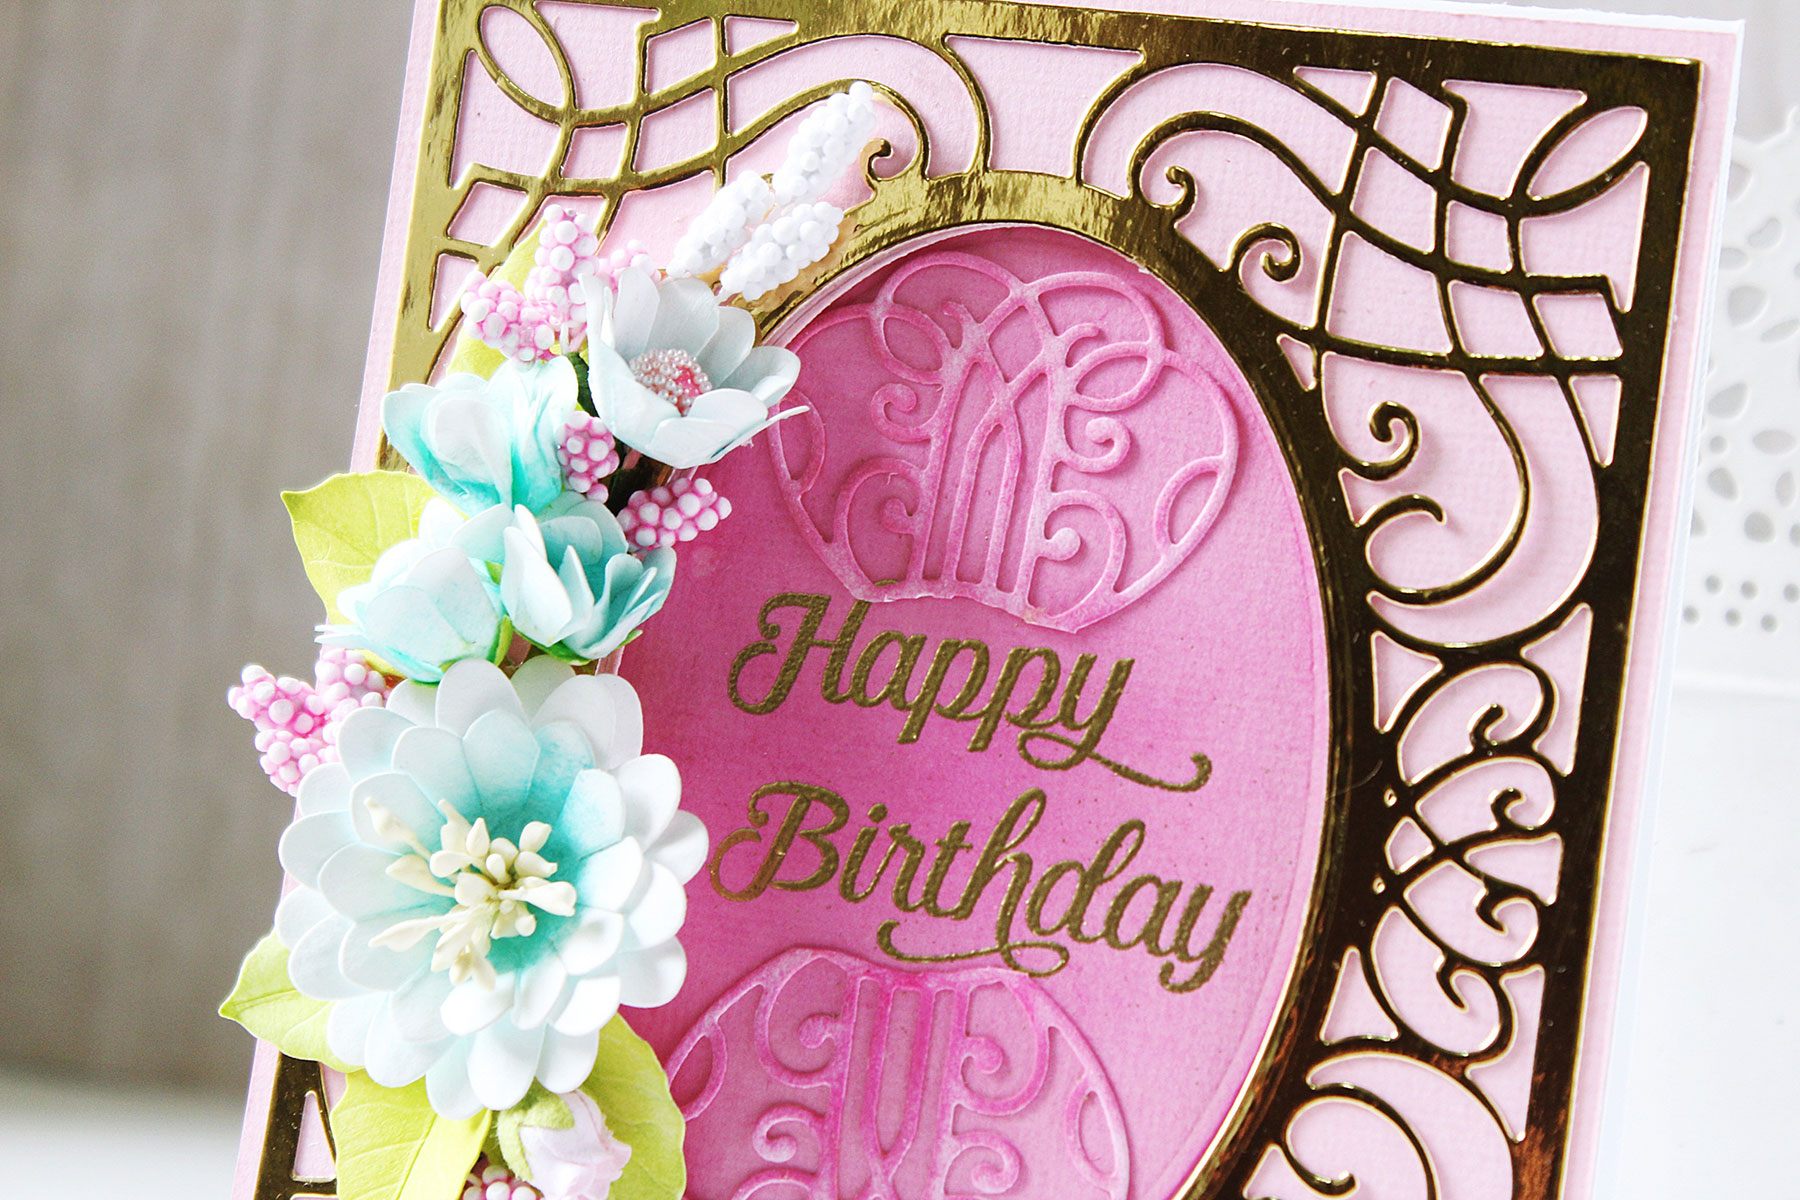
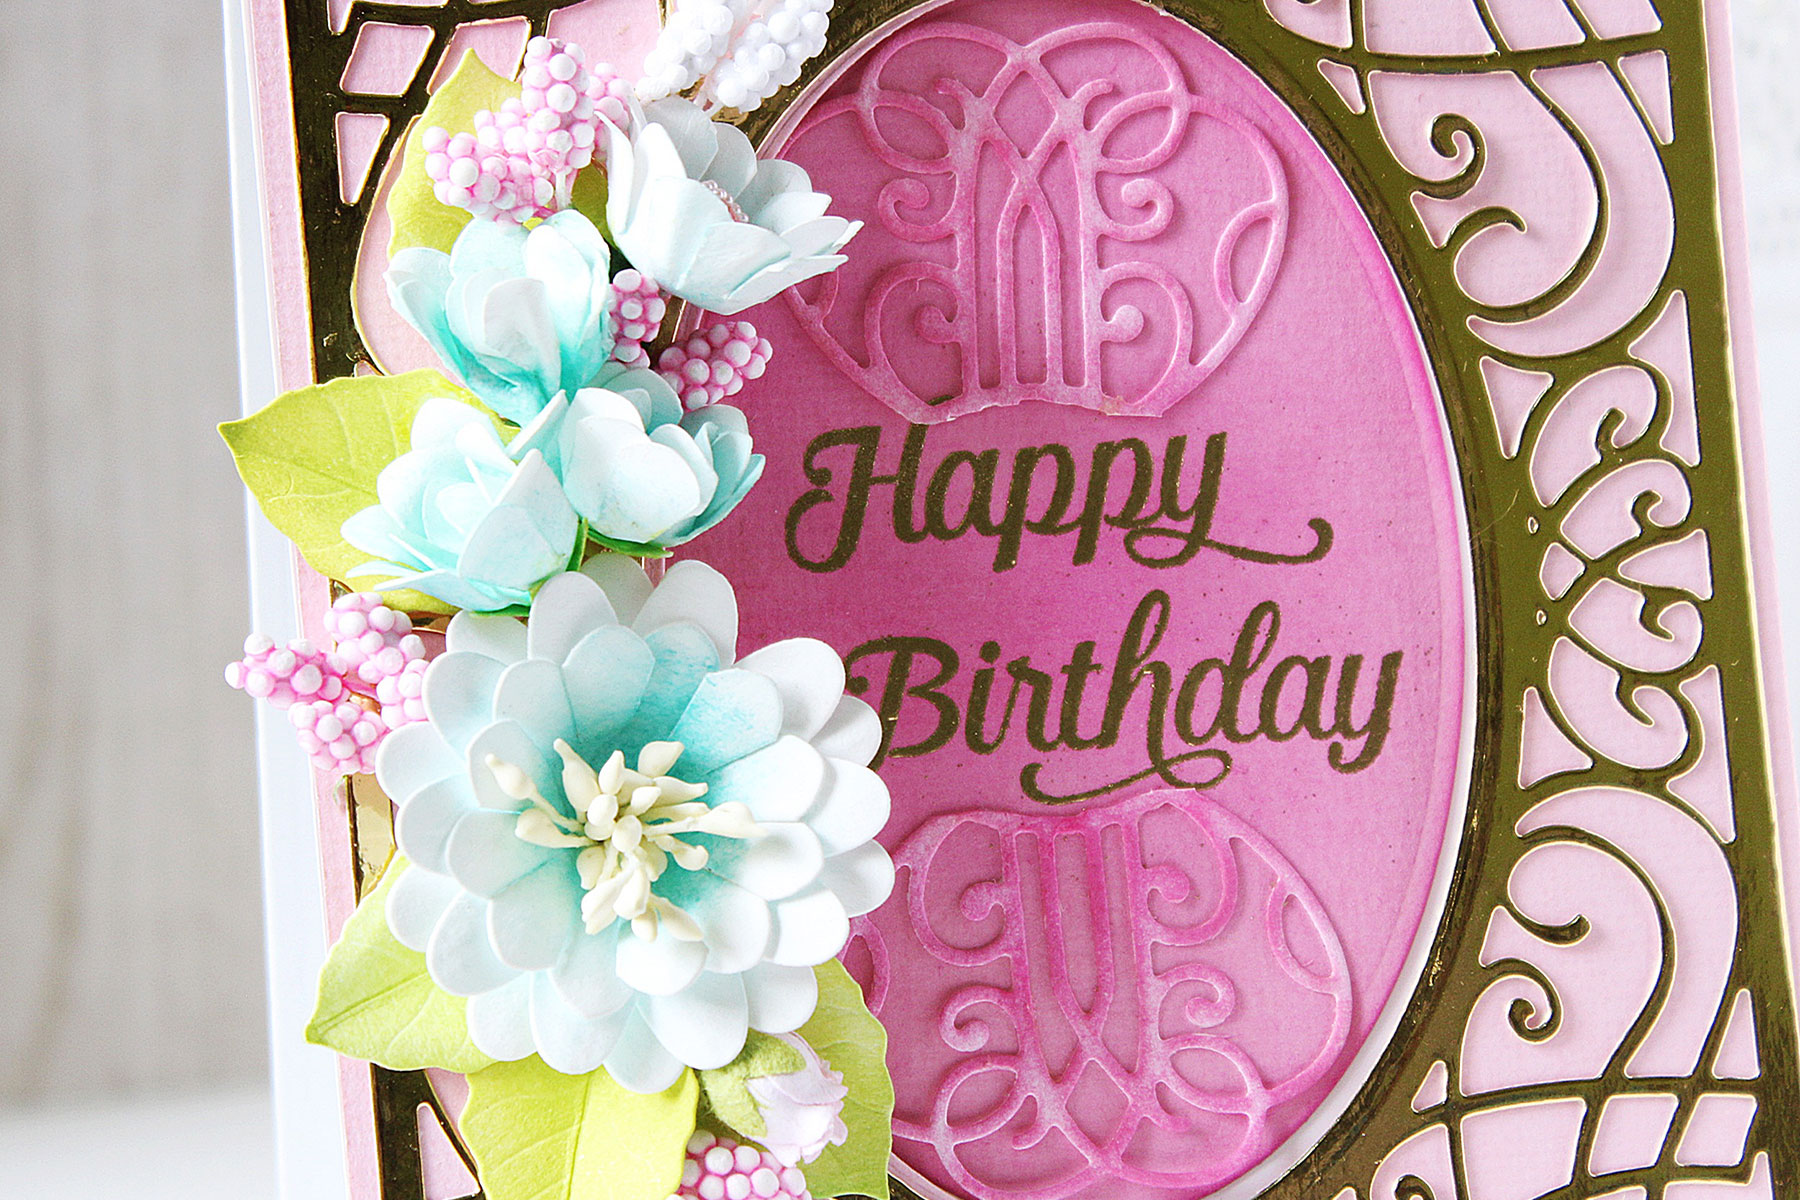
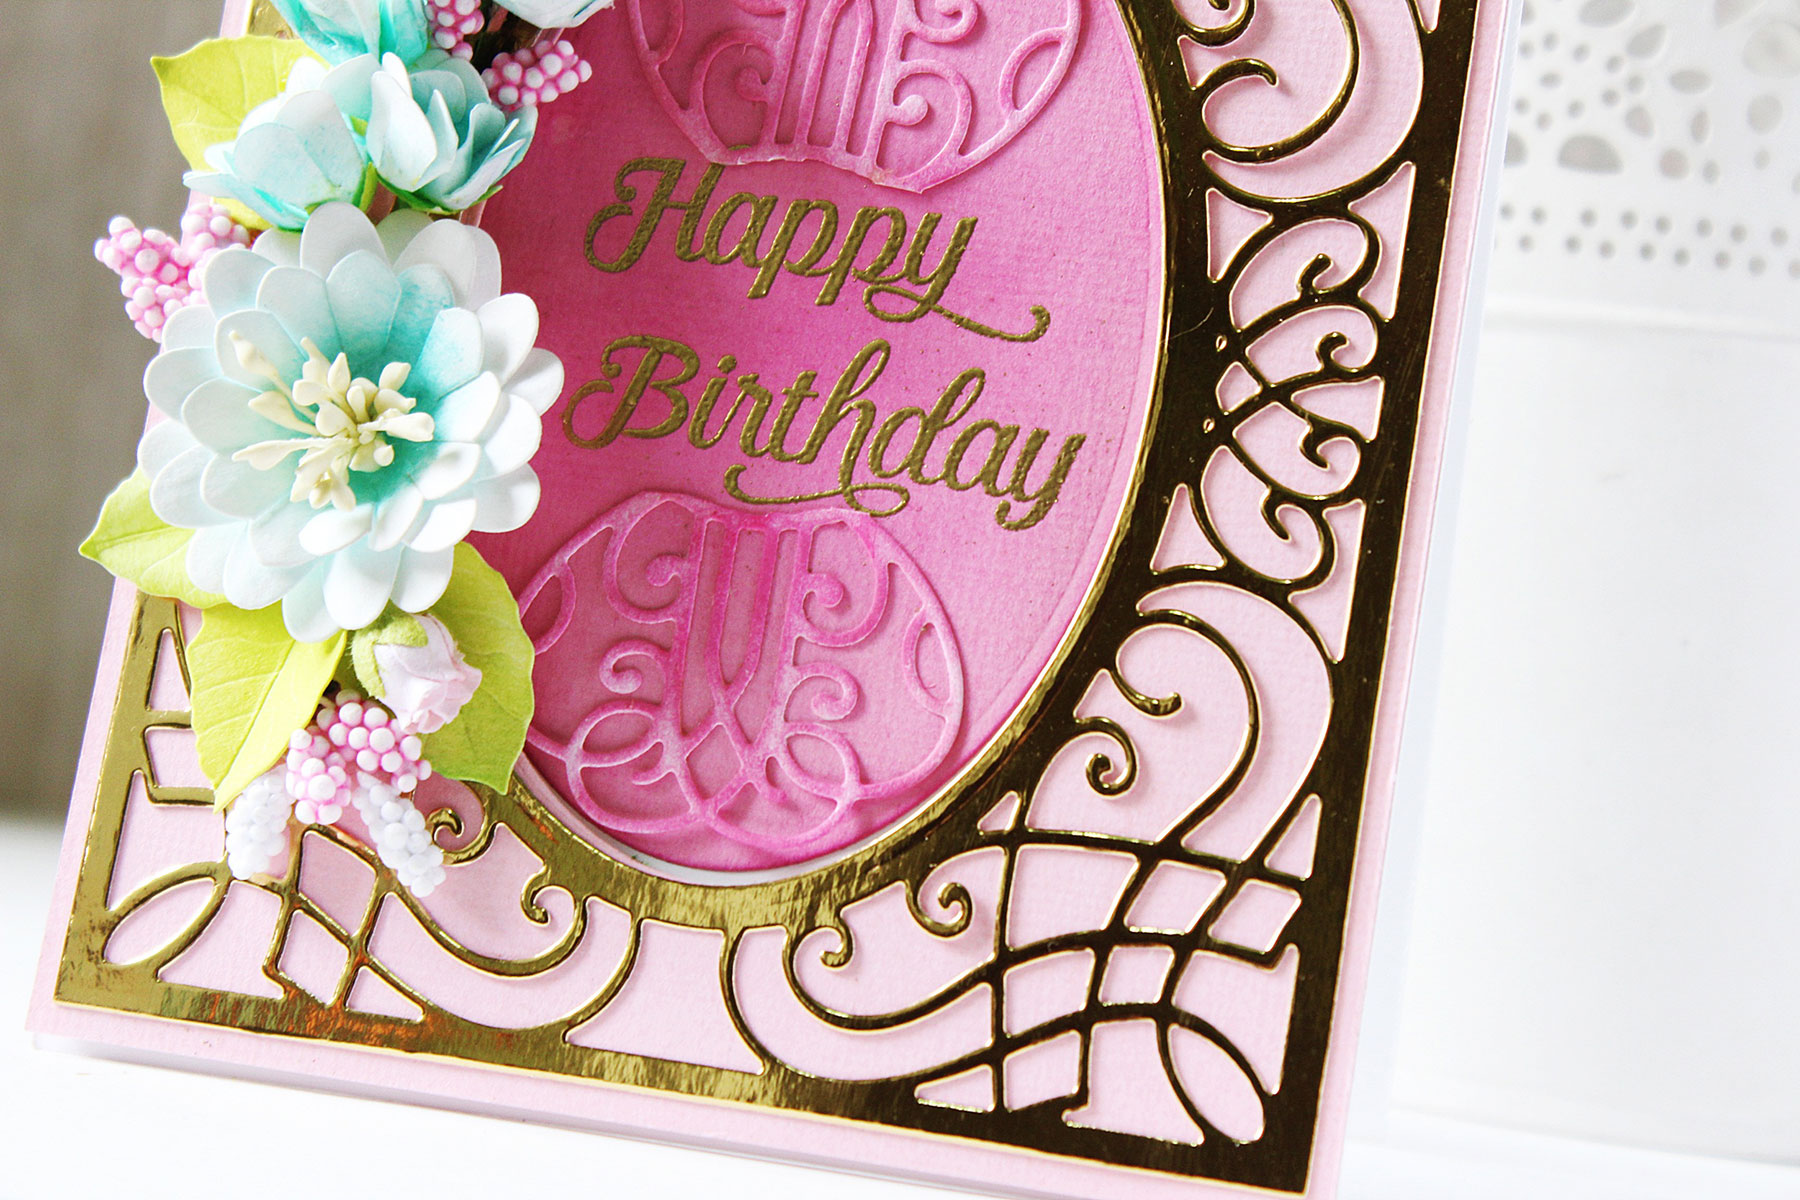
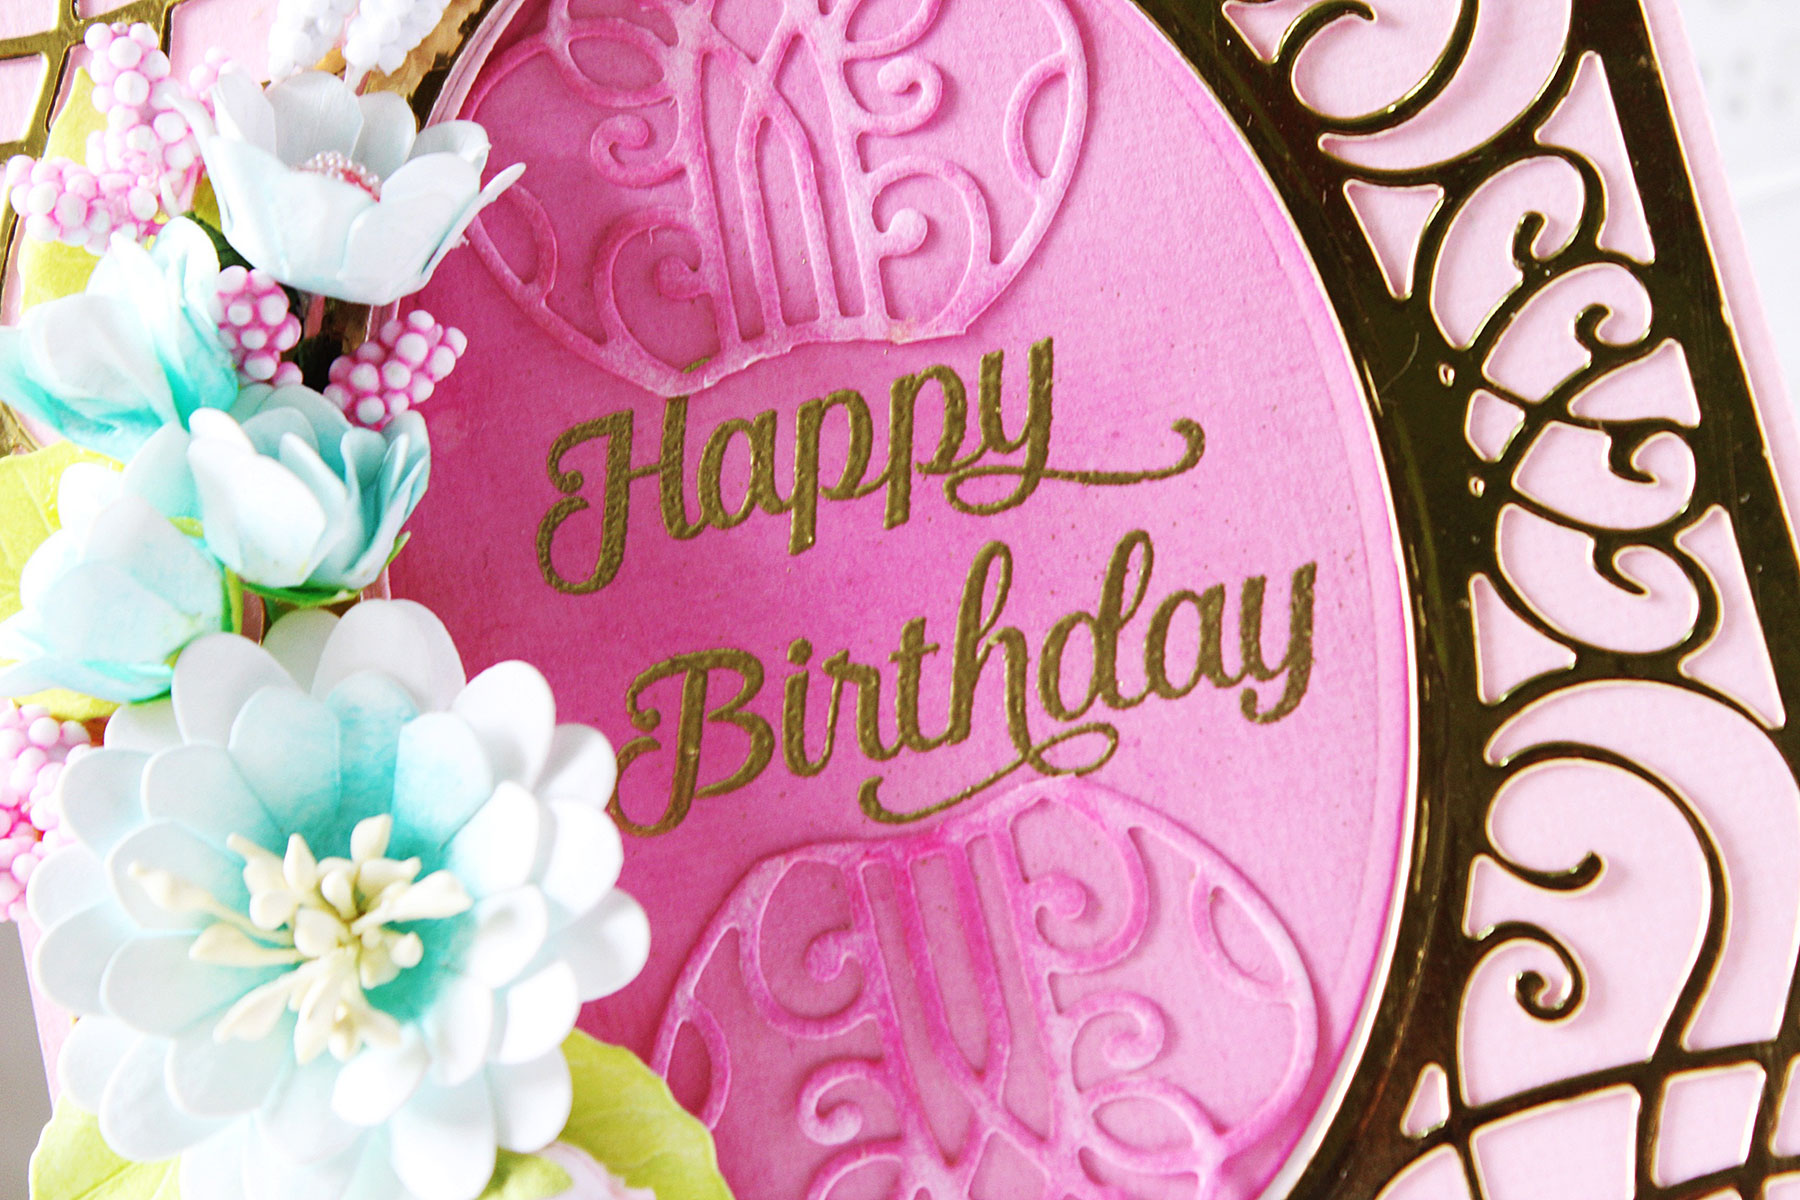
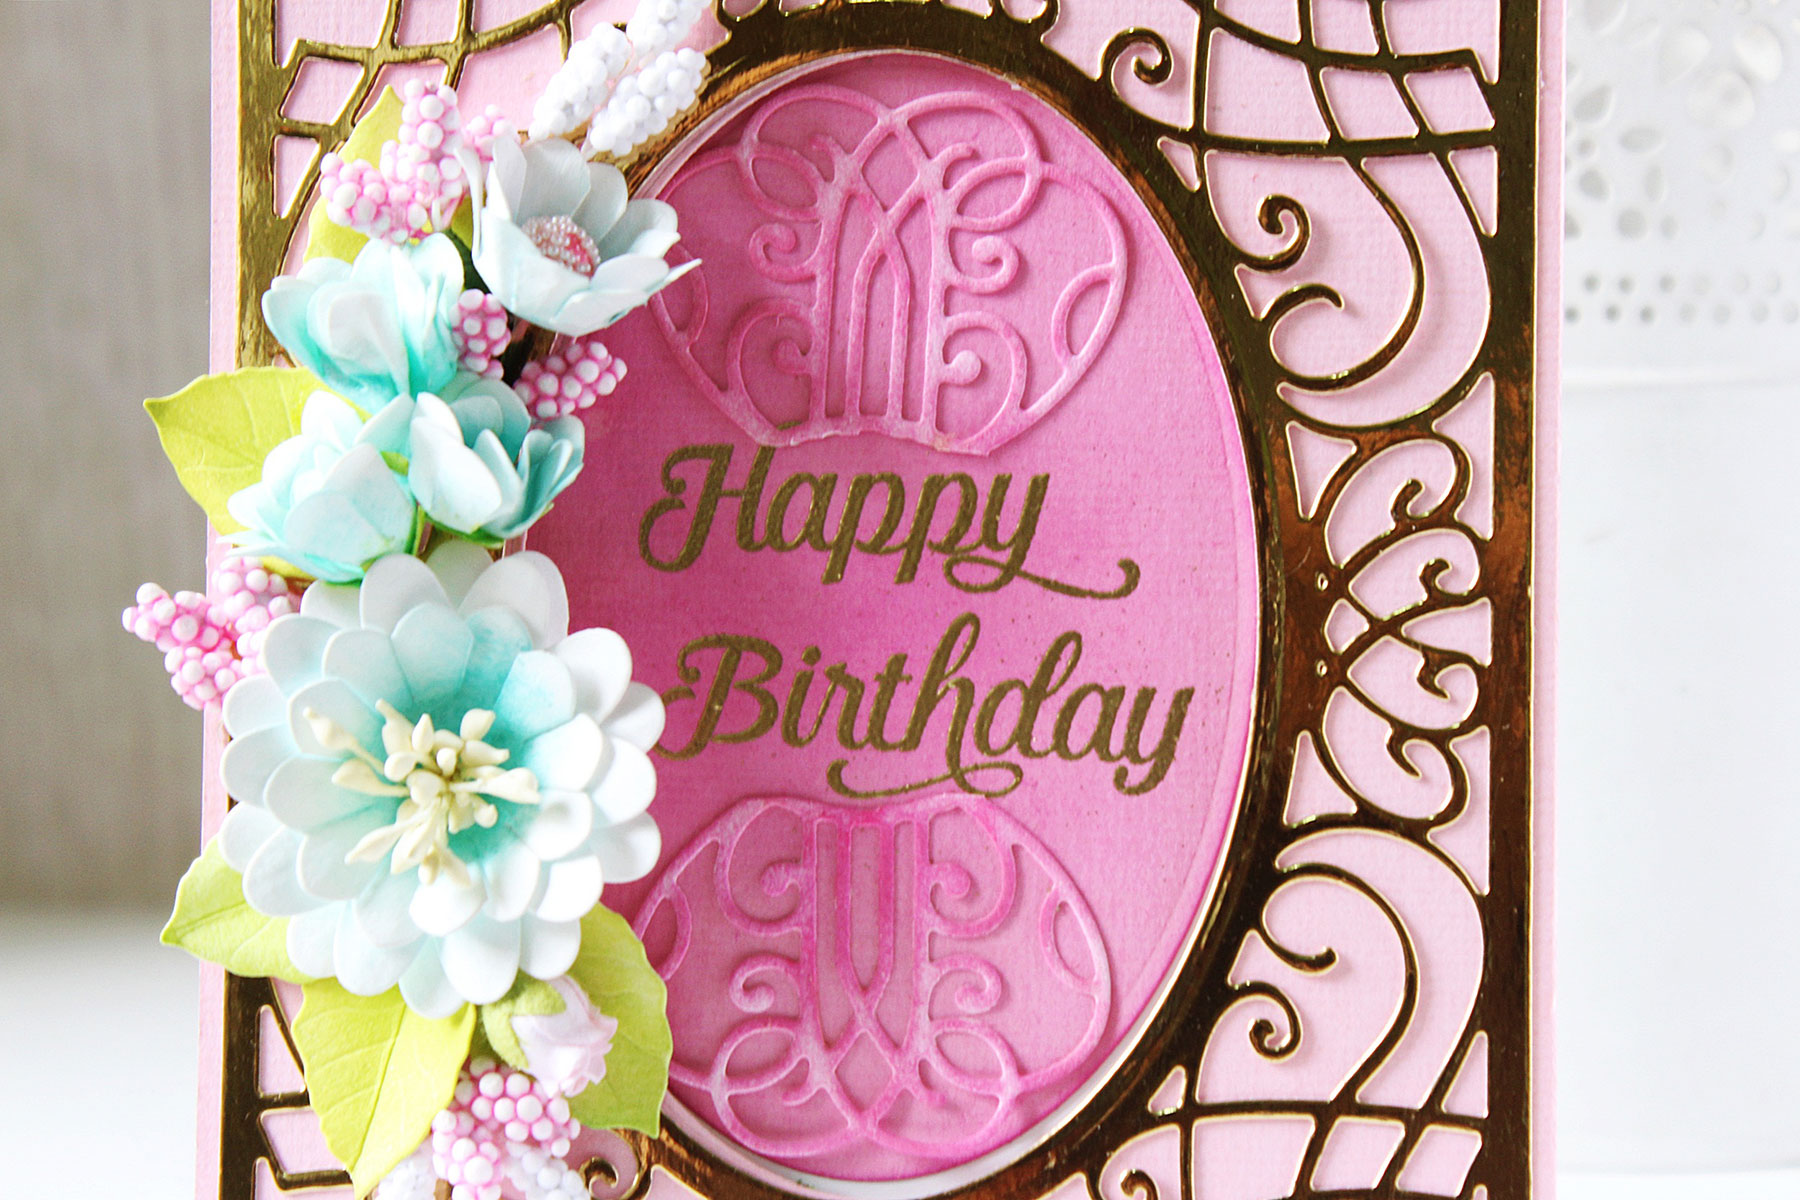
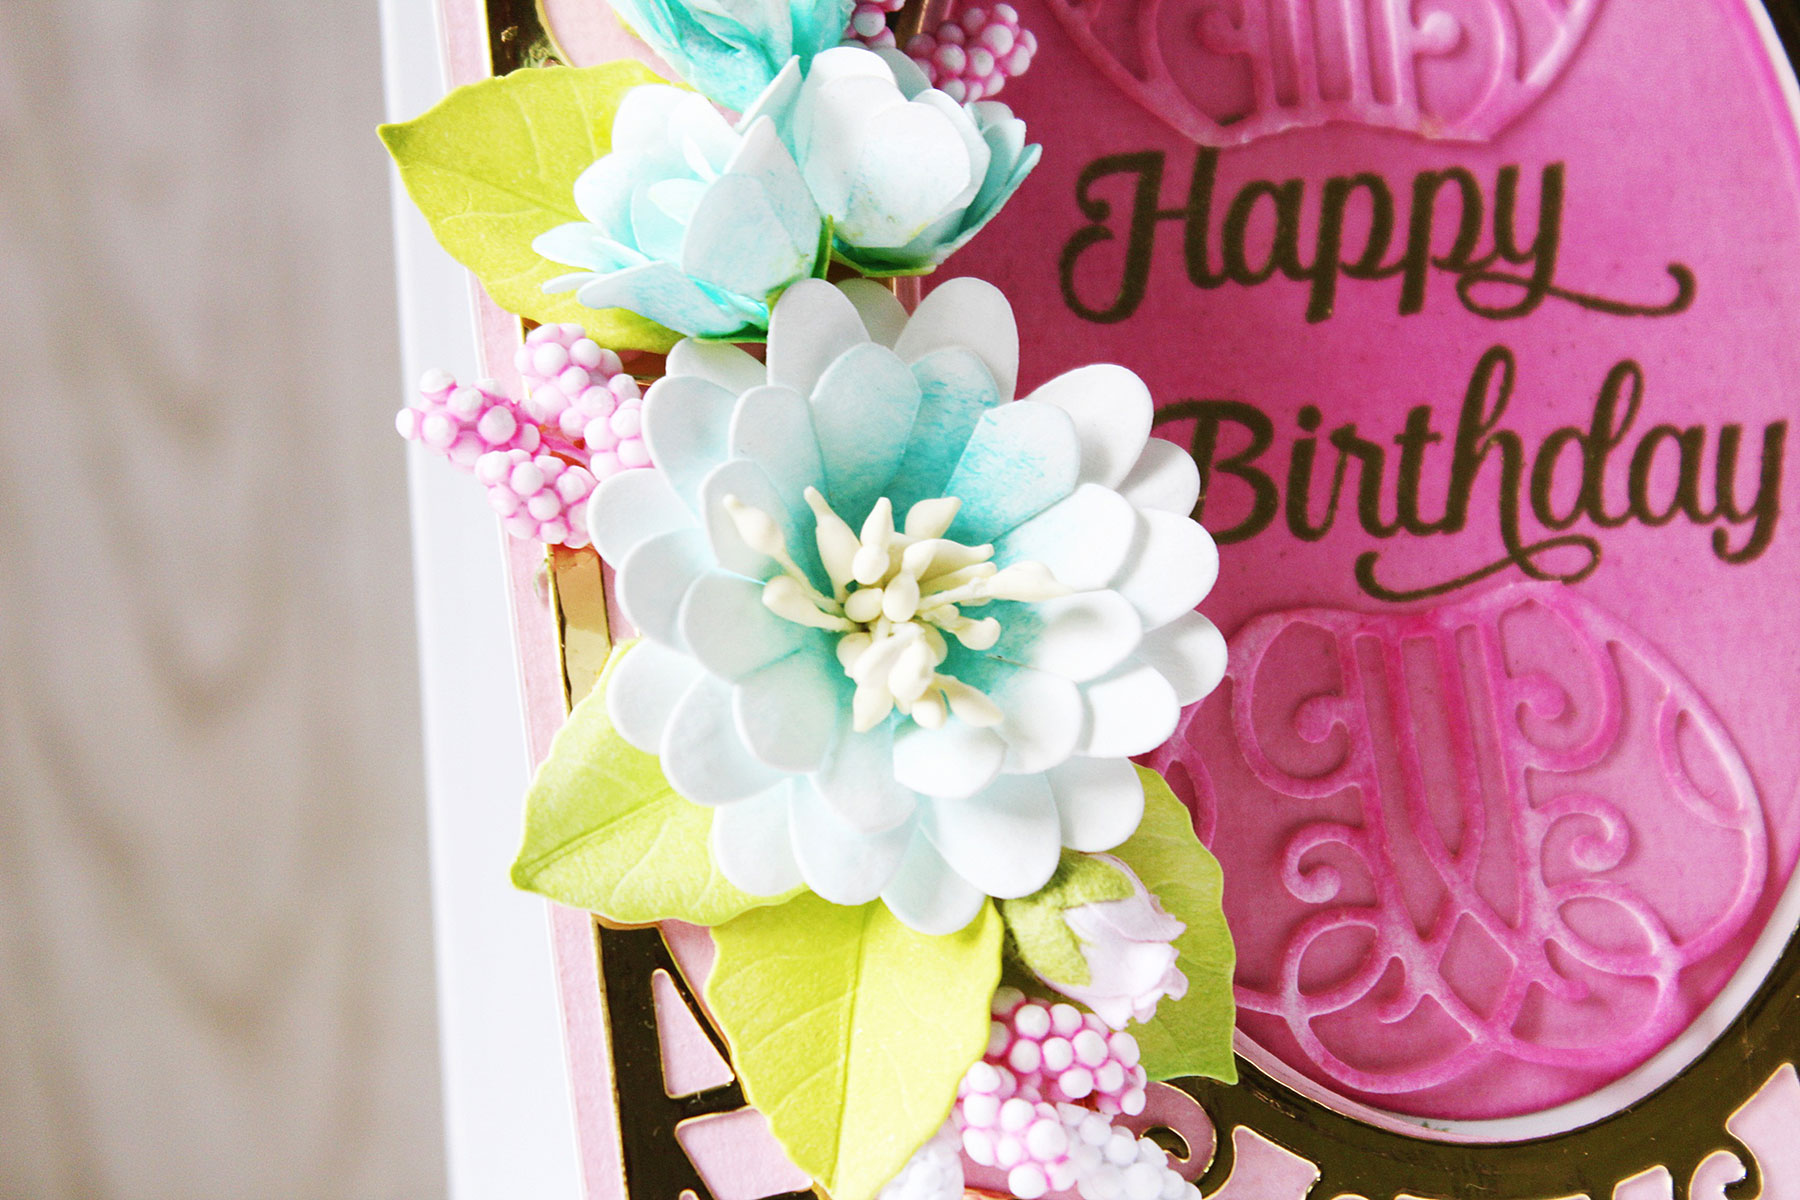
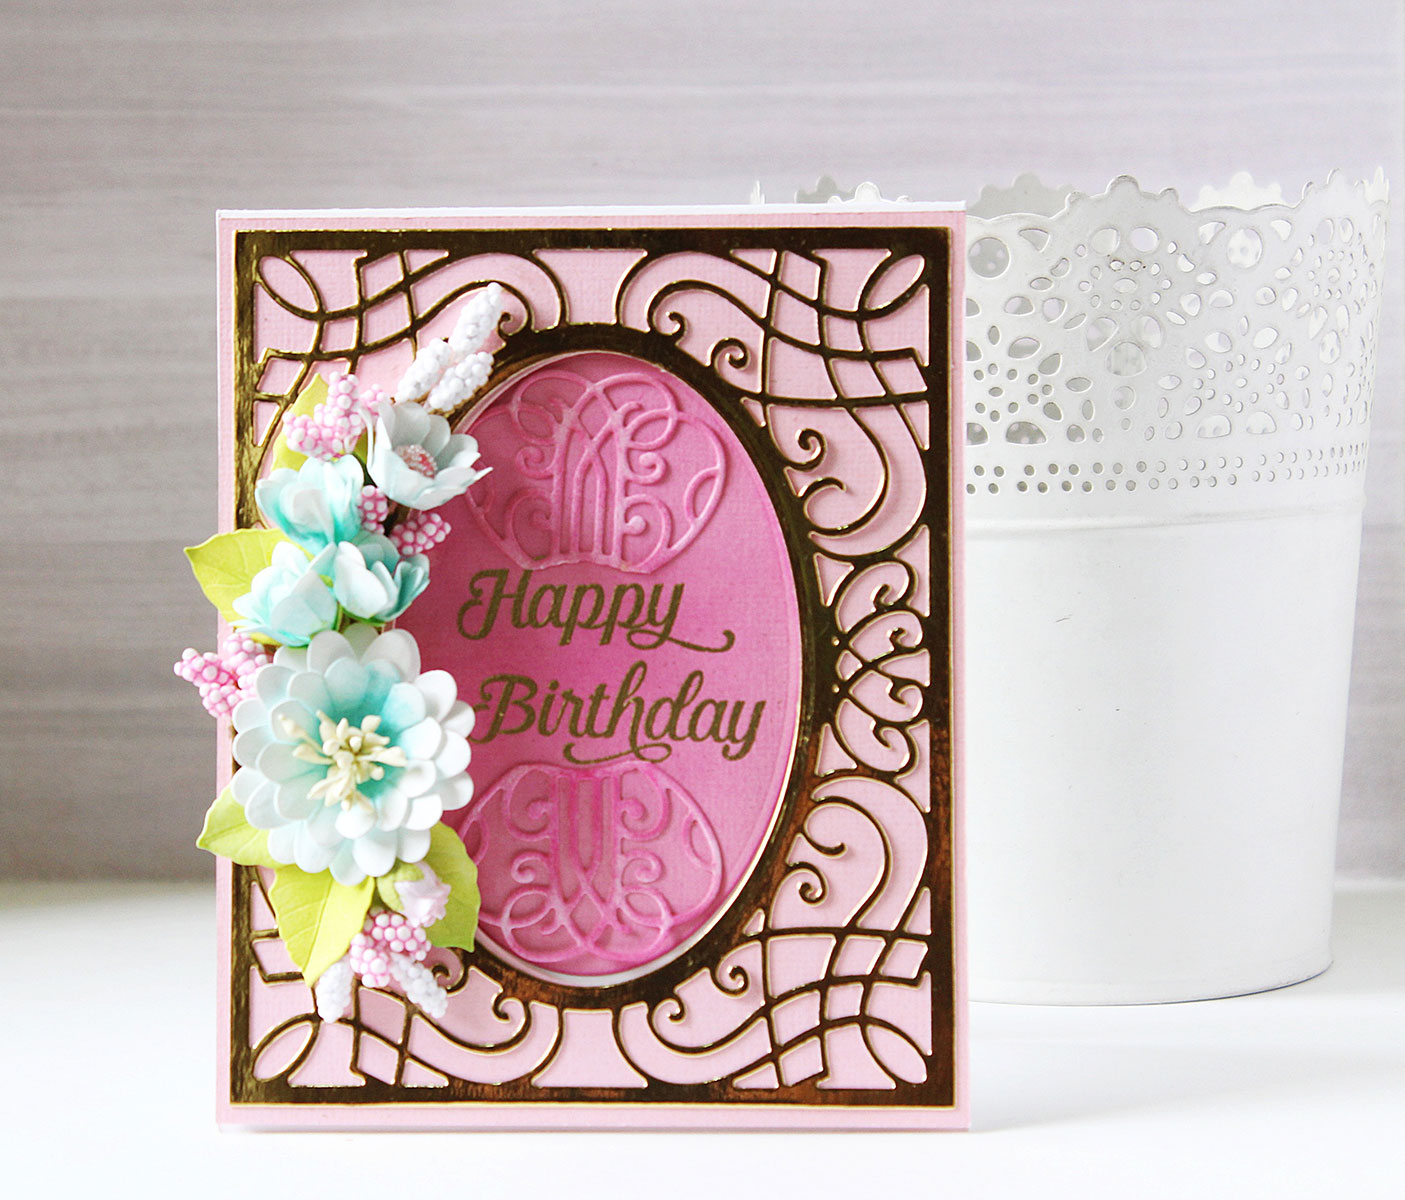
Hello everyone! This is Hussena from Quill and Punch Works, and I am really excited and honoured to be guest blogging today on the Spellbinders Paper Arts blog. I am sharing two projects today I made using dies from the Romancing The Swirl collection by Becca Feeken. This is another spectacular collection with amazing Nestabilities shapes, tags, and intricate dies. I have made a paper gift box and a card for today's post. I will start with the gift box first:
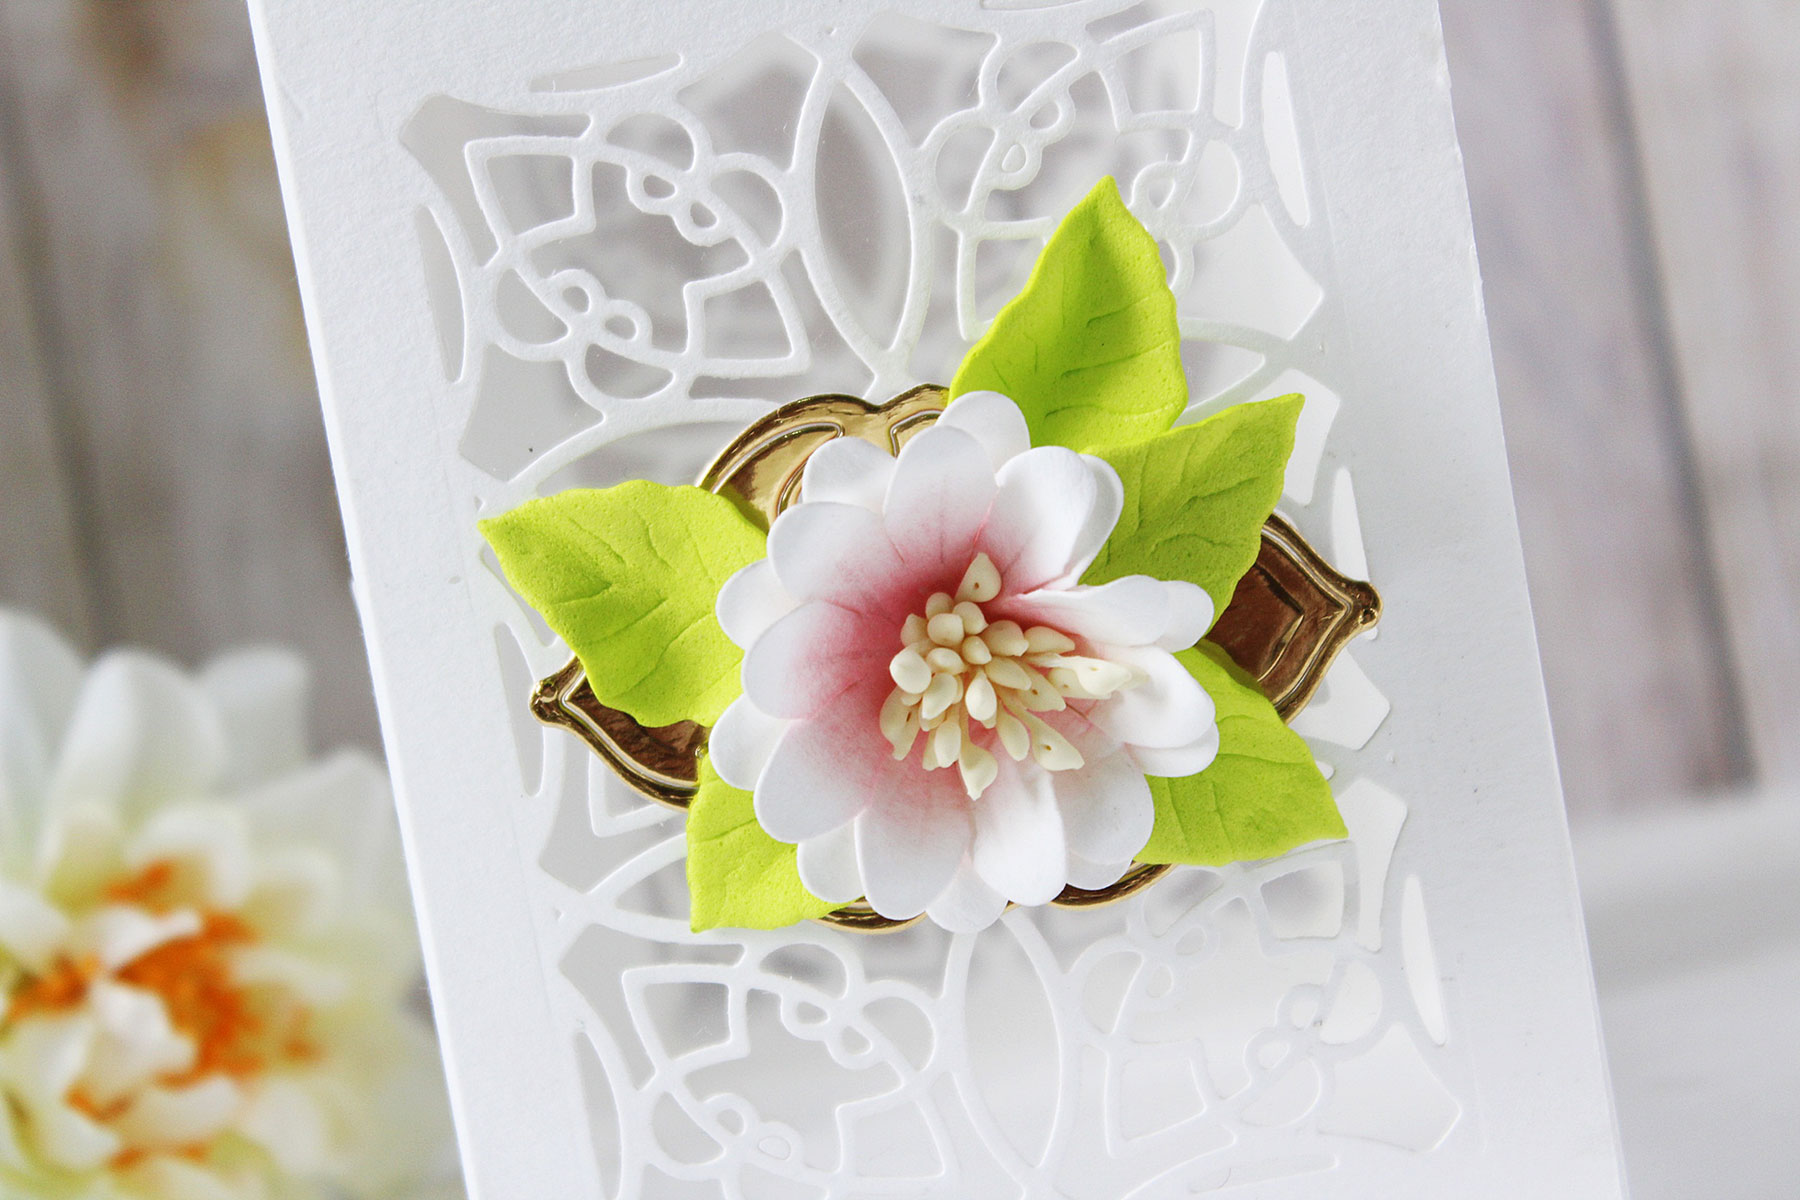
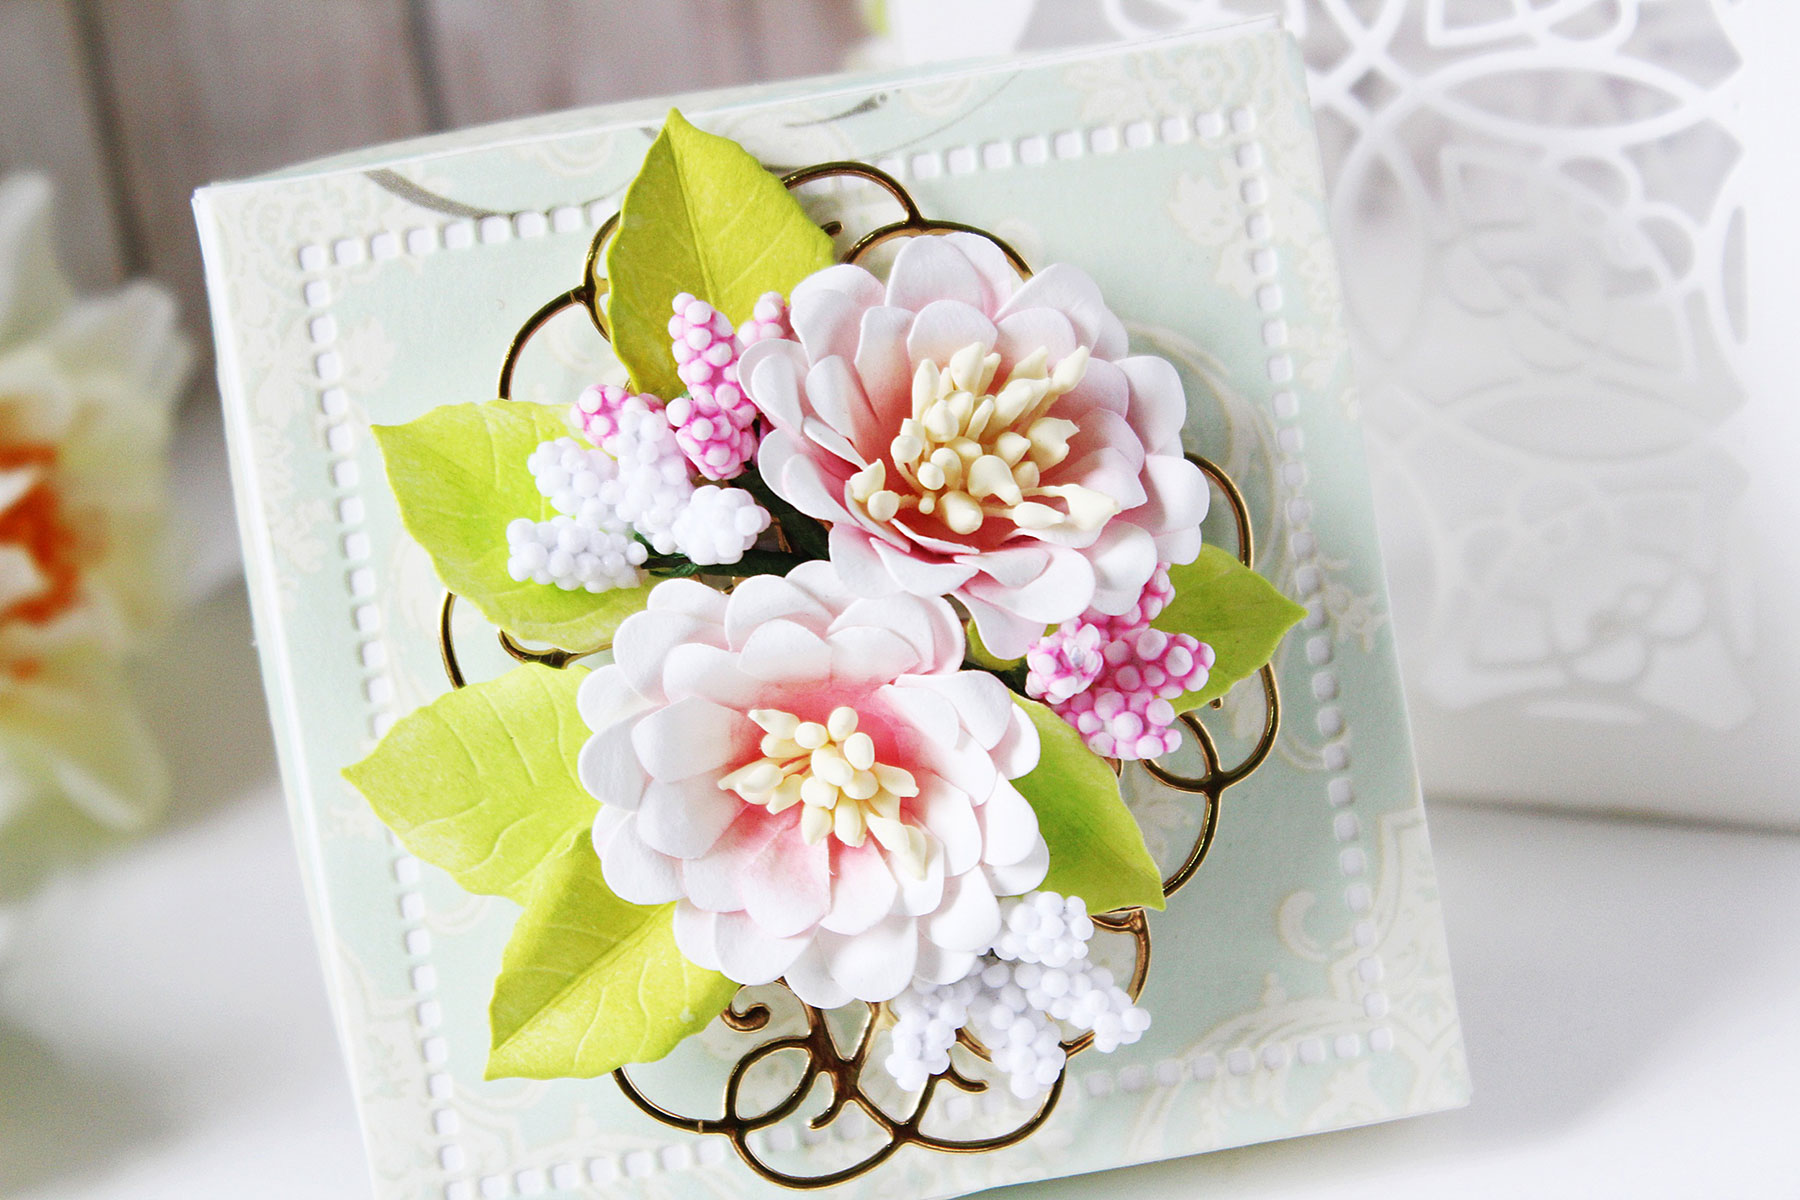
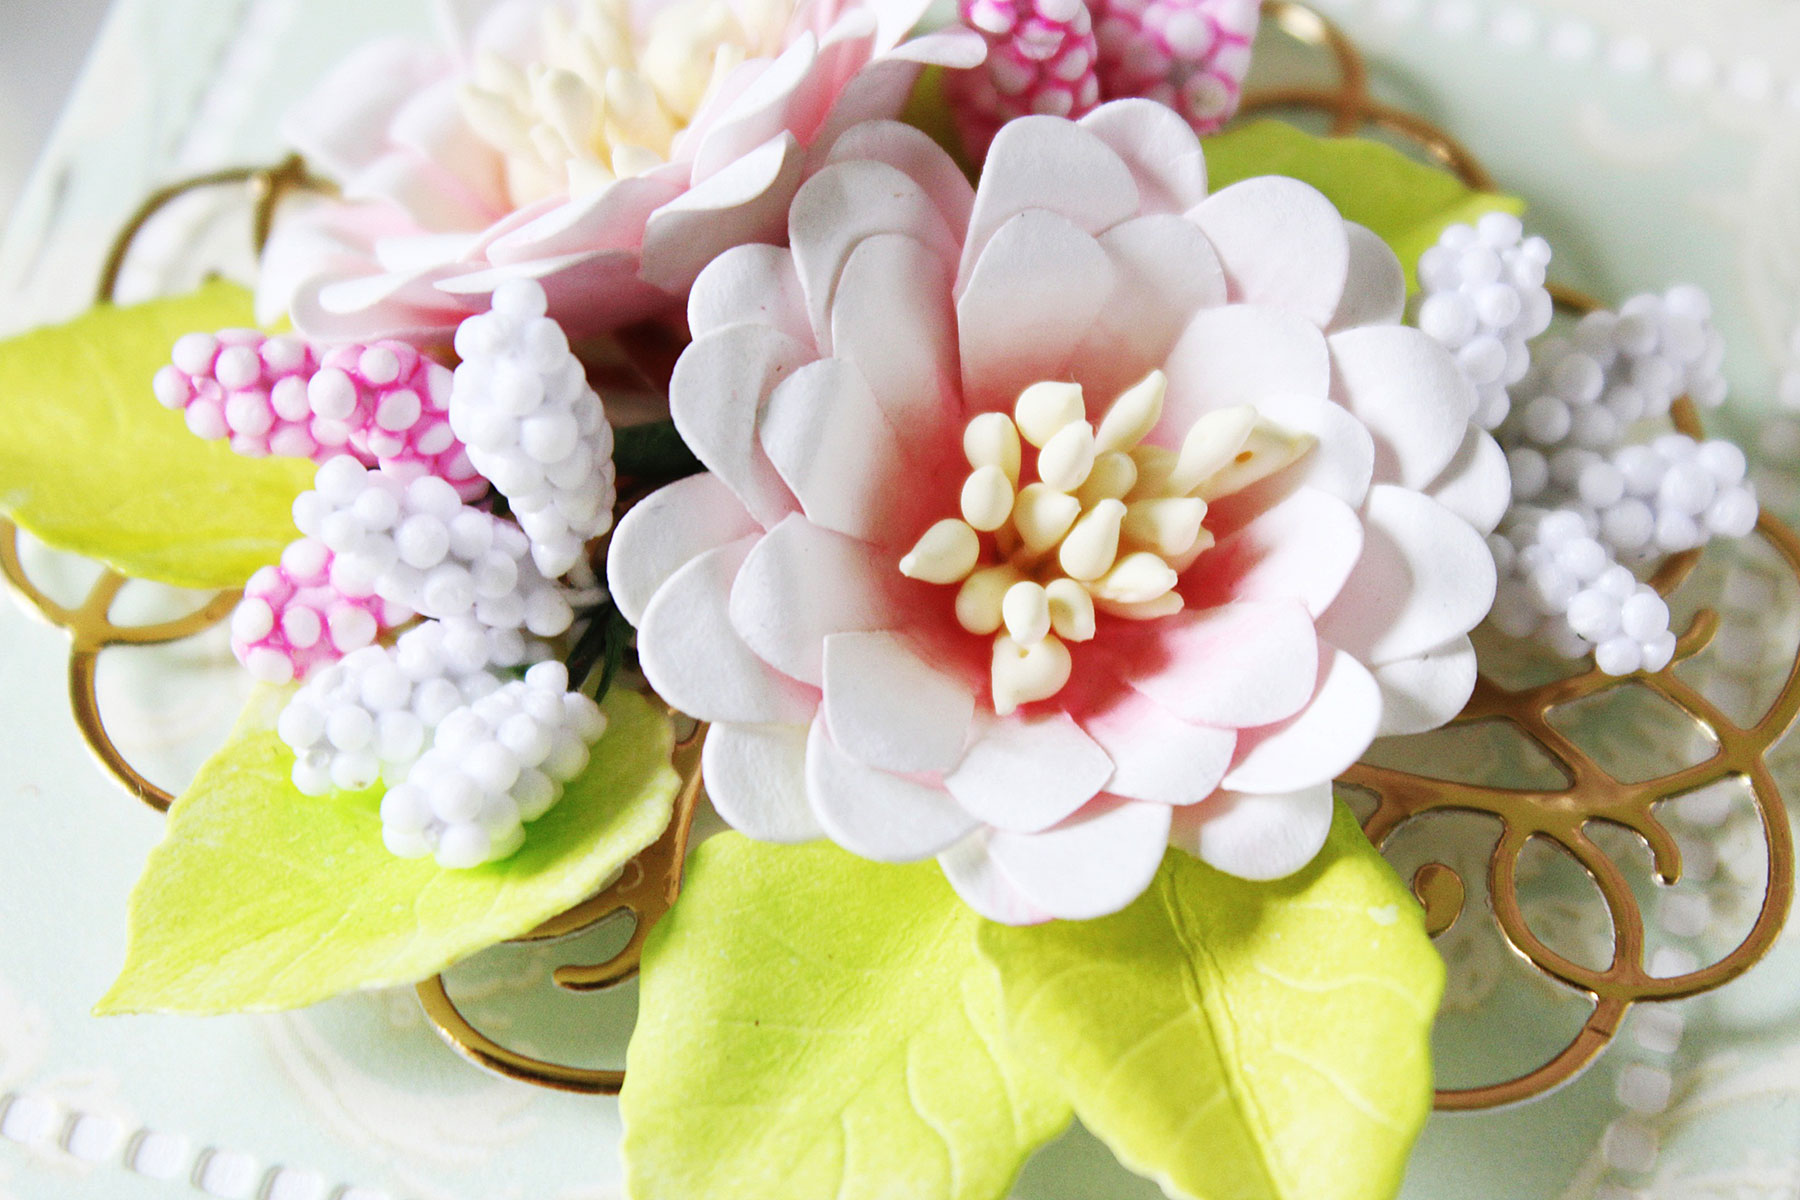
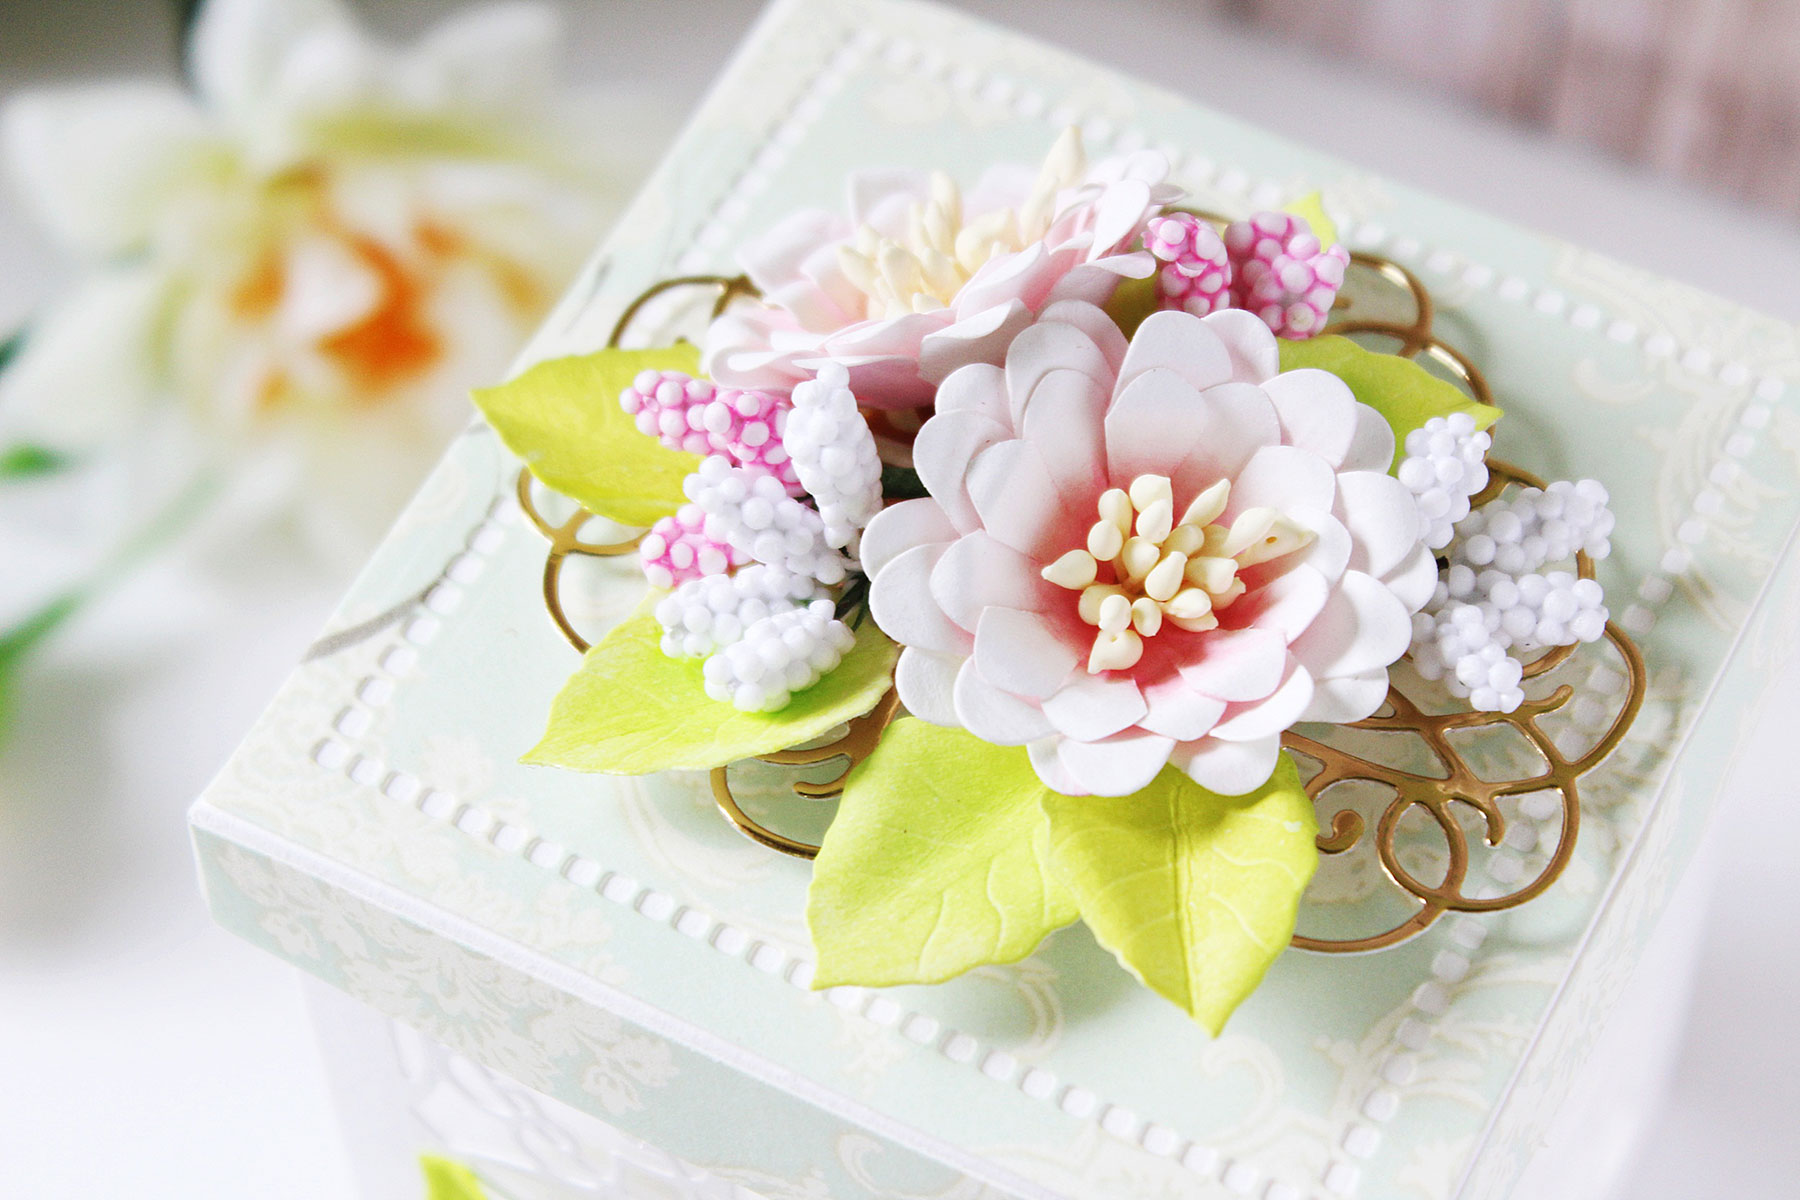
The entire gift box is completely handmade using white cardstock and the Swirl Booklet Insert dies from the Romancing the Swirl collection. I have always loved working with Becca's dies because of the endless possibilities they offer! They are extremely versatile, and can be used for a number of different projects. I used the Booklet Insert die to die-cut and created a gift box, and doesn't it look so gorgeous!?
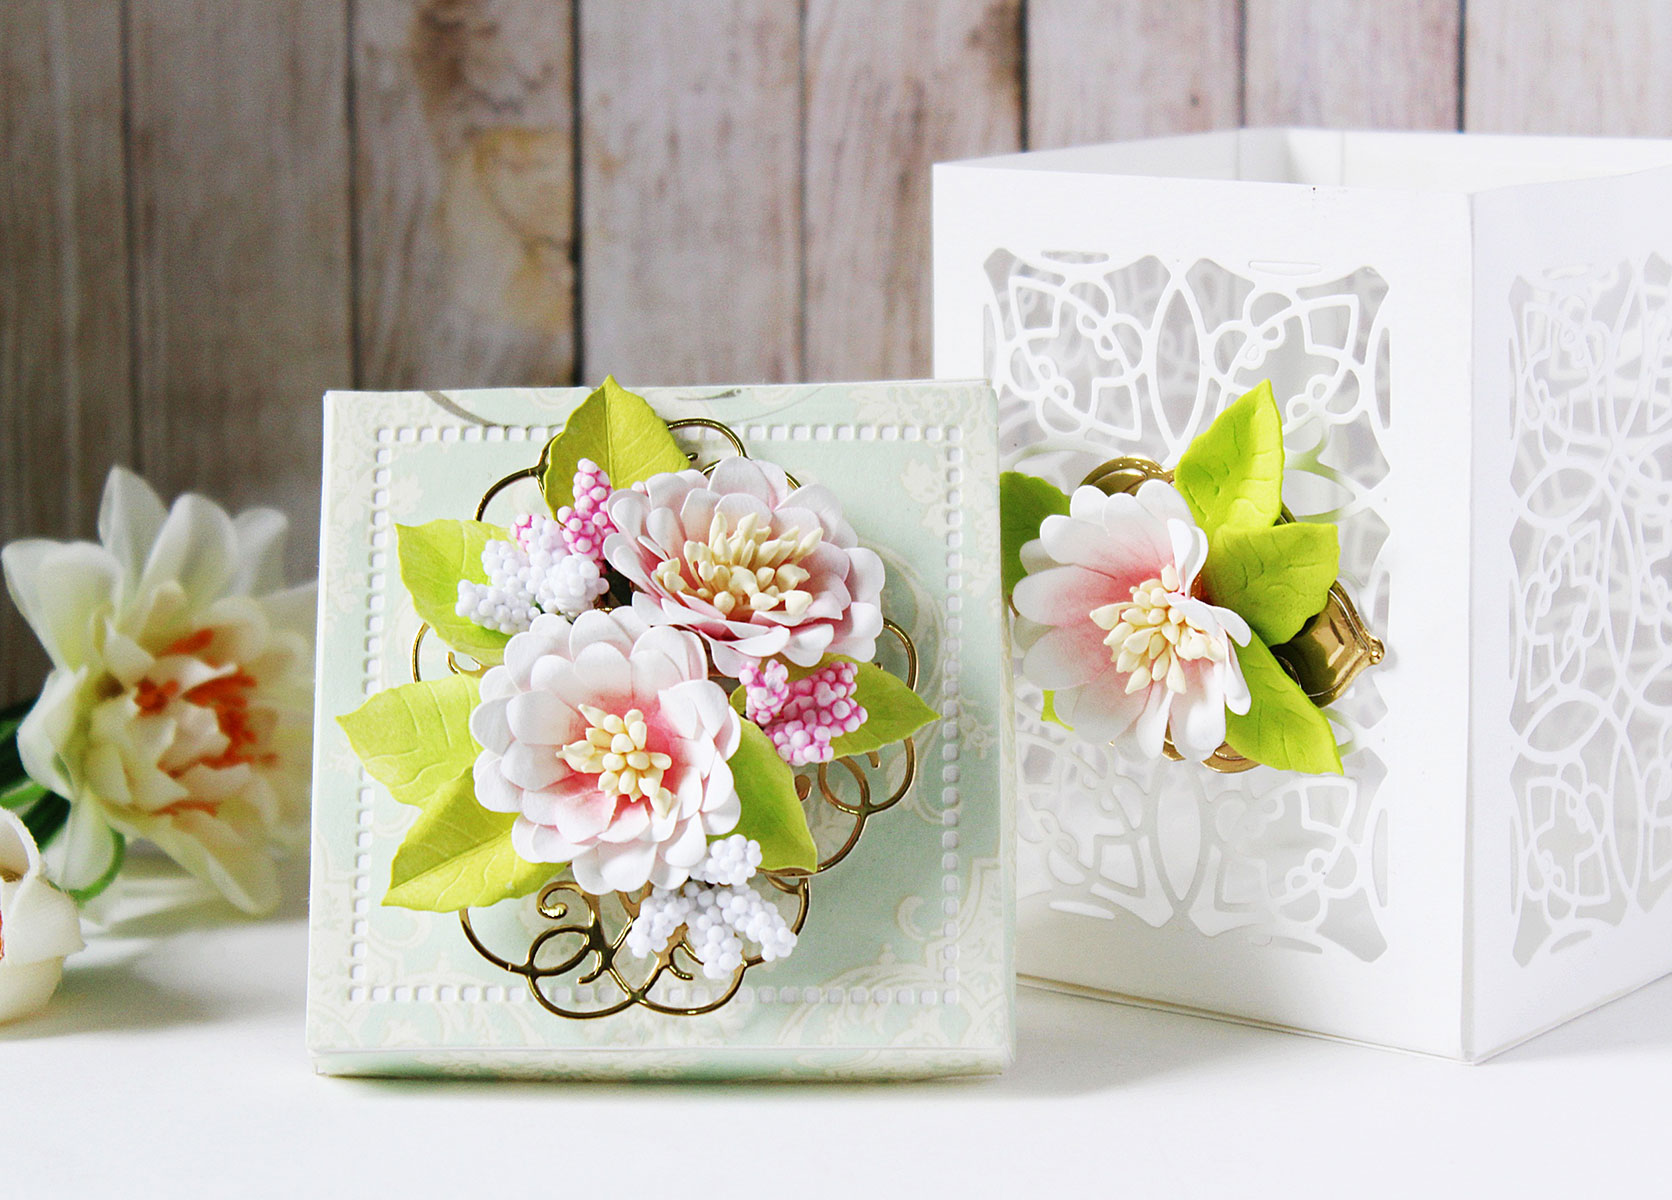
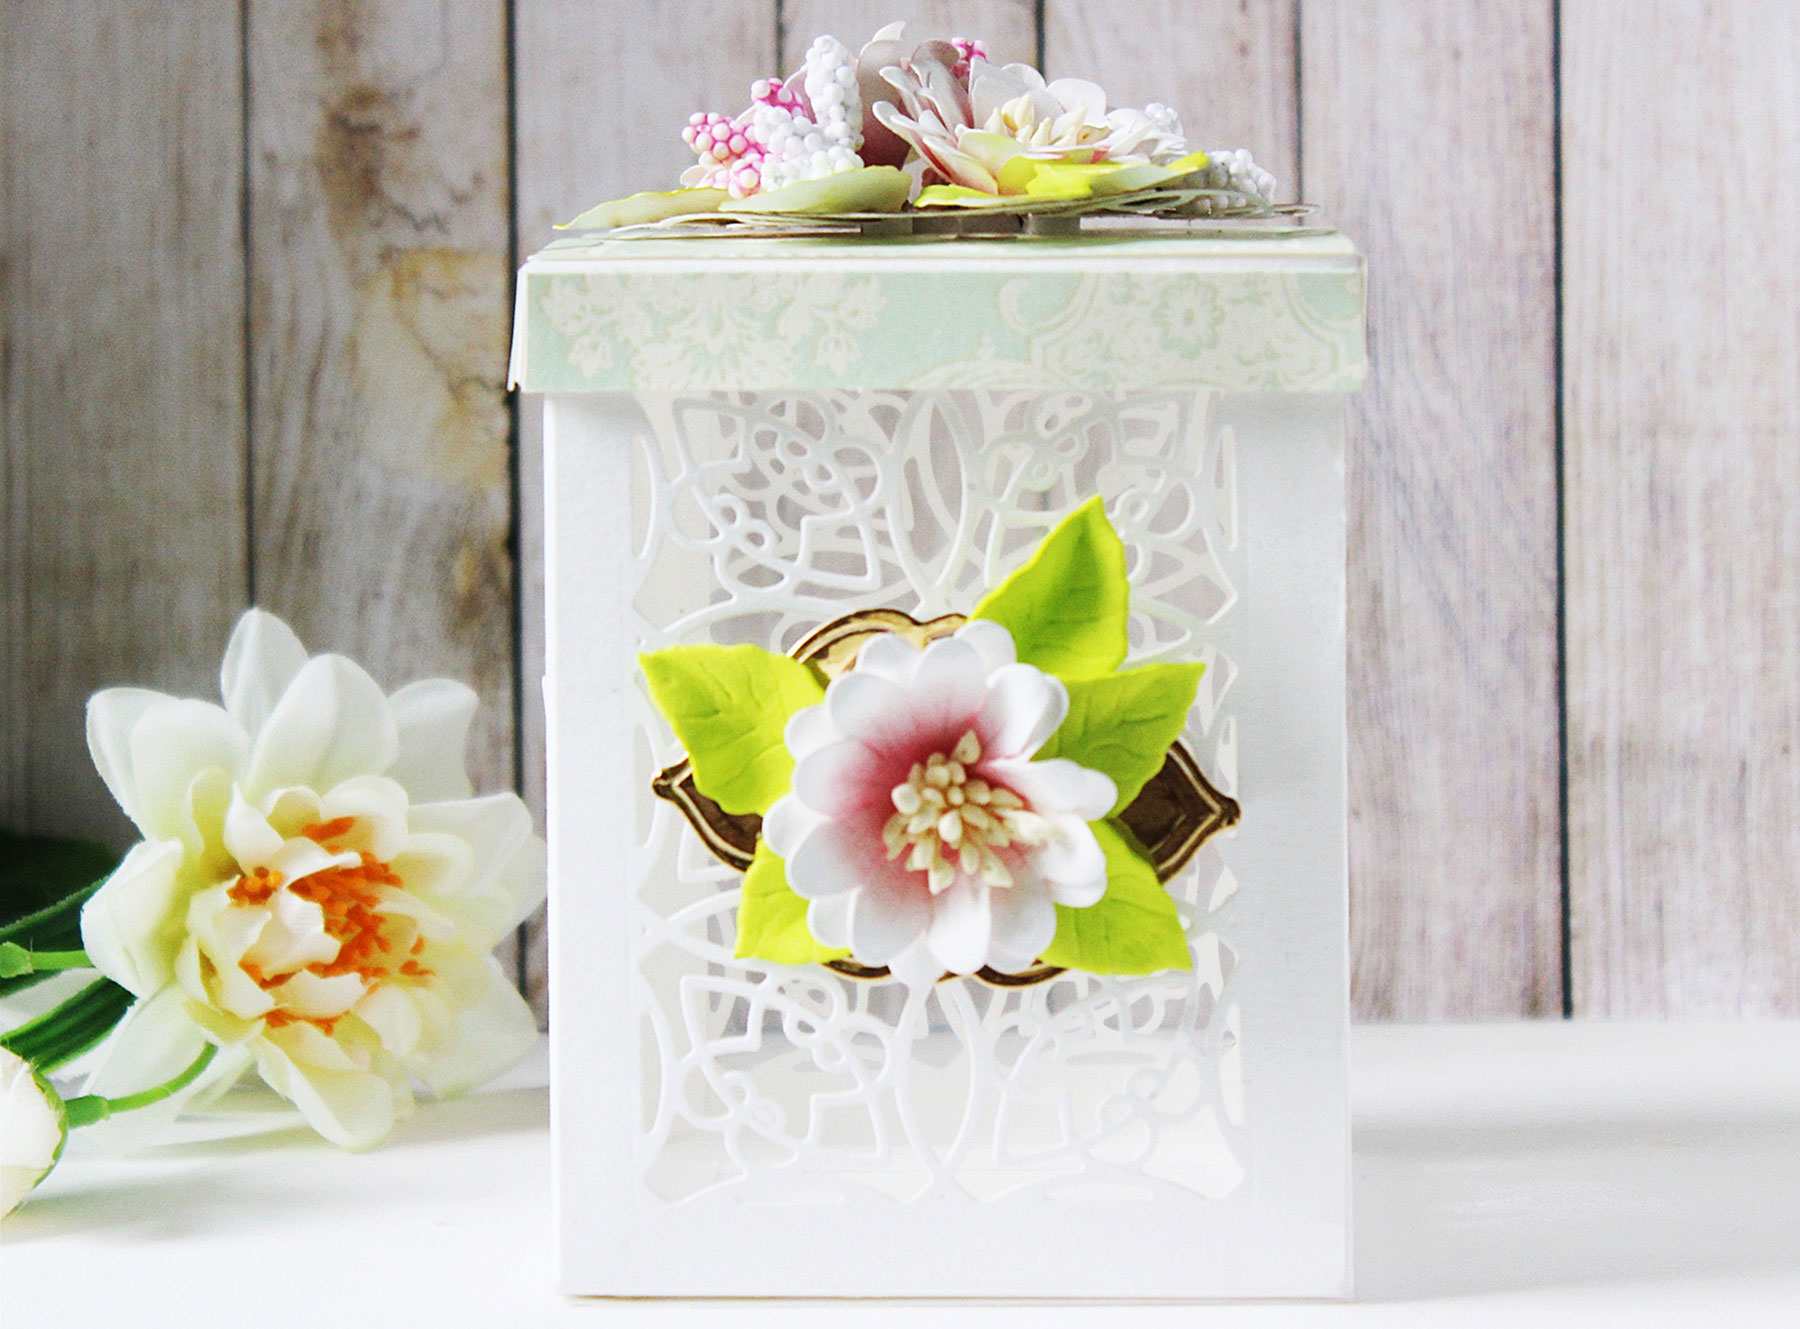
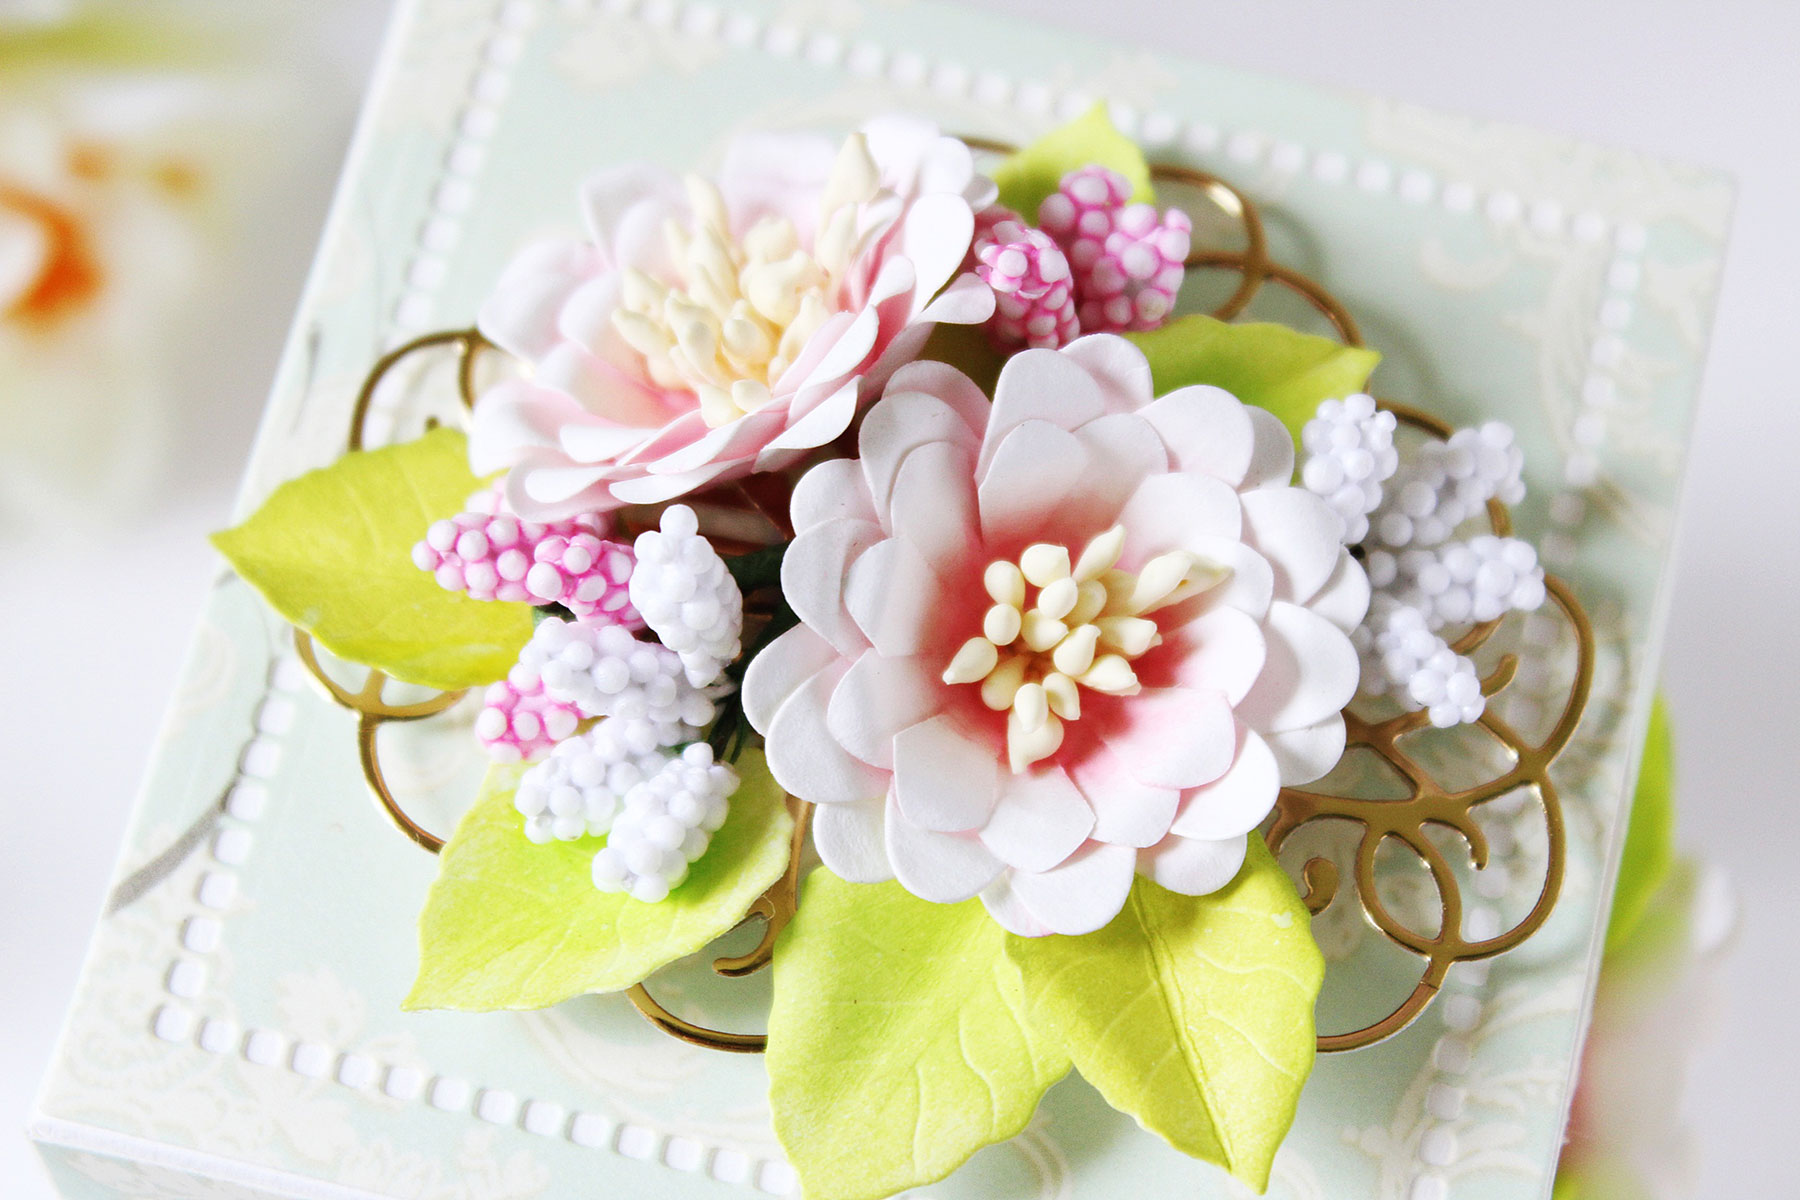
I wanted this box to have a shabby chic feel, so I decided to go with a very soft, pastel color pattern paper for the lid of the box. I die-cut the patterned paper using the largest square die from the Nestabilities Hemstitch Square Etches dies.
























































































8 comments
Thank you for your talent. Loved looking at your creations.
Hussena Makes the MOST beautiful papercraft items!! I adore her handwork:))
Wow, what a beautiful creation!!
Such true feminine beauty!! Am in awe of your gorgeous box and card and pinned them for when I do purchase Becca’s dies! My list is so long!!
Jaw dropping gorgeous !! The delicate die cuts,clean soft colors and your gracefully floral clusters..Awesome !!