Hello, there! It’s
Marge here again with gorgeous
New Classics March Collection. Today I’m going to share how to make patterned backgrounds using dry embossing technique. Since all the dies in Classics March Collection are nested dies, with different patterns on frames one by one in a set, they are just perfect for making interesting patterns all together. So here are my cards for today.

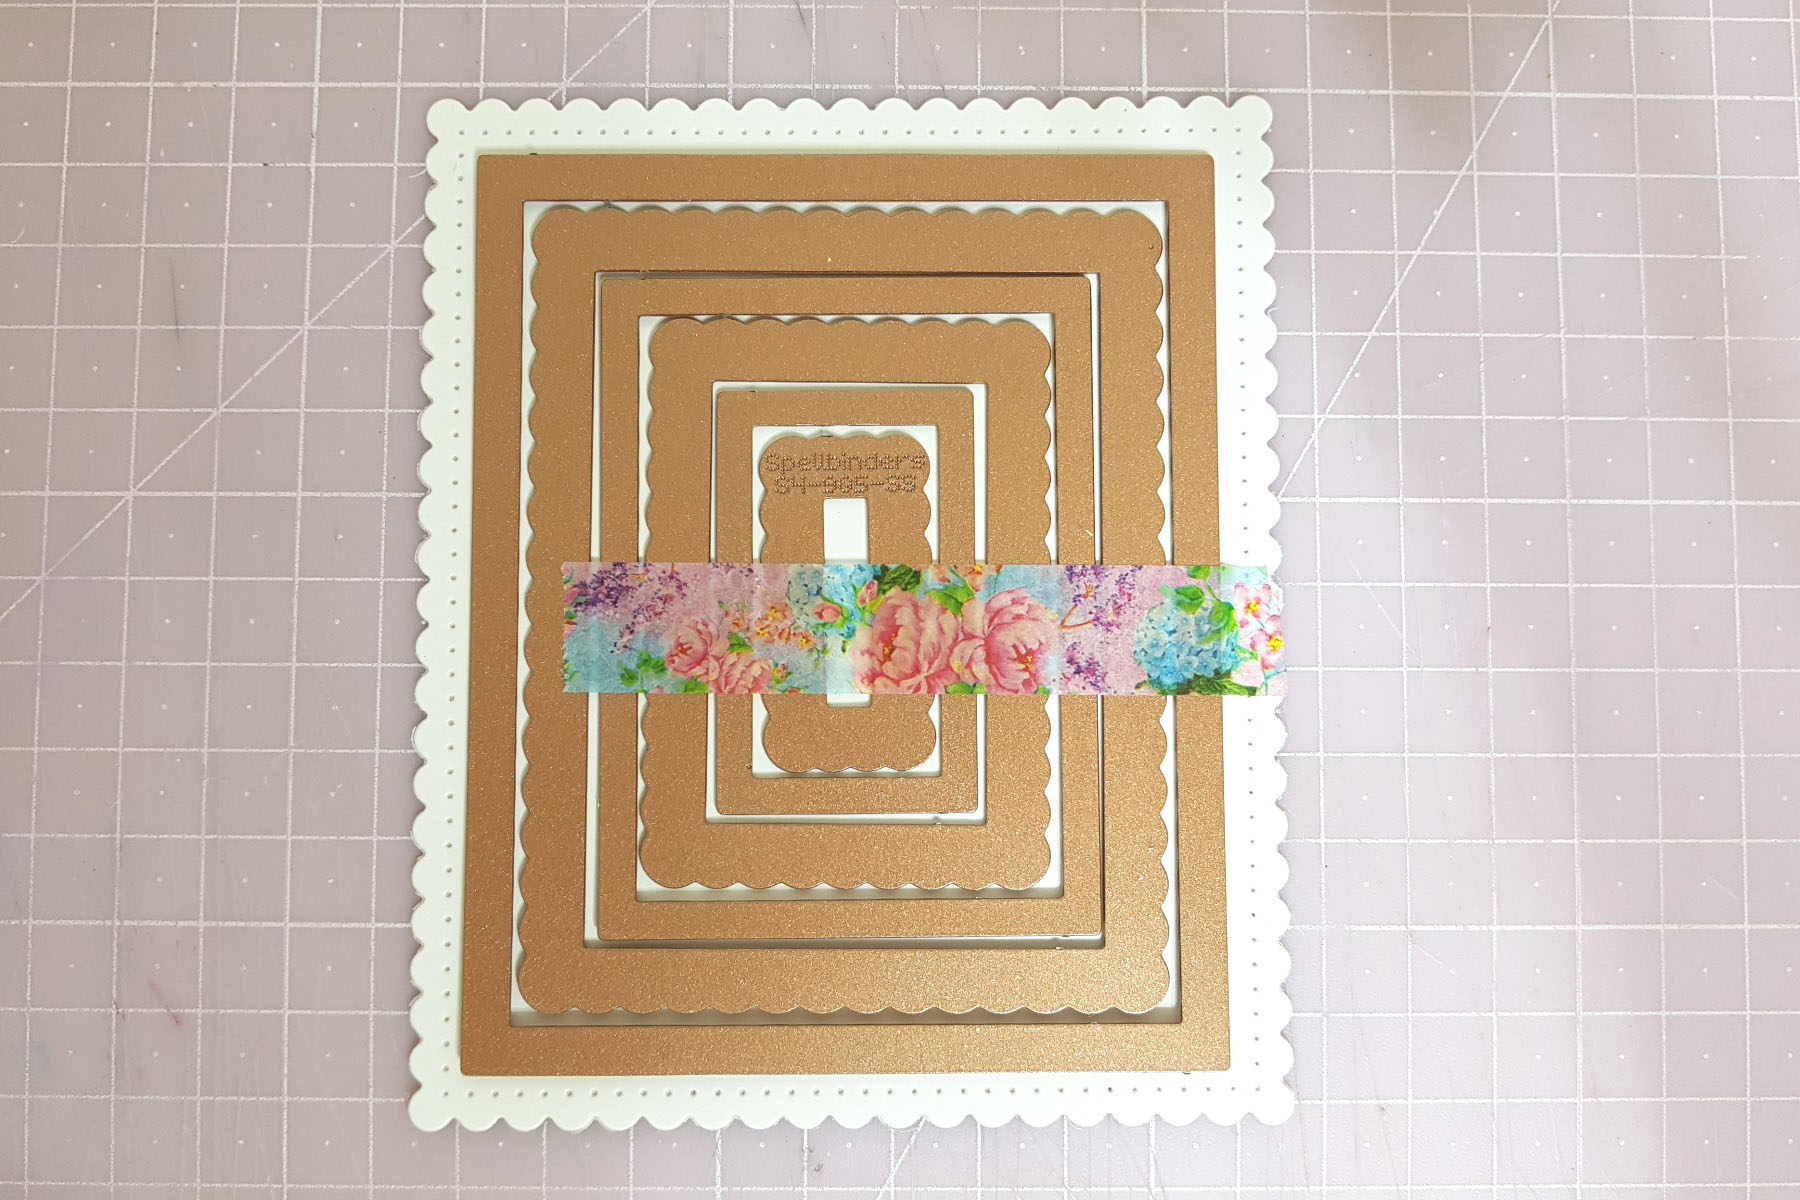
To begin, I cut a white card stock using the largest frame die in the
Fancy Edged Rectangles Dies set, then I placed all other smaller dies on it one by one, put a piece of masking tape on them to keep them from moving on the paper.

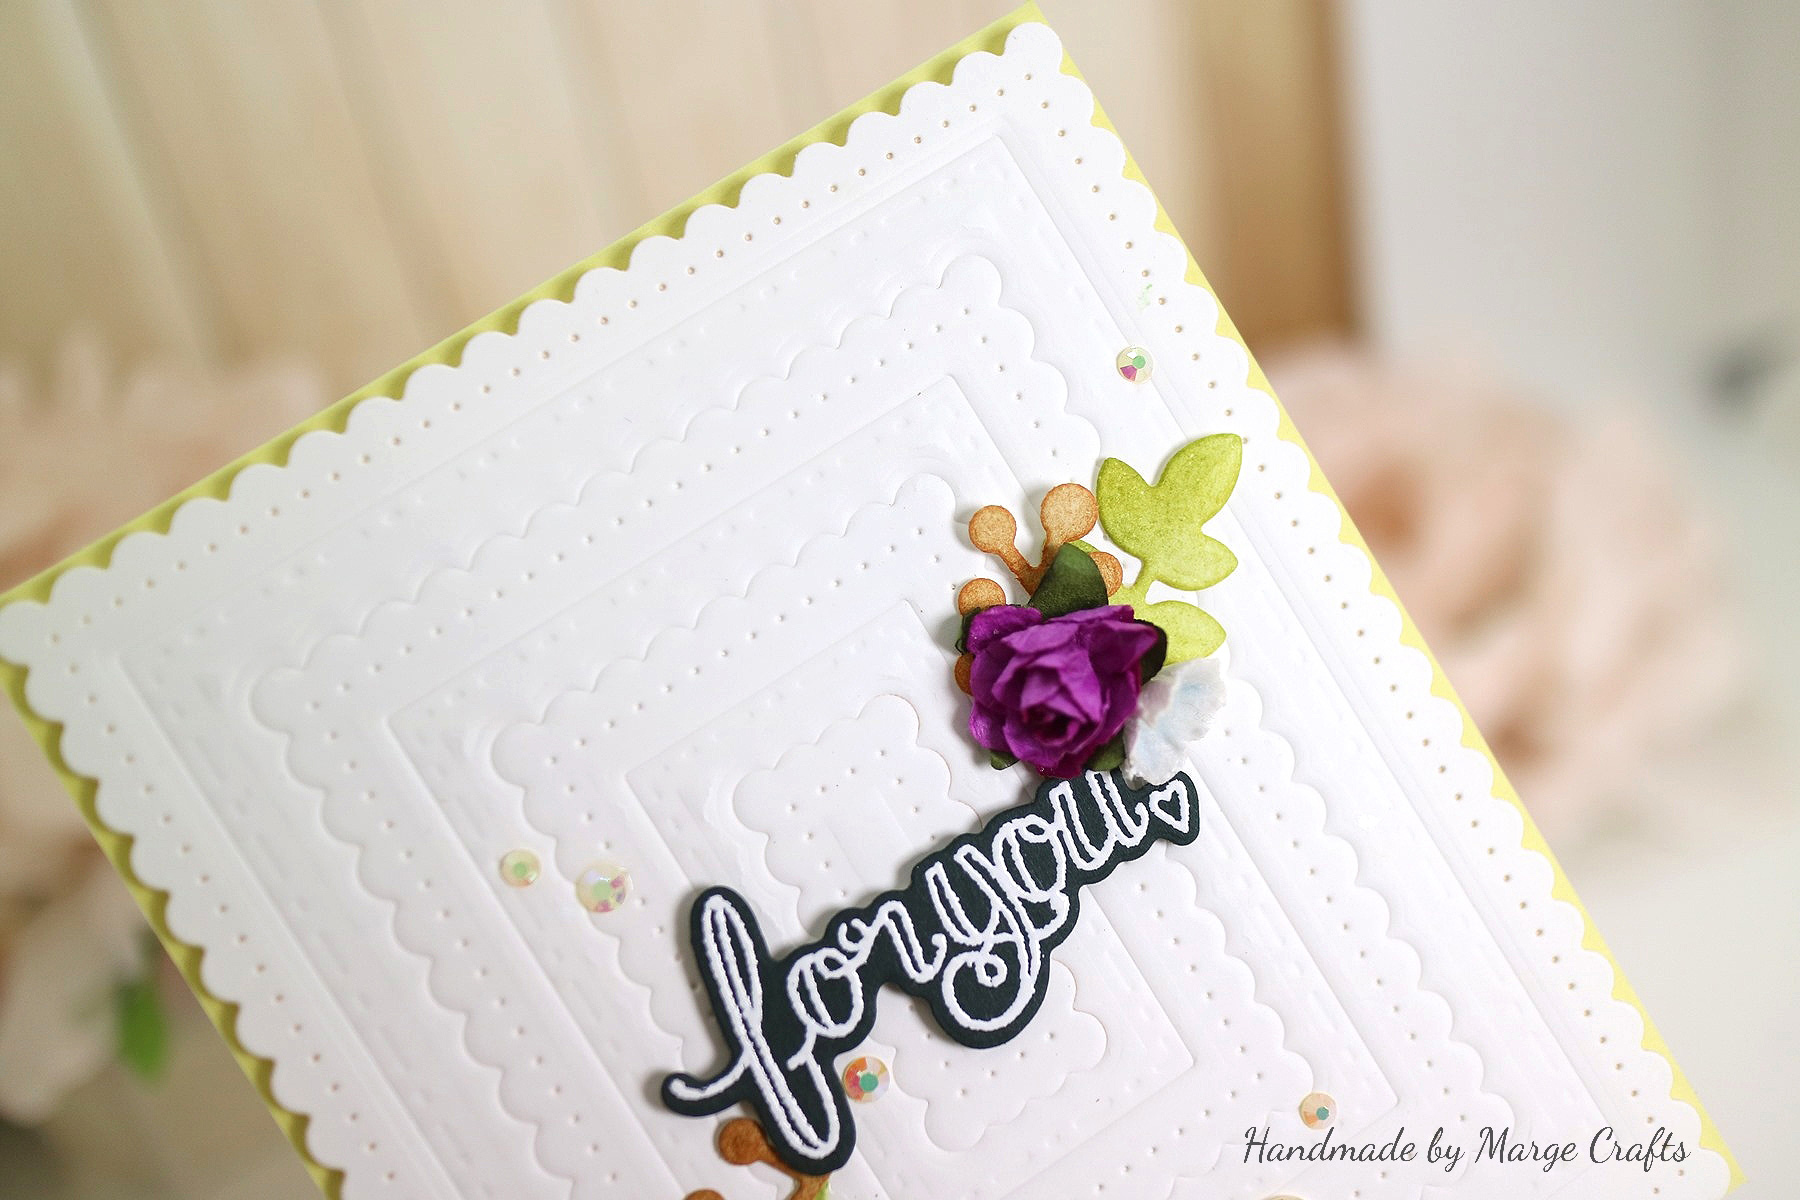
I then ran through it on a cutting machine for dry embossing using an embossing pad and plate. You may dry emboss first and then die cut the outline, but when you do this, the embossed pattern may be flattened while you run it through the cutting machine again. So I die cut the outline first, and then went on dry embossing. Here you can see how the embossed pattern came out.

To show off the clean white background pattern, I made the whole design clean and simple with giving it some focal points. I used
Sentiments 2 Stamp & Die Set By Tammy Tutterow for sentiment, which was heat embossed on a dark cardstock with white embossing powder. Little branches and leaves were cut from a white cardstock using
Wreath Elements Dies by Lene Lok then colored with distress inks. For more embellishment, I added pre-made mini flowers and Pretty Pink Posh Jewels.

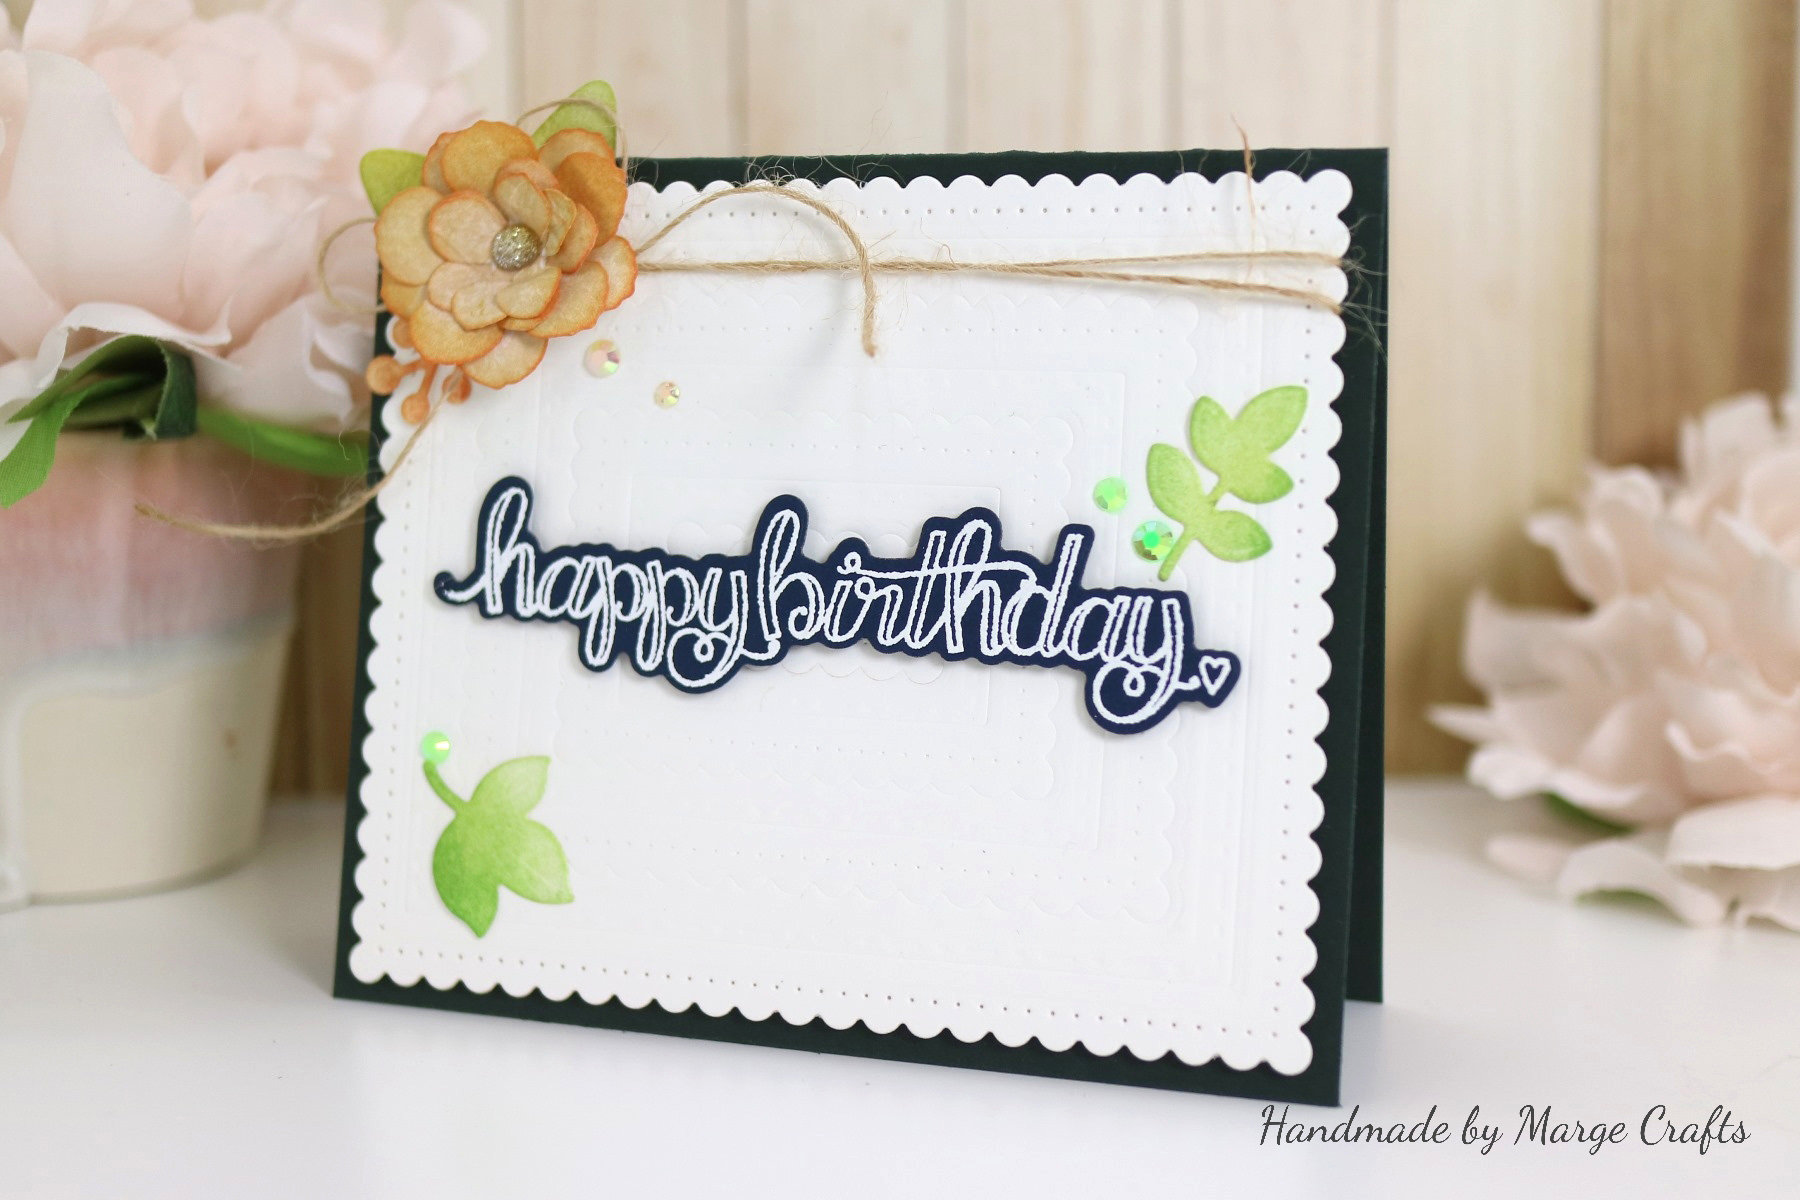
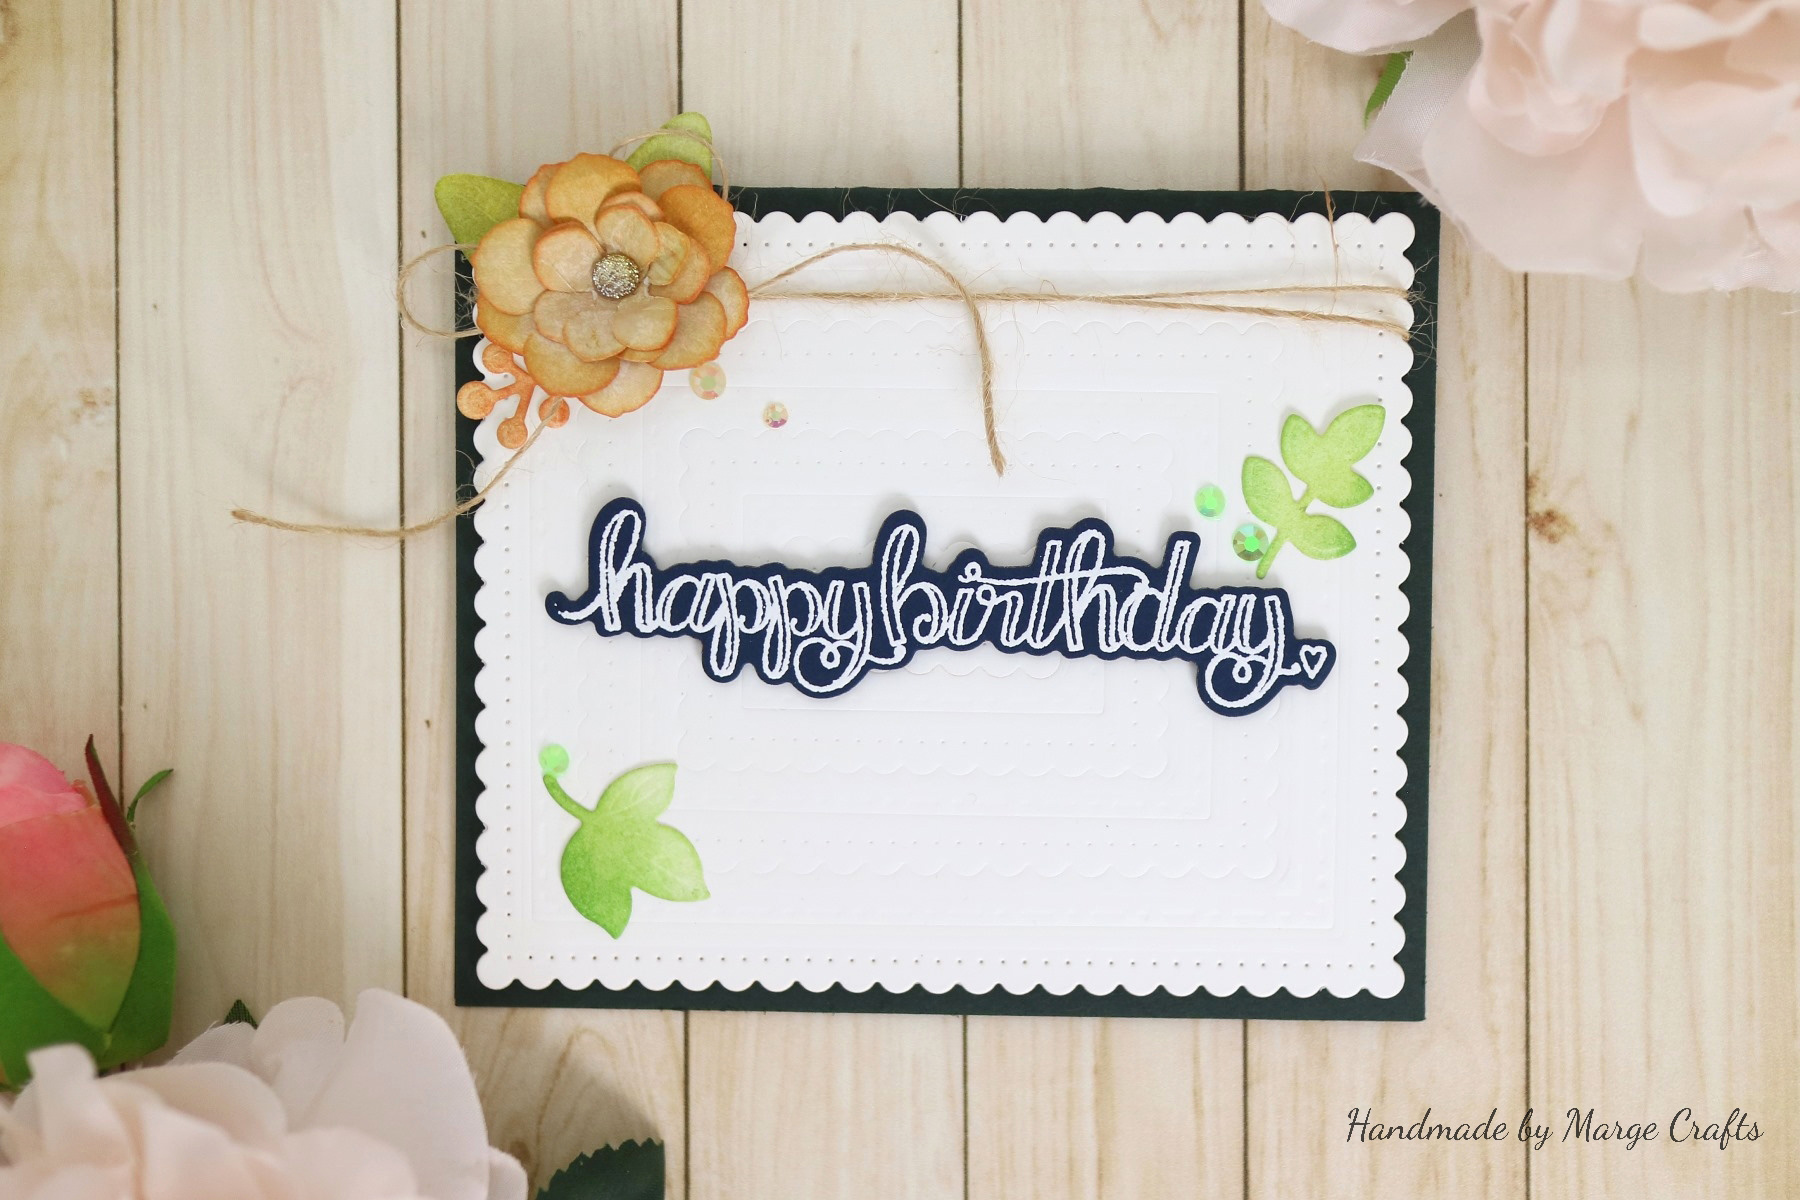
Basically, creative process for the second card was very similar to the first one.

I made the same dry-embossed panel, foam mounted a piece of script die cut made with
Sentiments 1 Stamp & Die Set by Tammy Tutterow, then I added a blossom made with
Textured Flowers Dies by Marisa Job, mini leaves I made for the first card, and finally Pretty Pink Posh Jewels.

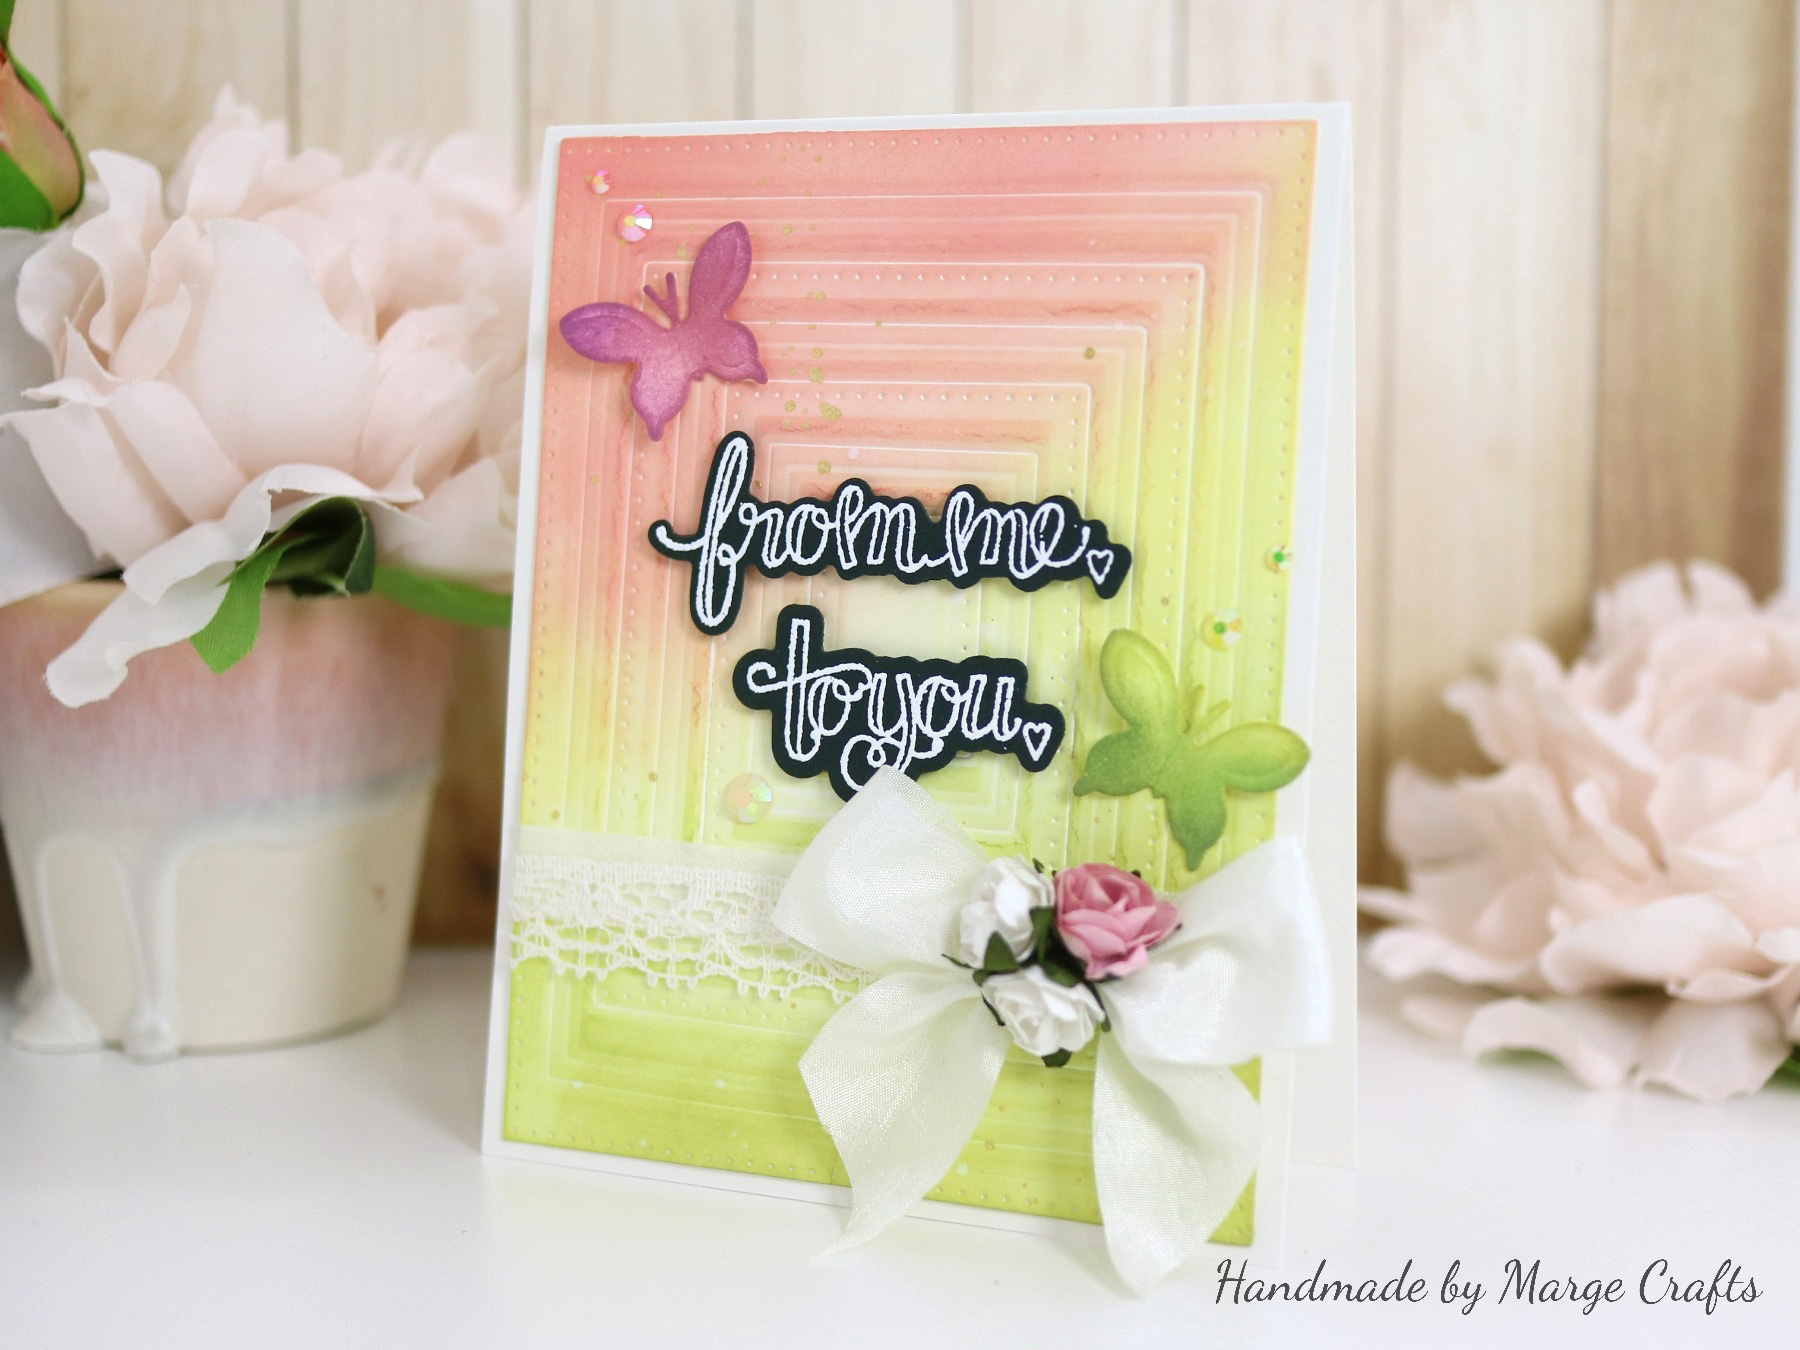
For my third card, I made stripes and dots patterned dry-embossed panel using
Scored and Pierced Rectangles Dies set. To give it some interesting look, I inked the panel using distress oxide inks and blending tools, then splattered gold pearl ink over it.

I loved how ink blending showed off the embossed patterns. Then, I added butterfly die cuts which were blended with distress inks, script die cuts, lace strip, ribbon, and jewels in a similar way with the previous cards.

Spellbinders Supplies:
Other Supplies:
Kaisercraft Paper Blooms Mini Flowers, Pretty Pink Posh Jewels Bundle, May Arts White Silk Ribbon, May Arts Natural Twine String Burlap
Thank you for reading this post. Have you enjoyed it? Hope you will visit again in my next post. Have a wonderful day!
Marge