Taxes and shipping calculated at checkout
Spellbinders Blog
3D Holiday Vignettes Inspiration | Dimensional Christmas Cards with Karin Åkesdotter
Aug 24, 2019
Hello! My name is Karin Åkesdotter (you can find me on Instagram as Peppermintpatty42 and my blog is PeppermintPatty’s Papercraft ). I am thrilled to be here today to share several Christmas projects I’ve made with the absolutely wonderful 3D Holiday Vignettes Collection by Becca Feeken.
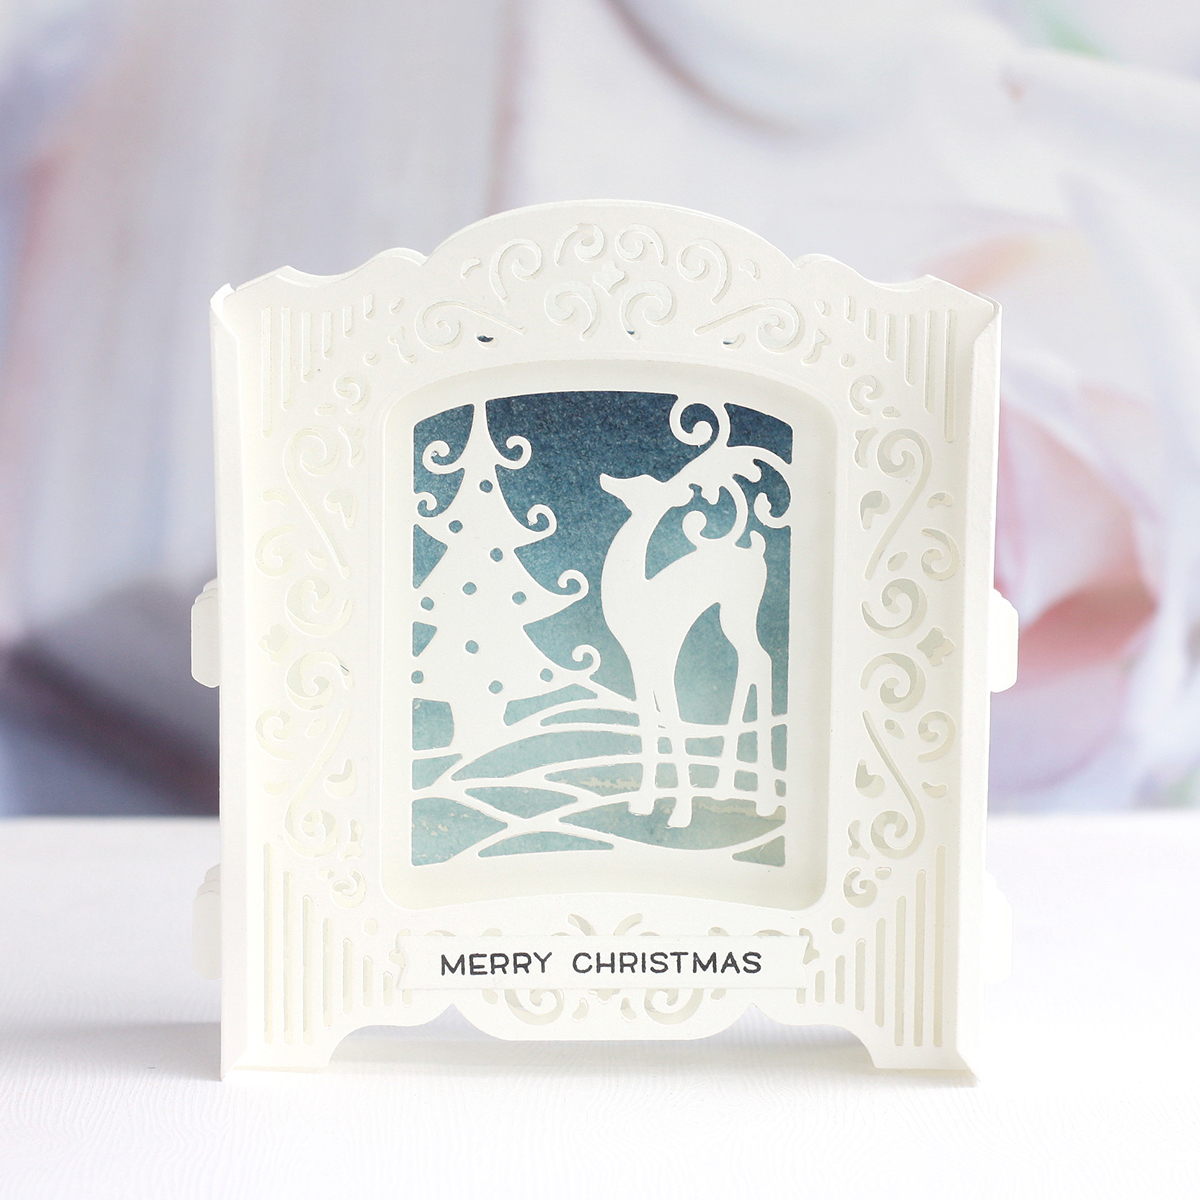
These dies are absolutely wondrous – if you like fast but amazingly beautiful card designs this collection is for you - and if you are the other type of crafter – who likes to spend lots of time to create fabulous projects with lots of beautiful details – this collection is for YOU!
I am the first type of crafter – I like my projects quite simple but want a lot of dimension and beautiful details that make my projects look worked at – like I’ve spent a lot of time making something extra for the recipient.
These first two projects are just like that – fast to make but the result is stunning.
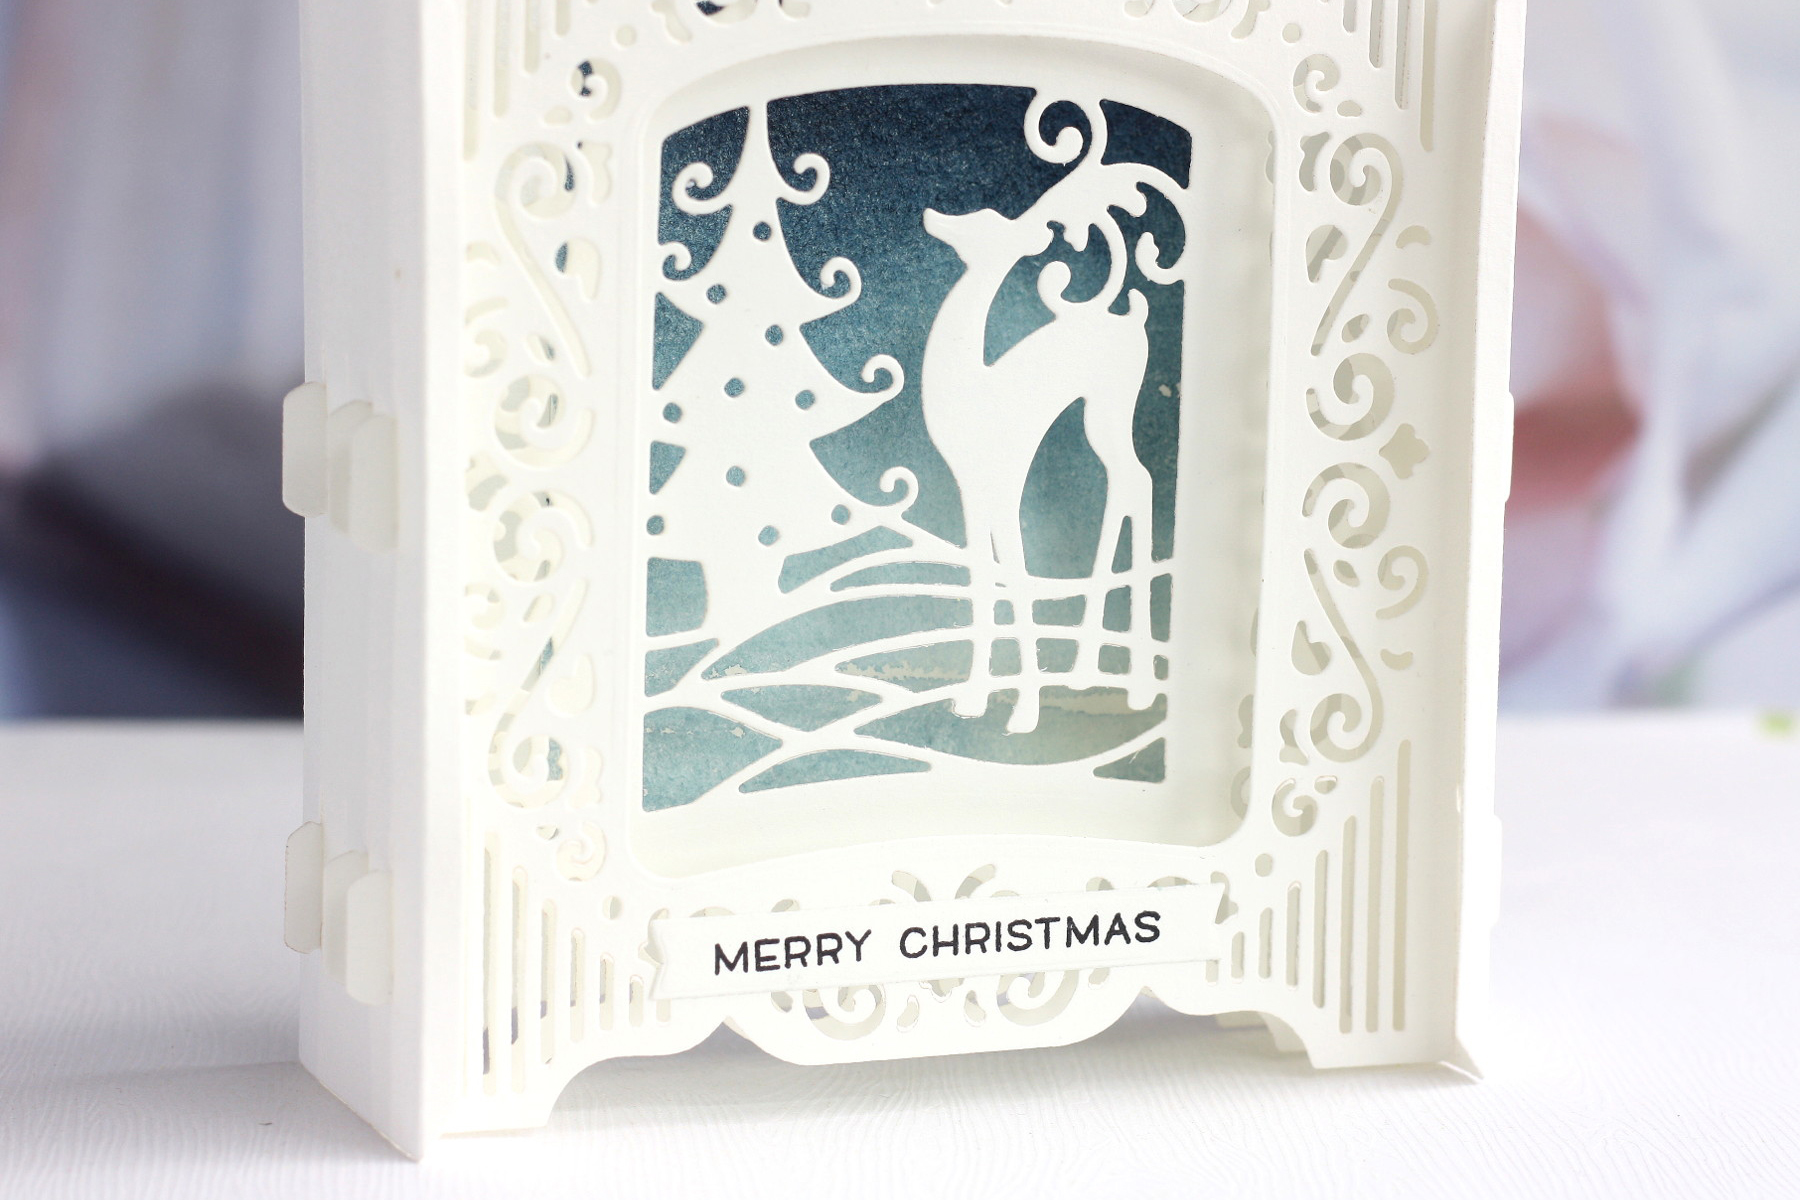
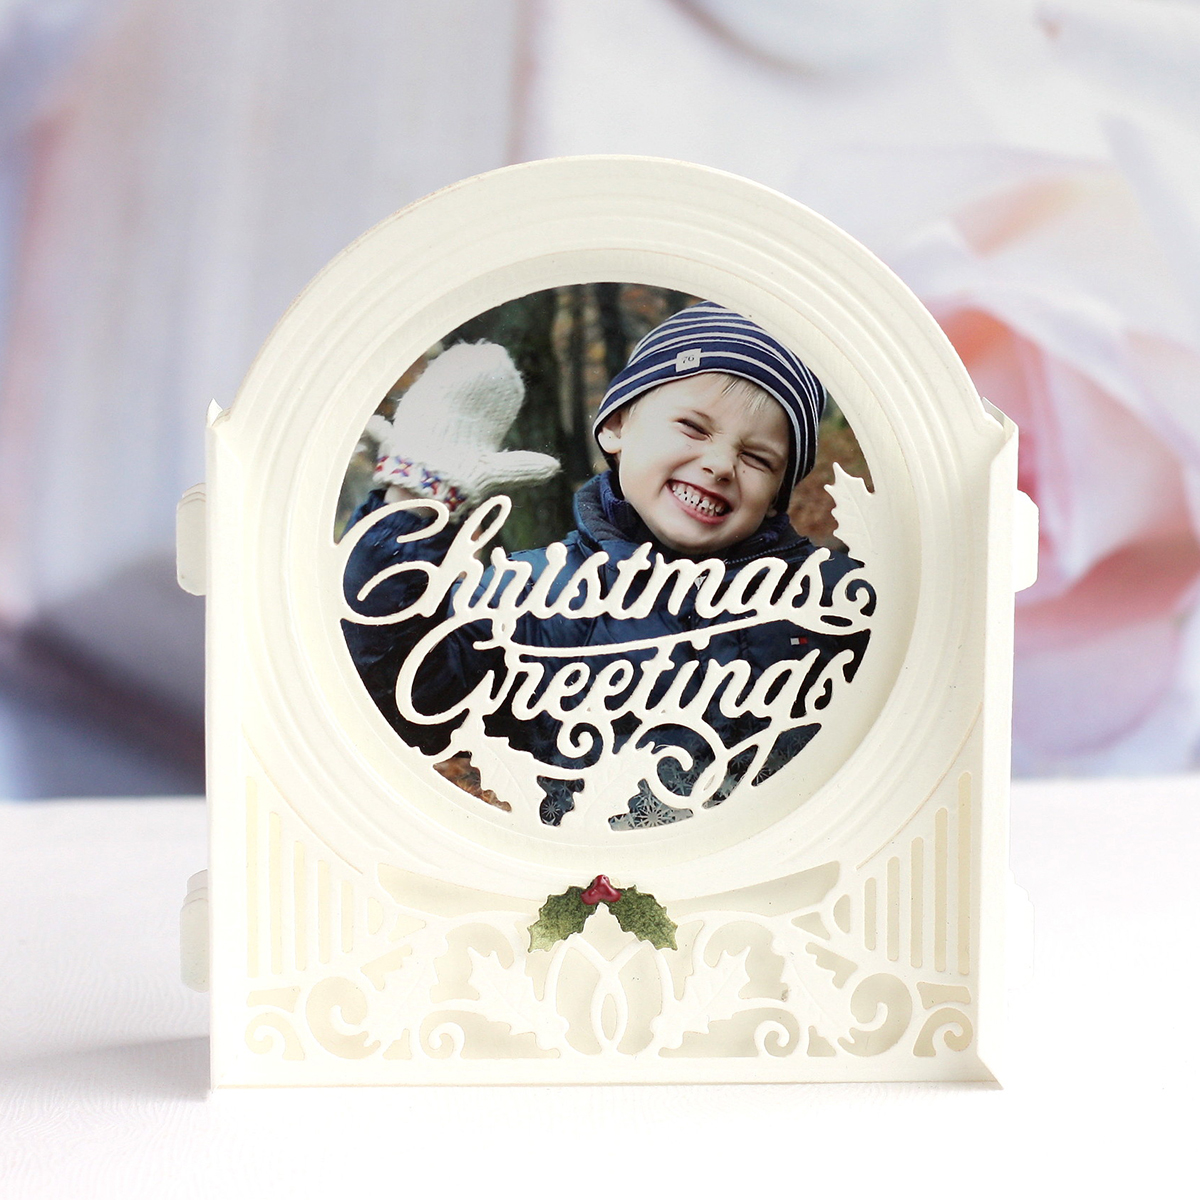
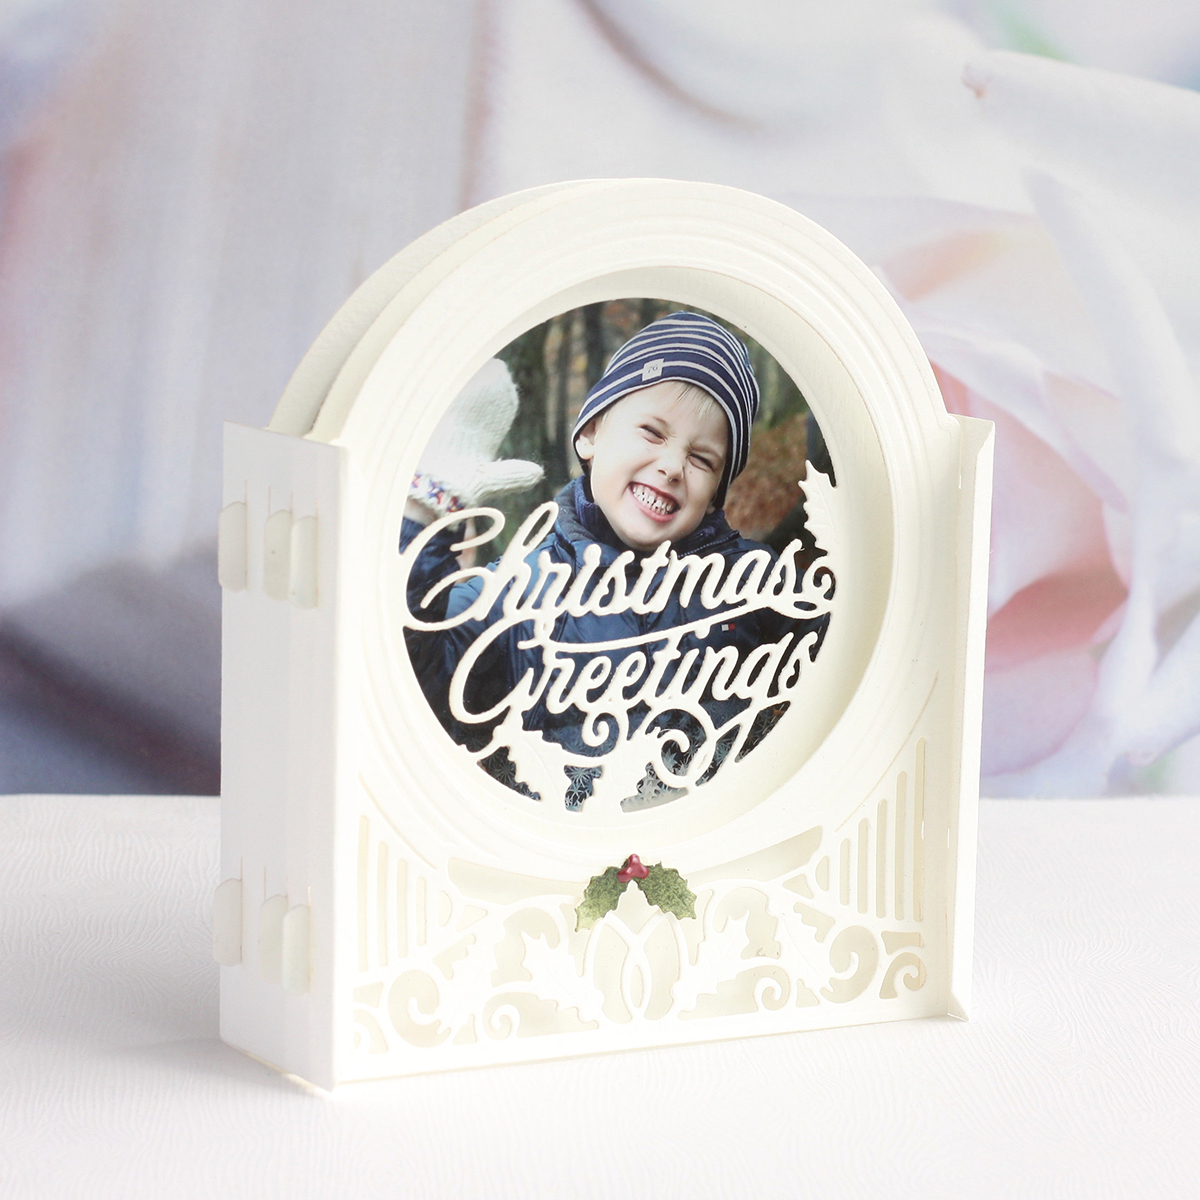
For these cards I simply die-cut the layers I liked the best for my backgrounds and assembled. For last I adhered my backgrounds, the photo and the inked sky, to the last panel before adding that.
I die-cut the holly leaves, watercolored them and added some nuvo drops before adhereing them to the center of the Snow Globe panel – and stamped and die-cut a sentiment strip for the Grand Holiday Cabinet card and that was it.
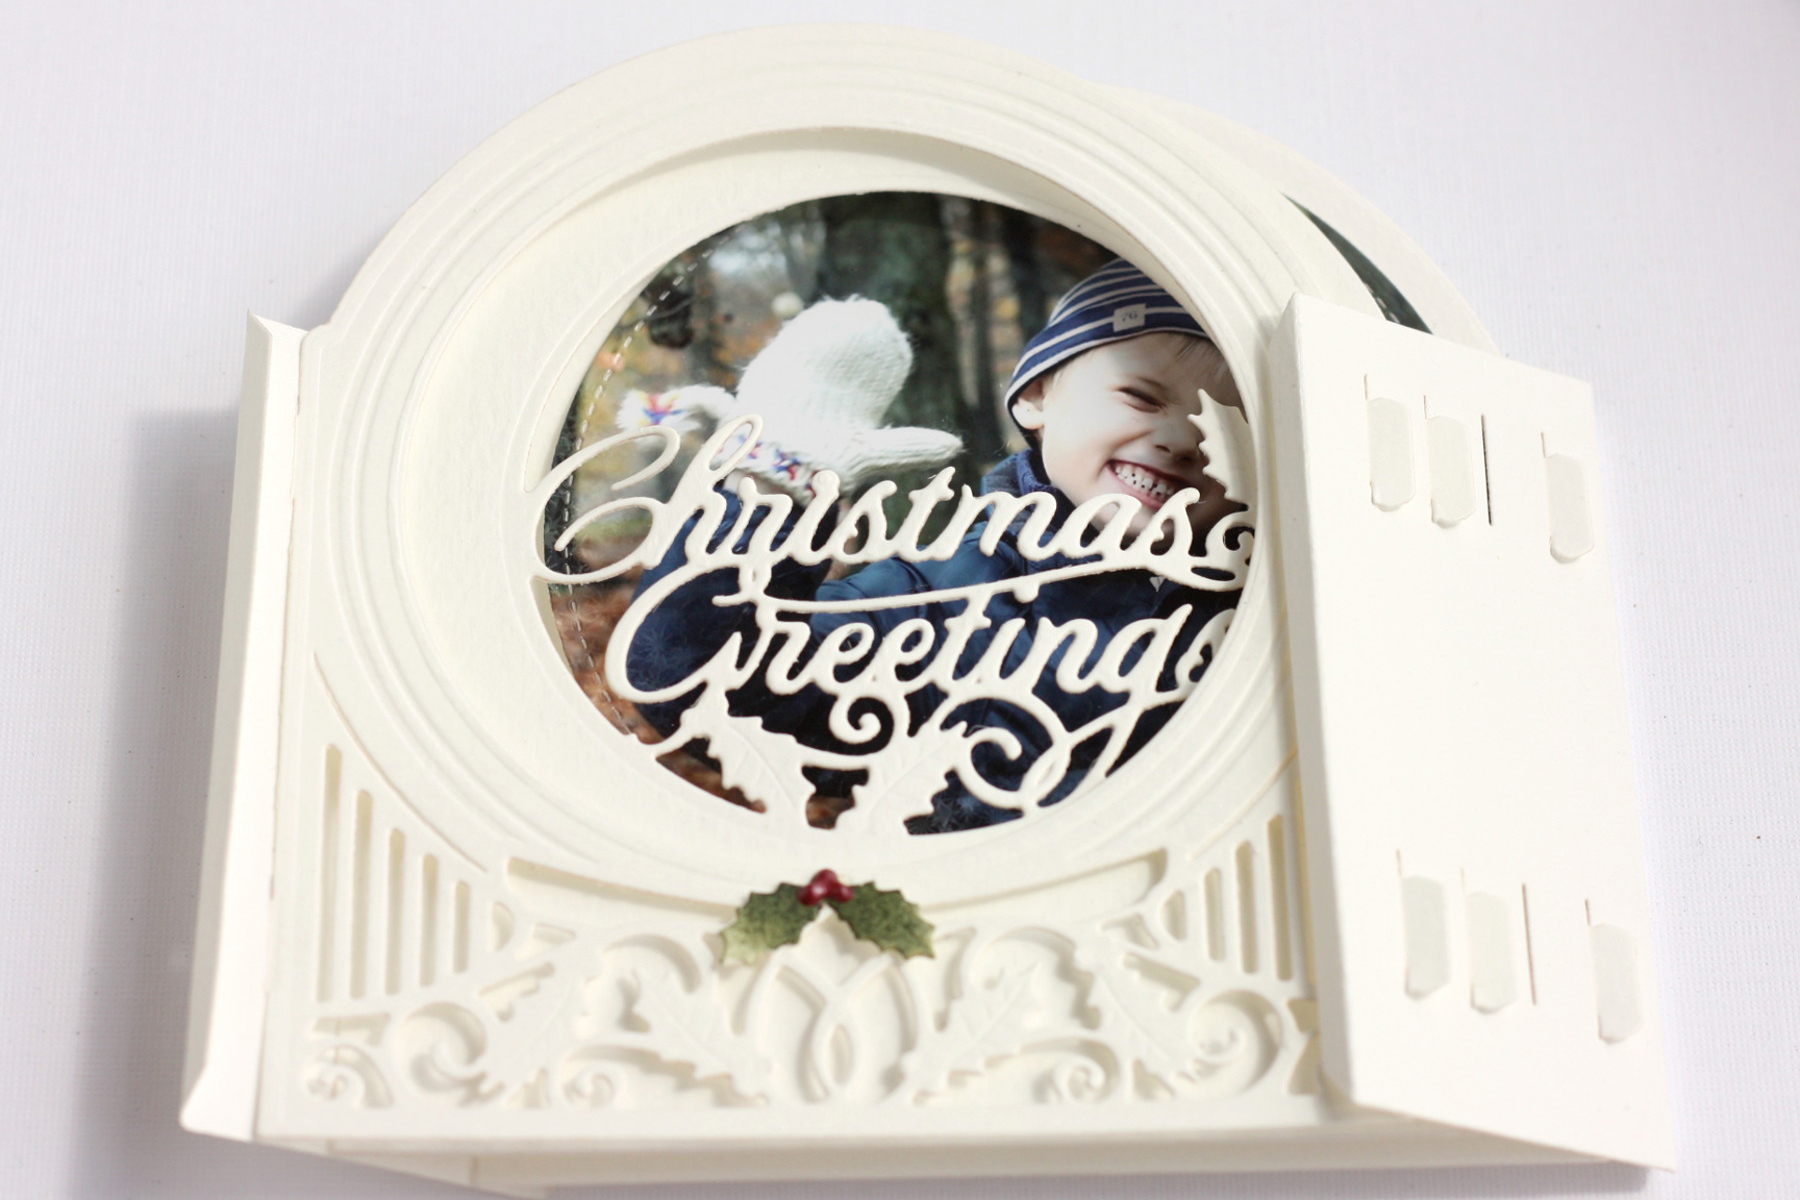
You’d think that a project like this would be difficult to mail but folds and unfolds super easy like in the picture above – making this my go-to design for my Christmas Cards this year!
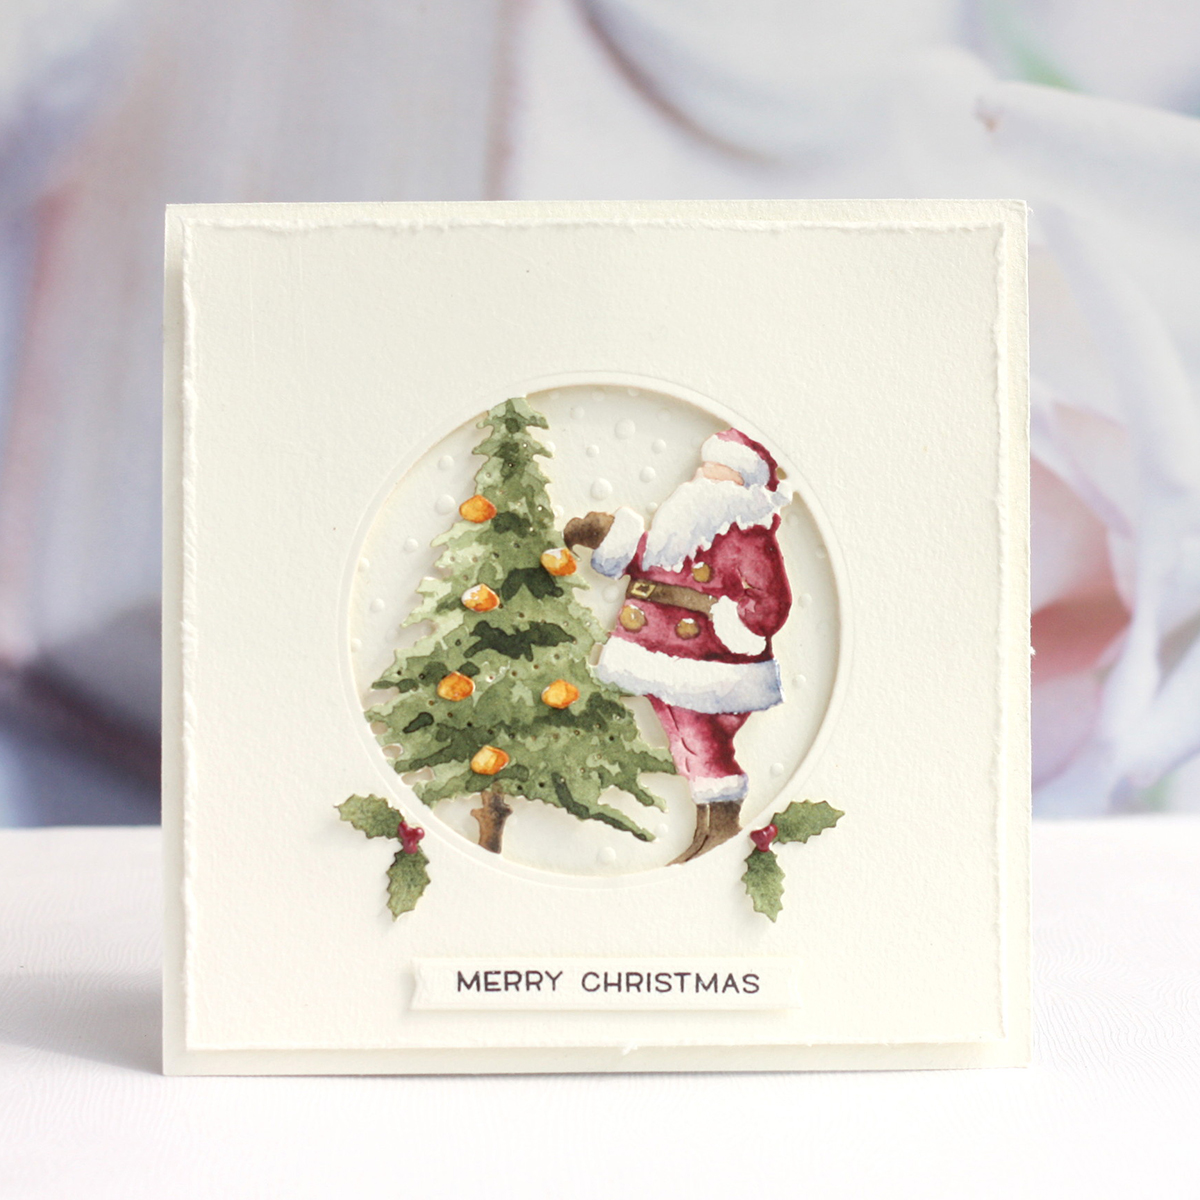
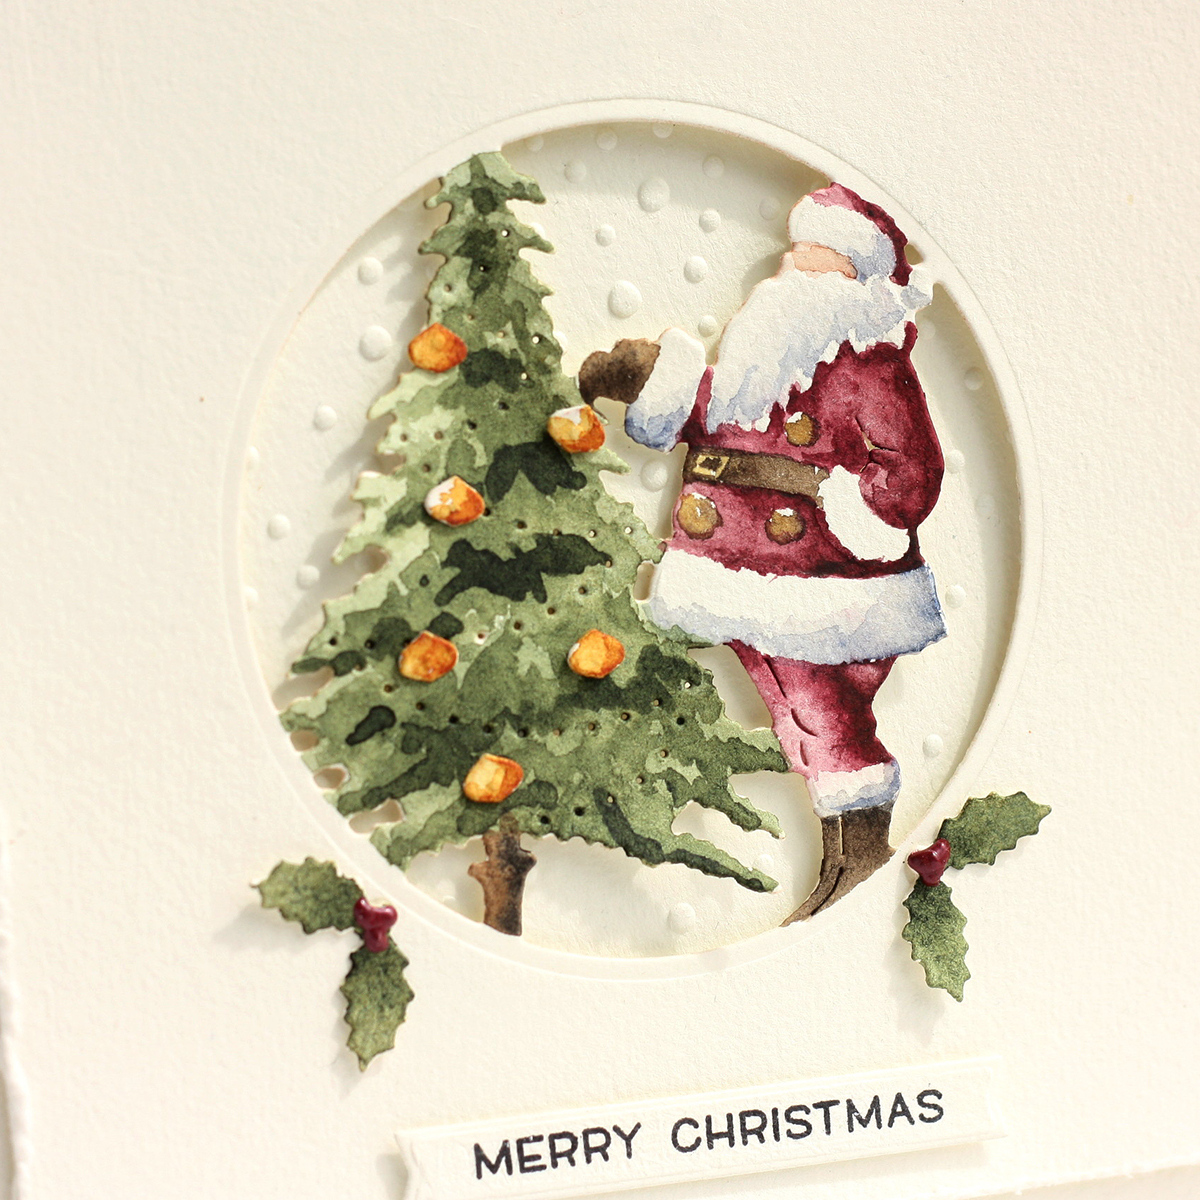
The layering dies are so wonderful – You can make amazing projects with them alone. Here I die-cut the Santa layer from Santa Clause Layering Dies and colored it with watercolors. Because the embossing is so good it makes it super easy to do no-line coloring (-: with a beautiful and professional result even for a watercolor beginner.
I added watercolored ornaments for the tree and and stamped and die-cut a sentiment strip for the front panel. I finished off by dry embossing a small snowfall square that I added to the card base before assembling the card.

/>