


Posted by Michelle Short
on September 30, 2017


We are back with another look at the October My monthly hero Release! The kit will be available on Monday, October 2nd at 1pm Eastern/10 am Pacific. We'll be sharing ideas for using the main kit and the optional add-on products all weekend long, so stay tuned for more inspiration! Now let's join Michelle, who is sharing another look at the fabulous kit, available on Monday!
Hello there, I know I say this every month but what a fabulous kit! I love that you can make so many different scenes with this kit. I decided to create a snowy North Pole scene today that would be lovely to send at Christmas.
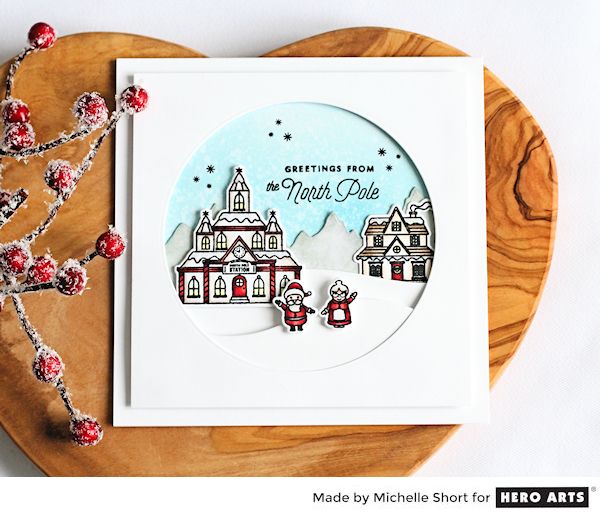
I started off by stamping the images from the set on to white cardstock, using Intense Black Ink. I coloured them using Copic Markers and used the coordinating dies to cut them out. I then took a piece of Bristol cardstock and blended over blue Distress Ink on to this and spritzed with water to create a sky background. The sentiment was stamped on to this piece also, along with a few snowflakes. This was added to a white square card base. I then die cut the mountains from more Bristol card, blended over grey Distress Ink and spritzed also. I then went about creating my scene.
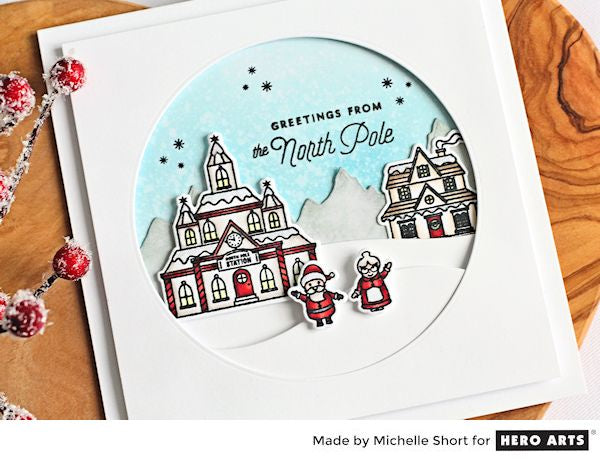
I added the mountains on to the background piece and then added the house to the right with tape runner. I cut some snow banks from white cardstock and added one of these on top. I added the North Pole station with foam tape and then added the other snow bank with more foam tape. Santa and Mrs Claus were added with foam tape as well. I took a square panel of white cardstock and cut a circle from it using a Circle Infinity Die. I then added this piece on to the card with foam tape to frame the scene. To finish off, I added White Blizzard Nuvo Drops to the snow on the buildings.
Win a kit before you can buy it! Just leave a comment on this (and every) Countdown to Creativity post! We'll randomly draw one lucky winner from all the comments left across all countdown posts, and announce the winner first thing Monday morning, October 2nd before the kit launches at 1pm Eastern. The more you comment, the more chances to win!
Good luck!























































































437 comments
This card is adorable!! It looks so fun to make as well as to receive. I can’t wait to get started making this!!
So how cute is this set! I love all the dimension to the card! My dear friend Michelle told me to google this site, she said I would NOT be disappointed…..she was right!
So adorable!!!!!!
How cute. Santa and the Mrs.
again a fun and creative card to make. Not as colorful, cleaner, snowy, a card that would be saved.