


Posted by Michelle Short
on June 30, 2018


We are back with another countdown post, leading up to the release of the July My Monthly Hero Kit! Release day is Monday, July 2nd at 1 pm Eastern/10 am Pacific. Join us as we continue to share ideas using both the main kit, as well as the new optional add-on products that will also be available on Monday. Now let's join Michelle who is sharing a clean and simple card using the main kit.
What a wonderful kit! I love the celebration/fun theme of this kit but I wanted to show how you can make a general hello card with this kit too. I love the plane image and thought it would be fun to have it flying above the clouds.
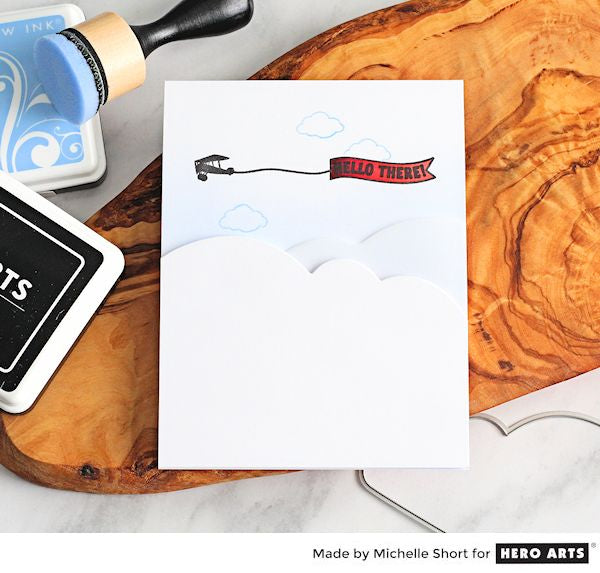
To start with, I took a white card base and using a blending tool, blended some Soft Sky Shadow Ink on to it to create some subtle colour. I then stamped the plane image from the main stamp set above, with Intense Black Ink. I also made a mask for the banner part by stamping it on to mask paper. I fussy cut the mask out with scissors and placed this over the image on the card.
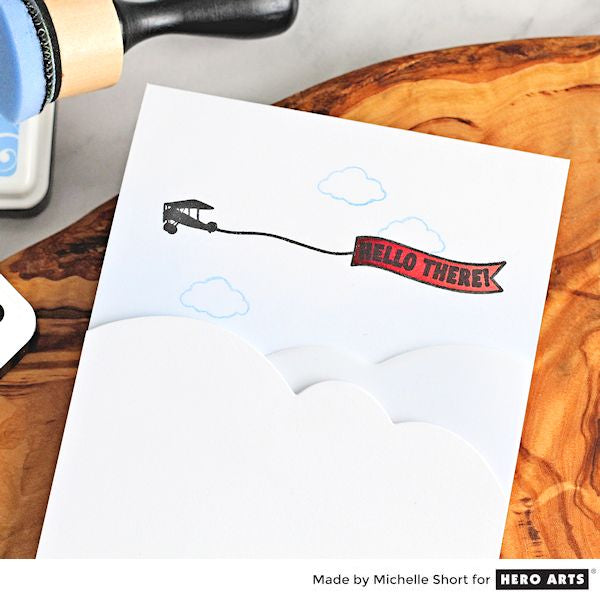
I took the little cloud image from the main stamp set and stamped this three times, using Soft Sky Shadow Ink. I then removed the mask. I coloured the banner part using red Copic Markers and then stamped the 'hello there' sentiment from the main stamp set. The sentiment is curved already so it is ready to go. I did find that the stamped clouds were getting a bit lost, so I went over the lines with a blue colour pencil to help them pop.
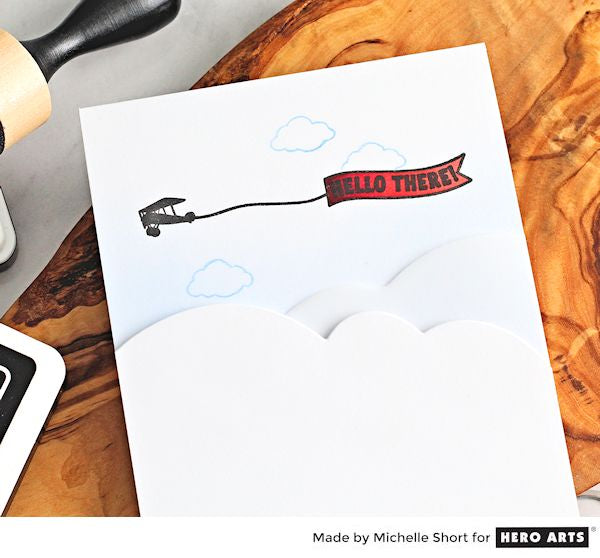
I die cut a Nesting Cloudy Infinity Die from Vellum and adhered this on to the card towards the bottom (so the adhesive would not be seen) and cut the excess off from the side. I took a white cardstock panel and using another Nesting Cloudy Infinity Die, I partially die-cut in to the panel to create the top cloud border. This panel was added to the card with foam tape.
Win a kit before you can buy it! Just leave a comment on this (and every) Countdown to Creativity post! We'll randomly draw one lucky winner from all the comments left across all the countdown posts, and announce the winner first thing Monday morning, July 2nd, before the kit launches at 1pm Eastern. The more you comment, the more chances to win!
Good luck!
























































































261 comments
This little plane is super cute! It’s so perfect for so many people in my life! Love this sweet idea!
Clean and simple but stunning, that pop of red draws your attention to it while the vellum adds a delicate touch to it
This is nice subtle alternative for this kit. Love it!
Simple but oh so cute!
Simple and beautiful :)