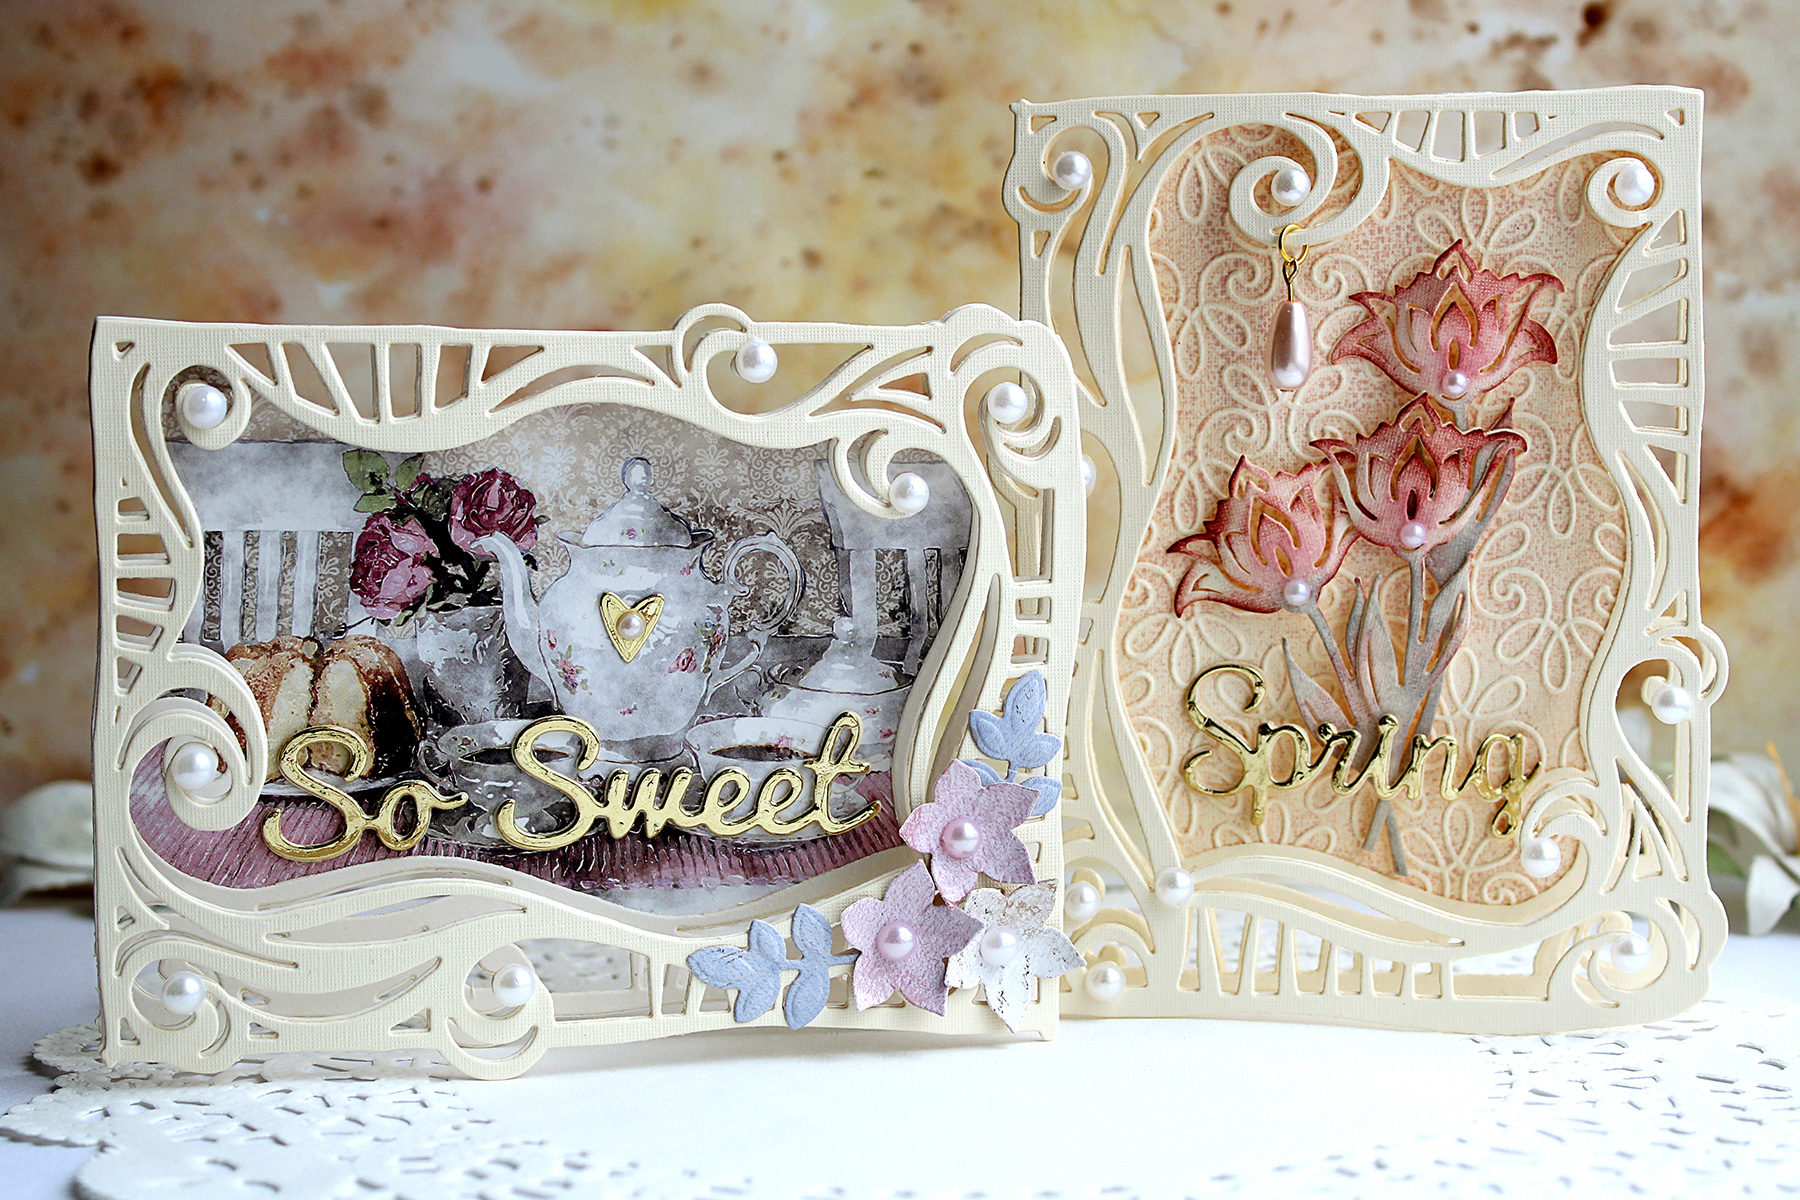
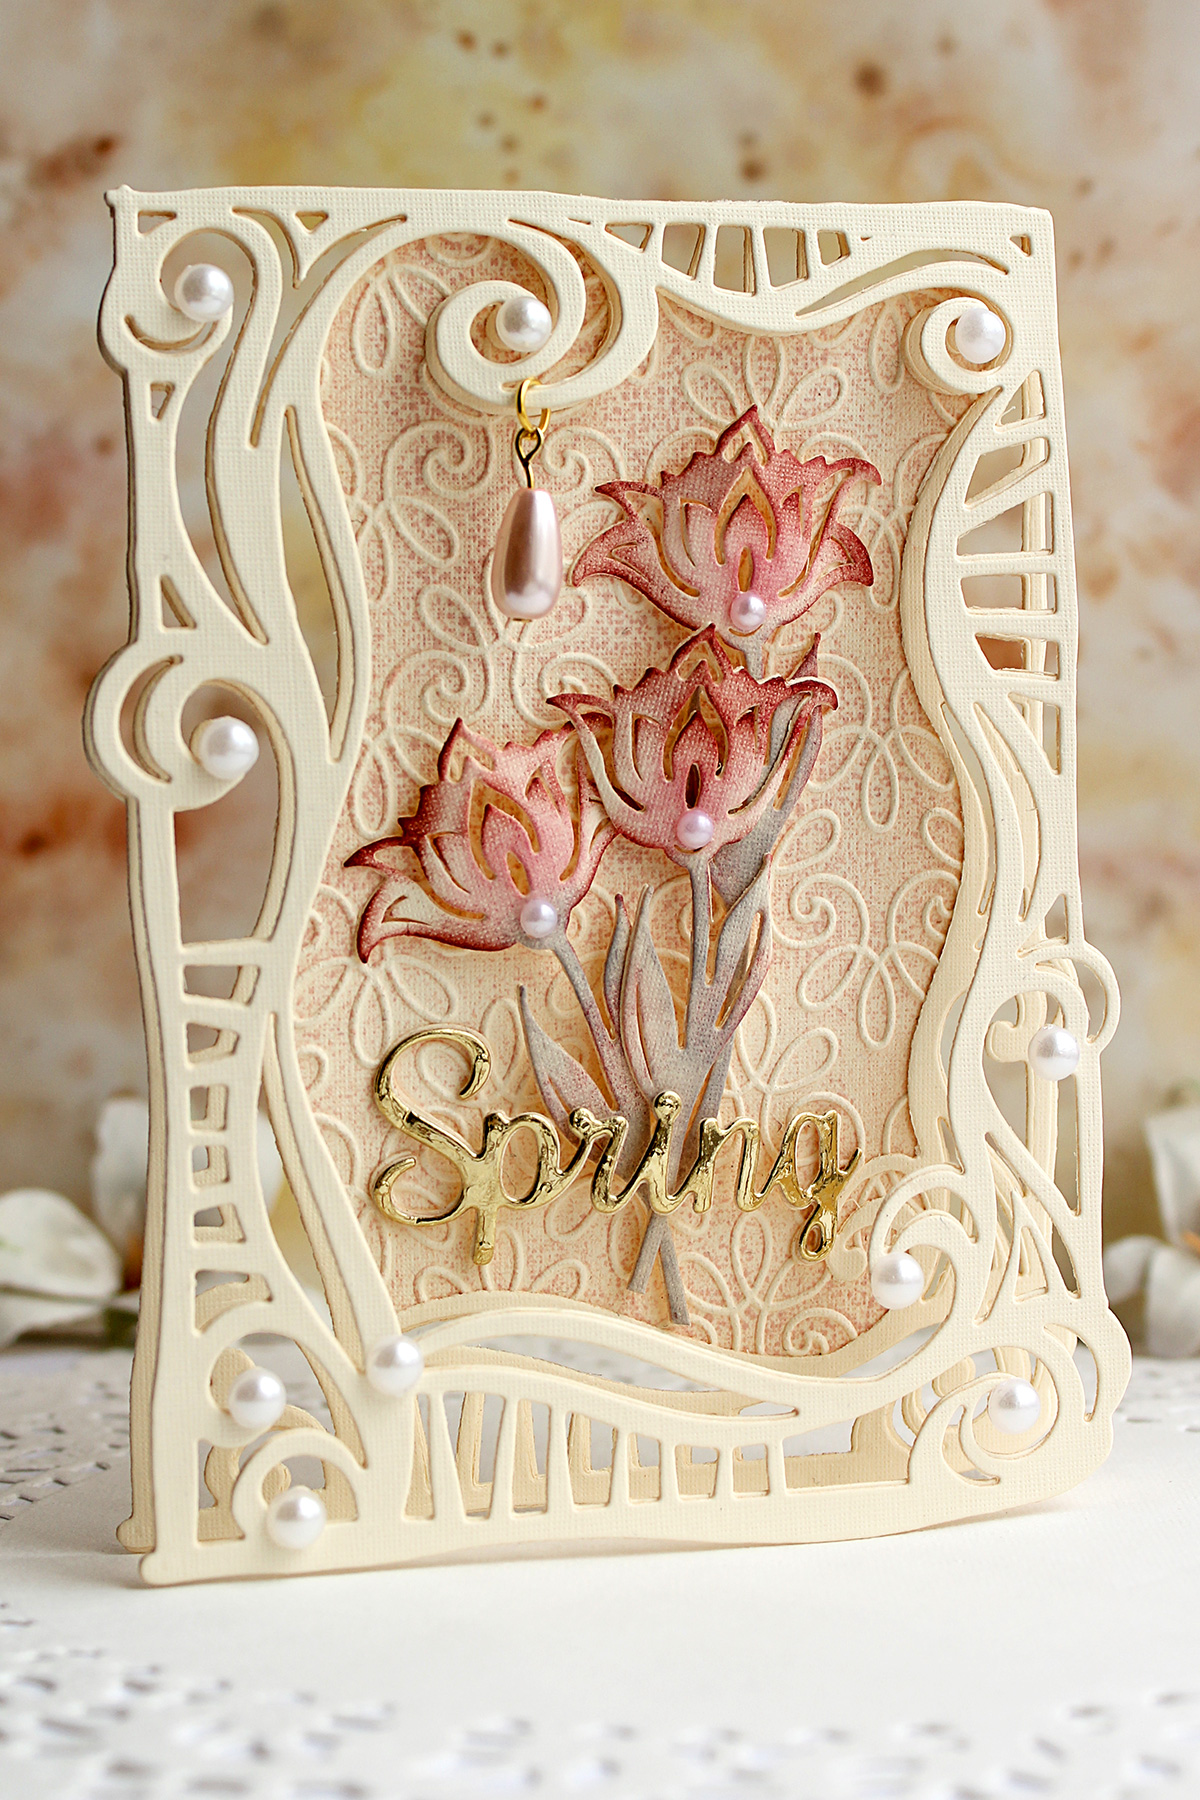
The first card I've made is portrait oriented. I created a shaped frame card base first and then added an embossed insert. For the focal image I have used a tulip die that is also a part of the
Swirl Frame set
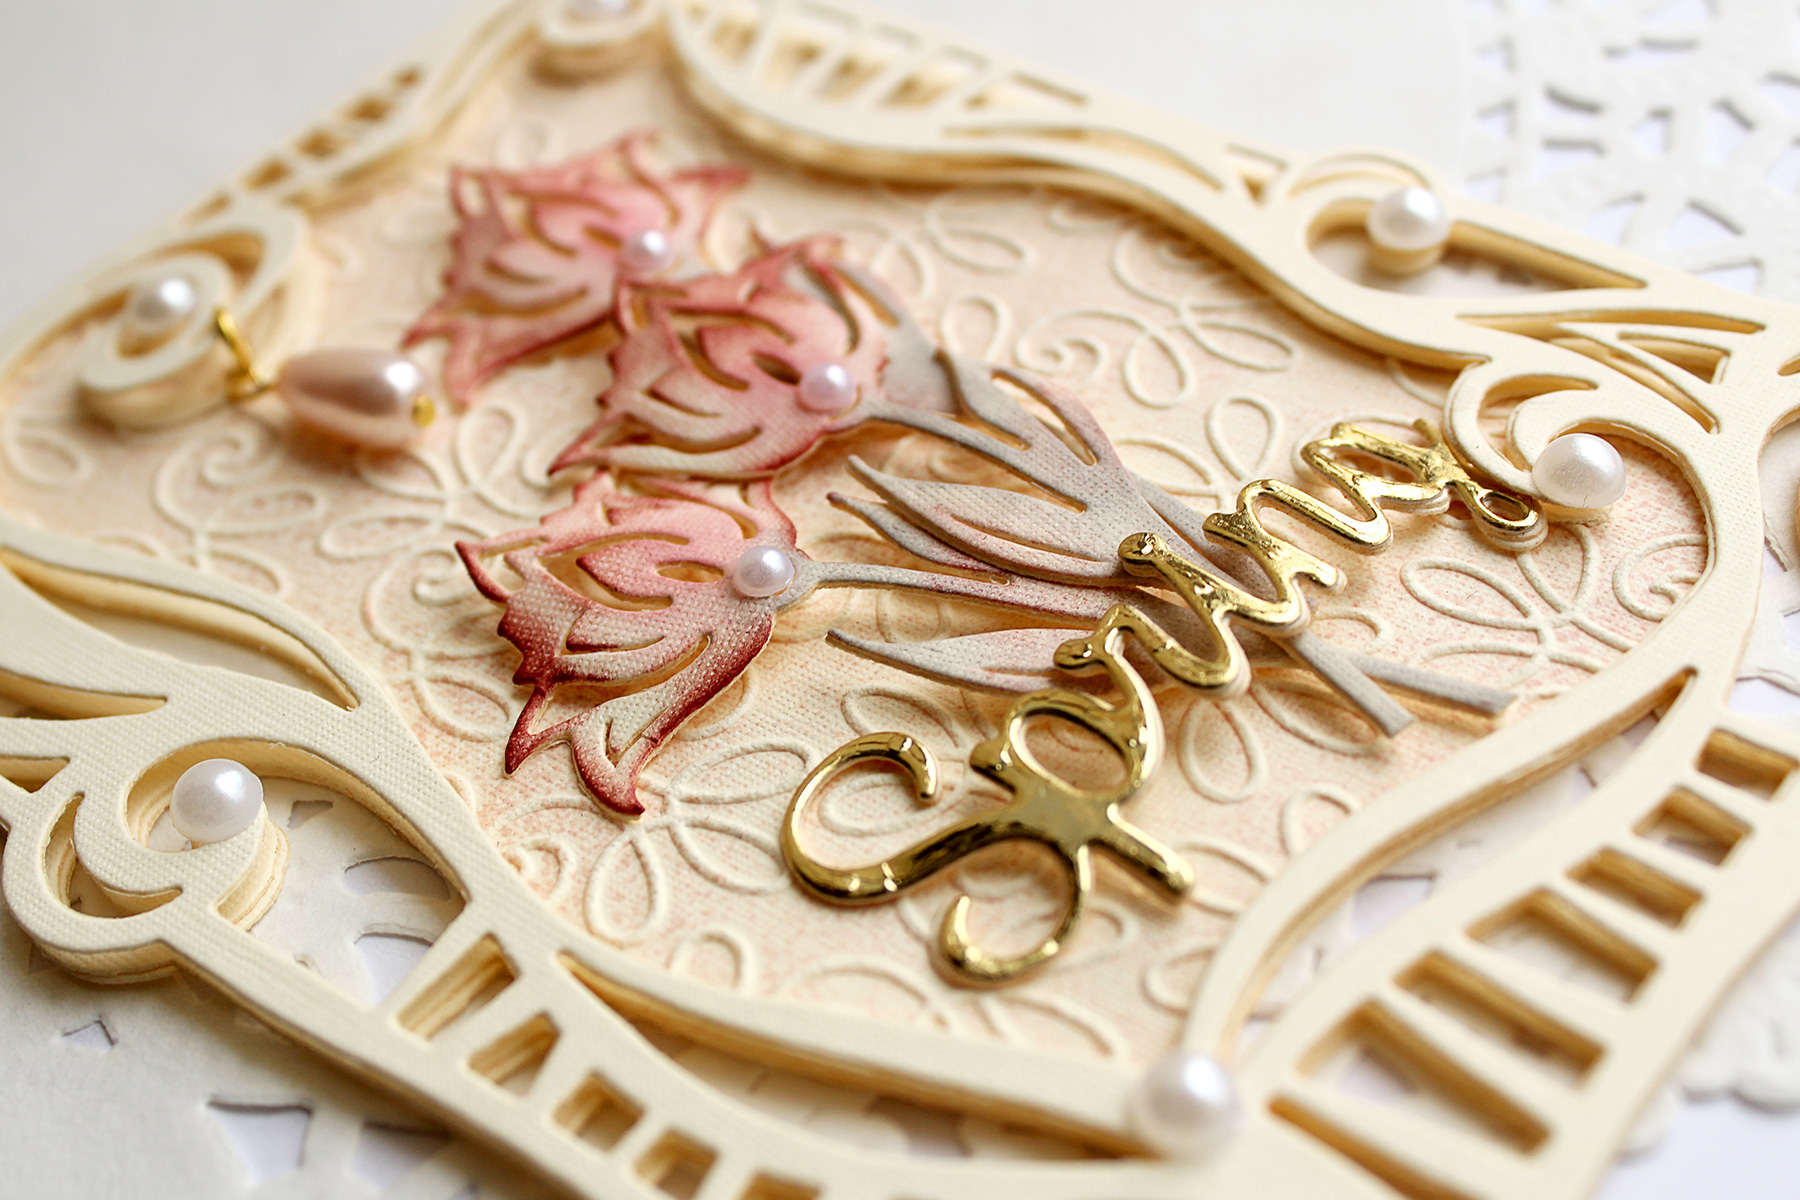
. The die cuts are colored with Distress Inks and the gold foiled sentiment is attached right on top of the flower arrangement:
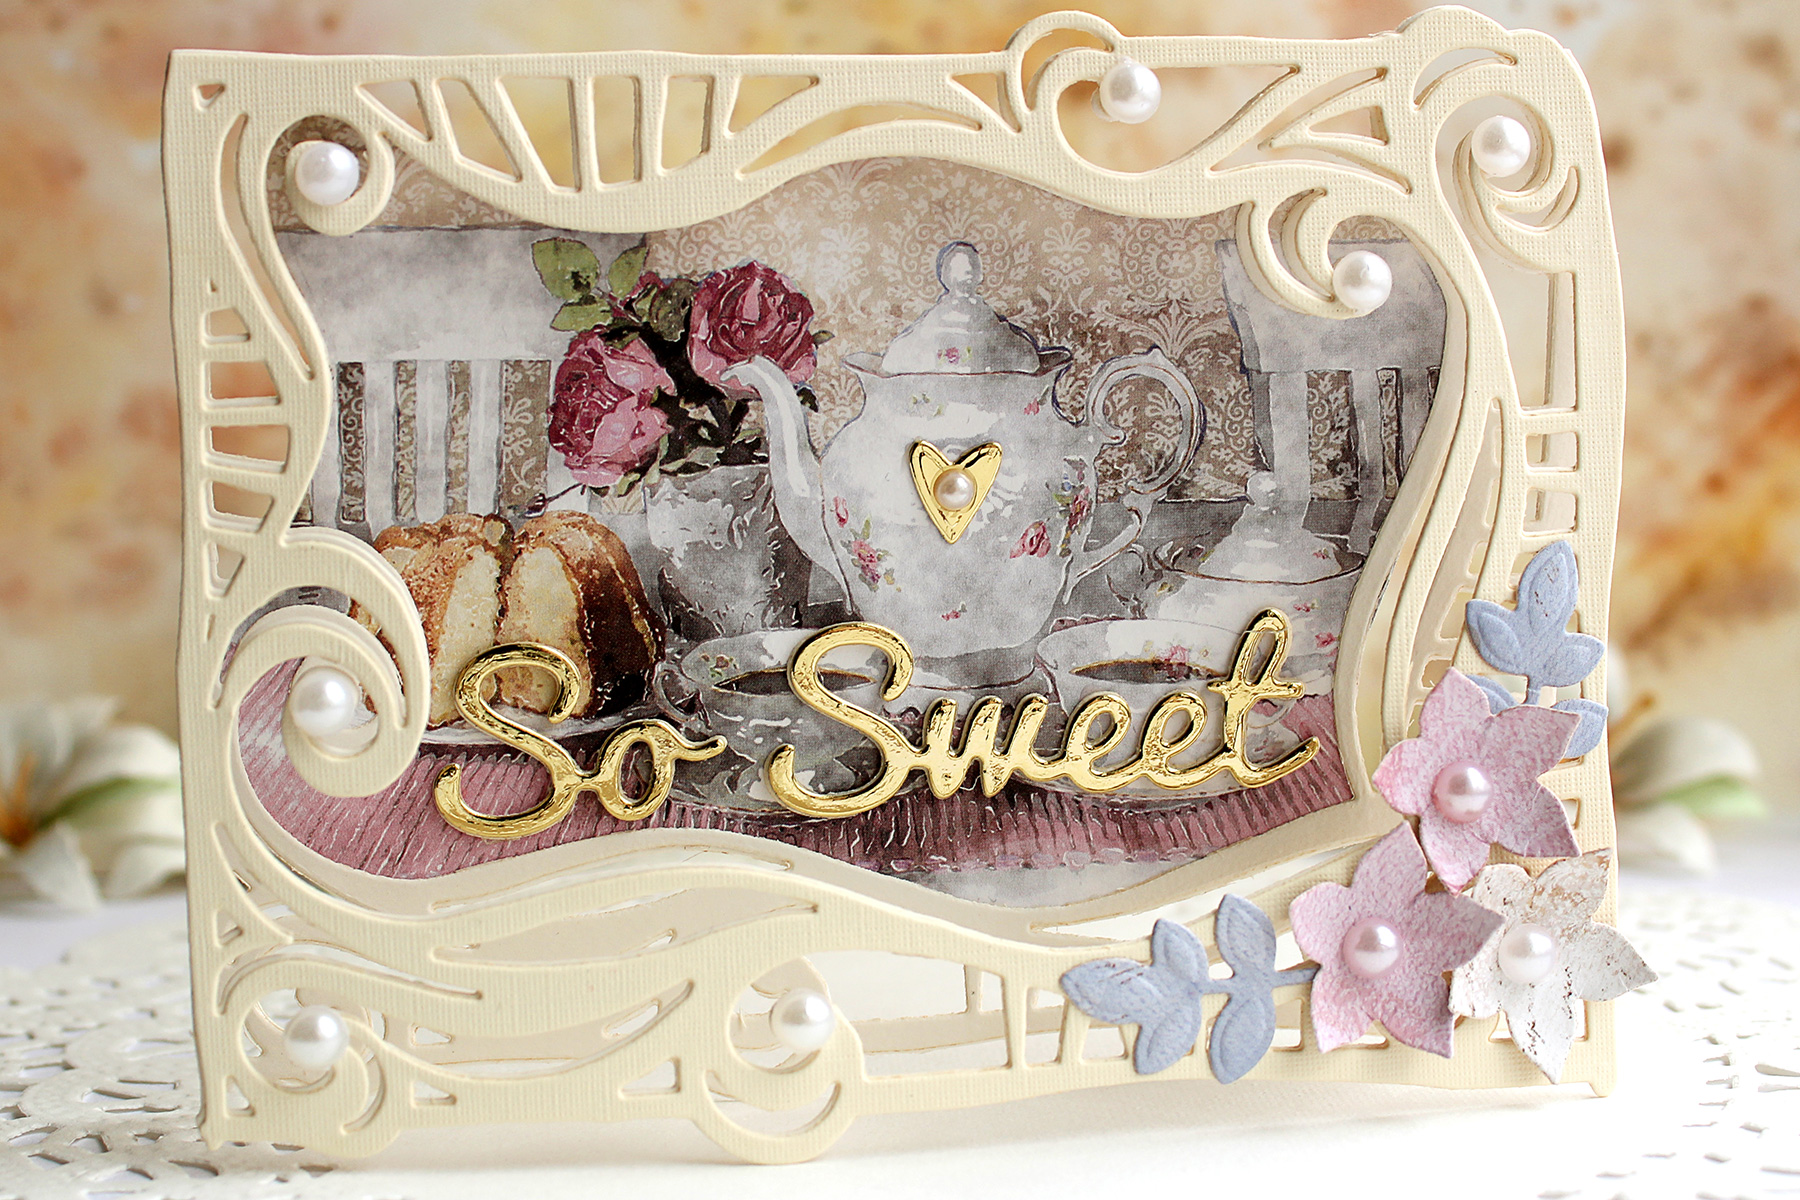
The second card is landscape oriented and this time I have used a little still life from a patterned paper sheet to create an insert. You will find the instructions on how to do it in the video below - it is also a great way to incorporate a photograph into your card!
To finish off the first card I have attached a large half pearl to the end of each swirl on a frame and some smaller pearls to each tulip. I have also added a hanging tear drop pearl to the protruding swirl at the top of the frame.
I have used a golden sentiment for the still life card as well - just stuck it down onto the patterned paper. This time I have also added some flowers and leaves at the corner of the frame - they are cut out of the same patterned paper sheet to match the rest of the card. Then again I've added some pearls as finishing touches.
You will find the full step by step instructions on how to make both cards in the video tutorial below. Please feel free to ask any questions - I am always happy to answer them!
VIDEO TUTORIAL
Watch the video tutorial for the step by step guide on how to make this project. Watch below or on
Youtube
:
Thank you so much for visiting today, I hope you enjoyed the tutorial and got inspired! Have a fabulous crafty weekend!
Patterned paper sheet by Maja Design - Coffee in the Arbour, Distress Inks (Tattered Rose, Victorian Velvet, Aged Mahogany, Hickory Smoke), pearl embellishments.
Share this article
1 comment
Both cards are beautiful! Thanks for the inspiration of cutting the shape of the card with the die, I love the details on the flowers and the tea pot. Awesome job! TFS
Create a hilarious holiday card featuring an exhausted penguin, a spilled glass of wine, and the all-too-relatable sentiment "Merry & Barely Holding It Together." In this step-by-step tutorial, you'll learn how to assemble layered die-cut characters, create a dramatic winter sky with ink blending, add embossed sentiments, and finish the design with snowy splatter effects. This project is perfect for cardmakers who enjoy humorous Christmas...
Our November 2026 Stencil of the Month Club preview & tutorials are here! Here’s a look at the design for this month – Holiday Harmony: Please note, new Subscription Sign-Up Window will now open on the 6th of each month and close on the 27th (once existing club members subscriptions have been processed.) If there is additional inventory remaining, then they will be made available...
Categories:Kits & Clubs>Embossing Folder of the Month
Our November 2026 2D Embossing Folder of the Month preview & tutorials are here! Exclusive 2D Embossing Folder adds texture and dimension to any project. Size will generally be 5.5" x 8.5" and can be used to make slimline, 5" x 7", and a variety of sized projects. Spellbinders Monthly Clubs are exclusively designed by our in-house creative team, curated with care, and delivered with...
1 comment
Both cards are beautiful! Thanks for the inspiration of cutting the shape of the card with the die, I love the details on the flowers and the tea pot. Awesome job! TFS