


Posted by Spellbinders Team
on May 29, 2019

Hello everyone! This is Mayline and I am honoured to be guest designer for Spellbinders! Today I have three projects to share with you using the Jane Davenport NEW Artomology collection. As always, this collection is incredibly beautiful and amazing, so I truly enjoyed to make all projects.
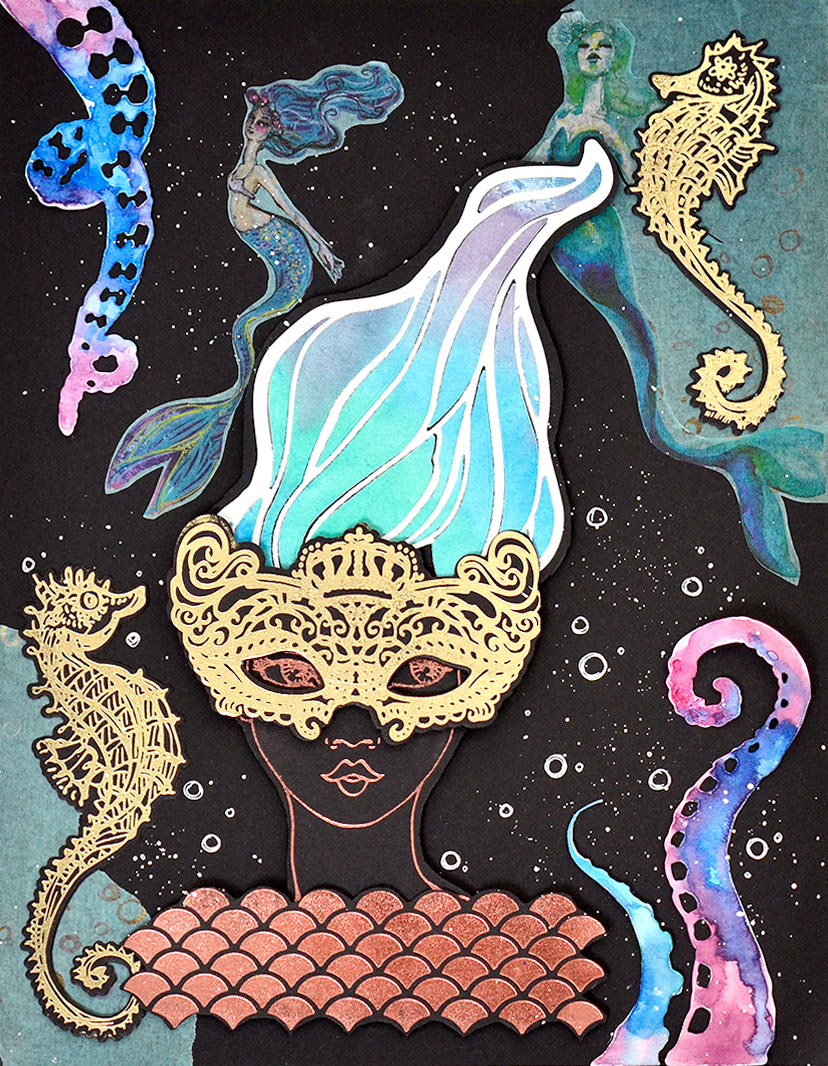
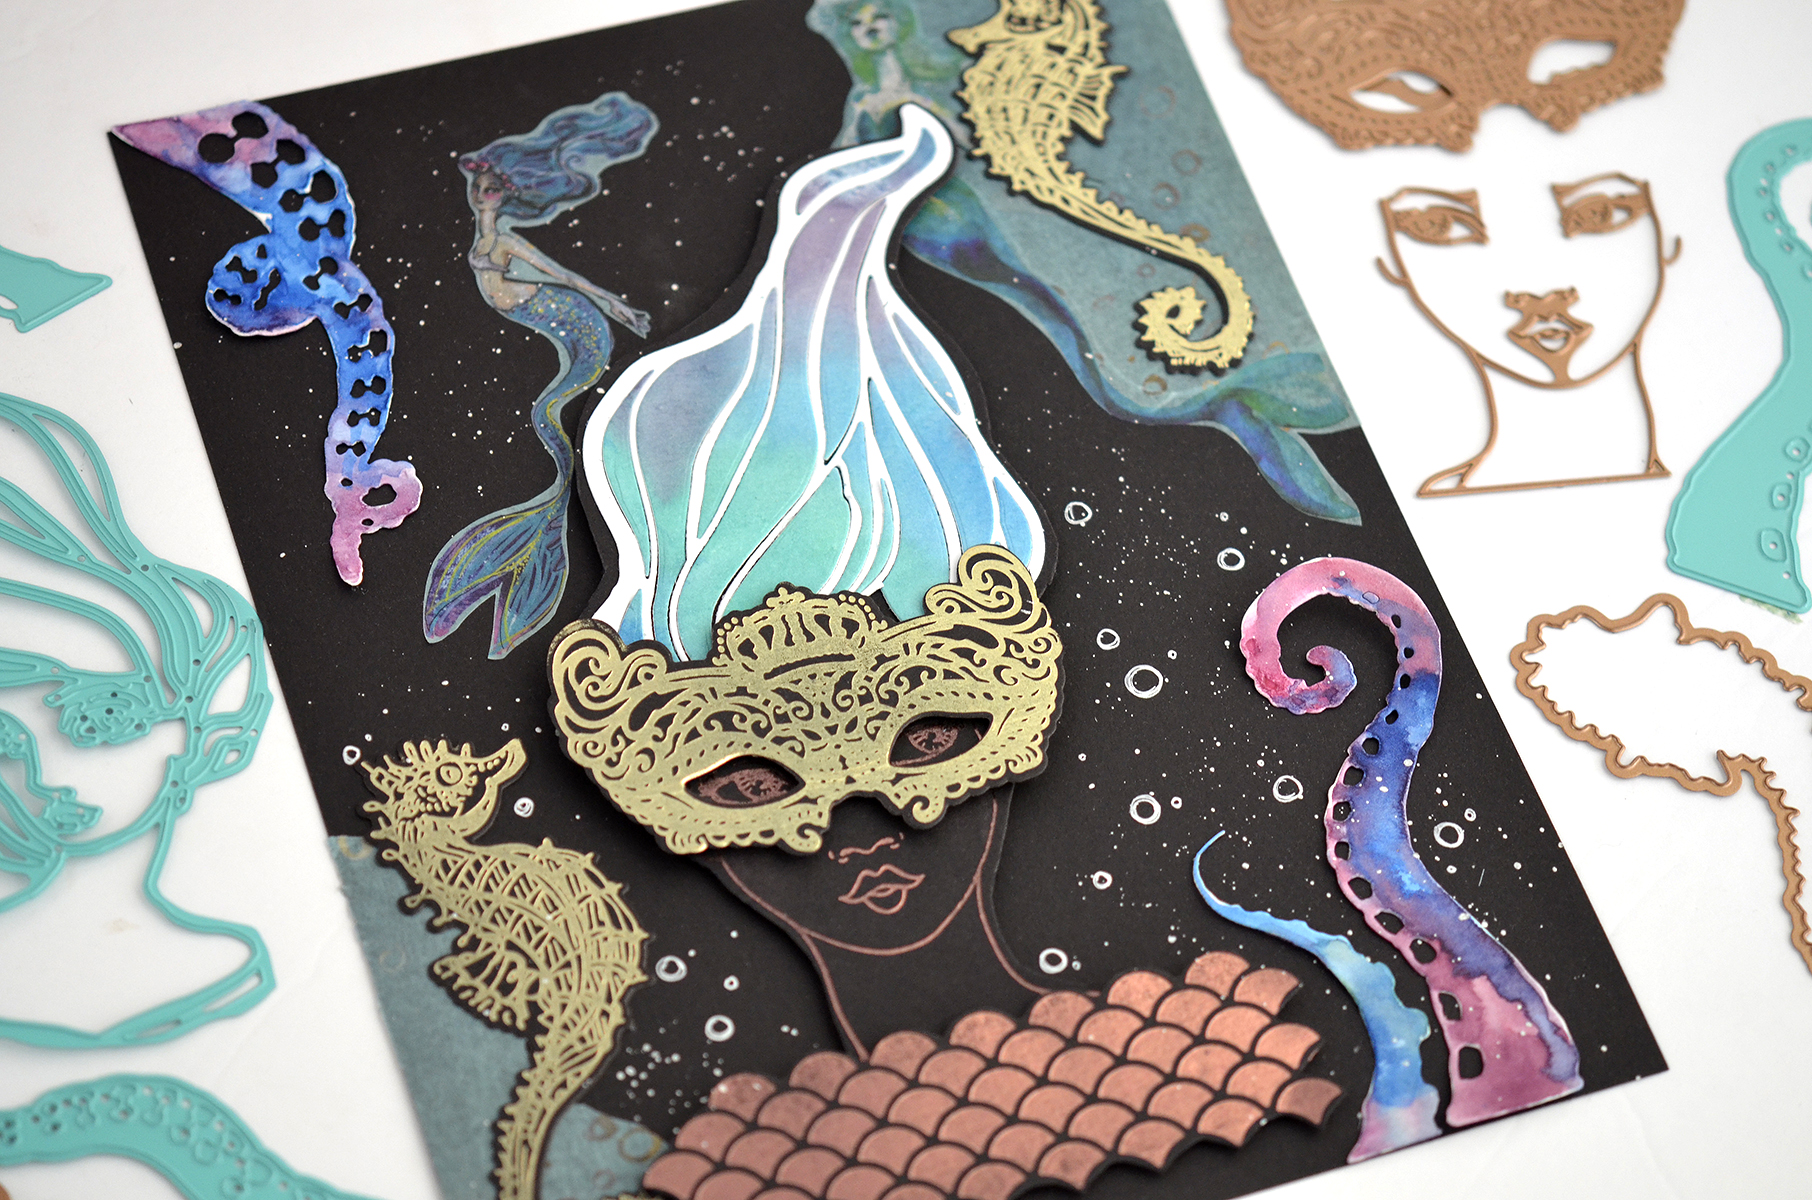
 Before I placed all pieces I prepared 8.5 x 11 sized black cardstock to make a background panel. I applied a Washi Mermaids sheet on the panel. And then I felt like I wanted to add something more, so I added tentacles die-cut pieces using Tentalicious Etched Dies and coloured them with watercolour paints. After that, I placed all of the foiled images on the panel.
DREAM MIXED MEDIA PIECE
INSTRUCTIONS:
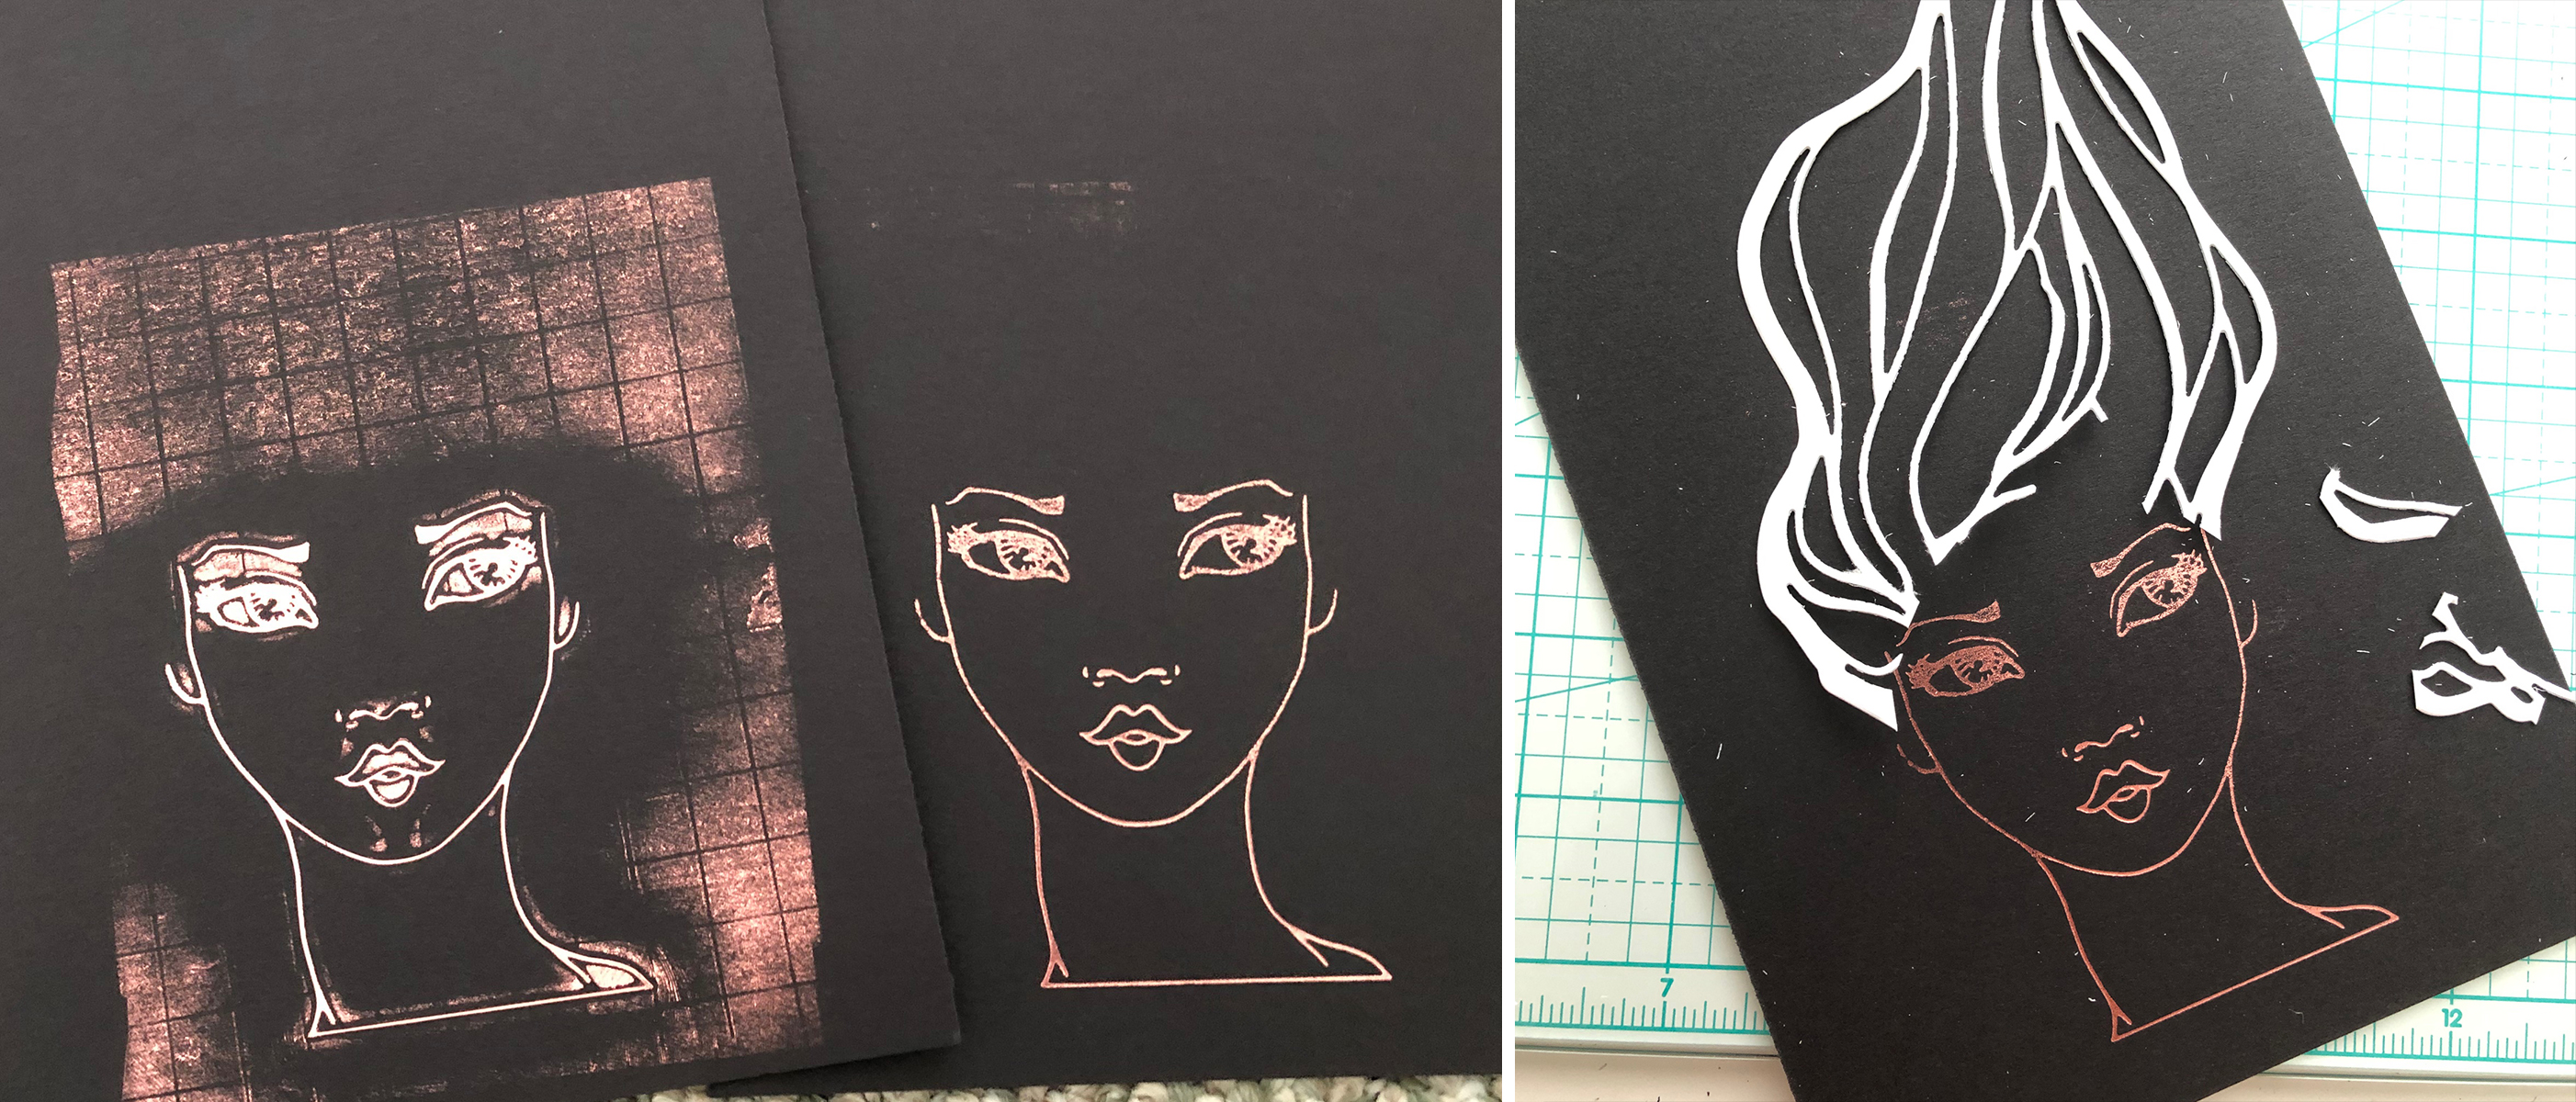
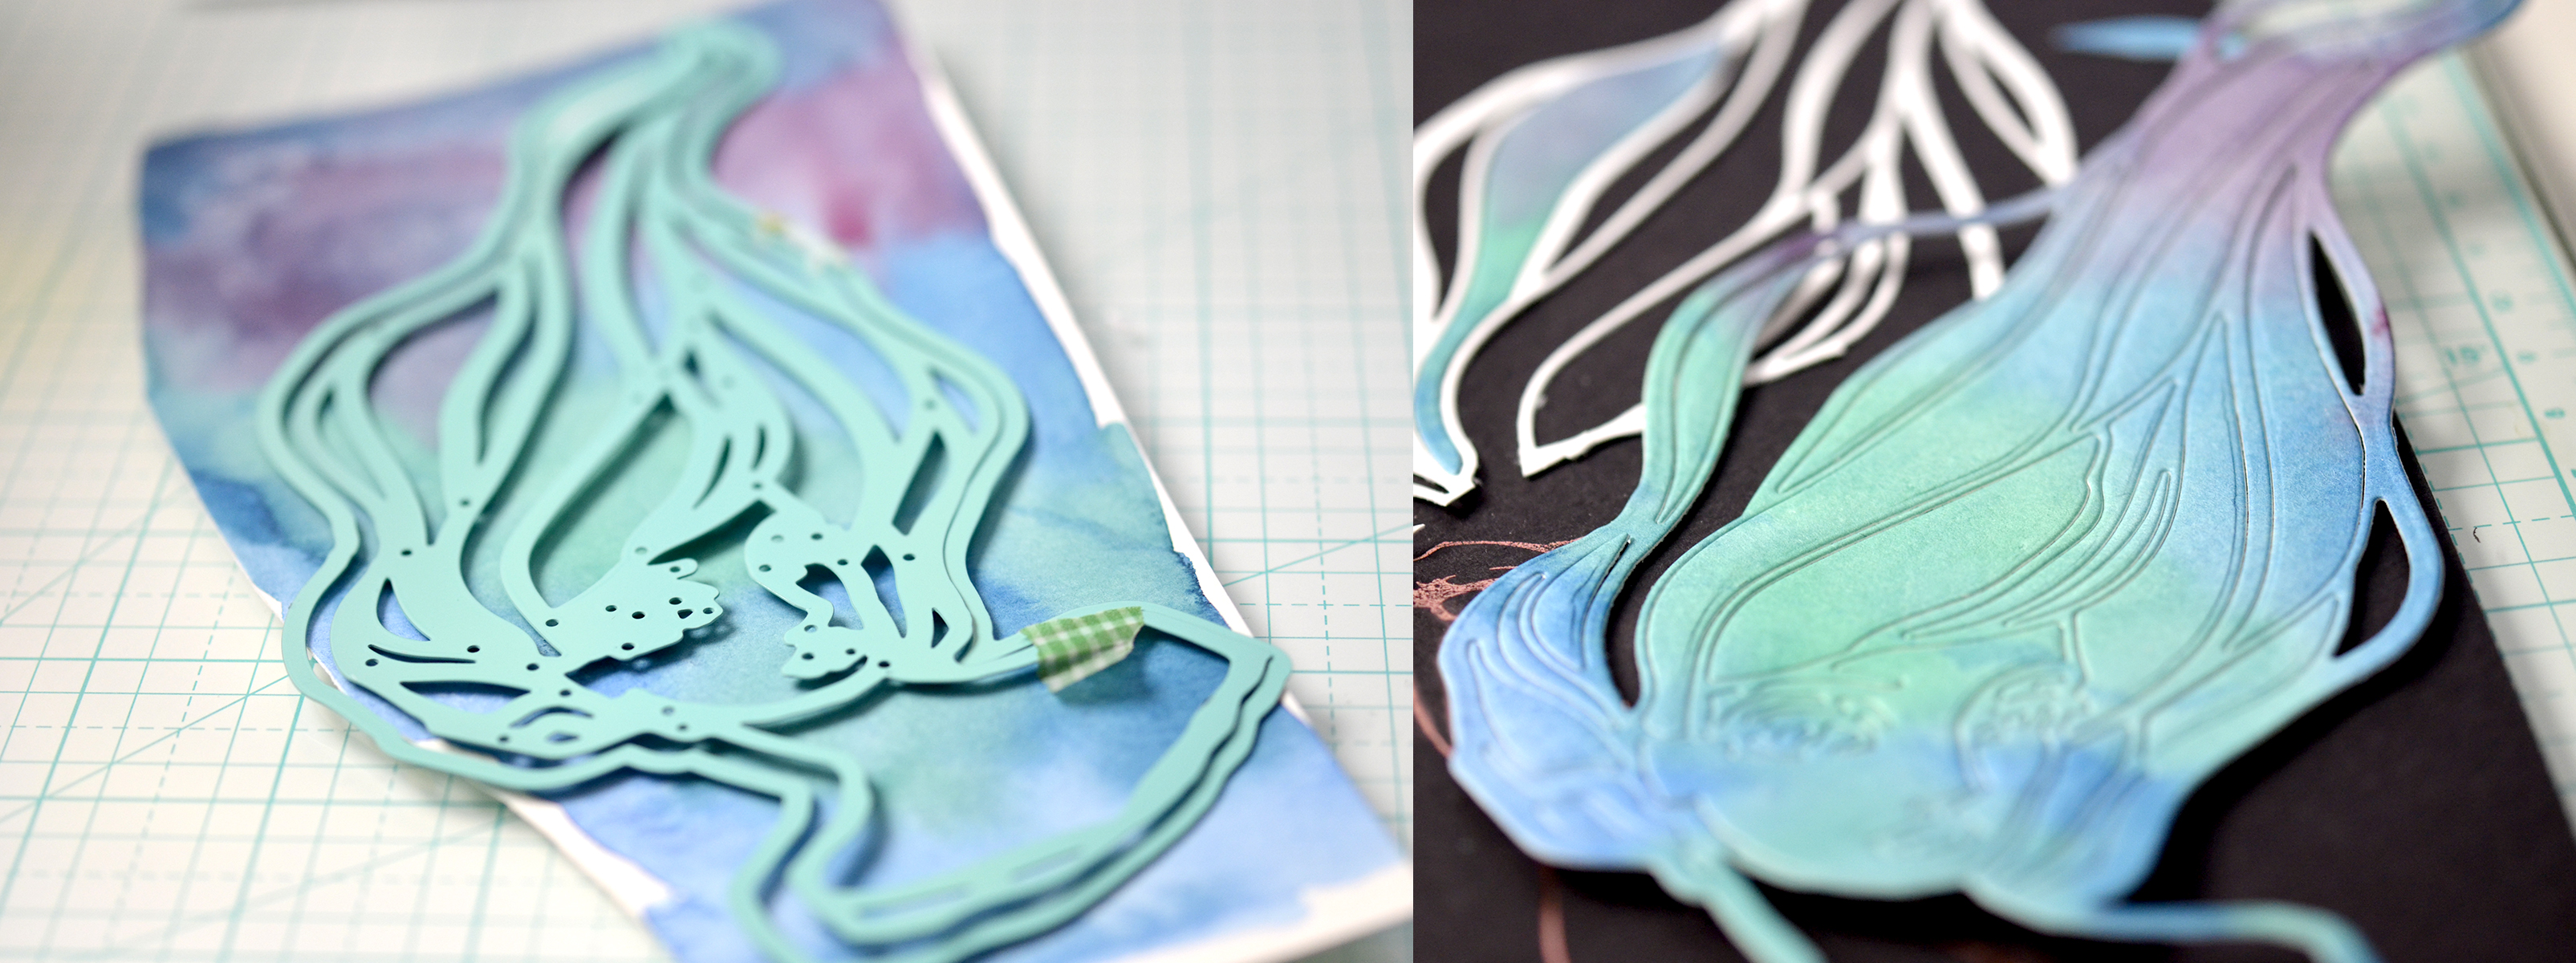
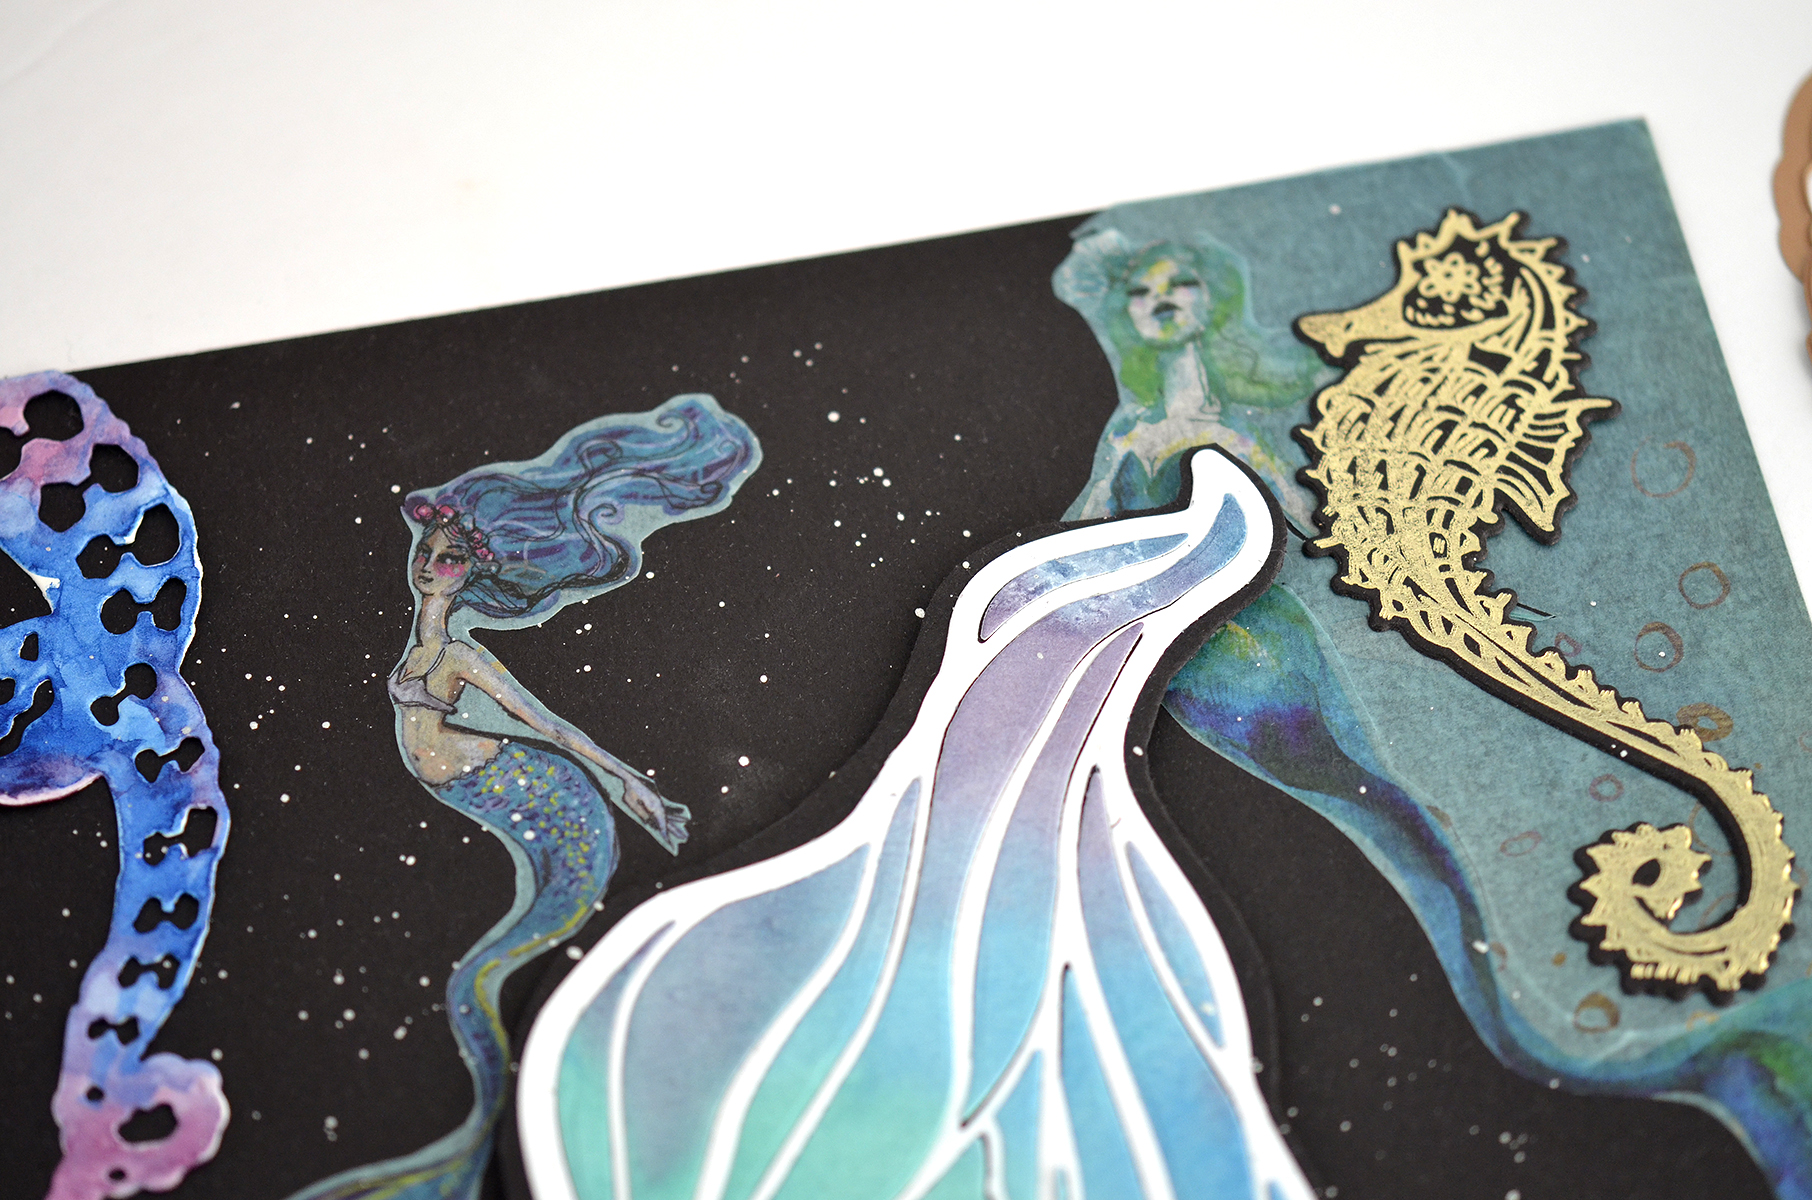
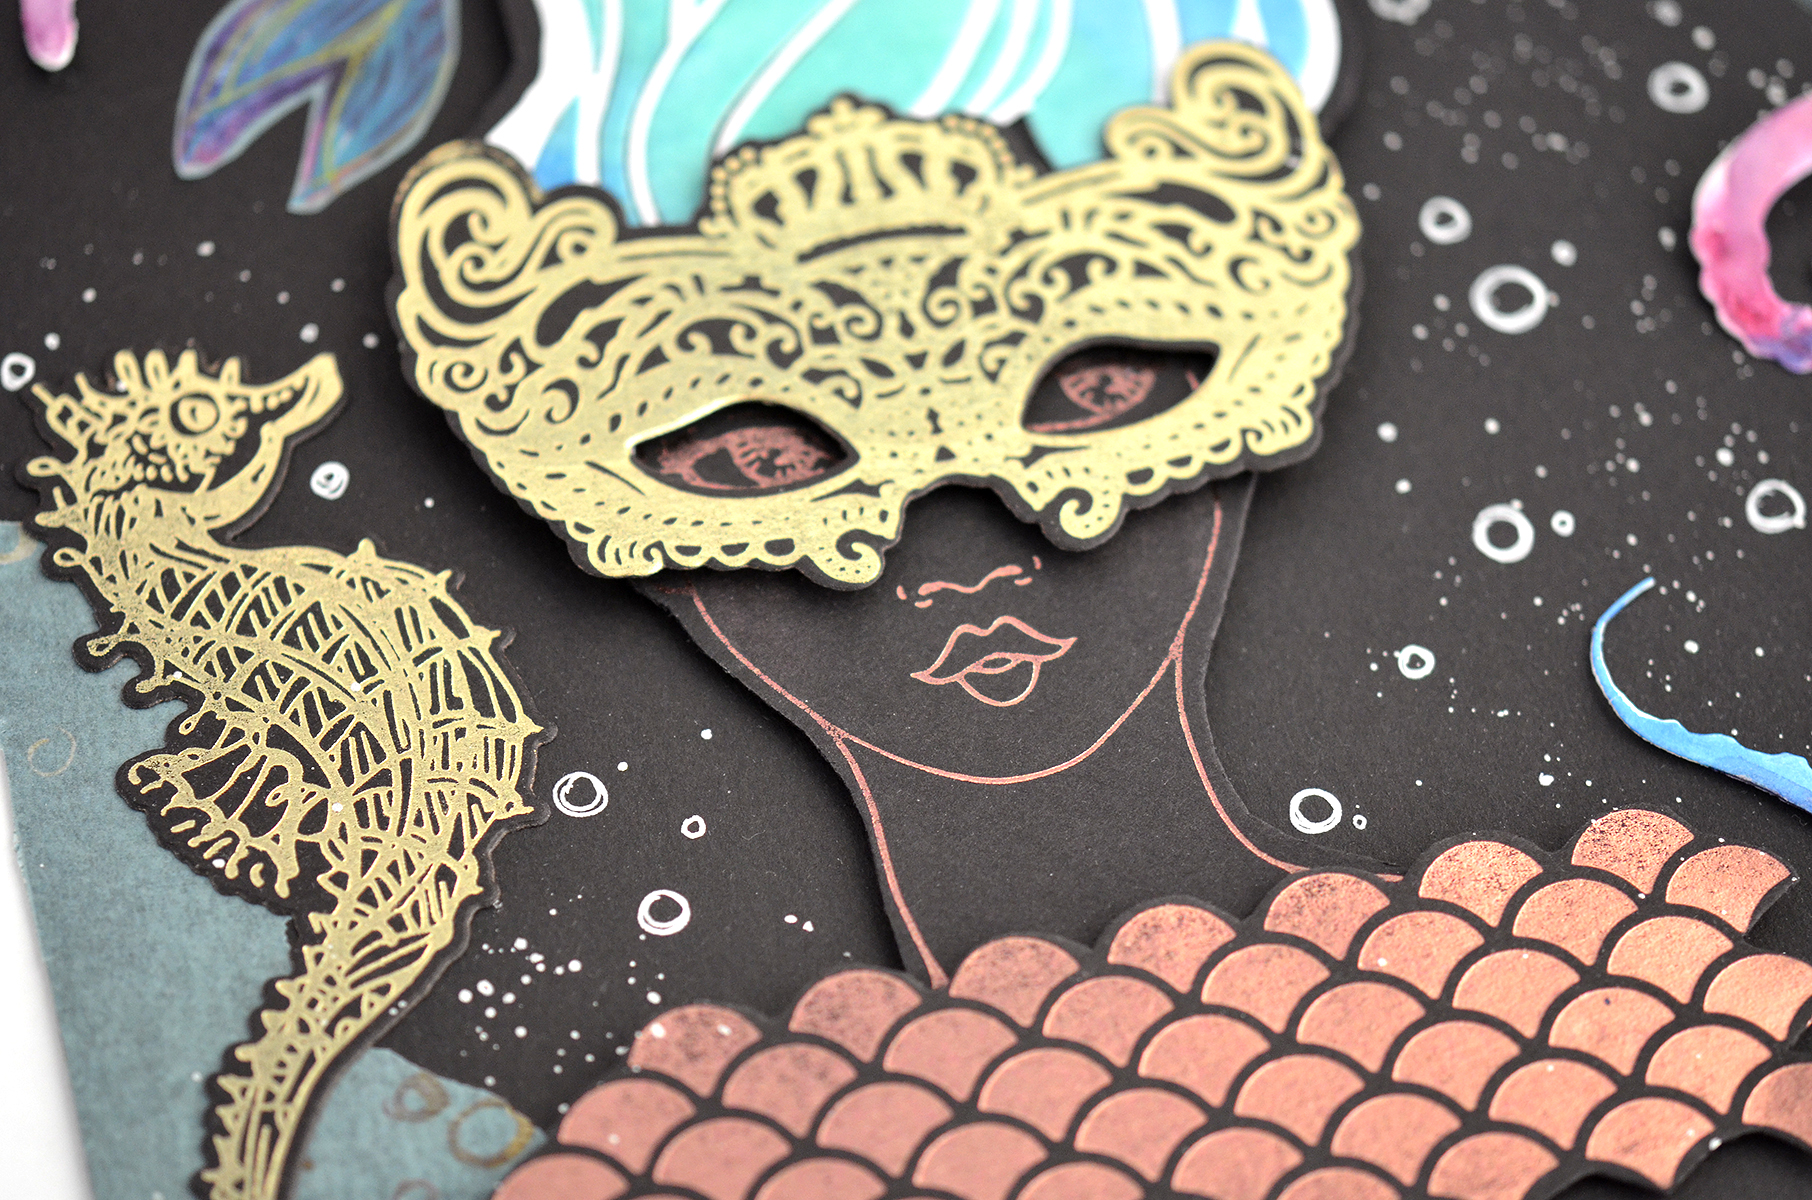 Before I placed all pieces I prepared 8.5 x 11 sized black cardstock to make a background panel. I applied a Washi Mermaids sheet on the panel. And then I felt like I wanted to add something more, so I added tentacles die-cut pieces using Tentalicious Etched Dies and coloured them with watercolour paints. After that, I placed all of the foiled images on the panel.

Spellbinders Supplies:
Other Supplies:
Black cardstock, White pen, Silver paints, paint brush, glue, 3D tape, watercolor paper, watercolour paintsCLEAN & SIMPLE STAMPED CARDS
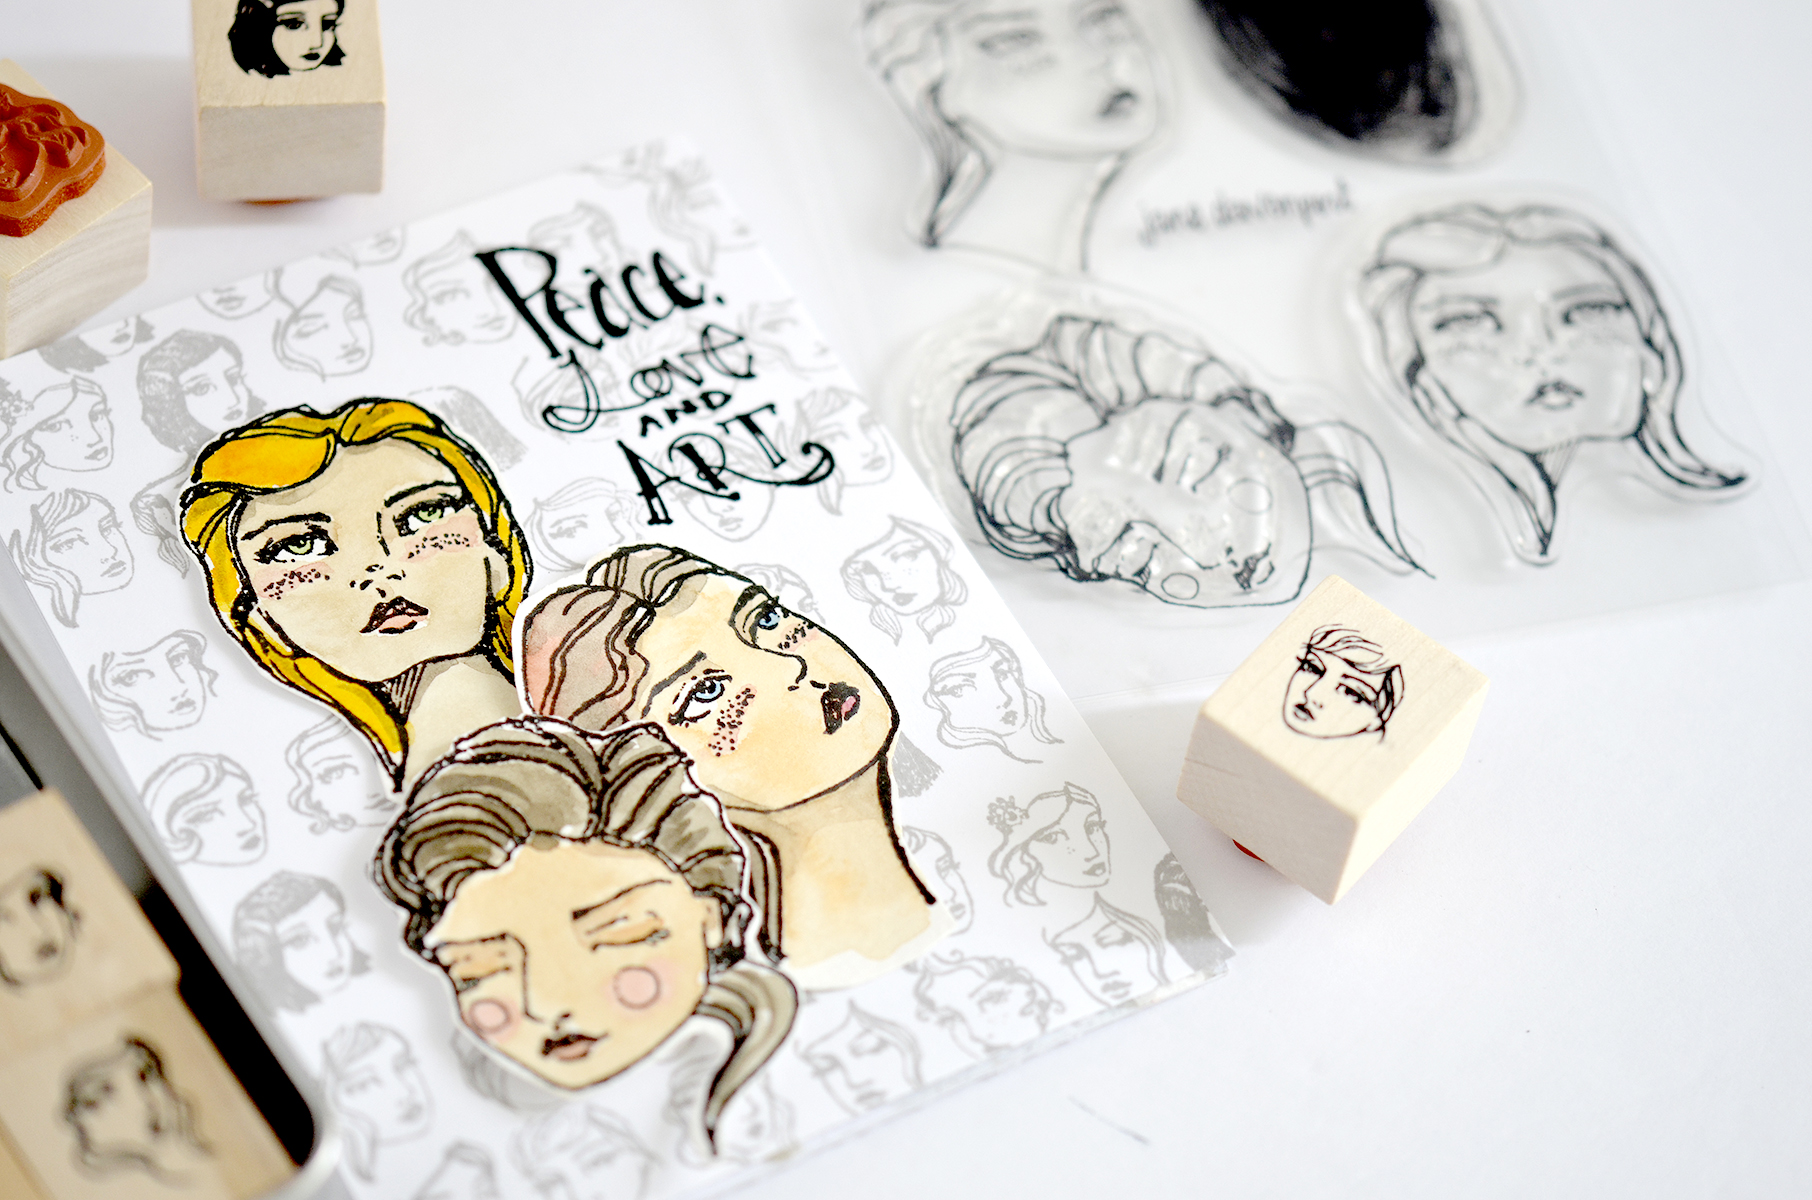
Here is my second project. I have created two cards using Tin of Friends Wood Mount Stamps and Mix & Match Clear Stamp, and Life Sparkle Clear Stamp.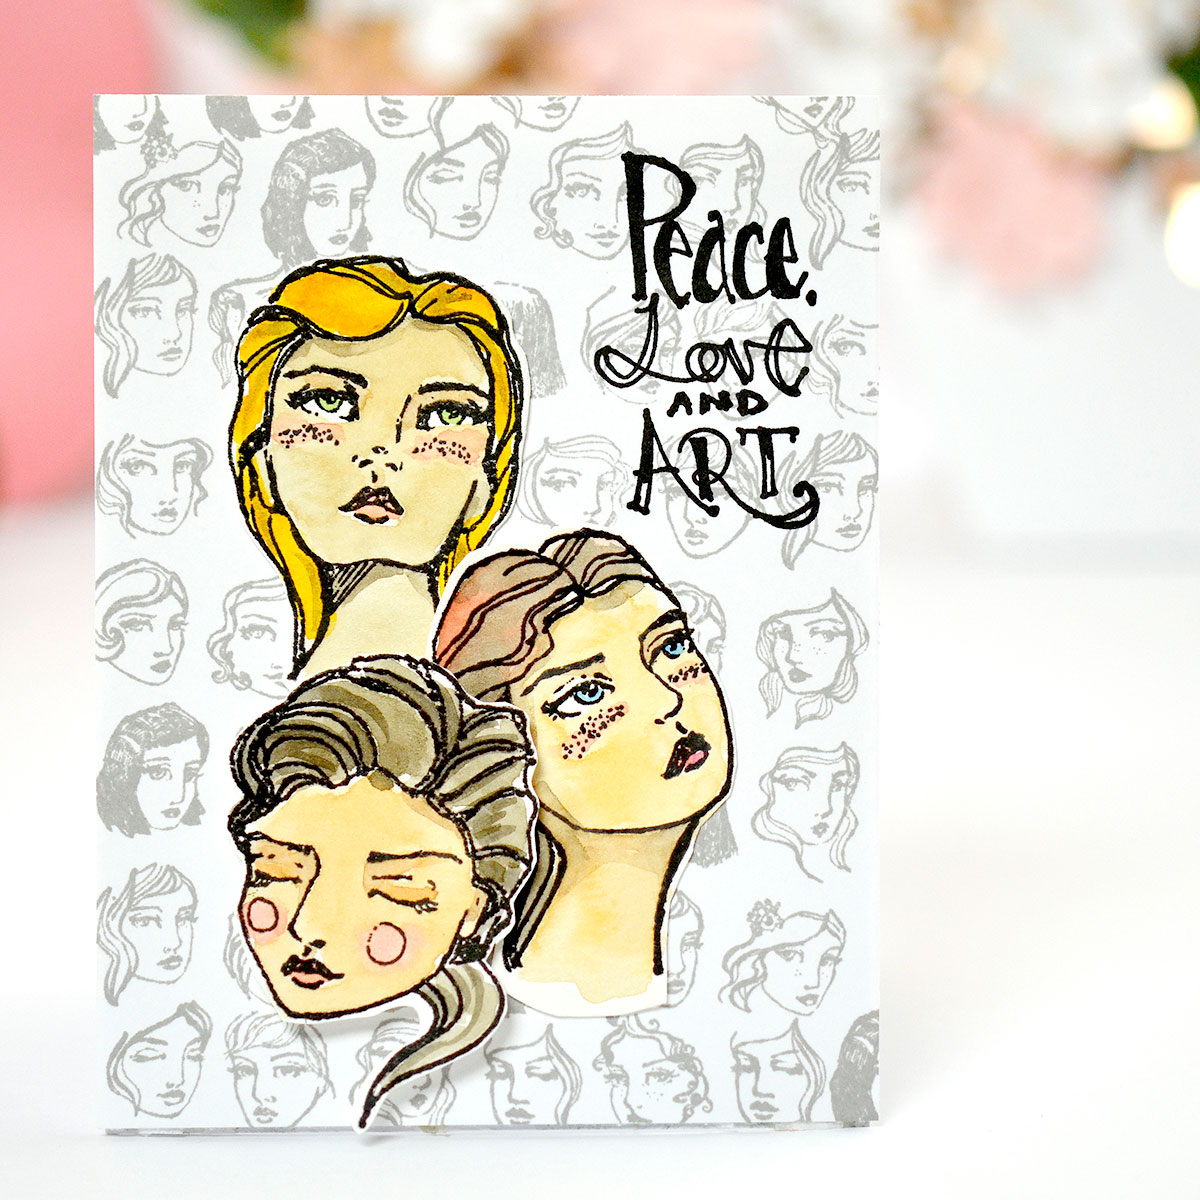
Instructions:
- Create an A2 sized panel from some white cardstock.
- To make a background pattern, stamp imaged from Tin of Friends Wood Mount Stamps using grey ink on the entire panel.
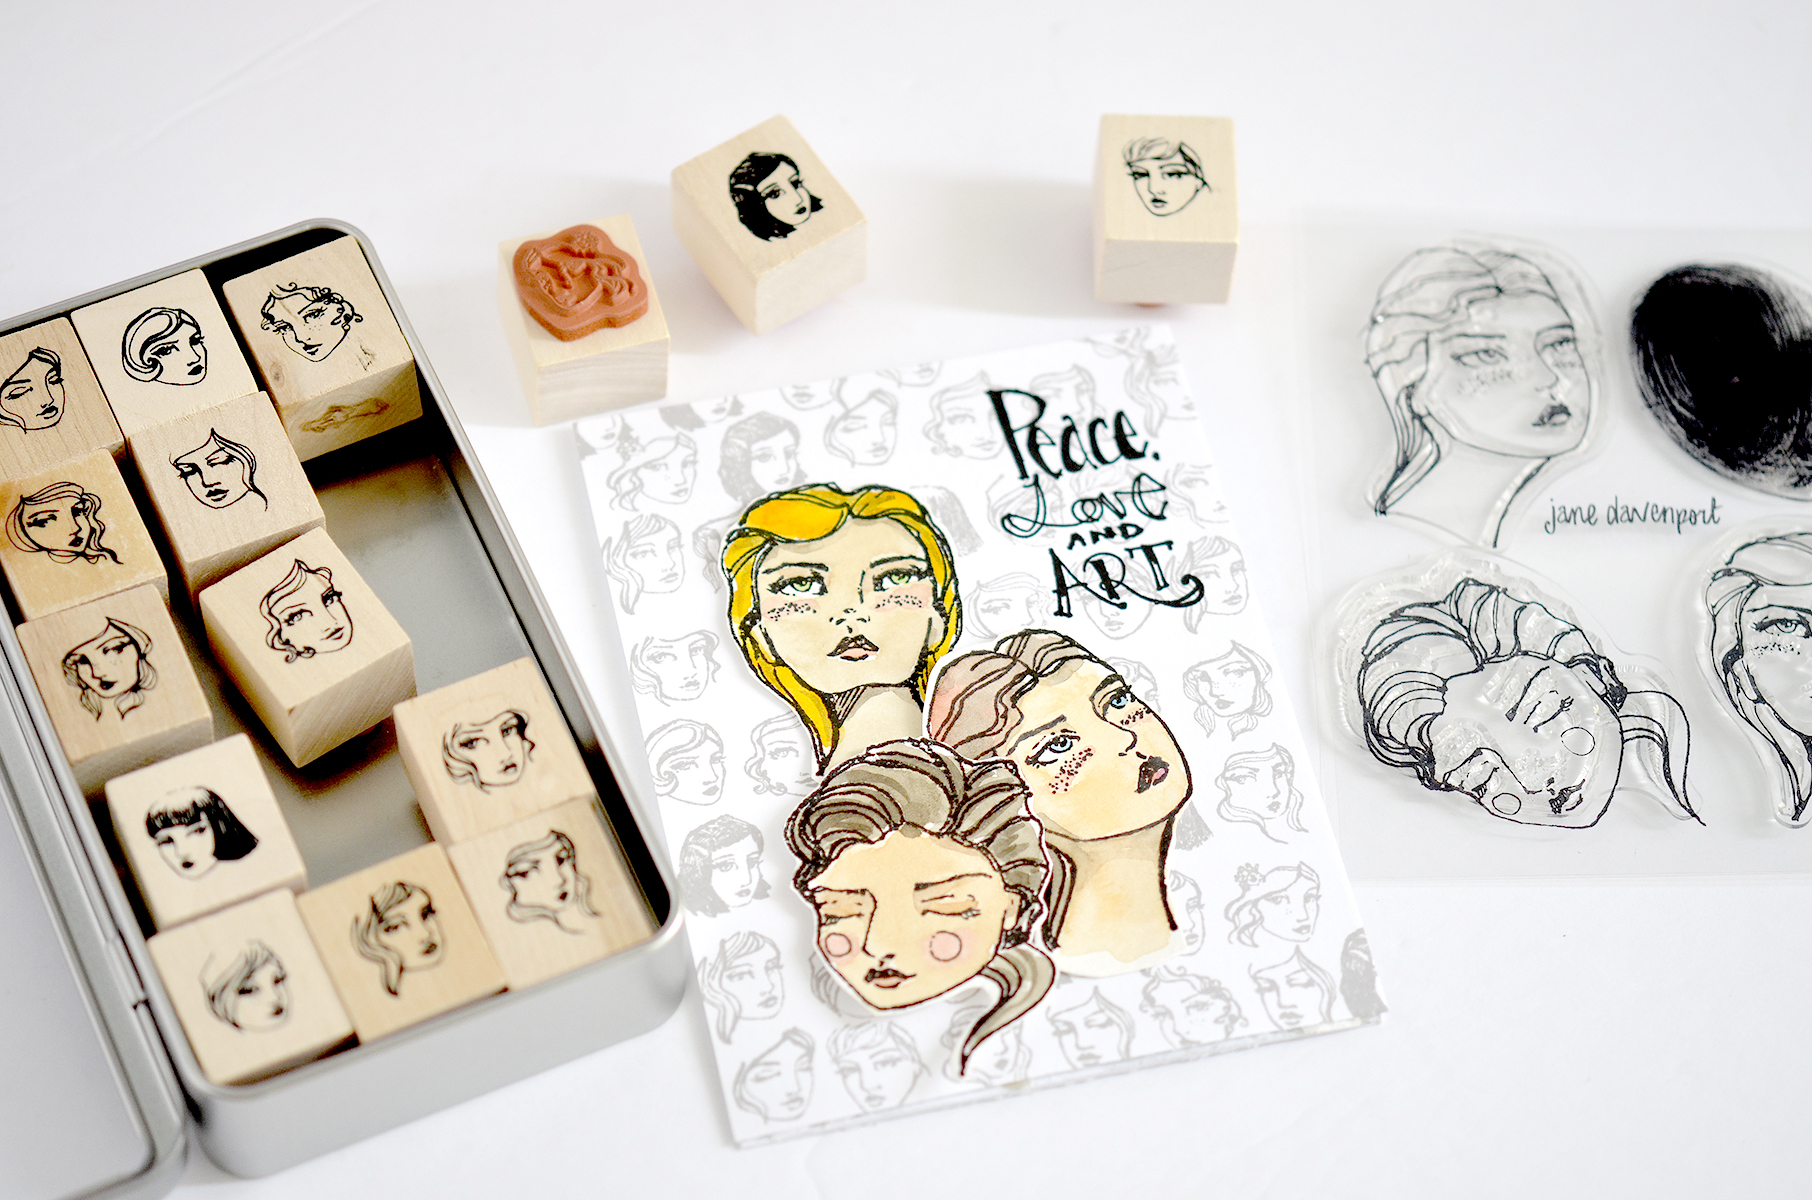
- Stamp three face images (looking up, looking to the left and closed eyes) using Squid ink Cave black ink on some watercolour paper.
- Colour images using watercolour paints and fussy cut these images. And then adhere them to the panel using 3D tape and double-sided tape.

- Stamp a sentiment from Life Sparkle Clear Stamp with Squid ink Cave black ink on the panel.
Spellbinders Supplies:
Other Supplies:
White cardstock, glue, 3D tape, watercolor paper, watercolour paints, paint brushONE LAYER COLOUR IS HAPPINESS CARD
Here is my second card and it’s one layer card.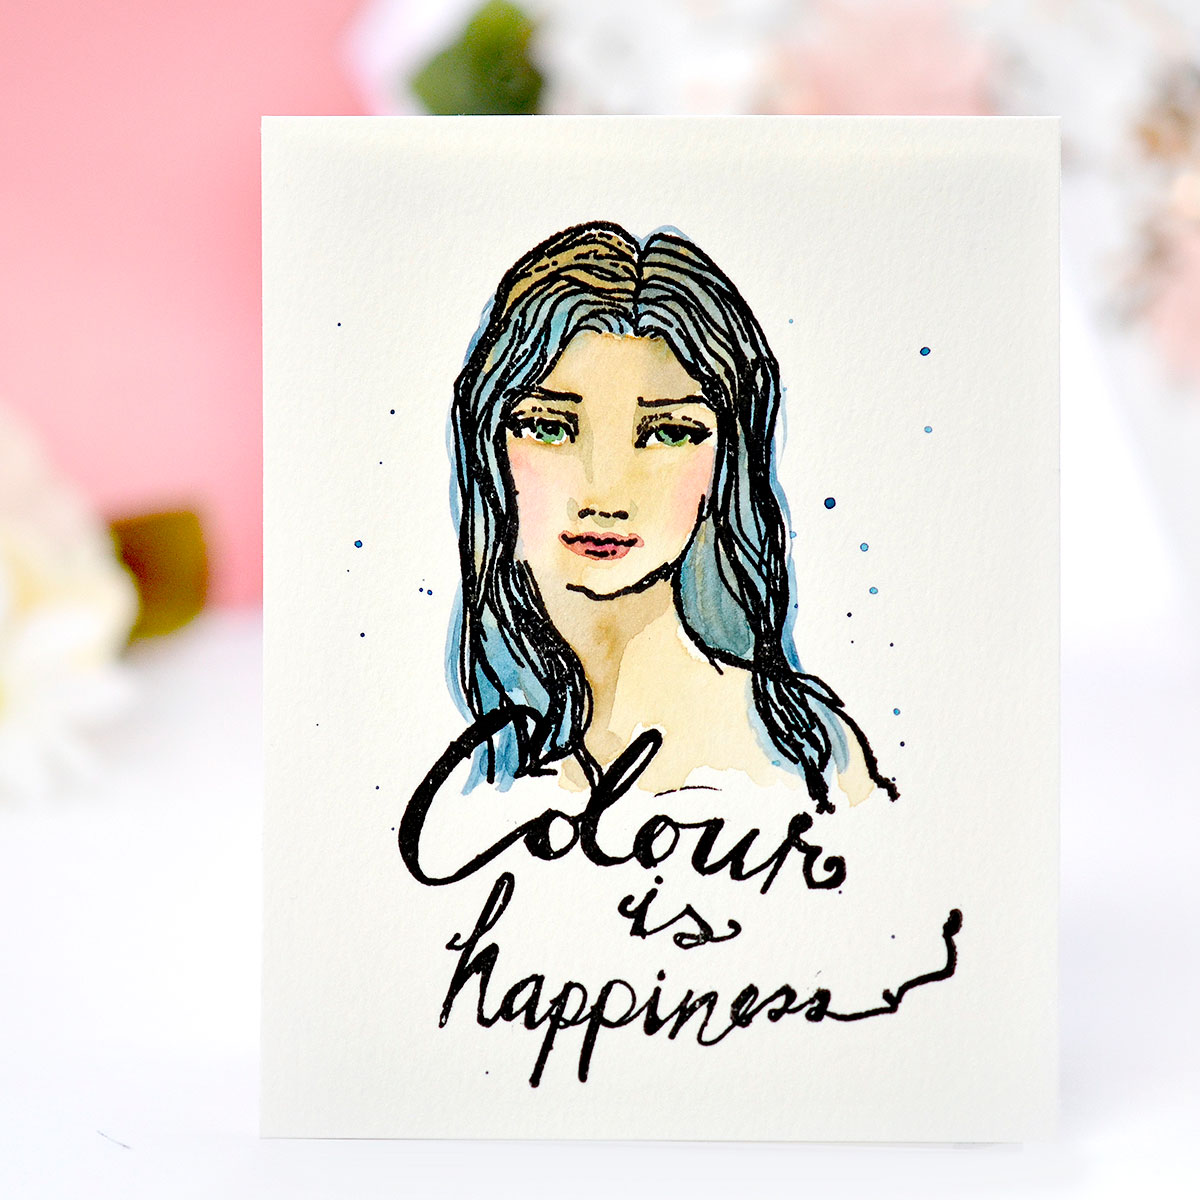
Instructions:
- Create an A2 sized panel from watercolour paper.
- Stamp a beautiful girl from Colour is Happiness Clear Stamp using Squid ink Cave black ink on the panel.
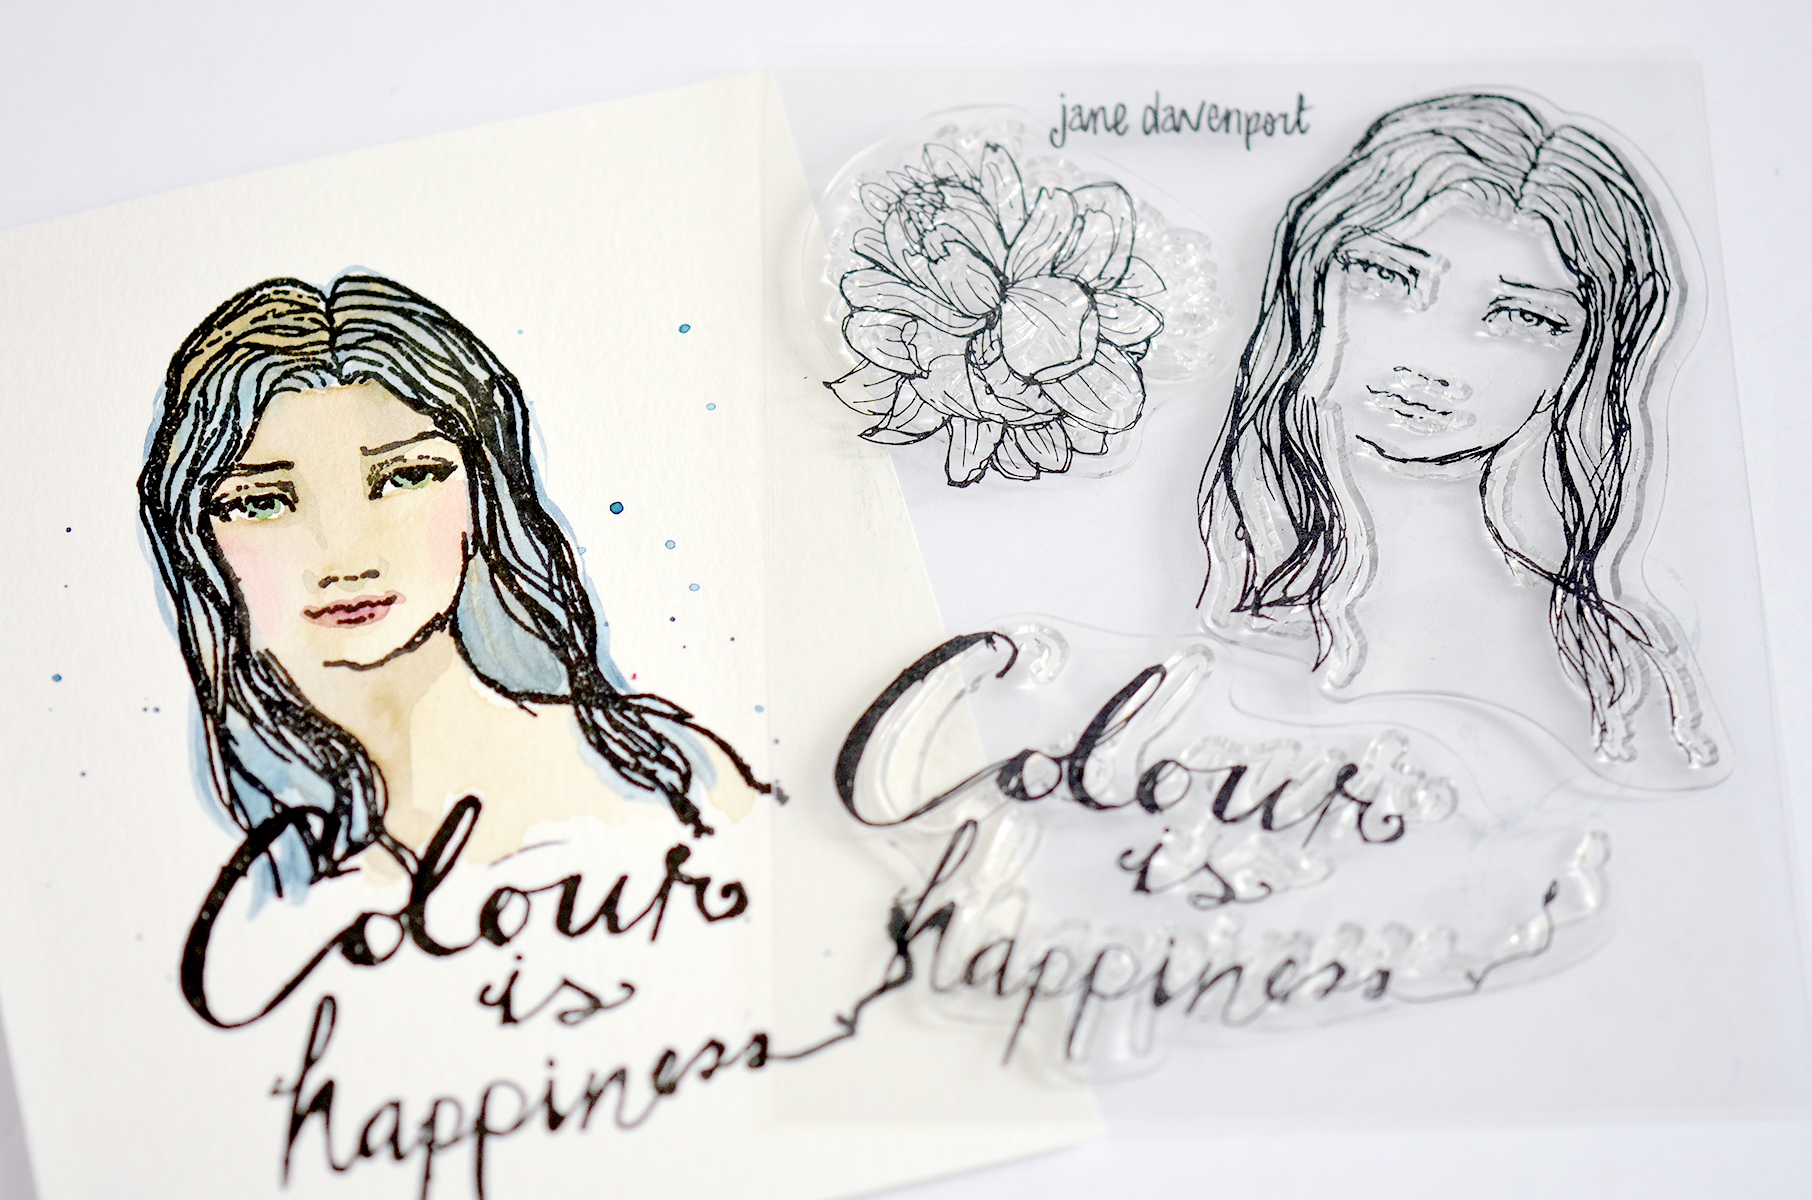
- Colour the image using watercolour paints and stamp a sentiment from the same stamp set.
- Add silver colour splashing.

Spellbinders Supplies:
Other Supplies:
Watercolor paper, watercolour paints, paint brushCOLOUR IS HAPPINESS MIXED MEDIA PIECE
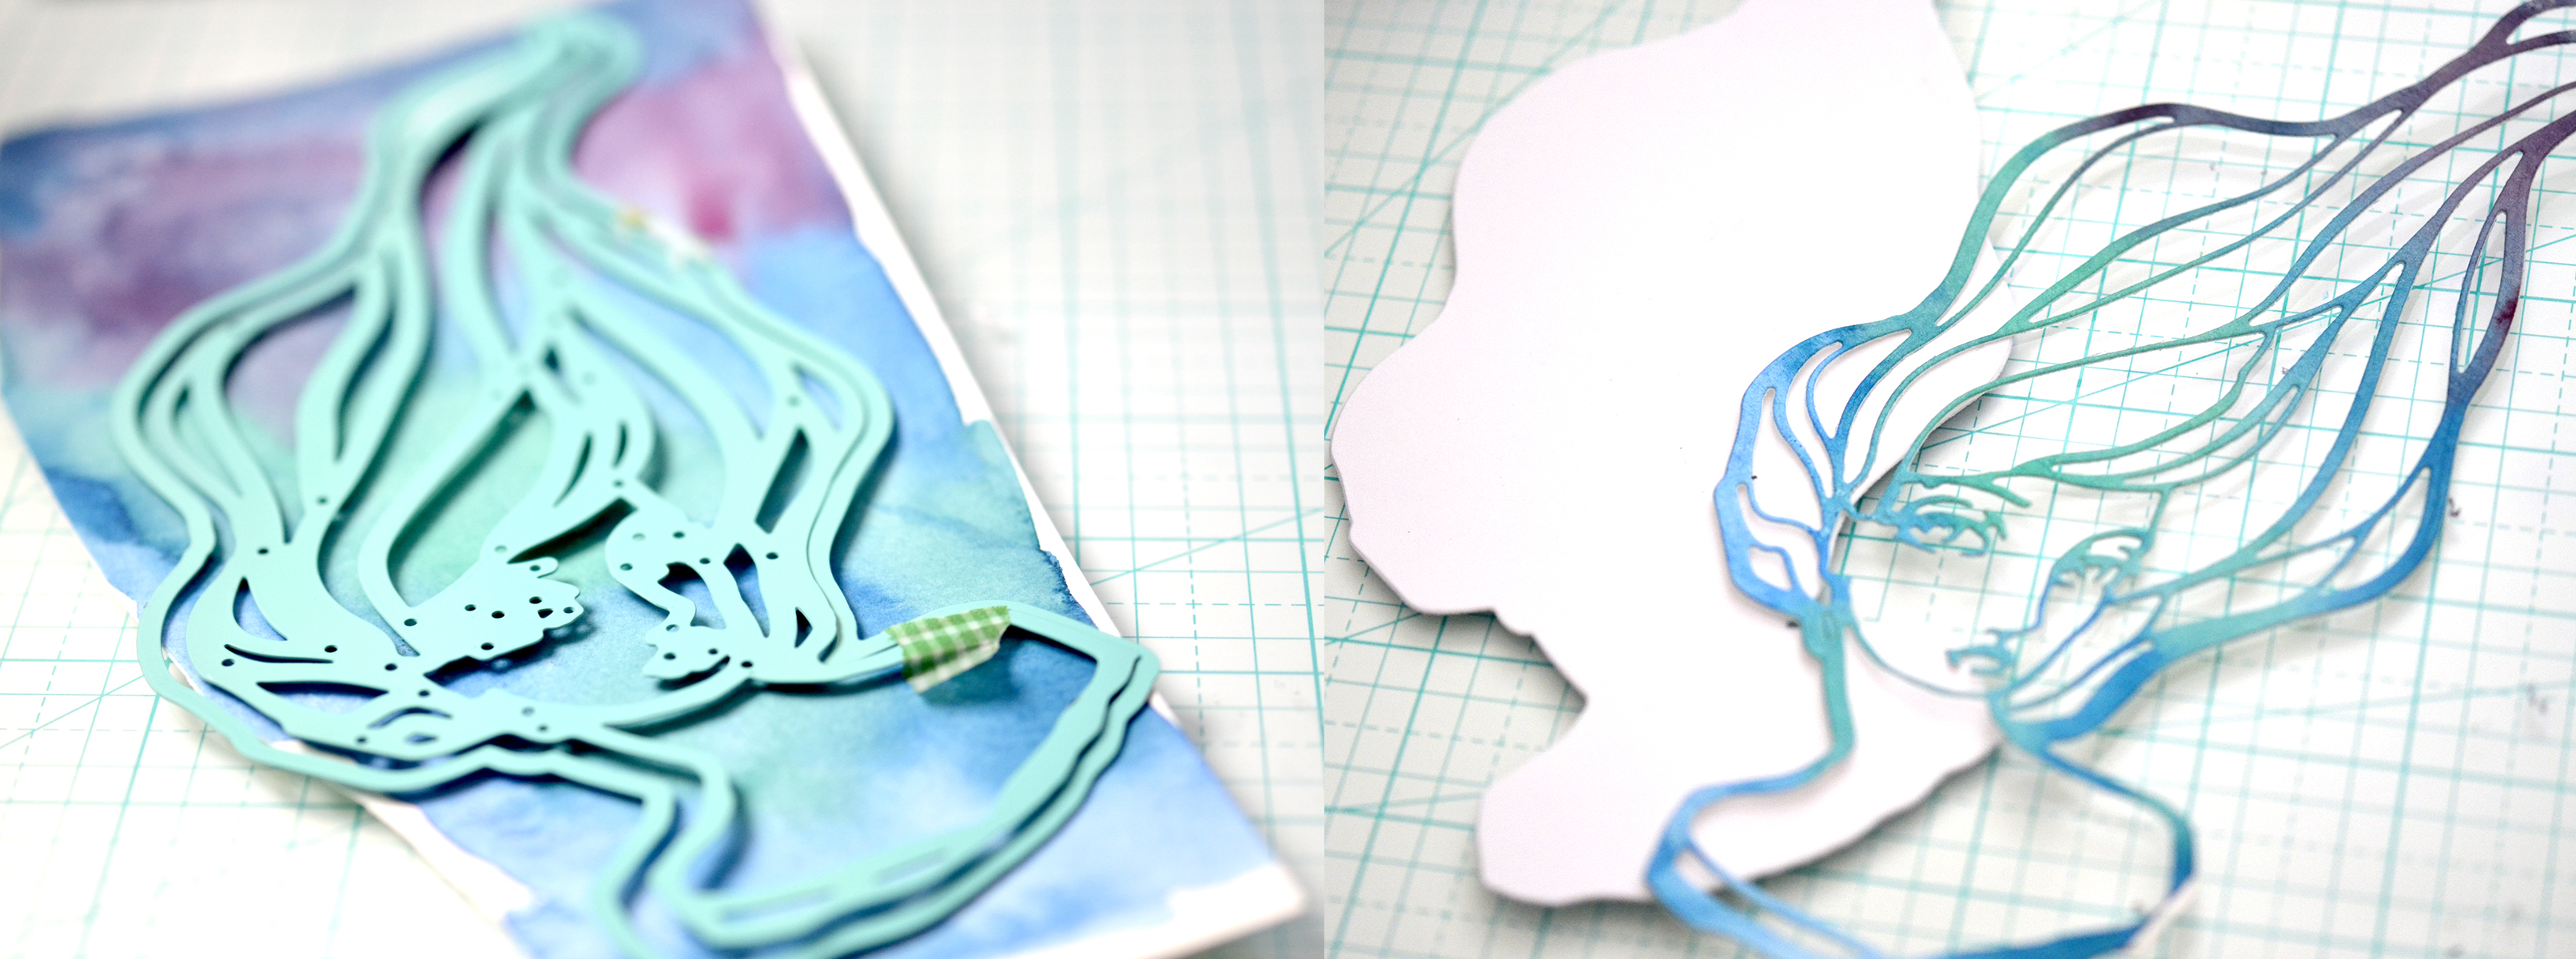
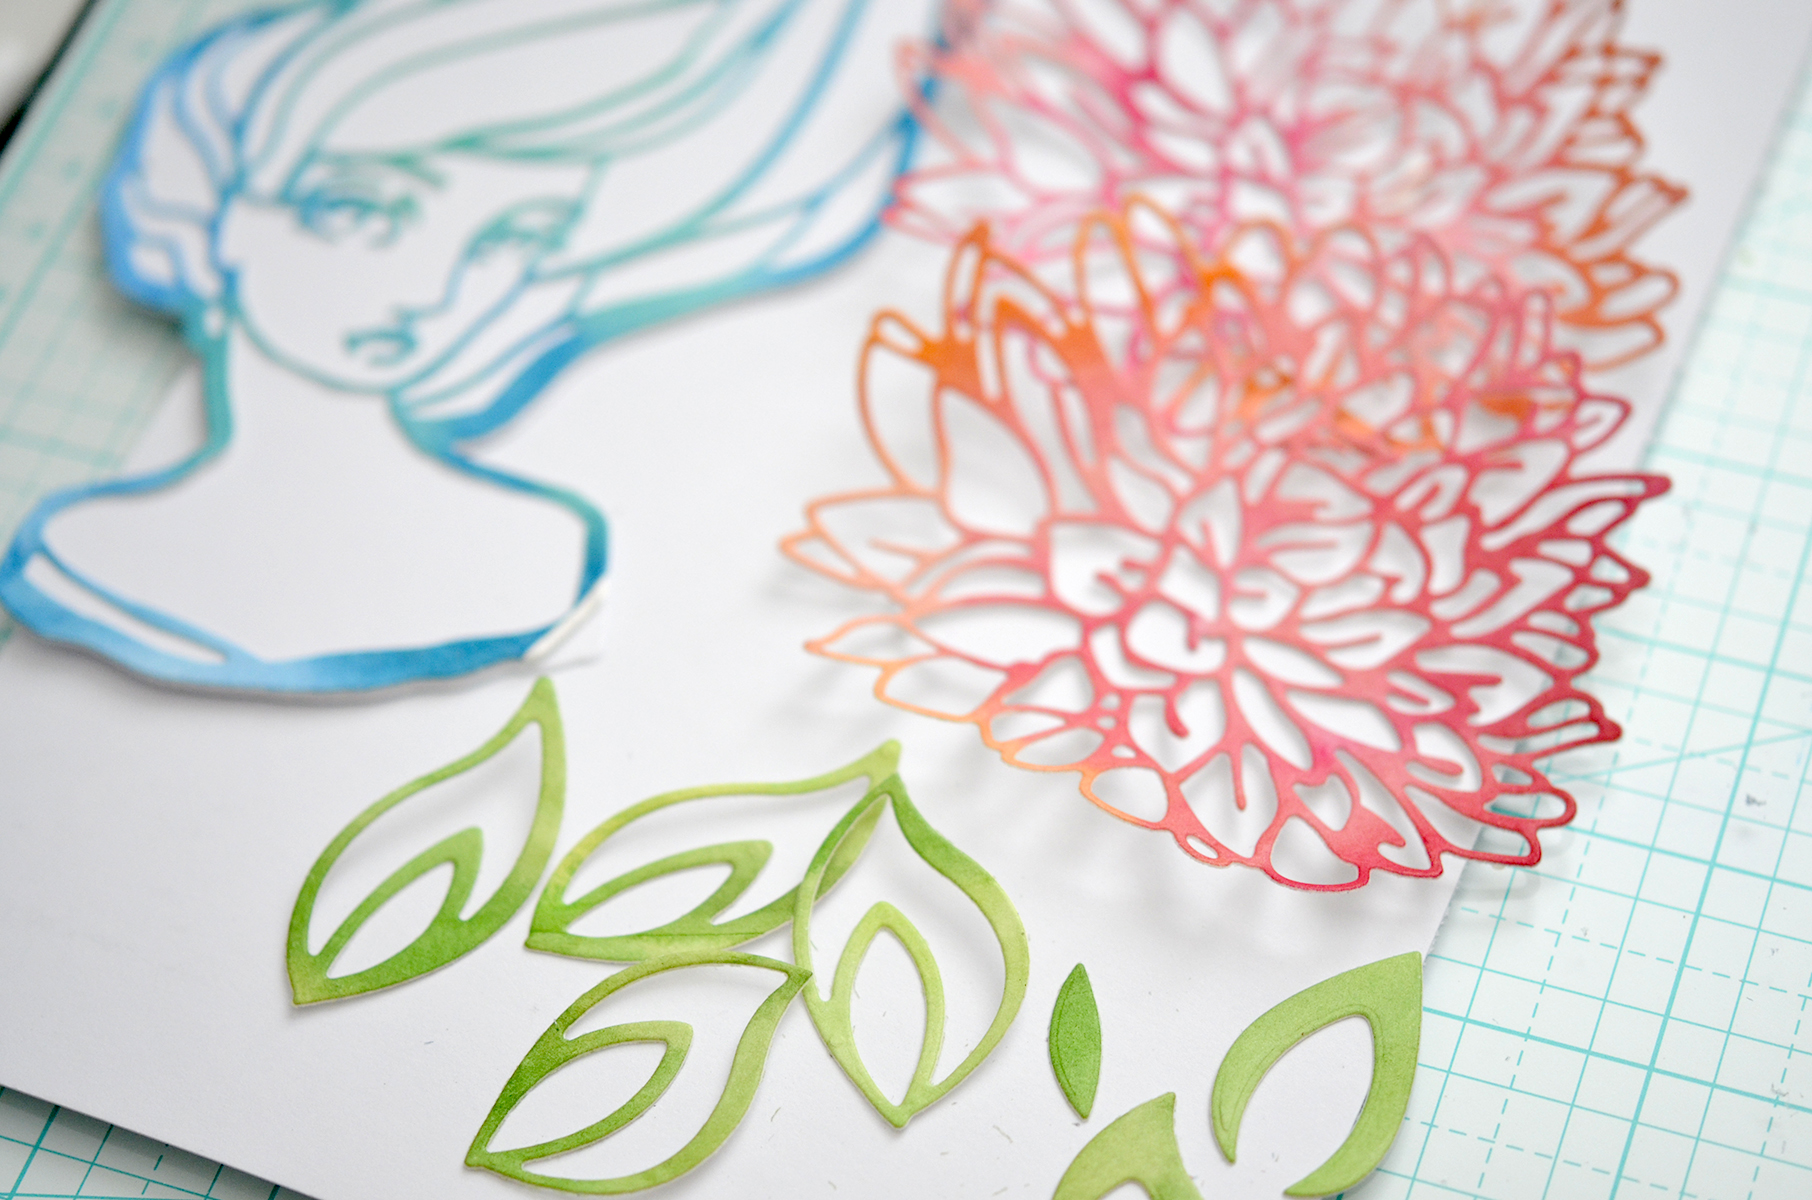
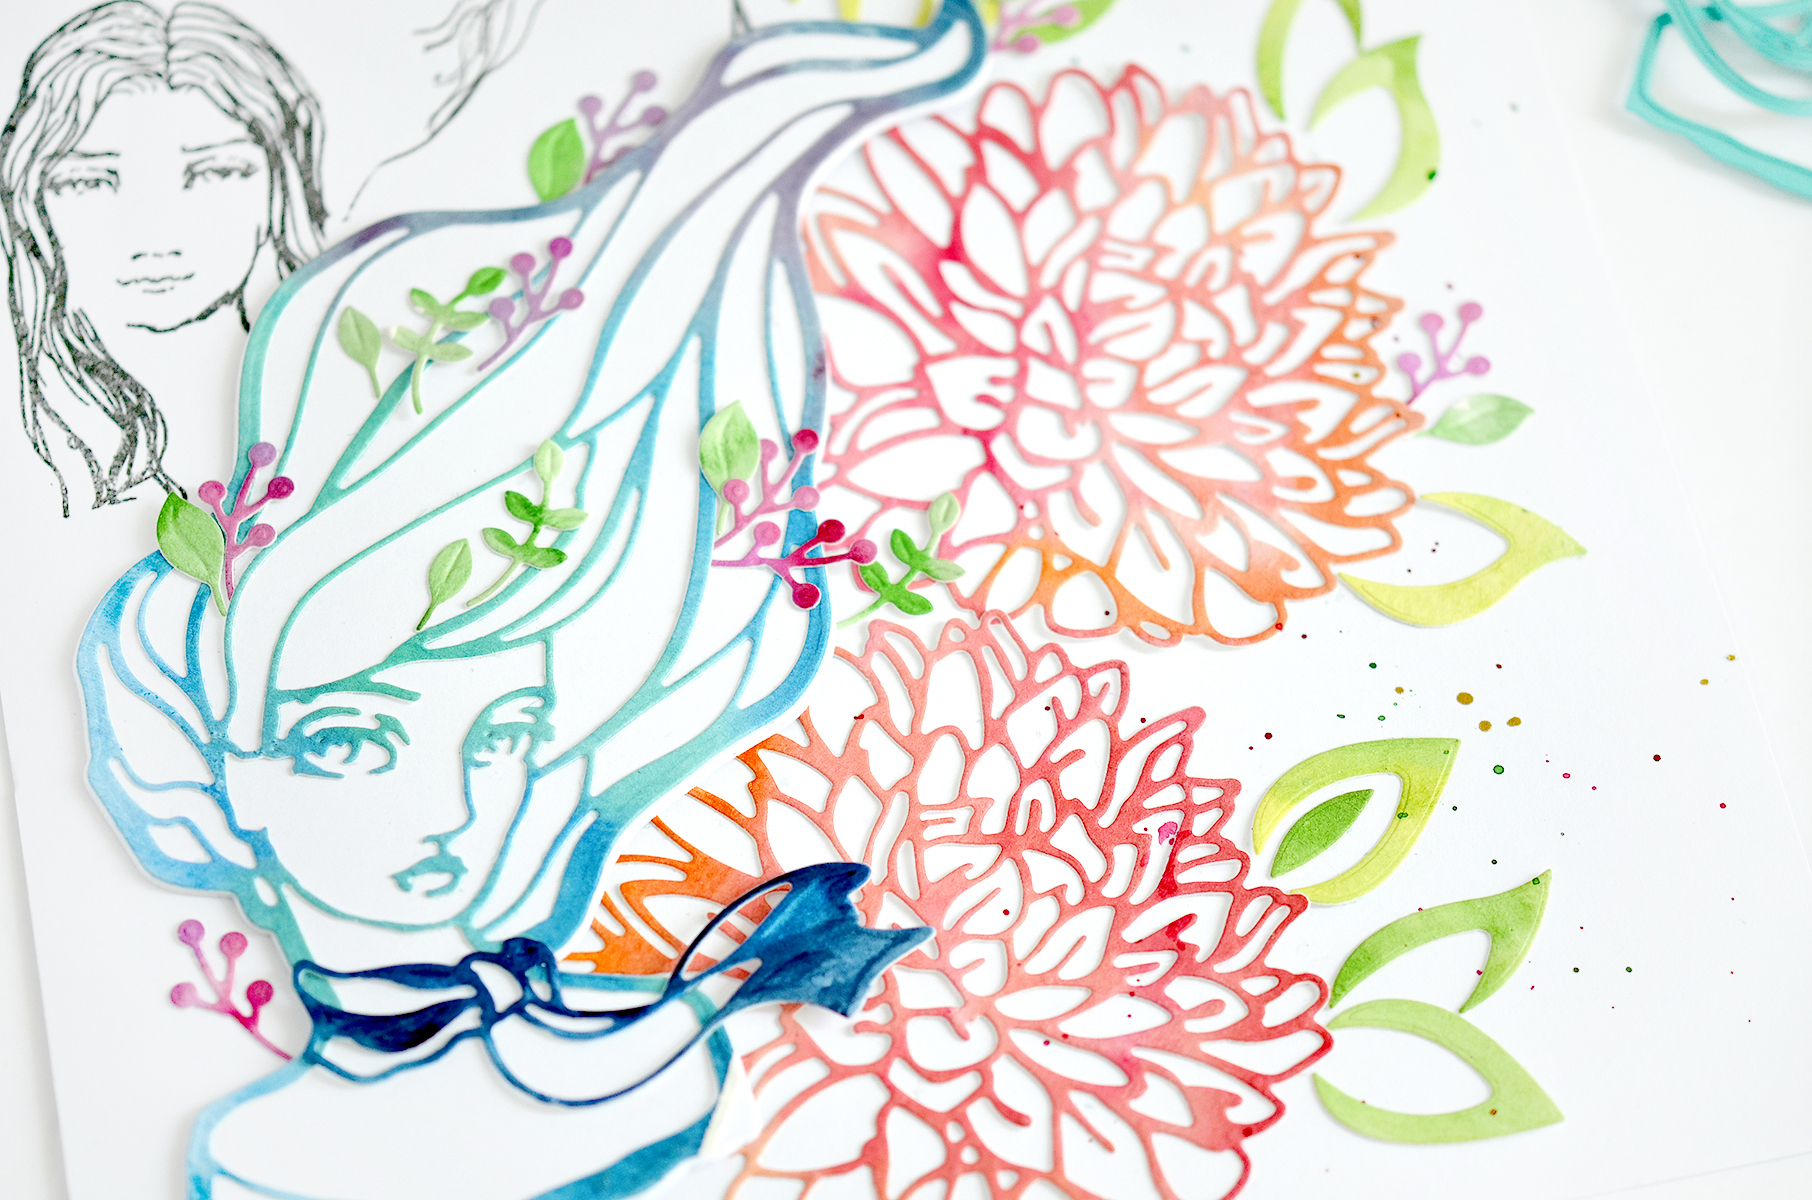
Here is my last project. It is also a mixed media.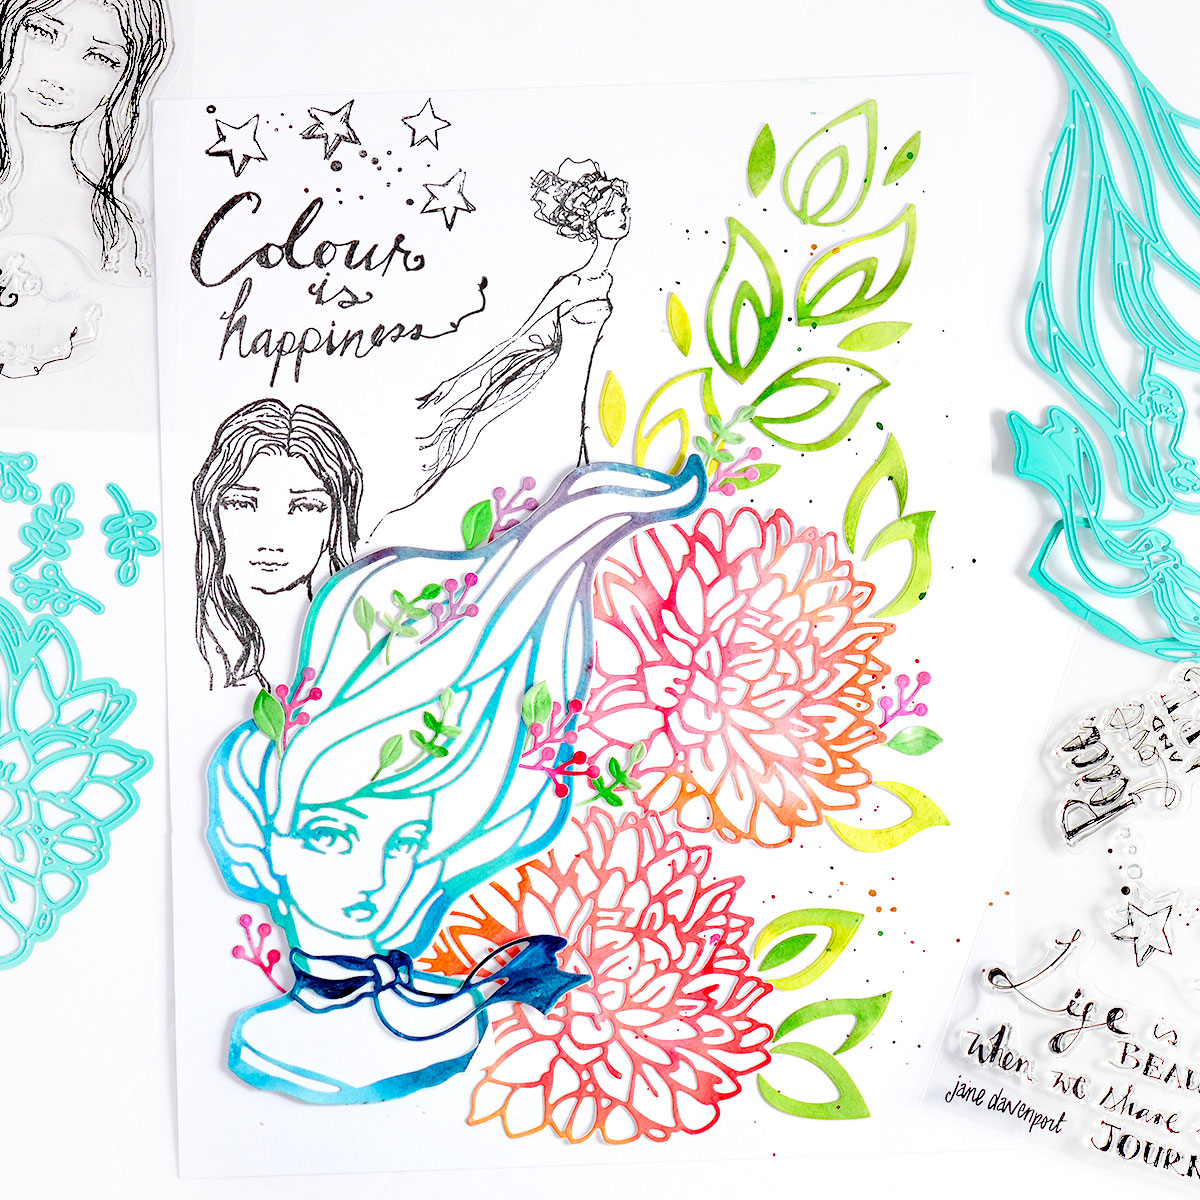
























































































1 comment
Wow! Beautiful pieces. I just love Jane’s faces! And you did a fabulous job using her supplies.