

Posted by Channin Pelletier
on December 05, 2023


Hello friends!! It’s Channin here and in today’s video I’m creating a colorful birthday card featuring the elements from the new Premium December My Monthly Hero Kit.
Watch below or on the Hero Arts YouTube channel.
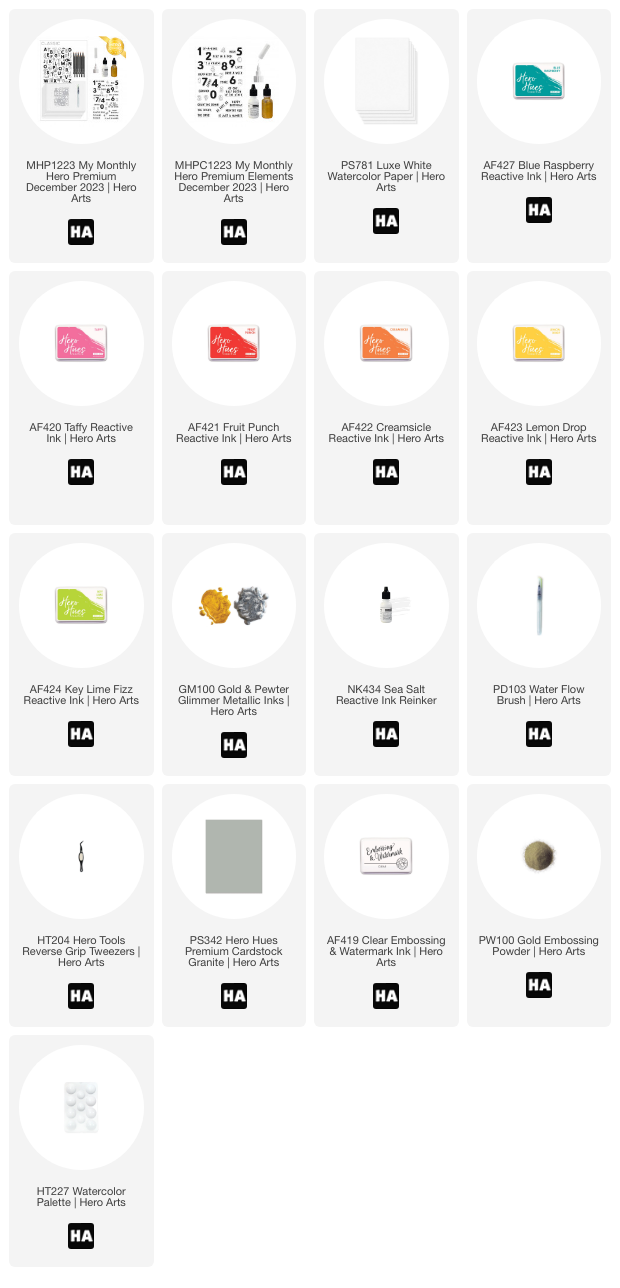
To create this card I first trimmed down a panel of Luxe White Watercolor Paper to 4 1/4" x 5 1/2". I then applied Blue Raspberry , Taffy , Fruit Punch , Creamsicle , Lemon Drop and Key Lime Fizz Reactive Inks to the surface of the A2 panel of watercolor paper. Next, I spritzed the panel with water to activate the ink and then used the Water Flow Brush to blend the colors and move them down the panel. I then squeezed some of the included Sea Salt Reactive Inker out into a palette , added some water and then splattered the still slightly damp panel.

Next, while the panel dried, I die cut the letters for my sentiment out of Dove White cardstock with the Alphabet Cover Plate Die. I then added some of the included Gold Glimmer Ink to the palette , added water and painted the lower third of the die cut letters.

Next, I splattered the now dried watercolored panel with some of the Gold Glimmer Ink . I then stamped a sub-sentiment with the numbers stamp set in Embossing & Watermark Ink onto Granite cardstock. Before I stamped the sentiment I had to cut the stamp to separate the "happy" and "birthday". After I stamped the sub-sentiment, I then poured gold embossing powder over and then heat set with a heat tool. Next, I stamped "happy" a second time and gold heat-embossed once again. I then trimmed the sentiment down to a strip and set it aside.
Next, I adhered the watercolored panel to the front of an A2 top-folding Dove White Card Base . I then finished the card by adhering the letters and sentiment to the card front with foam adhesive.
I hope you enjoyed my envelope and card. Thank you so much for stopping by!

Click on products to shop:























































































1 comment
Excellent card and video!