Video: Faux Tile Technique With Texture Blocks and Ink - Hero Arts
on February 26, 2024

Video: Faux Tile Technique With Texture Blocks and Ink

Hi friends - Lydia here today with an EOINA technique - that stands for "everything old is new again." This is one of the very first "faux" techniques I ever learned and is still one of my favorites for scenic cards like the one I will show you today.

The key to the technique is dry embossing. You can do this with a stylus or a bone folder, but I've found a stylus works the best. You'll see why in the video.

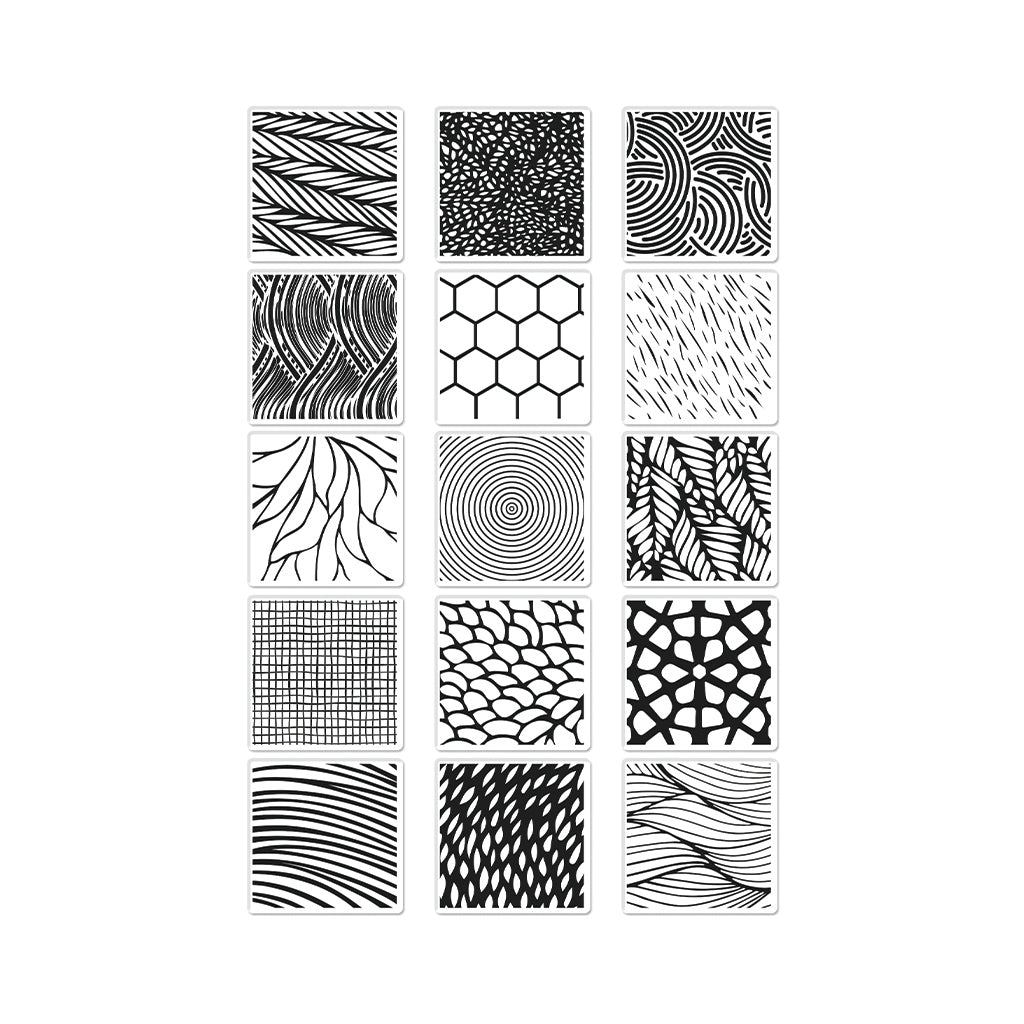
After you've debossed your "tiles" you'll want to stamp over them to really show off the tile effect. I chose a botanical pattern from the new Texture Blocks set from the 2024 Spring Catalog. This set is perfect for this technique because all the stamps are perfect squares so they are a snap to align with the tiles, and you get so many fun patterns, you can make a lot of different looks. If you want to cover the whole space, just line the little blocks up next to each other. I chose a checkerboard pattern instead.

Wherever you stamp on top of the debossed lines, the "grout" will appear like magic.

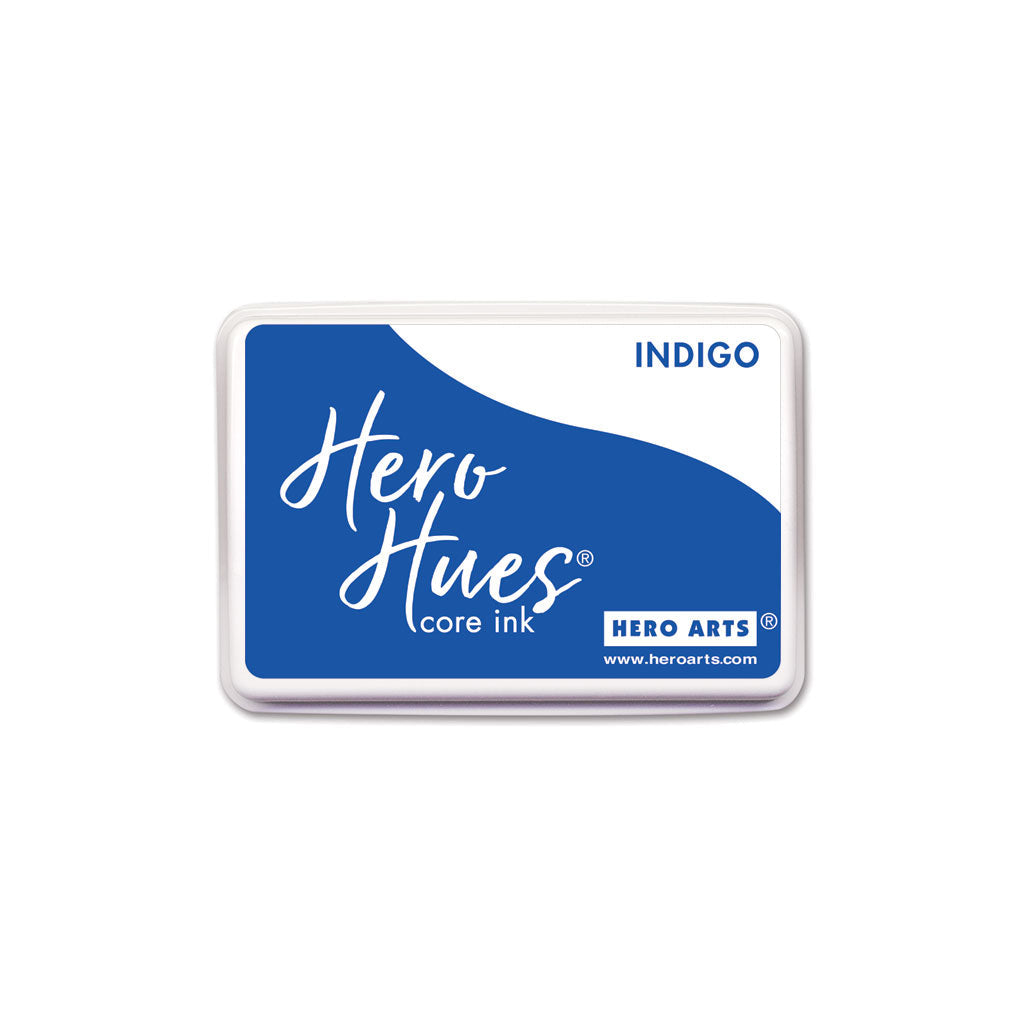
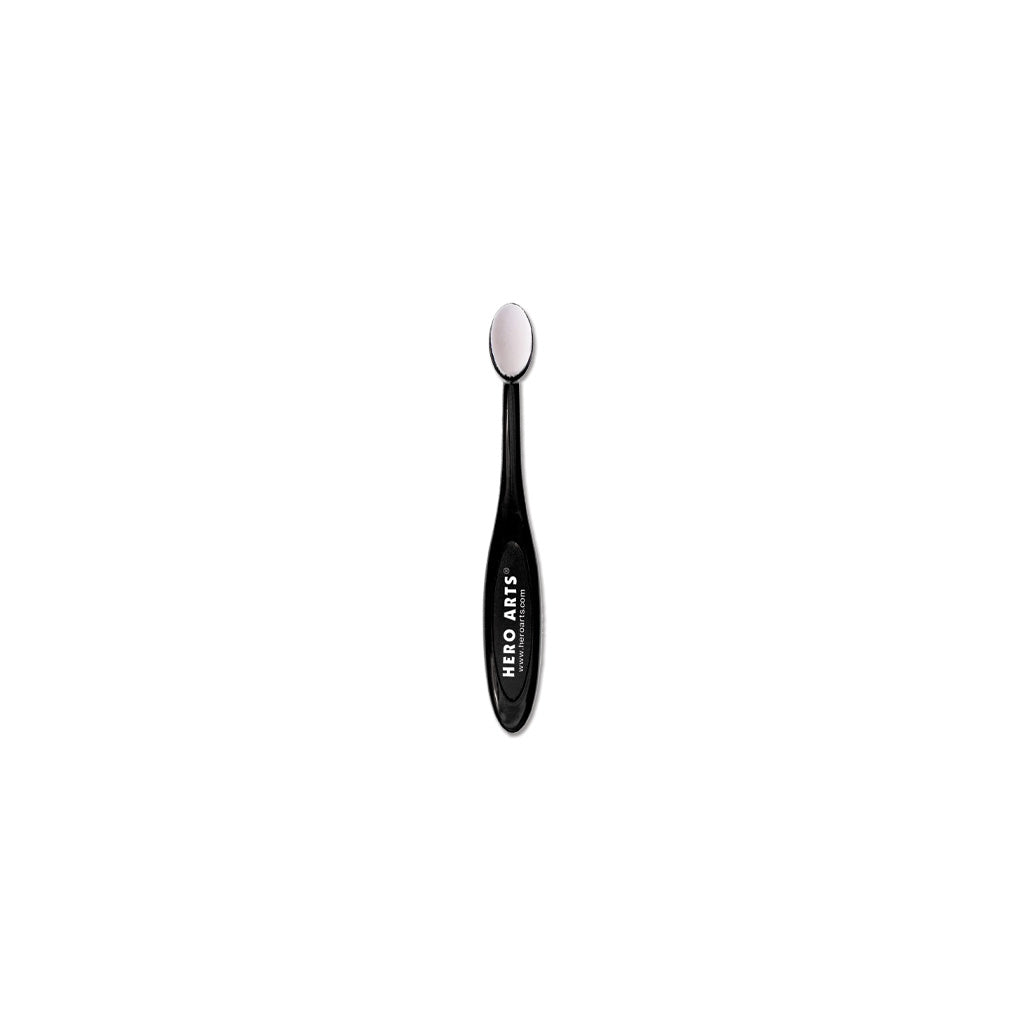
The next part of the technique is ink blending each tile with a small ink blending brush, and in my case, the same color ink I stamped with - Indigo. To do this, you need to mask off the grout and then just lightly shade the edge of each tile.

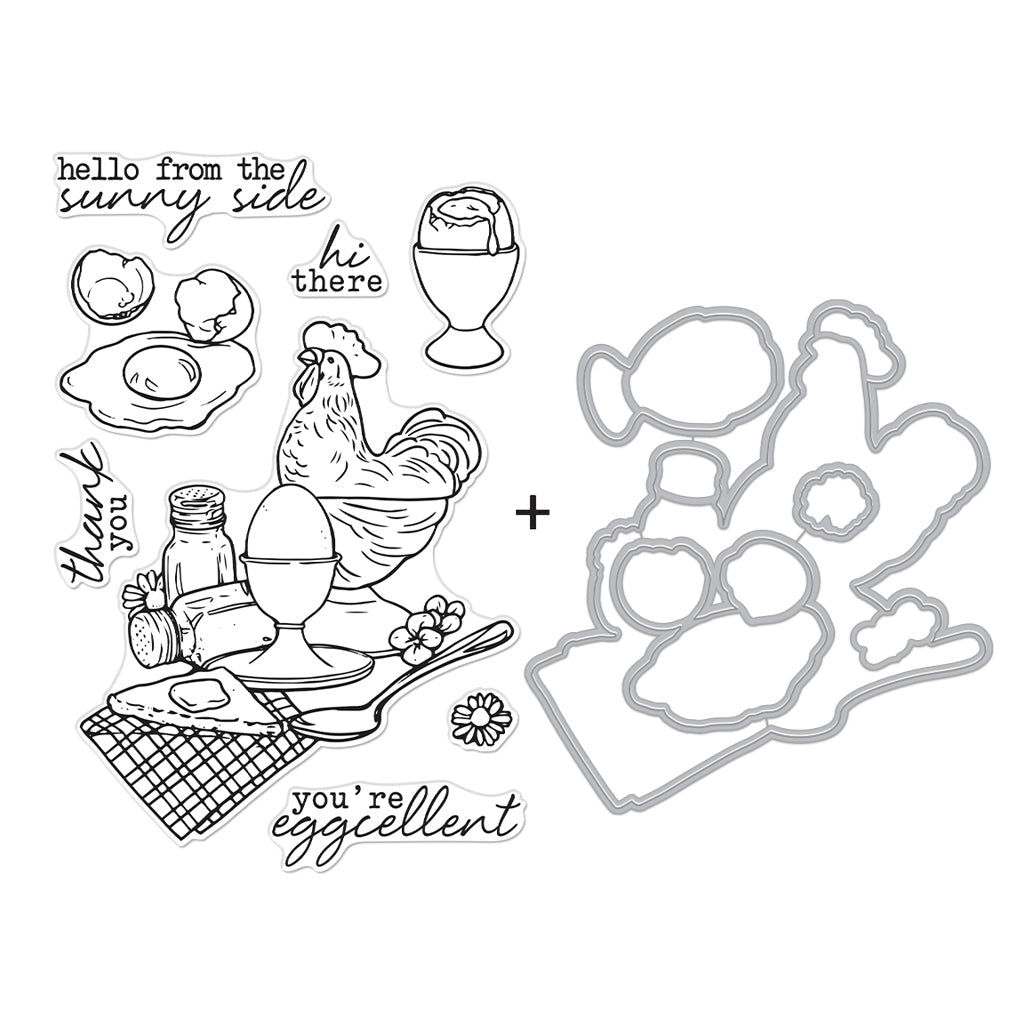
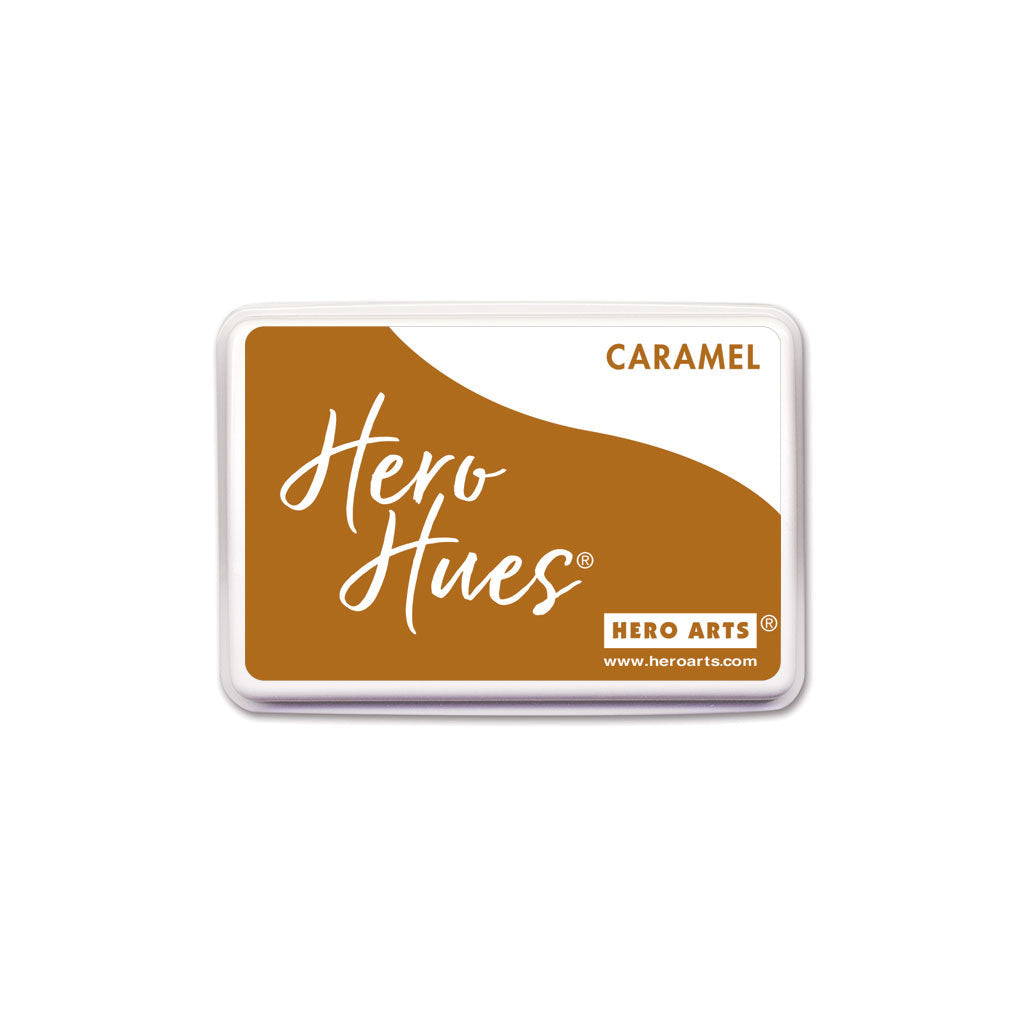
Here's what it looks like as a kitchen backsplash, with the images from Eggcellent in the foreground. I colored a counter and cabinet with alcohol markers and using direct to paper with Caramel ink.

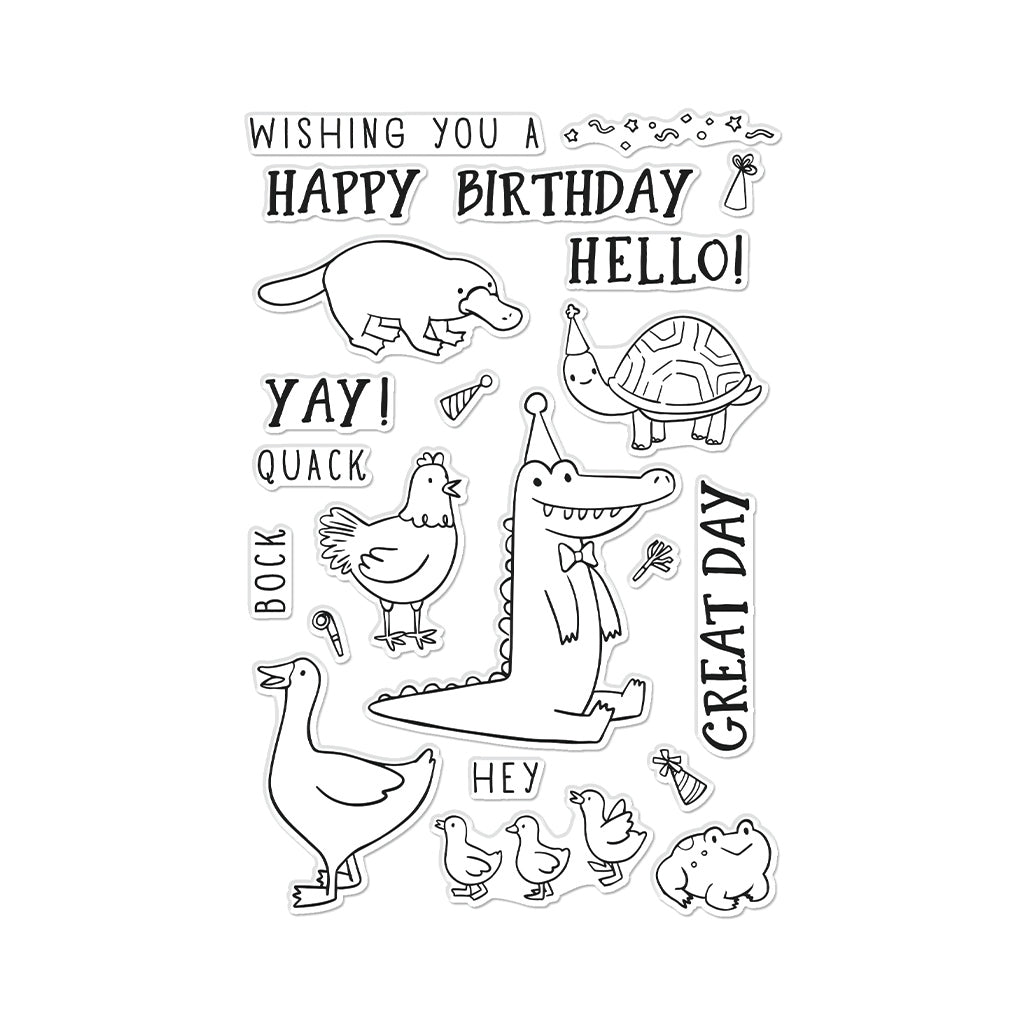
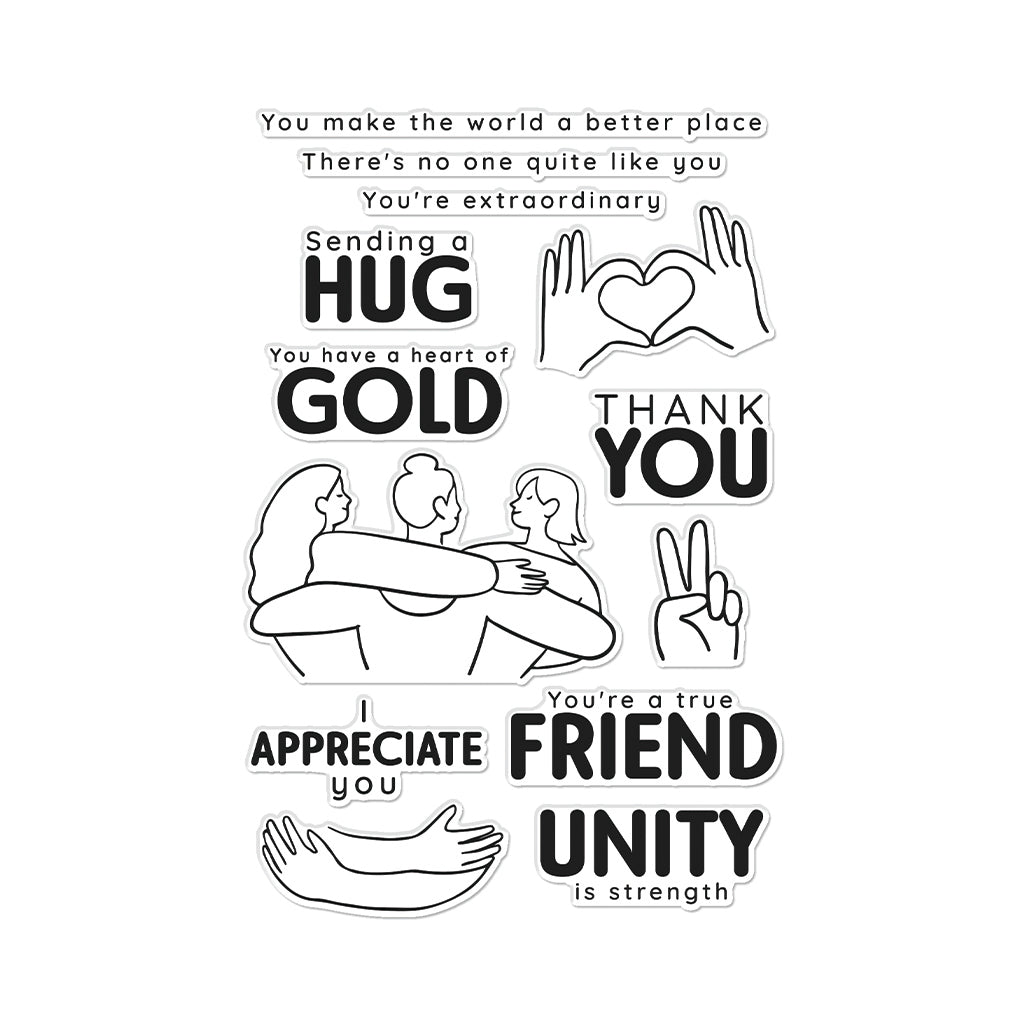
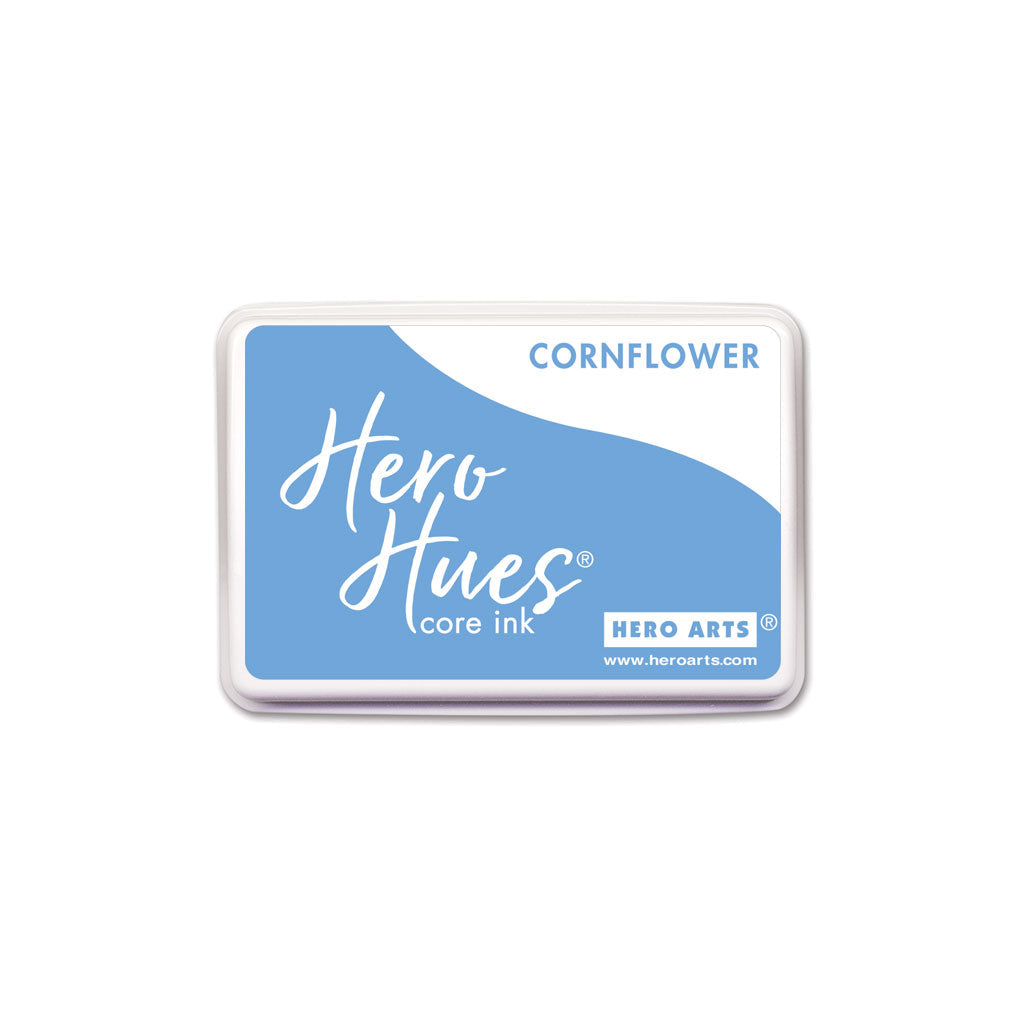
If you don't want to take the time to ink blend, it still looks like tile without it! This next example uses Cornflower ink, with images from the new Birthday Animals set and a sentiment from Appreciate You.

But you don't have to take my word for it - here's the video:

I hope you have a great week! Thanks for stopping by.

Click on products to shop:
CM748 Texture Blocks | Hero Arts
HA ]
CM747 Birthday Animals | Hero Arts
HA ]
CM745 I Appreciate You | Hero Arts
HA ]
SB316 Eggcellent Bundle | Hero Arts
HA ]
AF702 Cornflower Core Ink | Hero Arts
HA ]
AF704 Indigo Core Ink | Hero Arts
HA ]
AF744 Caramel Core Ink | Hero Arts
HA ]
MI004 Hero Tools Ink Blending Brush...
HA ]

Leave a comment

Your email will not be published. Please note, comments need to be approved before they are published.


  • How to Make a Fun Chompster Birthday Card with Cake and Accessories, BD-1049, S5-778, S5-779, STP-295

    BD-1049

    How to Make a Snack-Themed Birthday Card with Chompster

    Funny birthday cards are even more memorable when they combine a playful character with a relatable sentiment. This snack-themed birthday card features Chompster dressed in a party hat and holding a large slice of birthday cake. The colorful die-cut layers, dimensional cake, and sparkling gems create a cheerful design that is perfect for birthdays and other celebrations. In this step-by-step tutorial, you’ll learn how to...

  • How to Make a Cute Autumn Squirrel Card with Fall Adventures Dies, S4-1573, S5-738, S3-591, STP-292, S5-740

    Categories:Die Cutting

    How to Make a Cute Autumn Squirrel Card with Fall Adventures Dies

    Create a charming autumn card featuring an adorable squirrel dressed in overalls and surrounded by pumpkins, apples, hay bales, colorful leaves, and harvest-themed accents. In this step-by-step tutorial, you'll learn how to assemble layered character dies, create dimensional autumn accessories, stamp a coordinating sentiment, and build a cheerful fall scene full of seasonal details. This project is perfect for cardmakers who enjoy character-based die-cut scenes...

  • How to Make a Cookie-Loving Chompster Birthday Card, S5-778, S5-779, STP-295

    Categories:Die Cutting

    How to Make a Cookie-Loving Chompster Birthday Card

    Create a fun birthday card featuring Chompster enjoying his favorite snack. In this step-by-step tutorial, you'll learn how to assemble the Chompster character, create dimensional cookies, build a colorful propeller hat, and arrange all the die-cut pieces into a playful birthday card design. This project is perfect for cardmakers who enjoy character-based die cutting and whimsical birthday cards. By combining the Top It Off and...