


Posted by Channin Pelletier
on August 21, 2020


Hello everyone! This is Channin here and today I have a video and an interactive card to share featuring the Vineyard HeroScape stamp set and the Rectangle Peek-a-Boo Doors Mini Infinity Dies . Watch the video to see how I use different color palettes to create two photos, one in black and white and the other in color, and then add an easy color-changing interactive element!
(If you are having trouble viewing this video, please try watching it HERE on YouTube.)
To create this card I first trimmed white cardstock down to create three 3” x 4 1/8” panels. I then positioned the largest Rectangle Peek-a-Boo Doors Mini Infinity Die on one of the panels and traced it. Next, I positioned the first layer from the Vineyard HeroScape stamp set in my MISTI , inked it up in Fog Reactive Ink and then stamped the first panel.

I then removed the panel, grabbed a second one, and stamped it with the first layer in Key Lime Fizz Reactive Ink . I positioned the second layer for the Vineyard, inked it in Wet Cement and stamped my first panel. Next, I popped my second panel into my MISTI and stamped it with the second layer inked in Moss . I repeated this process for the third layer using Charcoal on the first panel and a combination fo Pine and Cup O’ Joe for the second. I then finished the second panel by stamping the grapes in Thistle Reactive Ink and Mulled Wine .

Next, I made two quick masks by stamping the second and third layers on scrap paper and fussy cutting them out. I then positioned the third layer mask on my first panel and then stamped a house in Charcoal . I then positioned the mask on the second panel and stamped the house again but this time in Cup O’ Joe . Next, I masked off the hills and then ink blended the sky for both panels.

Once I finished the blending the skies, I stamped some additional images from the set onto white cardstock . I stamped the barrel in Caramel and Cup O’Joe ink , a wine bottle in Pine , and a wine glass in Soft Pool . Once the images were stamped I Copic colored them to fill in the negative spaces and add wine to the wine glass. When I finished with the images I then die cut them out with the matching dies and set them aside.

Next, I die cut the first panel with the largest Rectangles Peek-a-Boo Doors Die . Then with a craft knife I cut the door off at the fold and used the remaining frame as a guide to help me position the die and then die the third panel. I then stamped a sentiment onto the two stamped panels in INTENS-ified Black Ink and adhered the first panel onto the front of the third. Next, I die cut a second door with the Rectangle Peek-a-Boo Die and some scrap cardstock and adhered it to the back of the third panel to add some strength and lift to make it easier to grab. I then adhered this stack door over my second stamped panel. I finished my card by adhering the door onto an A2 top-folding Sand card base .
I hope you enjoyed my card and video! Thank you so much for stopping by!

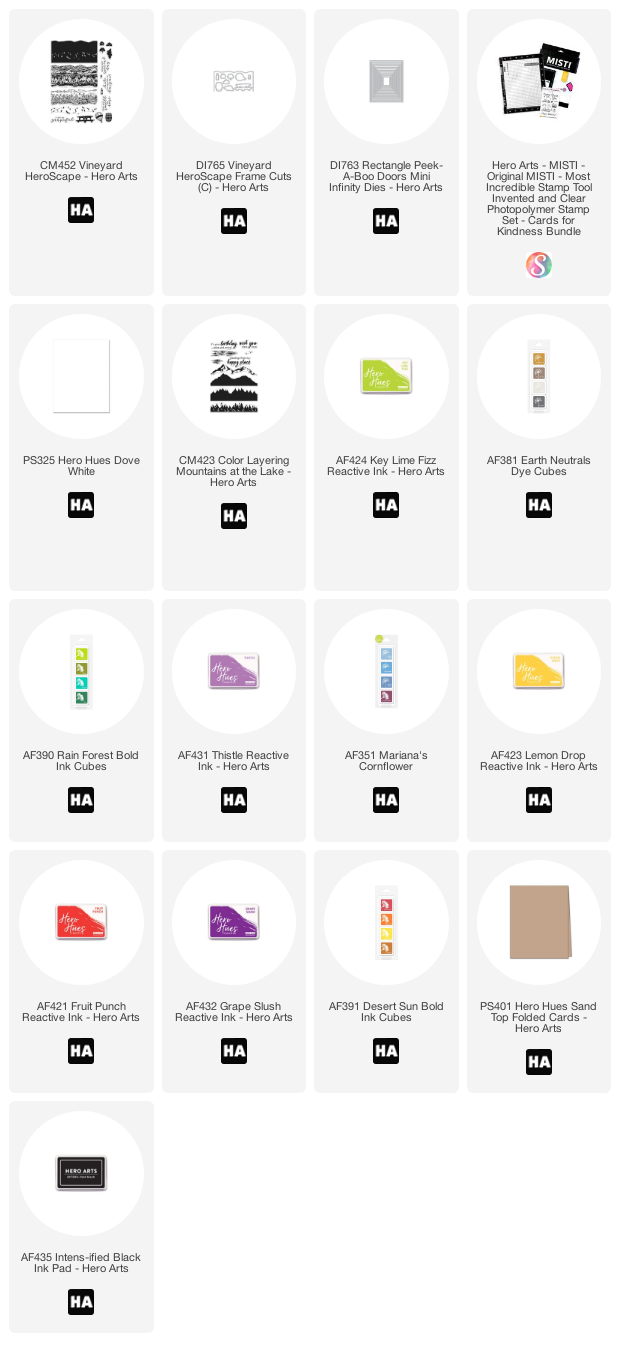
Click on products to shop:























































































3 comments
WOW is about all I can say about the above card. Channin is so talented and I’m grateful that she shared her immense knowledge of working with inks with us. Thank you.
I LOVE LOVE Love this card and technique. I am really into the heroscapes, and folks are thrilled to receive them. Thank you for demonstrating.
Fabulous peek-a-boo card with the vineyard scene, Channin! Thanks for the video tutorial too – love how you made this!