Posted by Ilina Crouse
on October 09, 2023

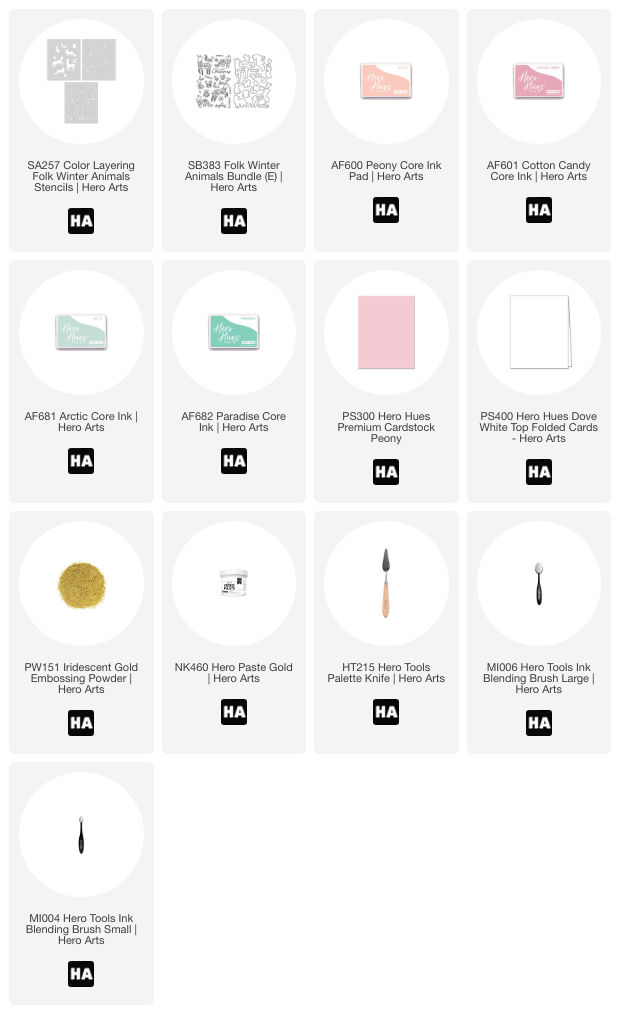
Hi everyone! Ilina here! Today I am sharing video that shows how to create a fun background using the new Color Layering Folk Winter Animals Stencil Set and add dimension and sparkle using Gold Hero Paste . I love the gold shade of the Hero Paste and think it goes perfectly with the soft color palette that I used on this non-conventional Christmas colors background.
Also the Hero Paste perfectly coordinates with the new Iridescent Gold Embossing Powder . Match made in heaven!

To make the card I started with a 5 1/2" x 8 1/2" piece of white cardstock. I used my MISTI to keep my cardstock in place, but you can tape it down to your work surface. When stenciling I like using a larger piece of cardstock that I can trim afterwards. I positioned my stencil in the corner of my MISTI and using the Ink Blending Brushes ( small and large ) applied Peony and Arctic inks. I used post-it tape to mask different areas to apply different colors, but you can use scrap pieces of cardstock or printer paper.
Once I was done with the first stencil, I removed it and secured the second stencil and lined it up with the registration/positioning marks and also in the corner of my MISTI and applied Cotton Candy and Paradise inks using the same principle as I did for the first layer.
Watch the video below to see how this card came to be (or click HERE to watch it in HD on YouTube.)
Once I had the second layer done, I removed the stencil and secured the third layer ("C" stencil). Using the Palette Knife I applied Gold Hero Paste, evened it out and removed the excess. I then removed the stencil and set aside to dry.
In the meantime I stamped "Merry Christmas" from the Folk Winter Animal set on Peony cardstock and embossed using the Iridescent Gold Embossing Powder. Die cut using the coordinating dies. The dies in this set also coordinate with most of the images from the stencil!

Next, I cut the stenciled panel to 4" x 5 1/4" and using foam strips, adhered the sentiment (I layered the sentiment on plain white die cuts and offset slightly to create a little white border on top). Next I adhered the panel to 4 1/4" x 5 1/2" Peony panel and then to a Dove White Top Folded Card .

Thank you so much for stopping by! Hope you have amazing day!