


Posted by Michelle Short
on April 27, 2018

Hello there, Michelle here and today I am sharing a card using the beautiful Support Prayers Love stamp set. As the name of the set suggests, this is a wonderful set to use on cards to tell someone that you are thinking of them and want to send them encouragement.
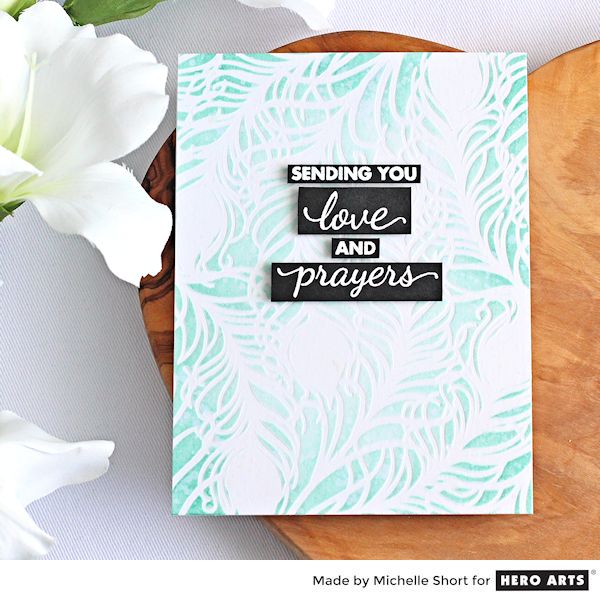
I started my card off by creating the background. I knew I wanted to keep the sentiment as the focus of the card, so I decided to create a soft background, which I think goes well with the sentiment. I took a piece of watercolour paper and ran this through my die cutting machine to emboss the Peacock Feather Stencil. Keeping the stencil in place, I blended Evergreen Bough Distress Ink on to the panel. I then splatted on some drops of water, waited approximately 30 seconds and then picked the excess water up with a paper towel. I removed the stencil and then added splatters of White Iridescent Shimmer Spray over the panel and set aside to dry.
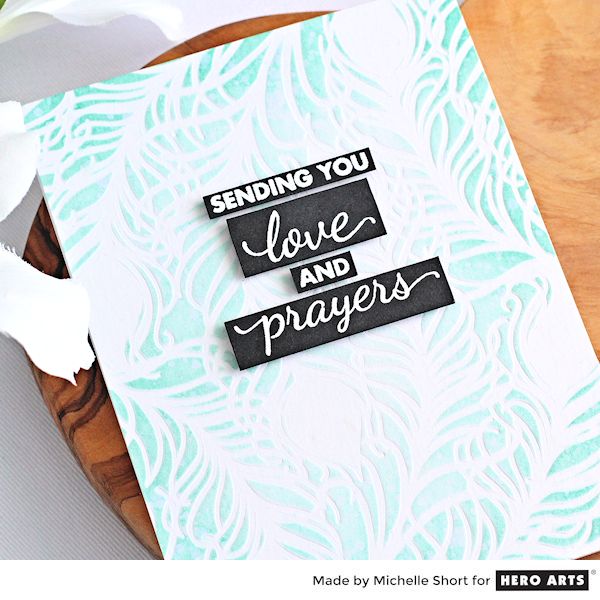
Once dry, the panel was adhered flat to a card base. I took the sentiments from the Support Prayers Love set and stamped these with Versamark Ink on black cardstock. I applied white embossing powder and heat set. These were then cut in to strips and added to the card with foam tape.
I find these types of cards difficult to make when you need them, so it is always nice to have a few on hand. Thank you so much for popping by today, happy stamping!























































































9 comments
Love the background. I really enjoy seeing all the many detailed cards posted on Hero Arts blog.
Gorgeous Michelle, thank you for showing.
I tried this with a lovely dragonfly stencil, using oxide inks, and it’s beautiful! Thank you for sharing this technique with us!
Love this card! Such a great idea!
Hi Lydia – Here is a previous video where Michelle shows how to dry emboss with stencils: https://www.youtube.com/watch?v=SIcfyYPCsro To complete the background for this card, you would place the stencil back over the embossed piece and apply ink as Michelle describes in her post. We hope this helps!