Saturdays with Sally: Lotsa Dots!! - Hero Arts
on July 22, 2023

Saturdays with Sally: Lotsa Dots!!

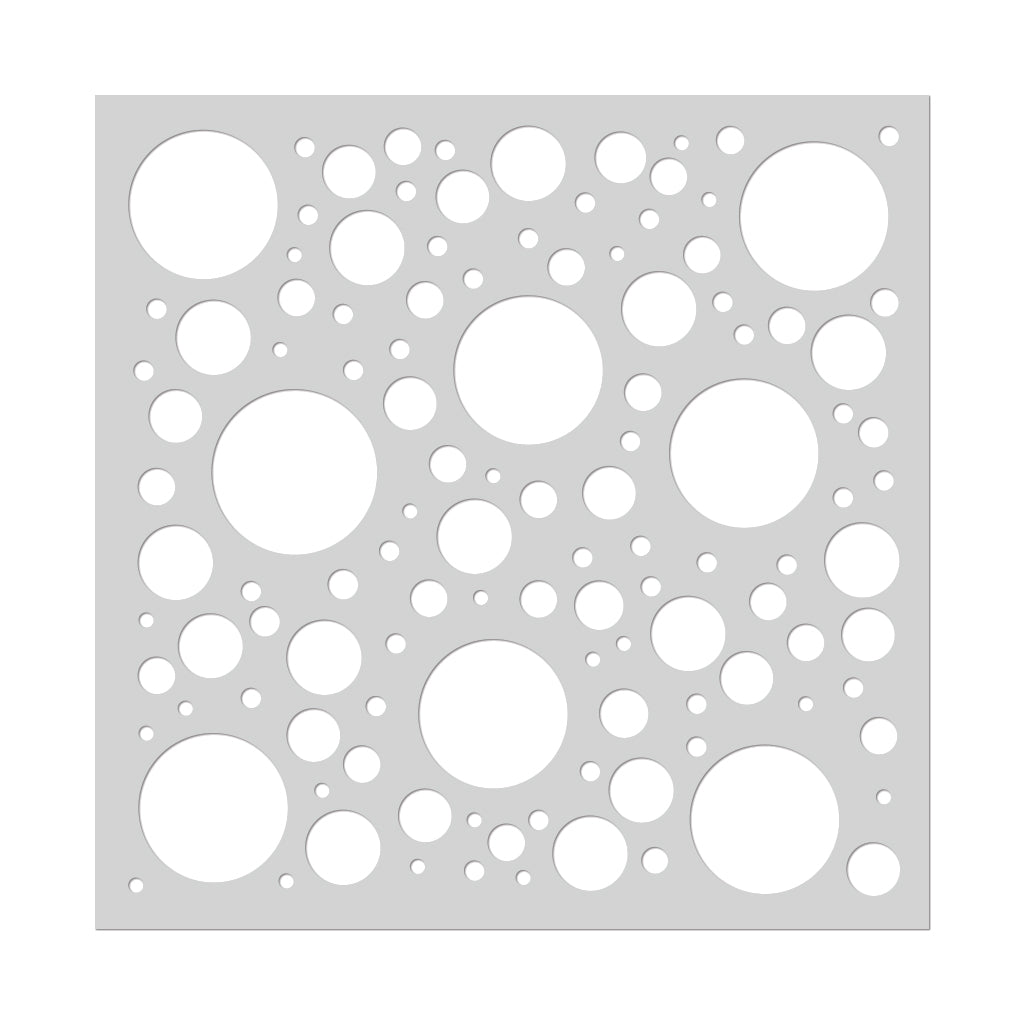
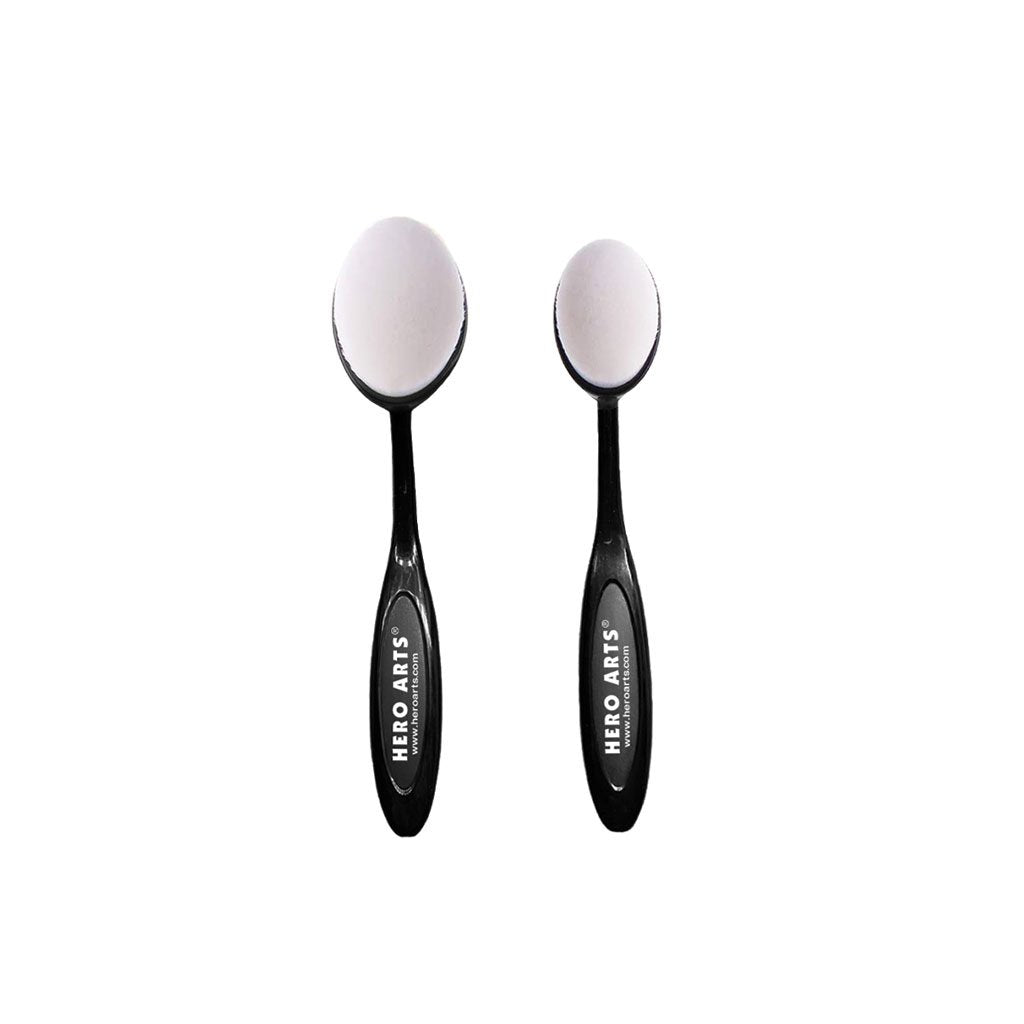
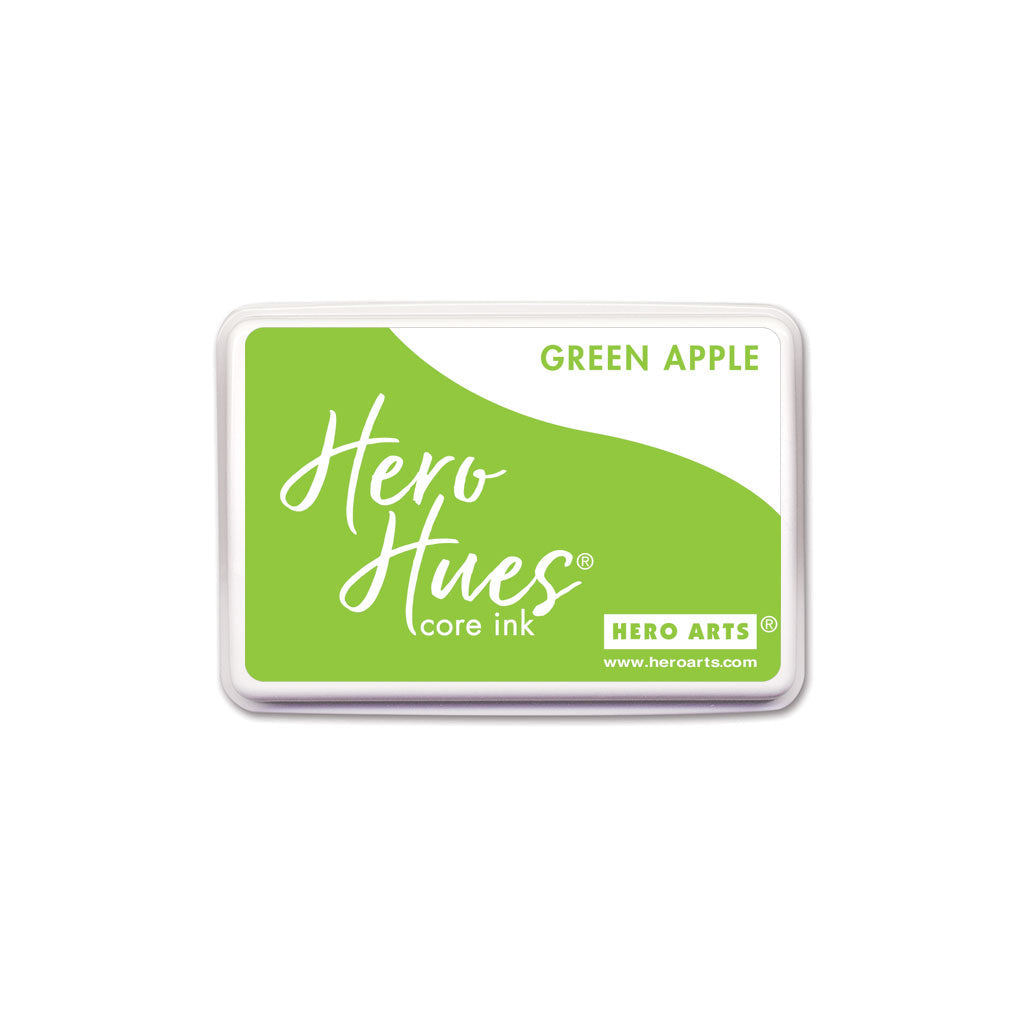
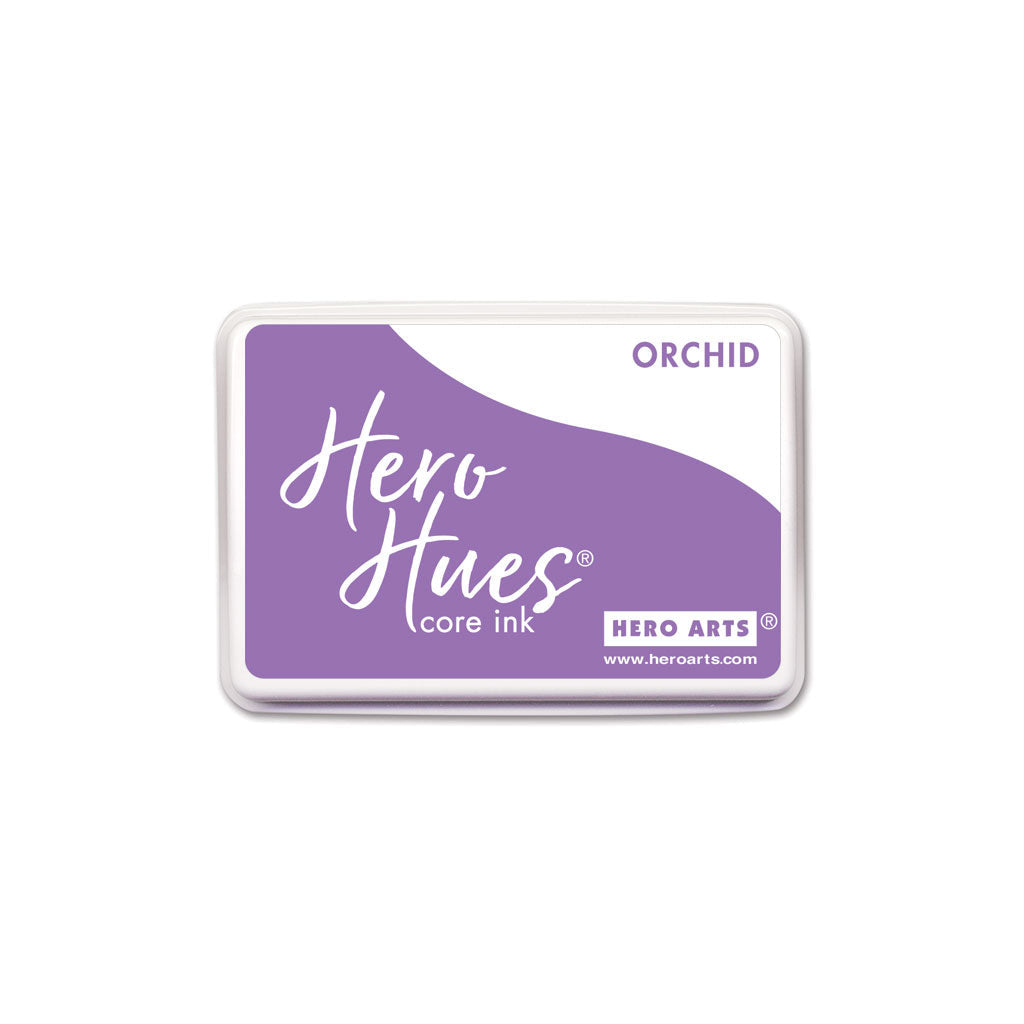
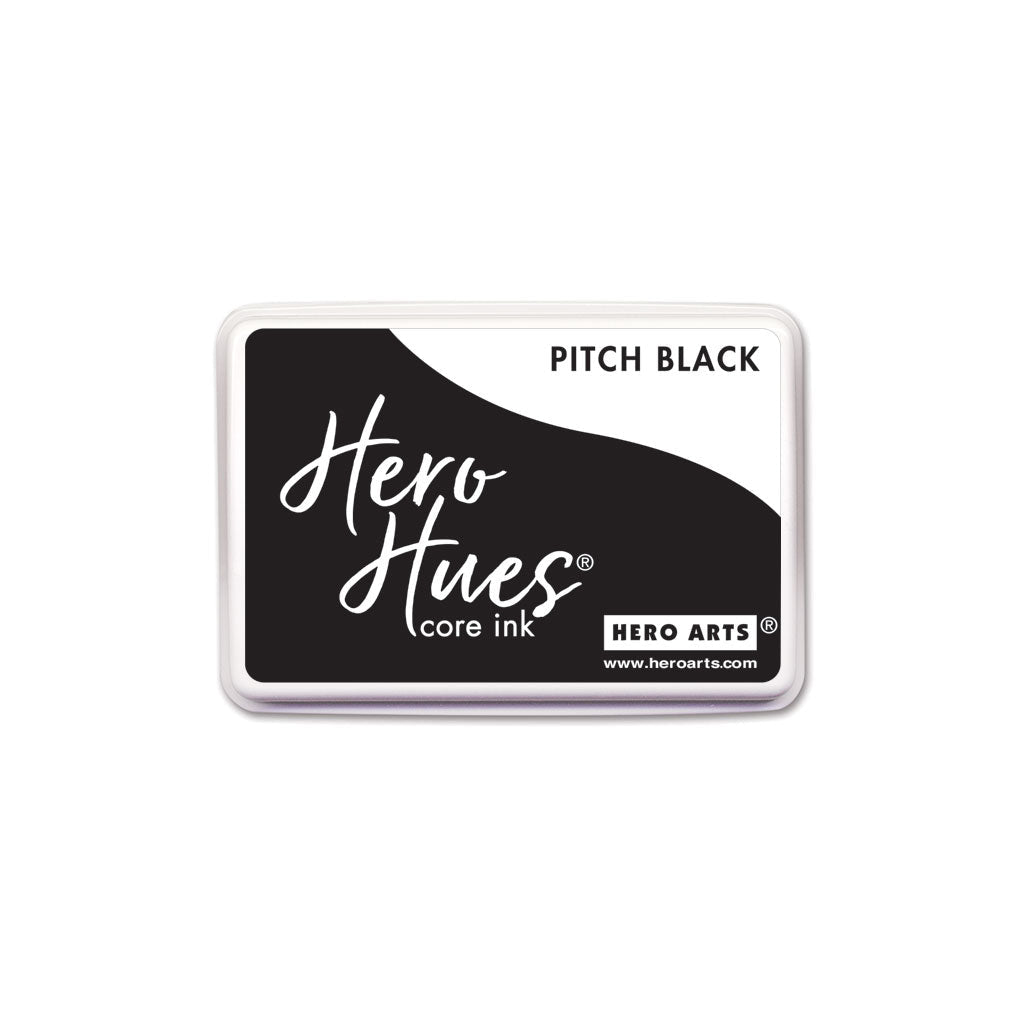
I have ALWAYS loved dots of any kind, so the Large Sprinkled Dots Stencil really got me excited. It is super easy to create a great background in a matter of minutes with ink pads and ink blending brushes. Obviously the easiest way is to pick one color and swirl the brush to cover all areas. If you want a multicolor card, you must be careful not to hit open areas with your brush. But of course, when you do, it makes a beautiful blended area. All these cards were made from Ultra Pink, Butter Bar, Green Apple, Orchid and Pitch Black Core Inks.

My "Hello Friend" card was created on a Dove White Cardstock panel, first stenciled with a light swirl of Ultra Pink. Then take the little dot from the Mixed Textures set and stamp it randomly in Butter Bar, Green Apple, Ultra Pink and Orchid inks. Stamp the roman numeral clock circle from the same stamp set in Orchid and Ultra Pink. Add sentiments from the Friendly Messages stamp set in Pitch Black ink.

To make a unique shaped birthday card, I cut the largest die from Scalloped Circle Infinity Dies on a folded white card. Simply hang the edge of the die over the fold, so it will stand up by itself after it is cut. Using the same color background technique, I stenciled with Butter Bar ink. Cut out a scallop ring from Mustard cardstock to go around the large circle and fill with Sunshine Ombré Sequins.

Lastly, the "Hello" card uses a multi-color background, so stencil your areas with as many colors as you want. Next add any small stamps from Mixed Textures. Then add rub on images from Flowers and Swirls Hero Transfers in a few areas. Finish the card with die cut scallop circles from Amethyst, Papaya and Ultra Pink cardstocks, and the message stamped in Pitch Black ink.

I can picture LOTSA ideas for these dots… like a bunch of smiley faces, suns, balloons, flowers... you get the picture! Have fun creating.

Click on products to shop:
SA235 Large Sprinkled Dots Stencil |...
HA ]
CM700 Mixed Textures | Hero Arts
HA ]
CM675 Friendly Messages | Hero Arts
HA ]
SB350 Friendly Messages Bundle (E) |...
HA ]
DF123 Scalloped Circles Infinity Dies...
HA ]
RT105 Flowers and Swirls Hero...
HA ]
PS406 Hero Hues Dove White Side...
HA ]
PS400 Hero Hues Dove White Top Folded...
HA ]
PS325 Hero Hues Dove white | Hero Arts
HA ]
PS336 Hero Hues Premium Cardstock...
HA ]
PS304 Hero Hues Premium Cardstock...
HA ]
PS307 Hero Hues Premium Cardstock...
HA ]
PS318 Hero Hues Premium Cardstock...
HA ]
HR101 Sunshine Ombré Sequins | Hero Arts
HA ]
MI003 Ink Blending Brushes | Hero Arts
HA ]
MI006 Hero Tools Ink Blending Brush...
HA ]
MI005 Hero Tools Ink Blending Brush...
HA ]
MI007 Hero Tools Ink Blending Brush...
HA ]
MI004 Hero Tools Ink Blending Brush...
HA ]
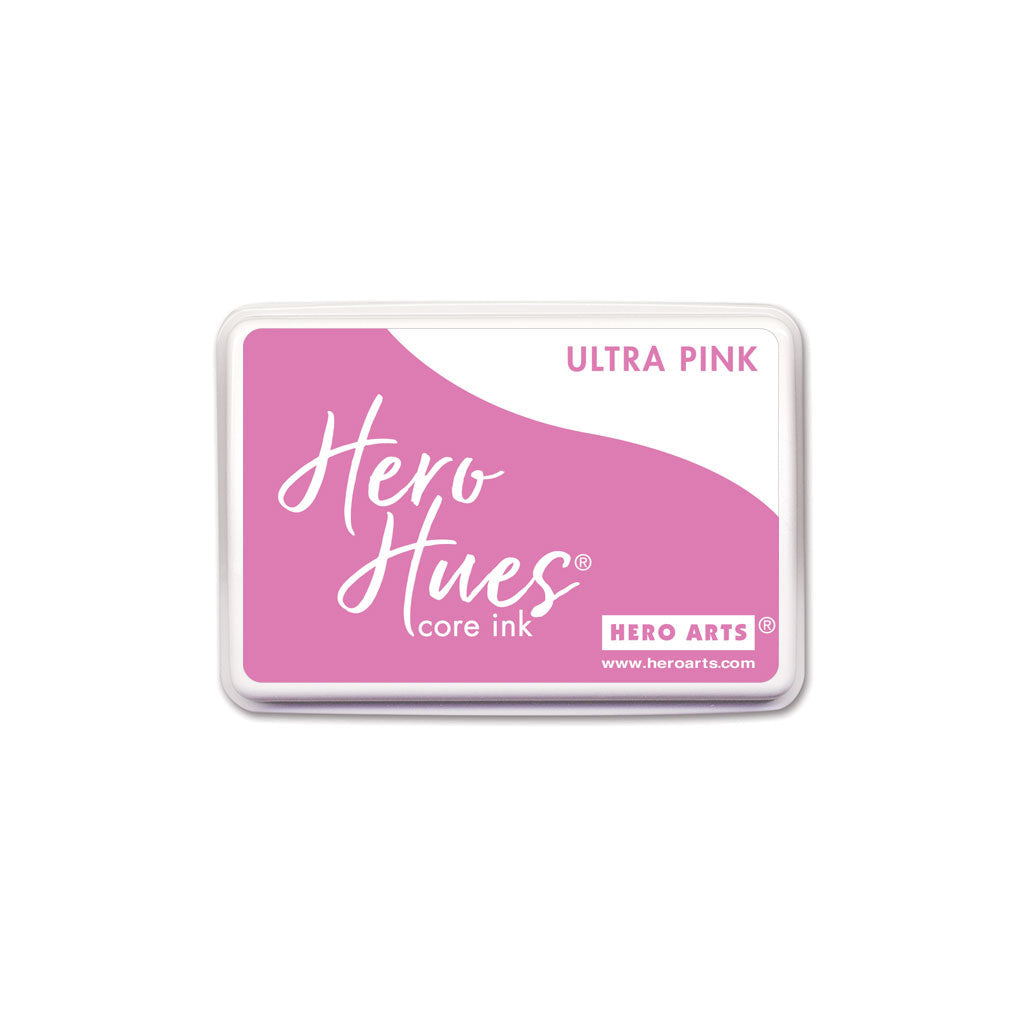
AF603 Ultra Pink Core Ink | Hero Arts
HA ]
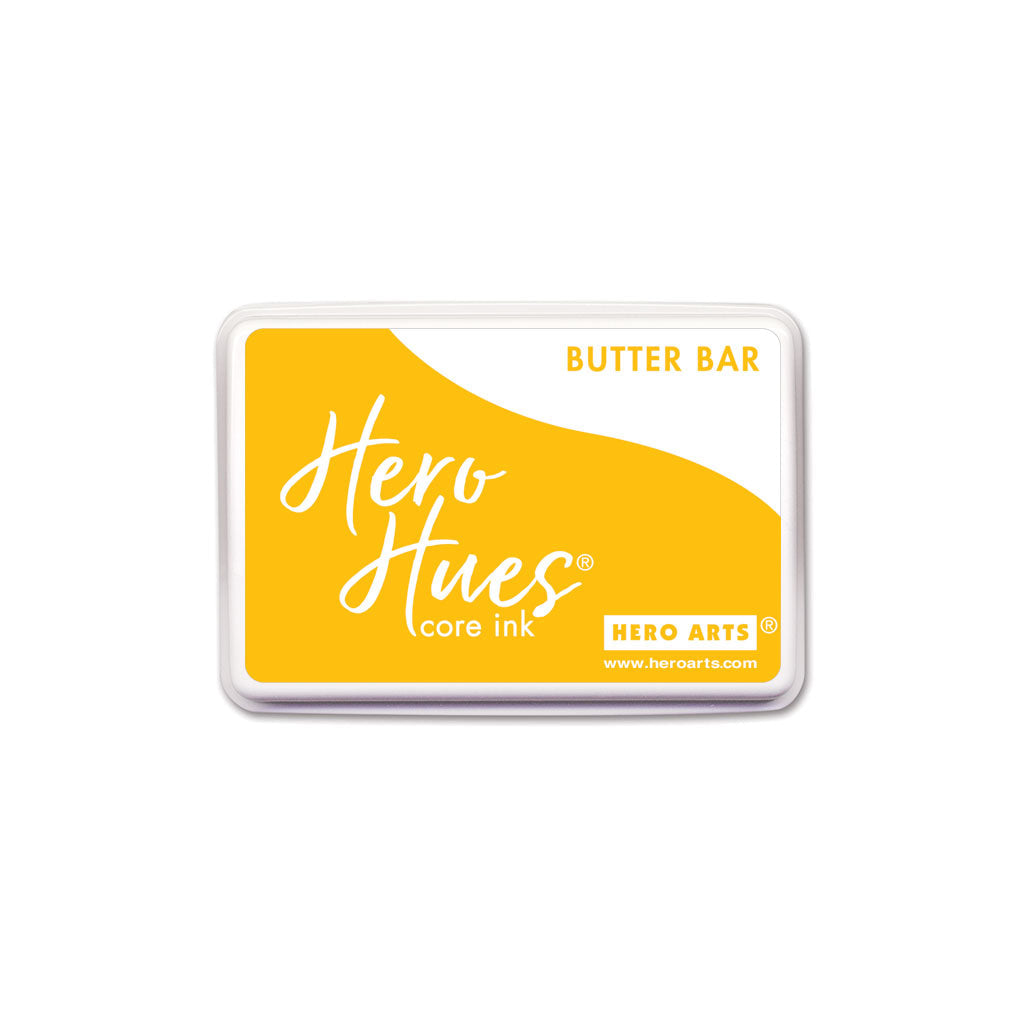
AF651 Butter Bar Core Ink | Hero Arts
HA ]
AF663 Green Apple Core Ink | Hero Arts
HA ]
AF722 Orchid Core Ink | Hero Arts
HA ]
AF764 Pitch Black Core Ink | Hero Arts
HA ]

Leave a comment

Your email will not be published. Please note, comments need to be approved before they are published.


  • How to Make an Autumn Kokeshi Doll Card with Layered Die Cuts, SDS-239, E3D-189, BP-379

    BP-379

    How to Make an Autumn Kokeshi Doll Card with Layered Die Cuts

    Create a stunning autumn-inspired card featuring layered Kokeshi dolls, warm ink-blended colors, elegant embossing, and touches of gold. In this step-by-step tutorial, you'll learn how to build dimensional paper-pieced dolls, create a blended autumn background, add texture with embossing, and assemble a beautifully layered design inspired by the colors of fall in Kyoto. This project is perfect for cardmakers who enjoy die cutting, ink blending,...

  • How to Make an Easy Friendship Card with House Mouse Stamps, RSC-083, E3D-183, S5-647

    AF471

    How to Make an Easy Friendship Card with House Mouse Stamps

    Create a sweet handmade friendship card featuring one of the adorable images from the House Mouse Tangled Collection. In this step-by-step tutorial, you'll learn how to color stamped images with alcohol markers, add subtle background ink blending, create texture with embossing, and assemble a clean and dimensional card design. This project is perfect for cardmakers who enjoy coloring and want to create an encouraging handmade card...

  • How to Sew a Felt Santa Ornament: Step-by-Step Tutorial | Spellbinders

    Categories:Die Cutting

    How to Sew a Felt Santa Ornament: Step-by-Step Tutorial | Spellbinders

    Handmade felt ornaments add warmth, texture, and a nostalgic touch to Christmas decorating. In this detailed tutorial, you’ll learn how to die cut, stitch, assemble, and embellish a vintage-style Santa using wool felt and embroidery floss. The project can be finished with classic stitched details and holly or dressed up with beads and sparkling embellishments. The Vintage Santa Etched Dies cut the individual felt layers...