

Posted by Michelle Short
on June 06, 2020


It's time for another countdown peek! The June My Monthly Hero kit will be available to pre-order on Monday, June 8 at 1pm Eastern/10am Pacific. Now let’s join Michelle for some fabulous inspiration using this month's kit!
Hello there, when I saw the kit this month, I immediately thought of the Northern Lights. I thought that the landscape dies in the kit would work perfectly to go with my Northern Lights sky. You can use the Bold Prints background stamp that comes in the kit to get the sky look, but I thought I would create it with ink blending for my card today.
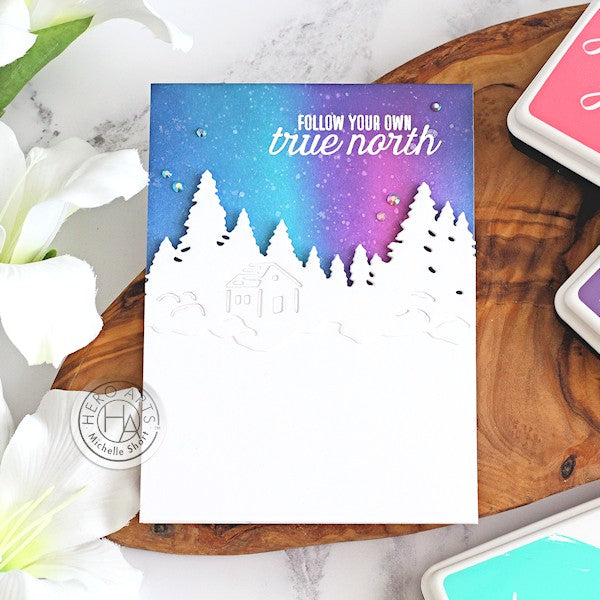
I started off by die cutting the landscape die with the house and trees from Hero Hues Dove White Premium Cardstock. I then placed the same die on to a panel of Dove White Cardstock and ran this through my die cutting machine, but this time, I only partially cut it so that the bottom of the die did not cut. The fully cut piece was then adhered on top of the panel piece using Precision Glue.
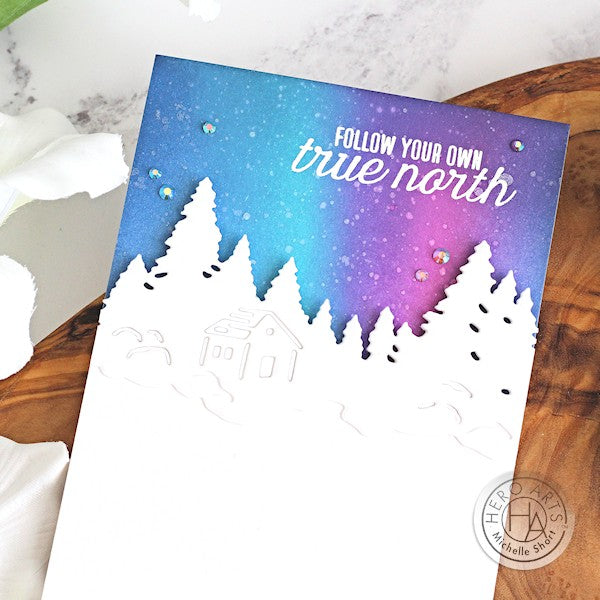
I took a top folding card base and added ink blending to the top portion for the sky. Using blending brushes, I first blended on a line of Pool Party Reactive Ink, followed by Grape Slush Reactive Ink and then Taffy Reactive Ink on the right. For the rest of the sky, I used Blue Hawaii Reactive Ink and Navy Mid-Tone Shadow Ink. I splattered on some water and then White Iridescent Shimmer Spray. I then let the panel sit to fully dry.
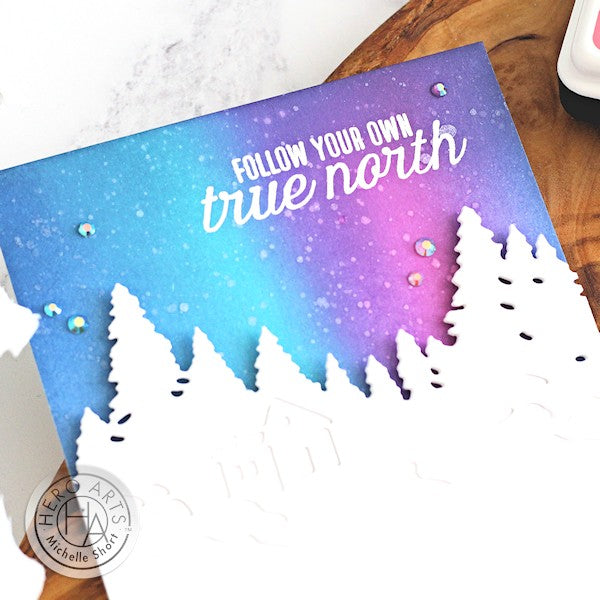
Once the panel was dry, I stamped the sentiment from the clear stamp set in the kit, in the top right hand corner using Clear Embossing & Watermark Ink. I applied White Embossing Powder and heat set. The landscape panel was then added to the card with foam tape. To finish off, I added a few jewels in the sky.
*** Win a kit before you can buy it *** Just leave a comment on this (and every) Countdown to Creativity post. We’ll randomly draw one lucky winner from all the comments left across all countdown posts. The winner will be announced first thing Monday morning, June 8, before the kit launches at 10am Pacific. The more you comment, the more chances to win!
Good luck!























































































330 comments
Beautiful die cut.
Your colors are lovely!
Beautiful background set against the white landscaping is stunning Michelle!
Beautiful card. The sky is beautiful.
Love the colors of blending!!
So excited for this kit – I think it will be able to be used with some that I have already