Posted by Mindy Eggen
on December 15, 2022

Hey Hero fans! This is Mindy with you today and I want to share how to get more from our backgrounds. I will be using the new Twinkling Stars Hot Foil Plate for this example today.

I'll be the first to admit that when I get a background stamp or background hot foil plate, I try to use the entire card front. What I often forget about is that...I don't have to. It's ok to cut our backgrounds up. (GASP!) I know, I know, it can be hard to do but trust me, it works out.

I started by hot foiling the Twinkling Stars Hot Foil Plate onto Lapis cardstock with Champagne Glimmer Foil using my Glimmer Hot Foil System.
Then I die cut out areas of the background using my Nesting Hexagons Dies. Now, here's why. I wanted to give you something different. I didn't want it to look like everyone else's cards and honestly, if I already see a card with the same product, it becomes the only idea I see in my head.
Well...cut it up! It gives the background a whole new look!

Some additional elements I'm adding is this beautiful sparkly moon from the You're Magical Bundle. I stamped the image in Watermark/Embossing Ink onto Deluxe White cardstock and heat embossed with Silver Sparkle Embossing Powder. Then I used the coordinating die to cut it out using my Compact Cutter.
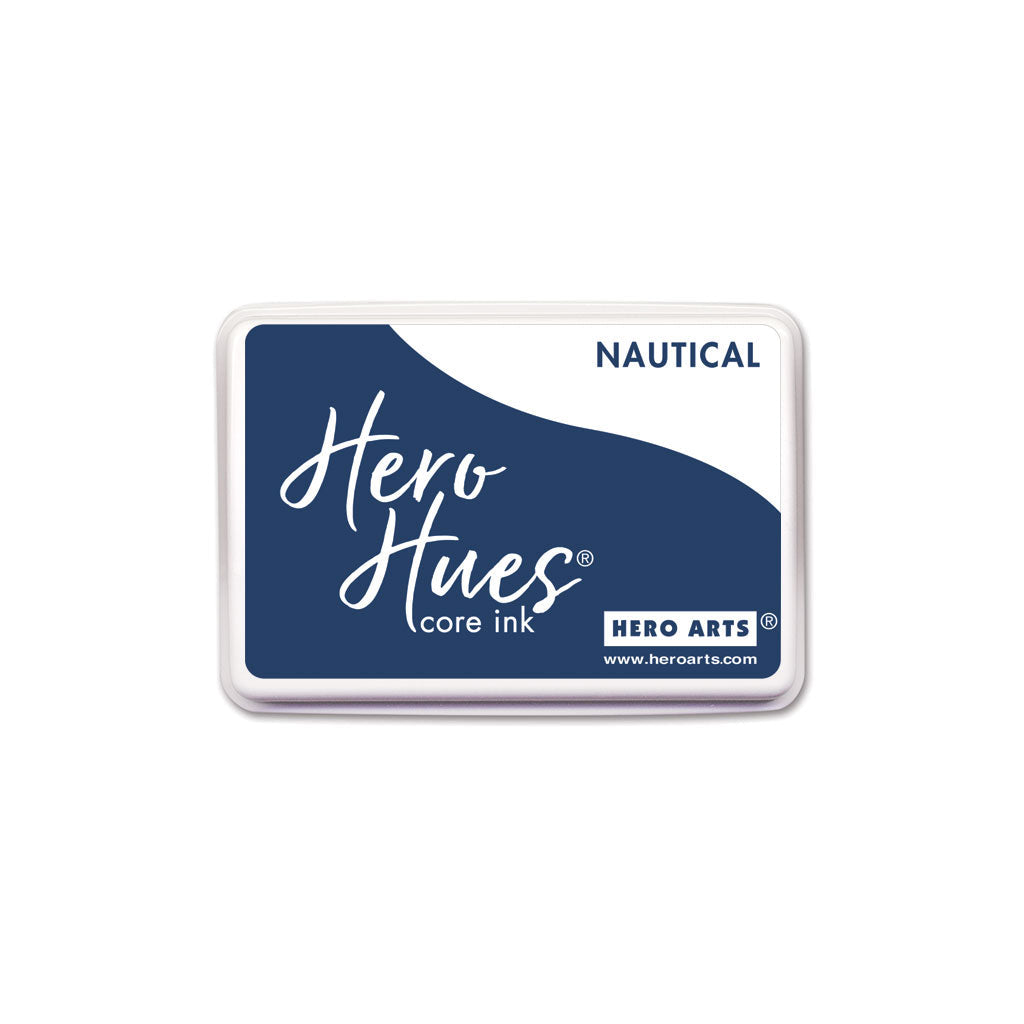
I'm also stamping a sentiment from this set but using Nautical ink. To get nice even edges, I die cut it out with the Nesting Rectangles.

I had all my pieces laid out in the orientation you see on the card but it felt a little bare. So I stamped the Celestial Bold Prints background onto Deluxe White cardstock using Granite ink. Stamping in a light colored ink allows the die cut pieces to still be center stage.

I finished off the card front by adding the hexagons and sentiment using foam squares for a pop of dimension.
Don't let yourself be boxed in with backgrounds. Expand the use by die cutting them out of shapes.
Thanks for stopping by!

|