
Eclipse Your Message - Hero Arts
on February 18, 2022

Eclipse Your Message

Good morning everyone. It's Dana here with you. Today I'll be sharing how to make a sentiment in a background really pop. Let's get into the card.

I started with a piece of Dove White cardstock cut to 4.25" x 5.5". Using the new Swirls and Dots Bold Prints, I stamped the image with Clear Embossing & Watermark Ink, then heat set it with Gold Embossing Powder.
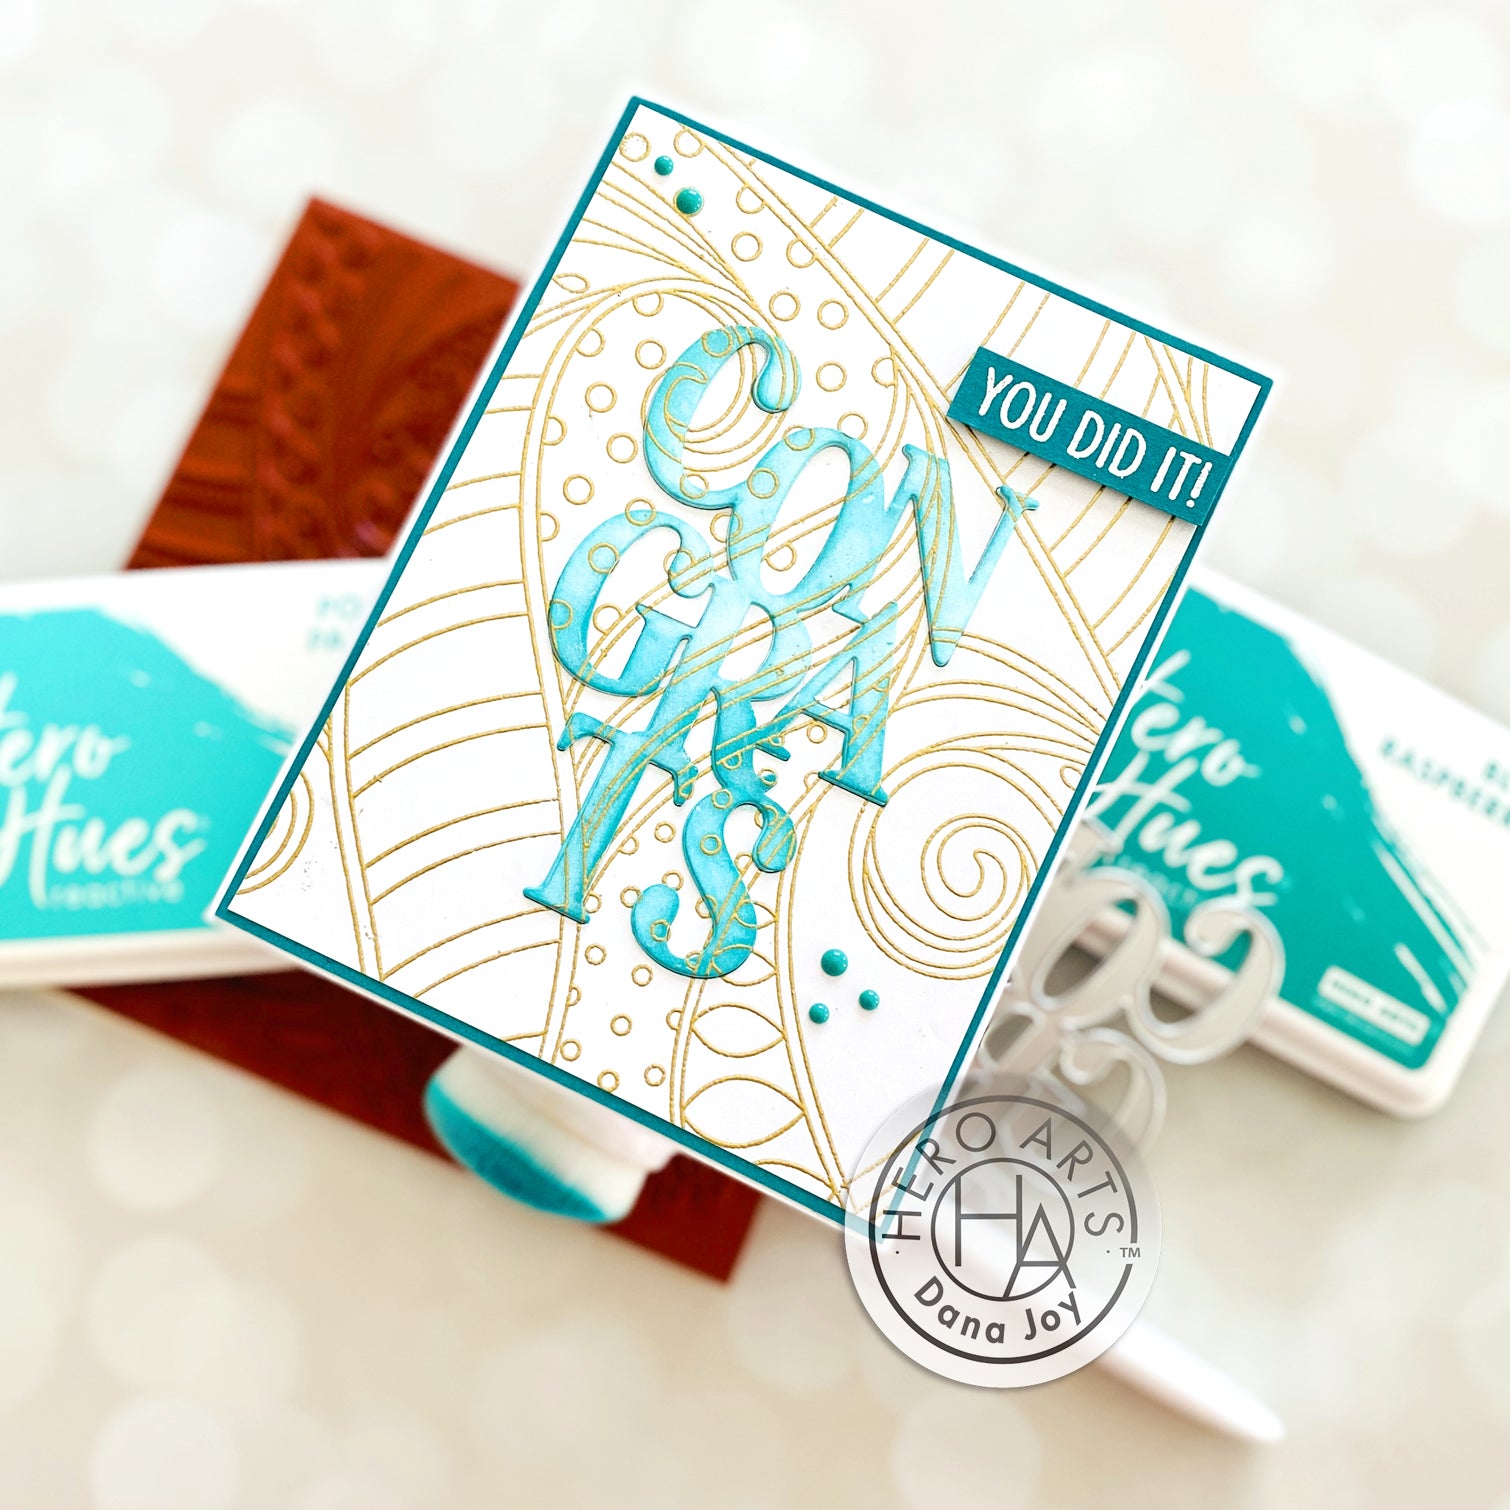
After I heat set the image, I used the new Congrats & Yay Stamp & Cut XL to die cut the sentiment from the center of the panel. Next I blended Pool Party and Blue Raspberry Reactive Inks onto the congrats sentiment with Ink Blending Brushes. For added depth, I die cut the sentiment two more times from Dove White cardstock and adhered them one on top of the other using Precision Glue.

Now it was time to put the card together. I trimmed down the embossed panel to 4" x 5.25". For added color I adhered the embossed piece to Bermuda cardstock measuring 4 1/8" x 5 3/8". For the card base I used a Dove White Side Folded Card. Using Precision Glue, I adhered the sentiment back into the embossed panel as well as the pieces surrounding it to keep the design consistent. All that was left to do was to add a sentiment from the Congrats & Yay Stamp & Cut XL which I heat embossed in White Detail Embossing Powder onto a strip of Bermuda cardstock and used a few Aqua Enamel Dots for added interest.

I would love to hear what other ways you might enjoy using the Swirls and Dots Bold Print and the Congrats & Yay Stamp and Cut XL. Leave your comments below so we can be inspired with you. Have a great day everyone and I'll see you back here next time.

Click on products to shop:
DC297 Congrats & Yay Stamp & Cut XL |...
HA ]
CG874 Swirls and Dots Bold Prints |...
HA ]
AF426 Pool Party Reactive Ink | Hero...
HA ]
AF427 Blue Raspberry Reactive Ink |...
HA ]
AF419 Clear Embossing & Watermark Ink...
HA ]
PS332 Hero Hues Special Cardstock...
HA ]
PS325 Hero Hues Dove white | Hero Arts
HA ]
PS406 Hero Hues Dove White Side...
HA ]
PW122 White Detail Embossing Powder |...
HA ]
PW100 Gold Embossing Powder | Hero Arts
HA ]
MI003 Ink Blending Brushes | Hero Arts
HA ]
CH327 Aquas Hero Hues Enamel Dots |...
HA ]
GW102 Precision Glue XL | Hero Arts
HA ]

Leave a comment

Your email will not be published. Please note, comments need to be approved before they are published.

1 comment

Rae Hunter,

Such a great technique! Lovely card :-).


  • How to Make a Fun Chompster Birthday Card with Cake and Accessories, BD-1049, S5-778, S5-779, STP-295

    BD-1049

    How to Make a Snack-Themed Birthday Card with Chompster

    Funny birthday cards are even more memorable when they combine a playful character with a relatable sentiment. This snack-themed birthday card features Chompster dressed in a party hat and holding a large slice of birthday cake. The colorful die-cut layers, dimensional cake, and sparkling gems create a cheerful design that is perfect for birthdays and other celebrations. In this step-by-step tutorial, you’ll learn how to...

  • How to Make a Cute Autumn Squirrel Card with Fall Adventures Dies, S4-1573, S5-738, S3-591, STP-292, S5-740

    Categories:Die Cutting

    How to Make a Cute Autumn Squirrel Card with Fall Adventures Dies

    Create a charming autumn card featuring an adorable squirrel dressed in overalls and surrounded by pumpkins, apples, hay bales, colorful leaves, and harvest-themed accents. In this step-by-step tutorial, you'll learn how to assemble layered character dies, create dimensional autumn accessories, stamp a coordinating sentiment, and build a cheerful fall scene full of seasonal details. This project is perfect for cardmakers who enjoy character-based die-cut scenes...

  • How to Make a Cookie-Loving Chompster Birthday Card, S5-778, S5-779, STP-295

    Categories:Die Cutting

    How to Make a Cookie-Loving Chompster Birthday Card

    Create a fun birthday card featuring Chompster enjoying his favorite snack. In this step-by-step tutorial, you'll learn how to assemble the Chompster character, create dimensional cookies, build a colorful propeller hat, and arrange all the die-cut pieces into a playful birthday card design. This project is perfect for cardmakers who enjoy character-based die cutting and whimsical birthday cards. By combining the Top It Off and...








































