


Posted by Michelle Short
on August 06, 2019

Hello there, Michelle here and today I have a card to share with you using the new As You Wish stamp set and coordinating Frame Cuts that were released as an add-on to the August My Monthly Hero Kit.
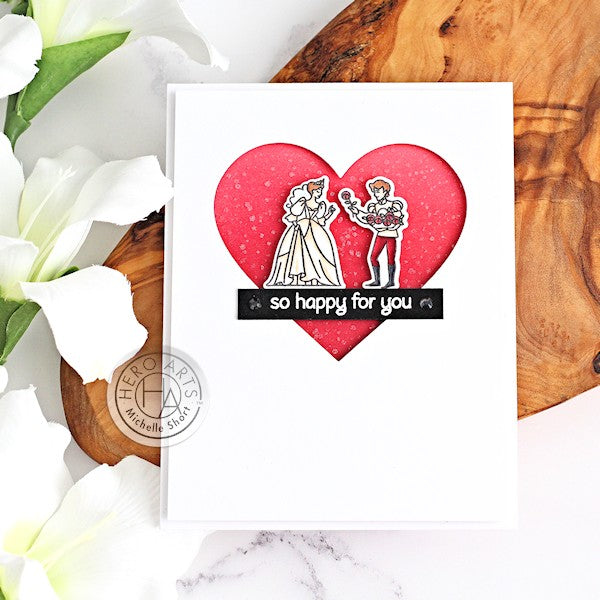
For my card, I started off by stamping the male and female characters from the As You Wish stamp set (or as I like to think of them, prince and princess) on to white cardstock with Intense Black Ink. I coloured them with Copic Markers and cut them out using the As You Wish Frame Cuts. I then set them aside while I worked on my background. Since the images are fairly small in size, I thought that creating an aperture behind them would bring the focus of the card to the middle and therefore, the characters.
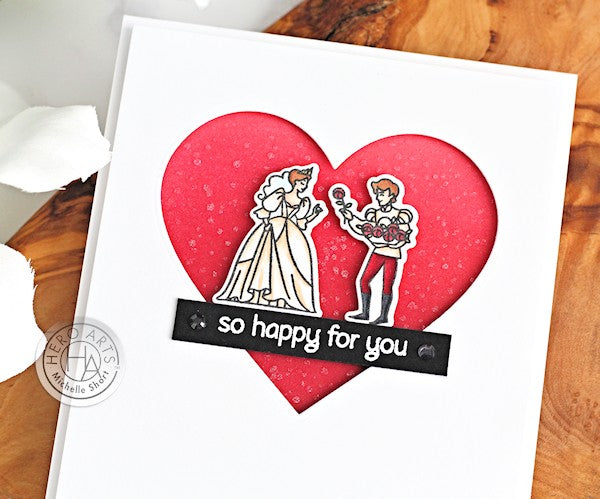
I took a top folding white card base and masked off the edges. I then blended inks on in the middle. I used Pale Tomato Mid-Tone Shadow Ink at the top, Red Royal Mid-Tone Shadow Ink in the middle, followed by Raspberry Jam Mid-Tone Shadow Ink at the bottom. I sprayed White Iridescent Shimmer Spray on to a craft sheet and picked it up with a brush. This was then flicked on to the card base to create some added interest and shimmer to the ink blending. I removed the masks and set aside to dry.
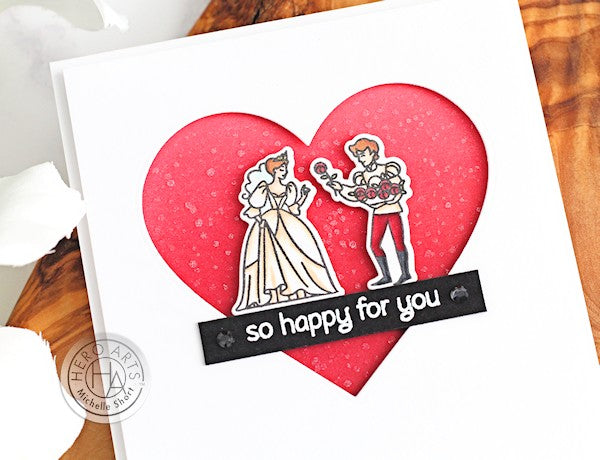
I took a panel of Dove White Premium Cardstock and cut a heart out of the middle using the Nesting Hearts Infinity Dies. This piece was added to the front of the card base with foam tape. Although there are lots of nice sentiments in the As You Wish stamp set, I wanted the sentiment to be on a line to ground my characters, so I used one from the Many Everyday Messages stamp set. I stamped it on to Pitch Black Premium Cardstock with Clear Embossing & Watermark Ink.
I applied White Detail Embossing Powder and heat set. This was cut in to a strip and added to the card with a combination of foam tape and tape runner (at the edges). I then added the characters on top with foam tape. To finish off, I added clear gems to the sentiment strip.
I thought this card would work well as an engagement card. Thank you so much for popping by today, happy stamping!























































































12 comments
This card is very nice ! It’s a great idea for a weeding card. Love it ! :)
I was looking for anniversary card ideas, this would be perfect. You never fail to inspire!!
Beautiful card, thanks for sharing this great technique with us!
This is such a lovely card and would be wonderful for an engagement or wedding. Thank you for sharing.
Beautiful CAS card!! :)