


Posted by Jennifer Kotas
on December 12, 2023

Hello everyone! It's Jennifer here and I’m so happy to share my first post on the Hero Arts blog! Today, I’m sharing how I create a background using smaller stamps. It’s one of my favorite techniques, especially when I'm not feeling creative or I'm not sure what to do with a stamp set.

When creating a background from small stamps, I usually start in a corner, clustering all the stamps together. It’s important not to create trapped spaces. I use a stamp positioner so I can stamp multiple images at once and restamp if I need to.

1. Using a stamp positioner and a 4 x 5 ¼” panel of Deluxe Smooth White cardstock, arrange the small stamps from Geometric Frames stamp set close together on the panel. See the photo above. Stamp using Green Hills Core Ink. Wipe stamps clean.
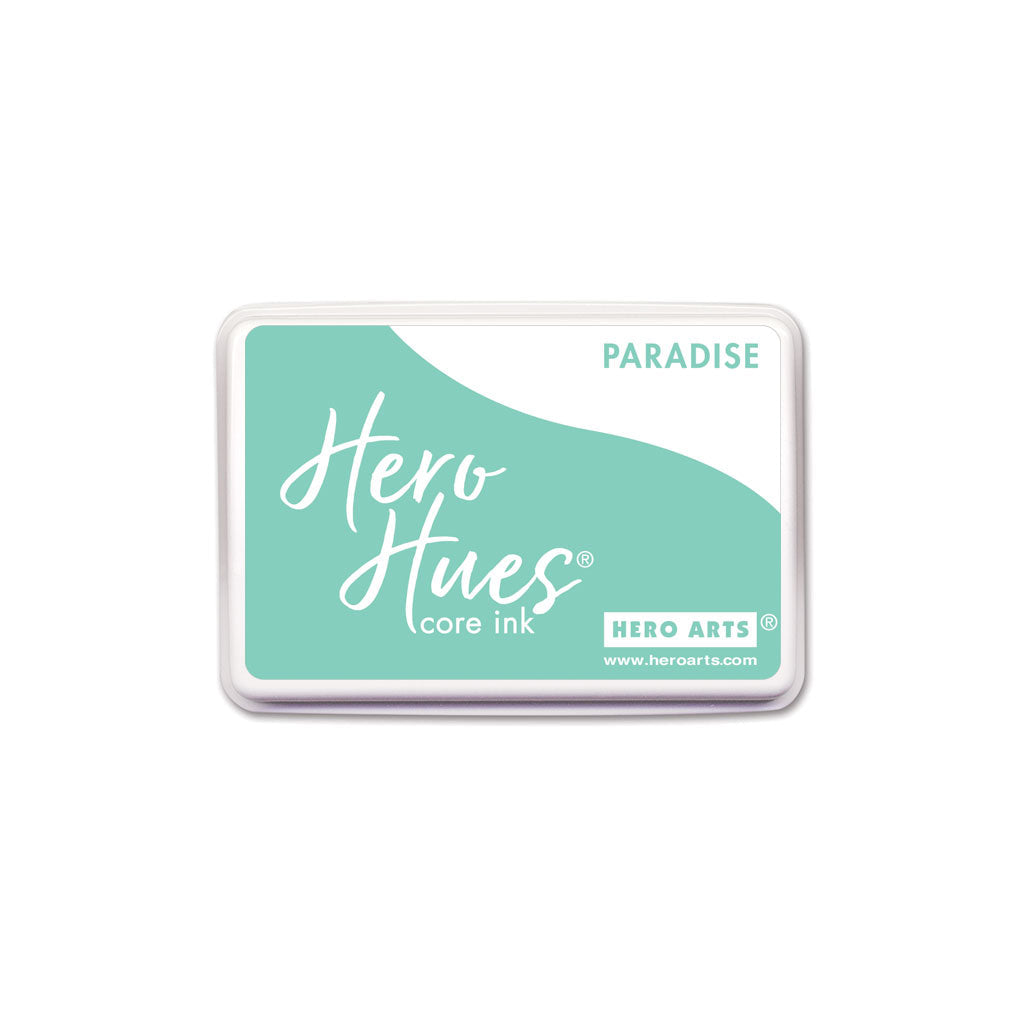
2. Rearrange stamps and stamp with Green Hills Core Ink on half of each image and Paradise Core Ink on the other half.

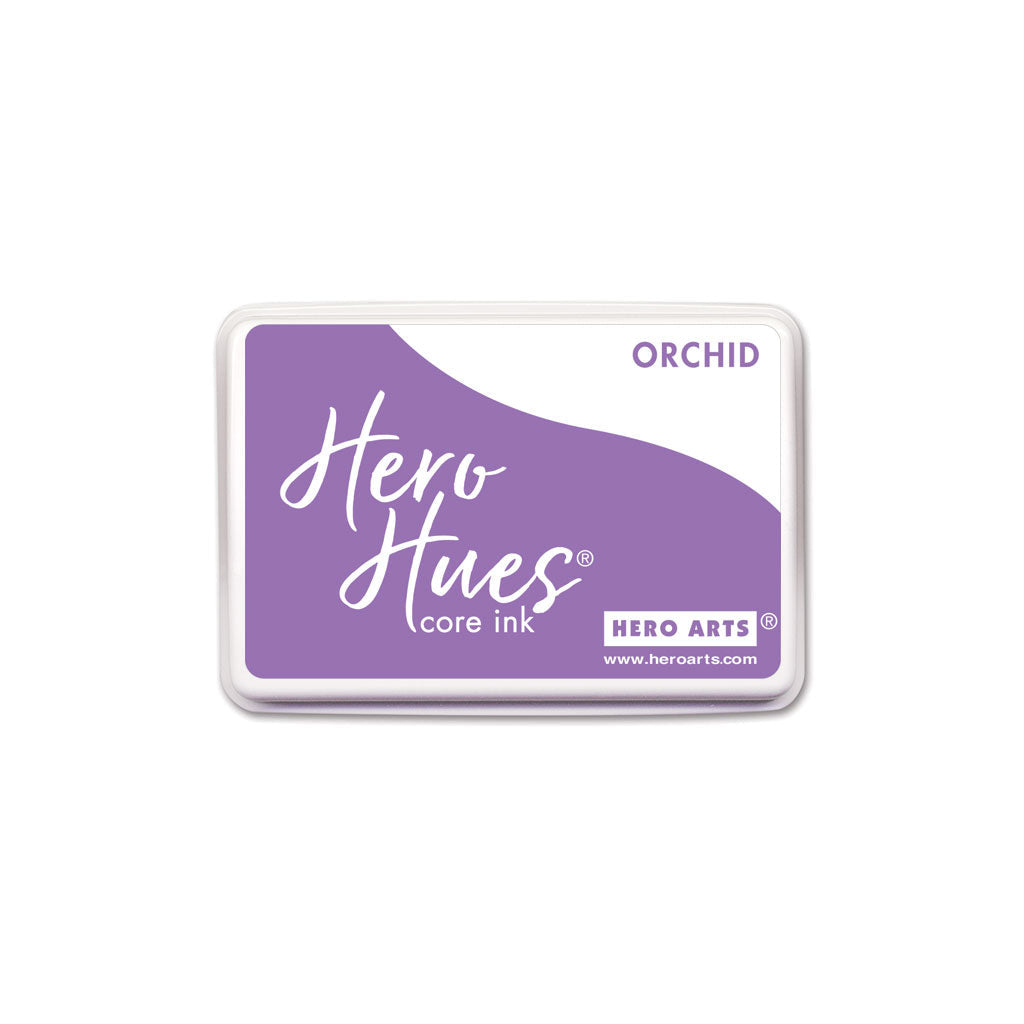
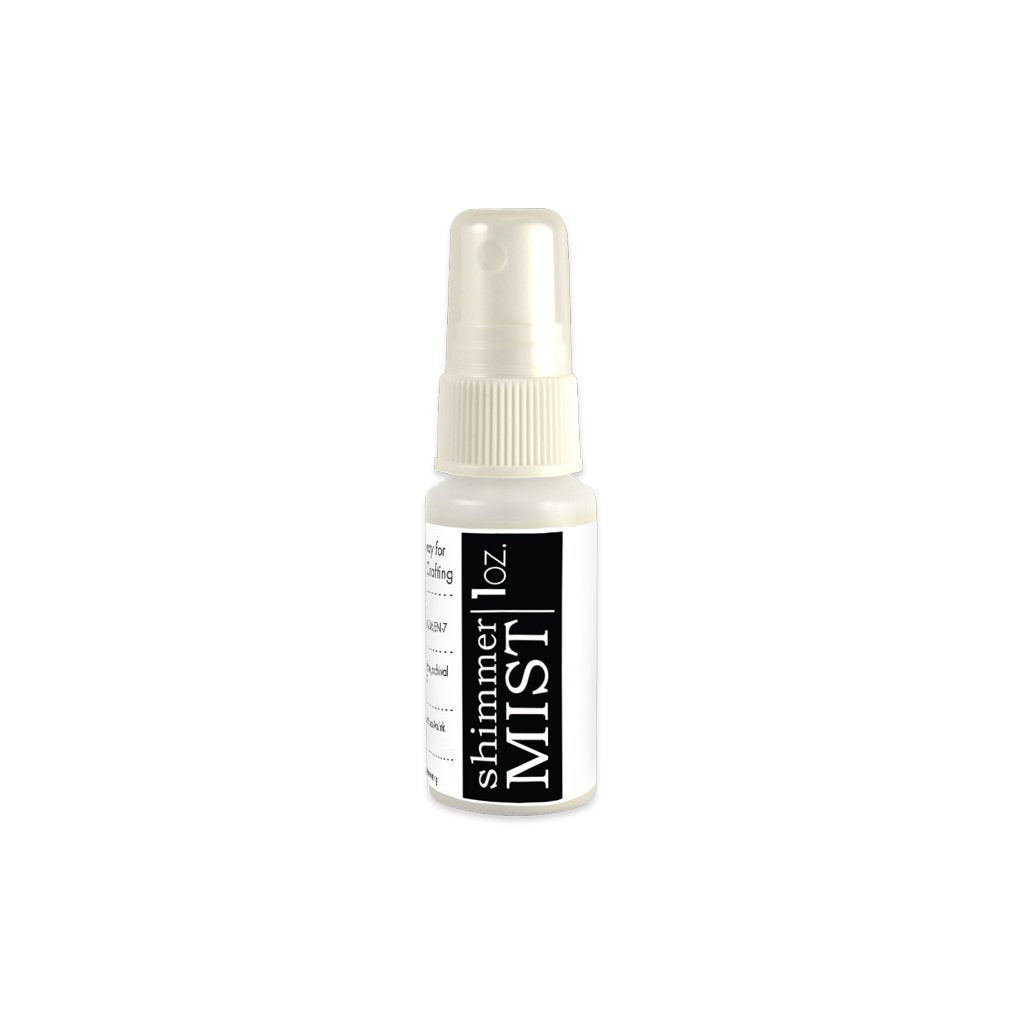
3. Repeat steps 1 and 2 using Paradise Core Ink for third, fourth uses Paradise and Periwinkle Core Inks. Use Periwinkle and Orchid Core Inks and the last one is only Orchid Core Ink. Splatter the panel with White Iridescent Shimmer Mist.
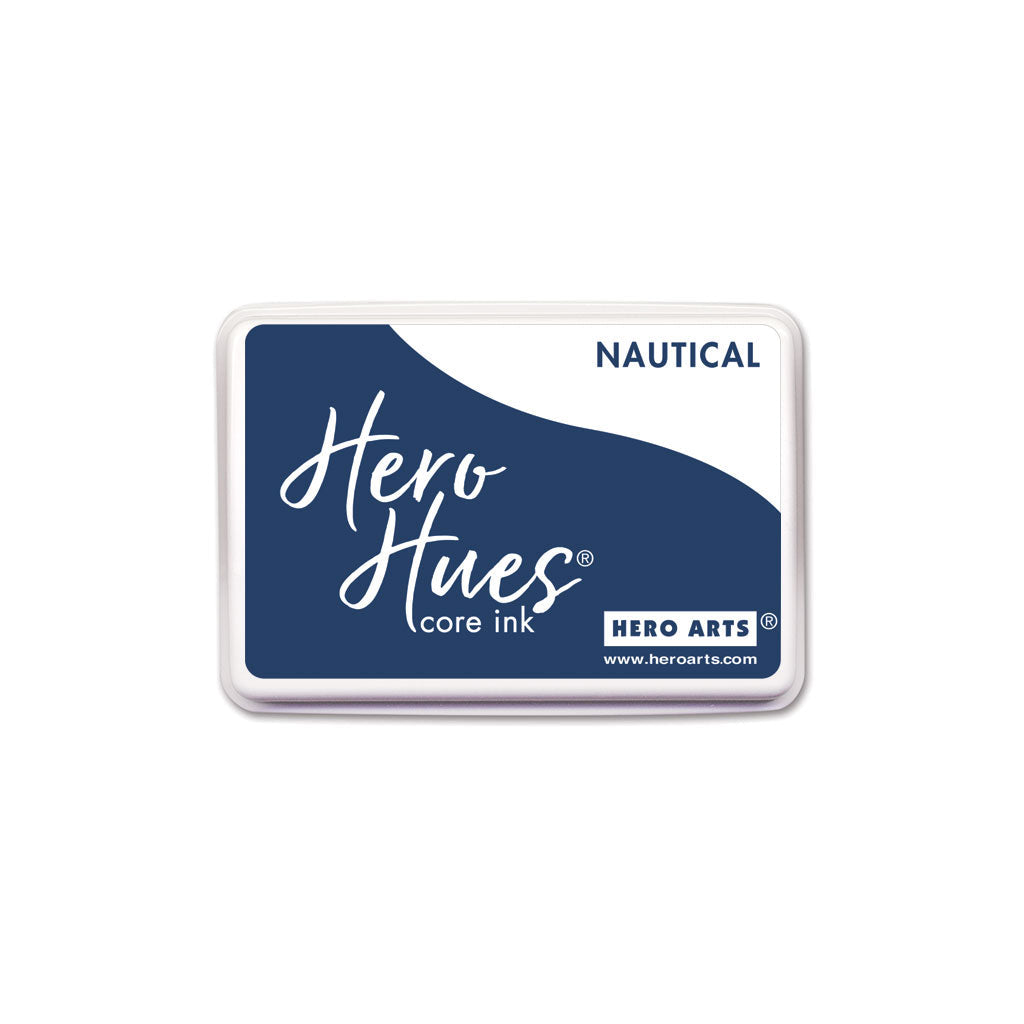
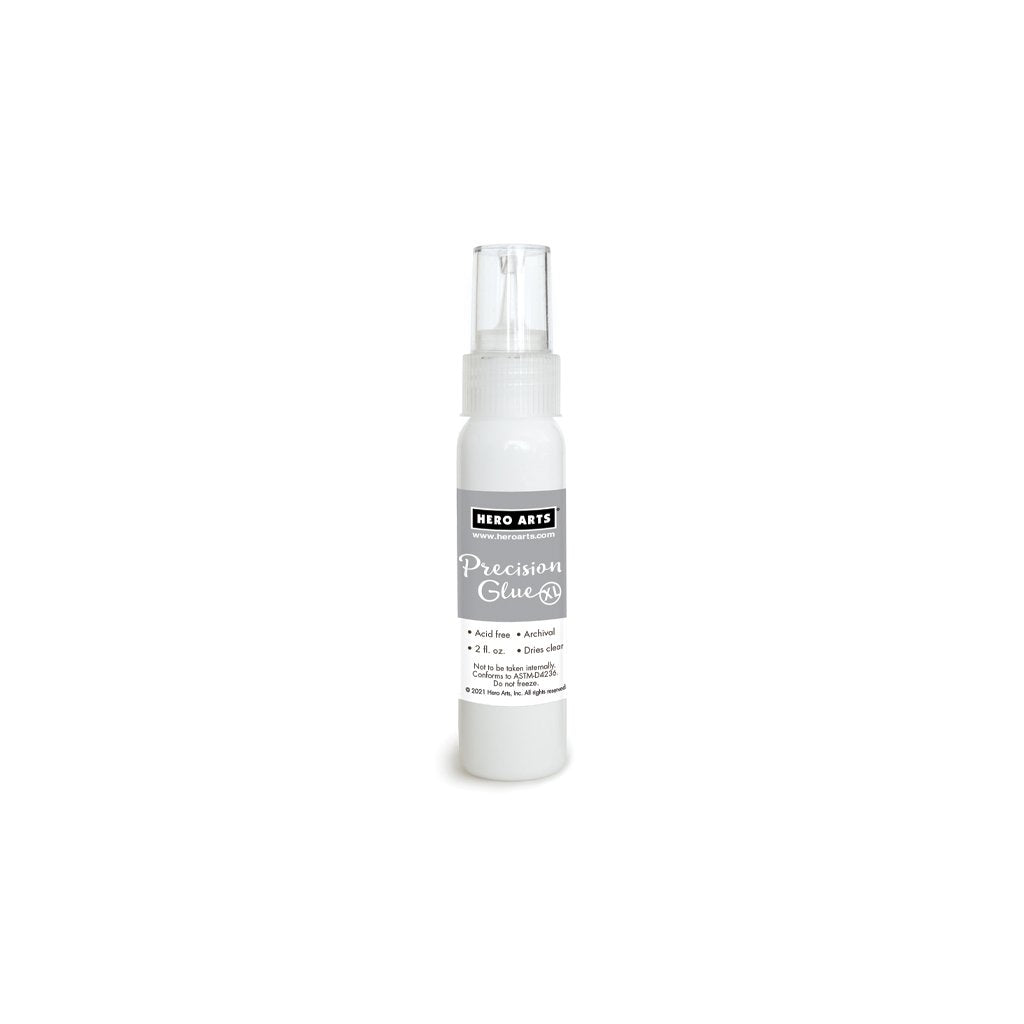
4. Stamp the diamond frame and sentiment from the Geometric Frames stamp set using Nautical Core Ink on Deluxe Smooth White cardstock and cut out using the Hero Tools Compact Cutter with coordinating dies included in the Geometric Frames Bundle. Cut the sentiment out two extra times and adhere all three together with Precision Glue XL.

5. Stamp the foliage using Green Hills and Paradise for one and Paradise and Periwinkle for the second. Cut out.
6. Cut panel to 4 x 5 ¼” and adhere to an A2 card base. Add the frame with thin foam squares then the sentiment with Precision Glue XL.
If you happen to find gaps, search your other stamp sets for small stamps you could add, such as hearts or stars. You can also add small dots throughout using an alcohol marker. I hope this inspires you to create backgrounds with small stamps. Have a great day!

Click on products to shop:
|






1 comment
Really nice tutorial and beautiful card!