Video: Hot Foil Resist and Watercolor with Flower Pattern Glimmer Hot Foil Plate & ColorSticks by Jane Davenport
Hello, Spellbinders' fans! I'm Yana Smakula, a creative designer at Spellbinders, in this video I’m sharing a hot foil and watercolor project using some of our newest products.
For my project today I decided to combine two awesome techniques - Hot Foiling & Watercolor. Foil, once applied to the paper, creates a resist effect. You can blend ink over it, spray your background with colorful spray inks or watercolor over for a gorgeous, one of a kind look.
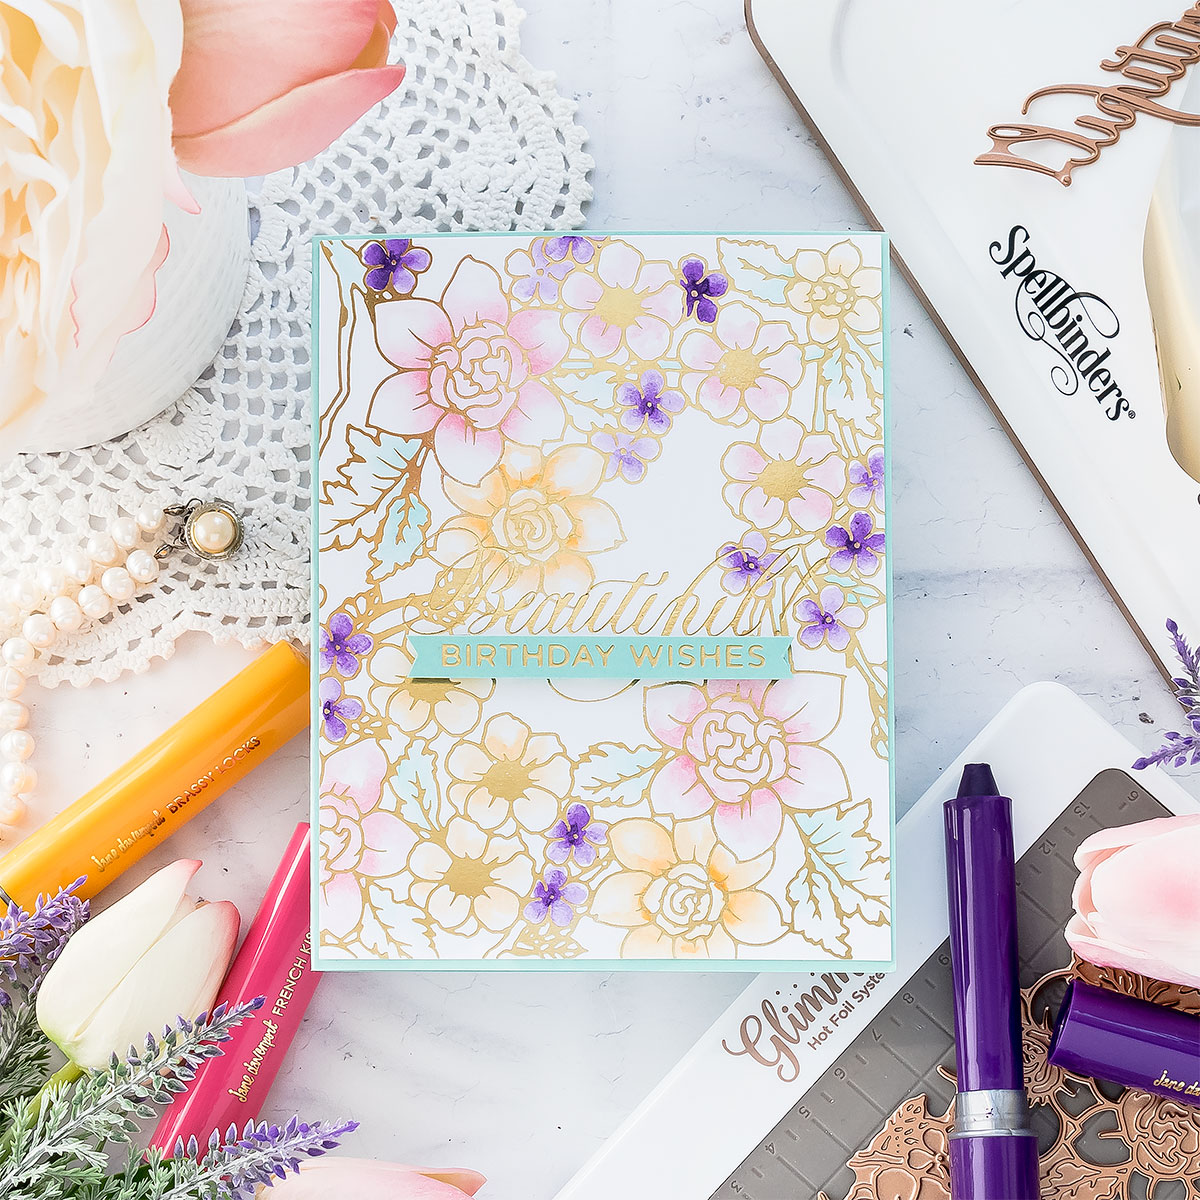
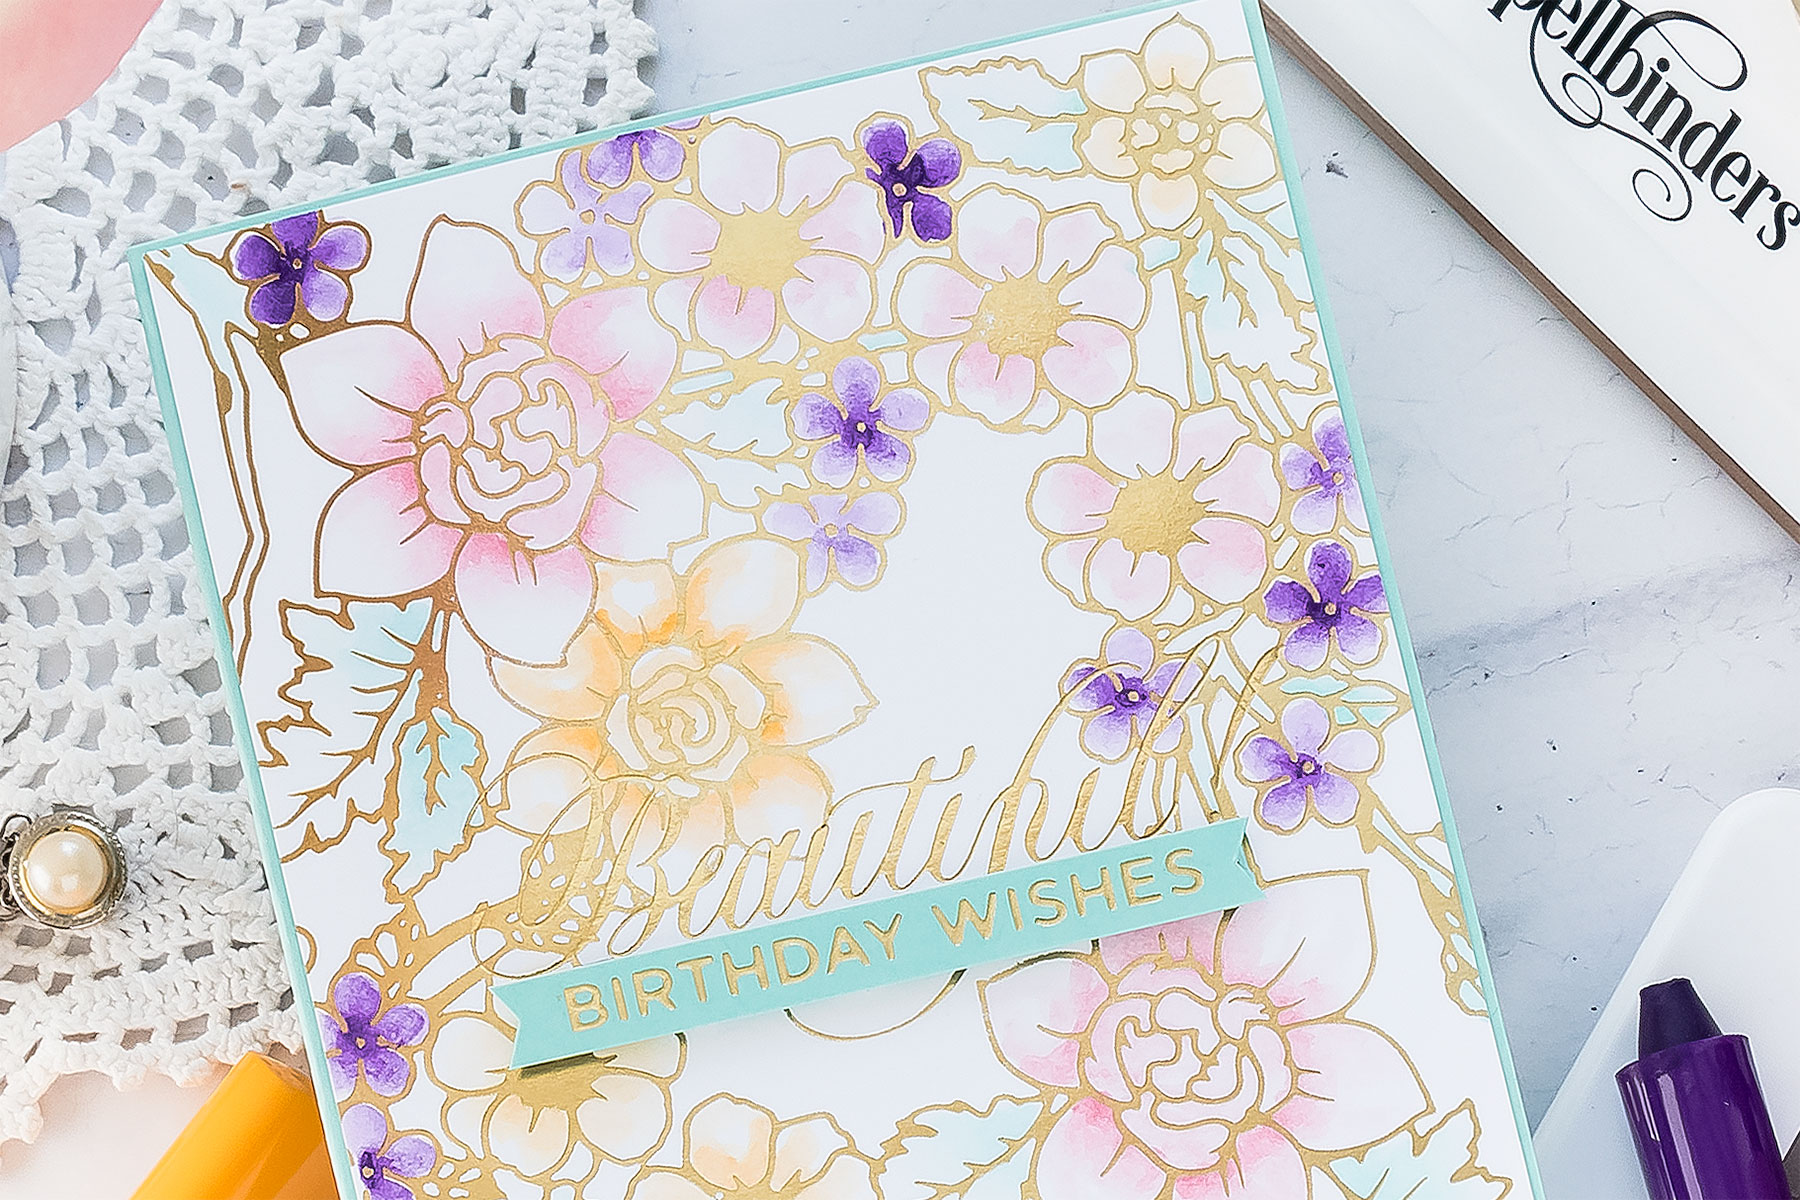
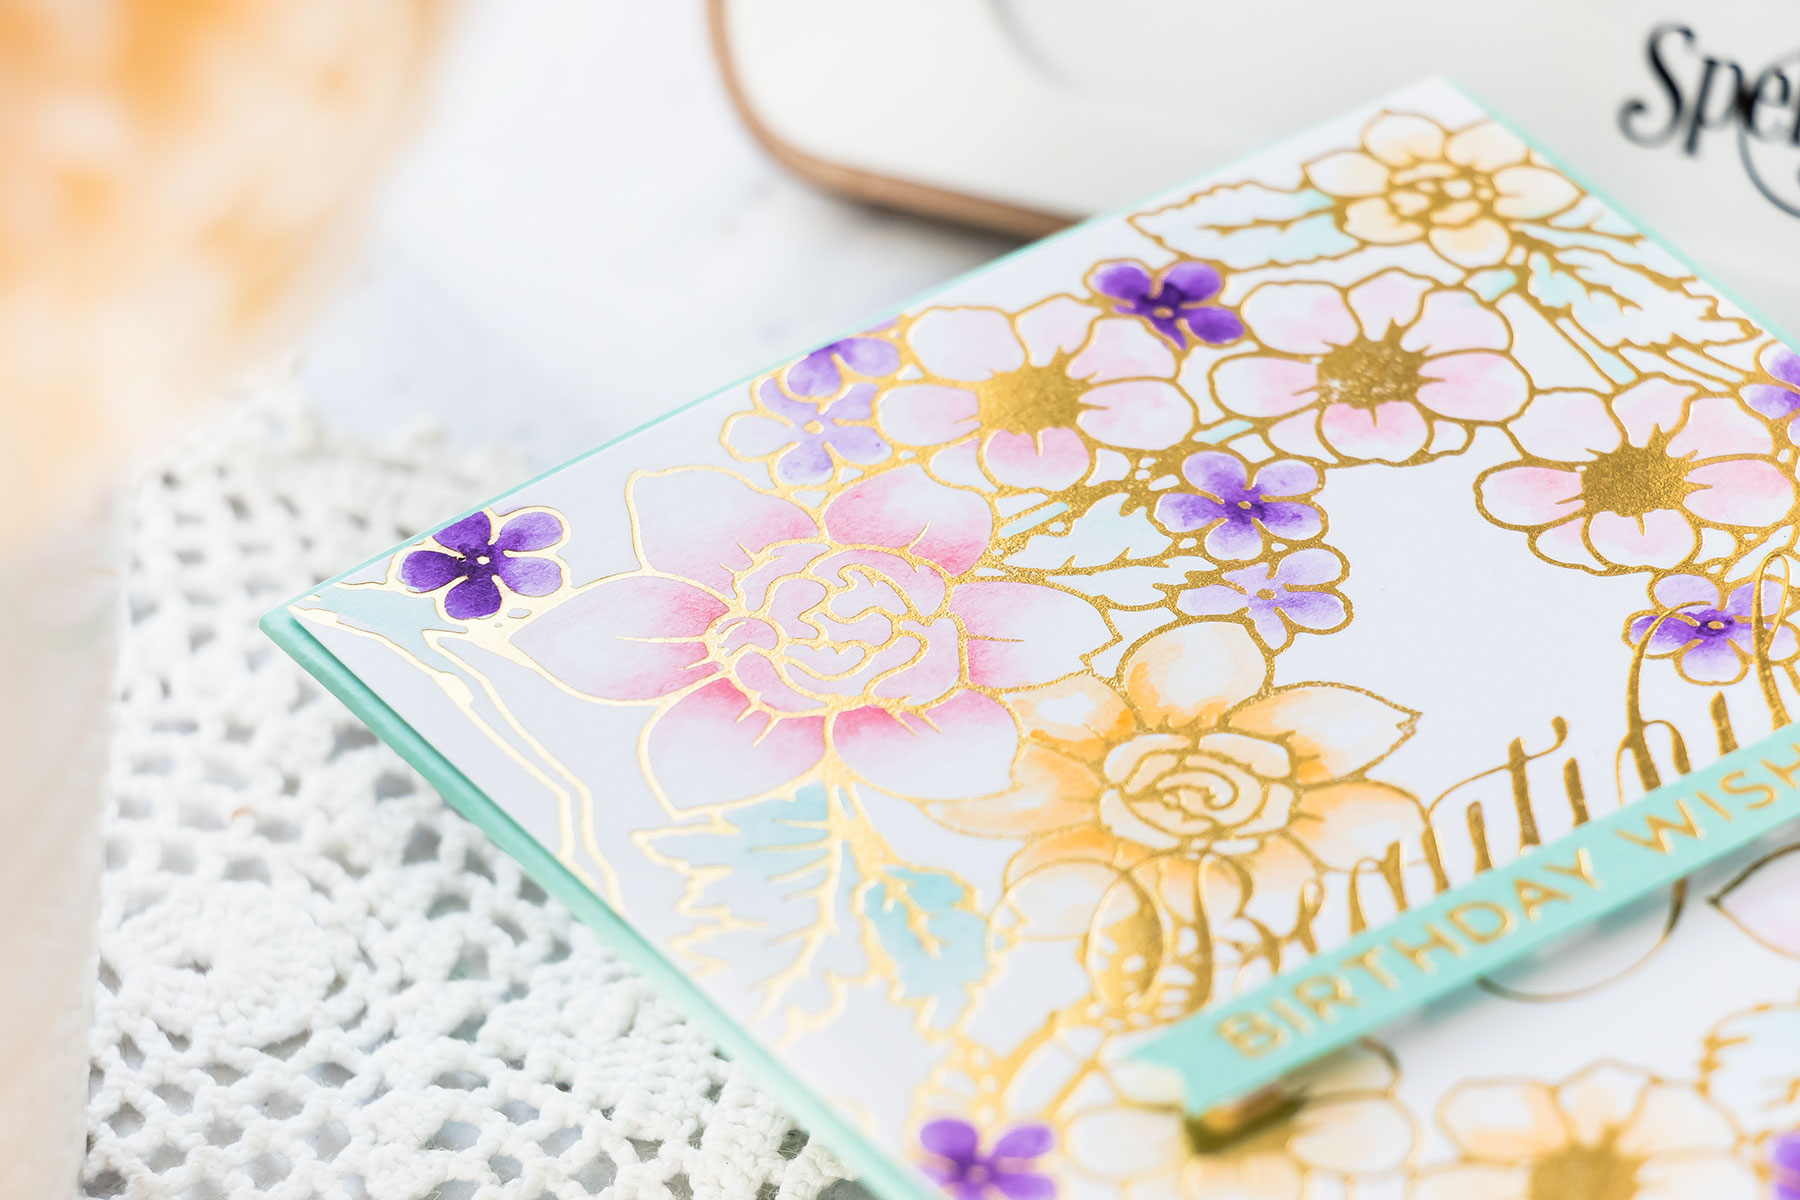
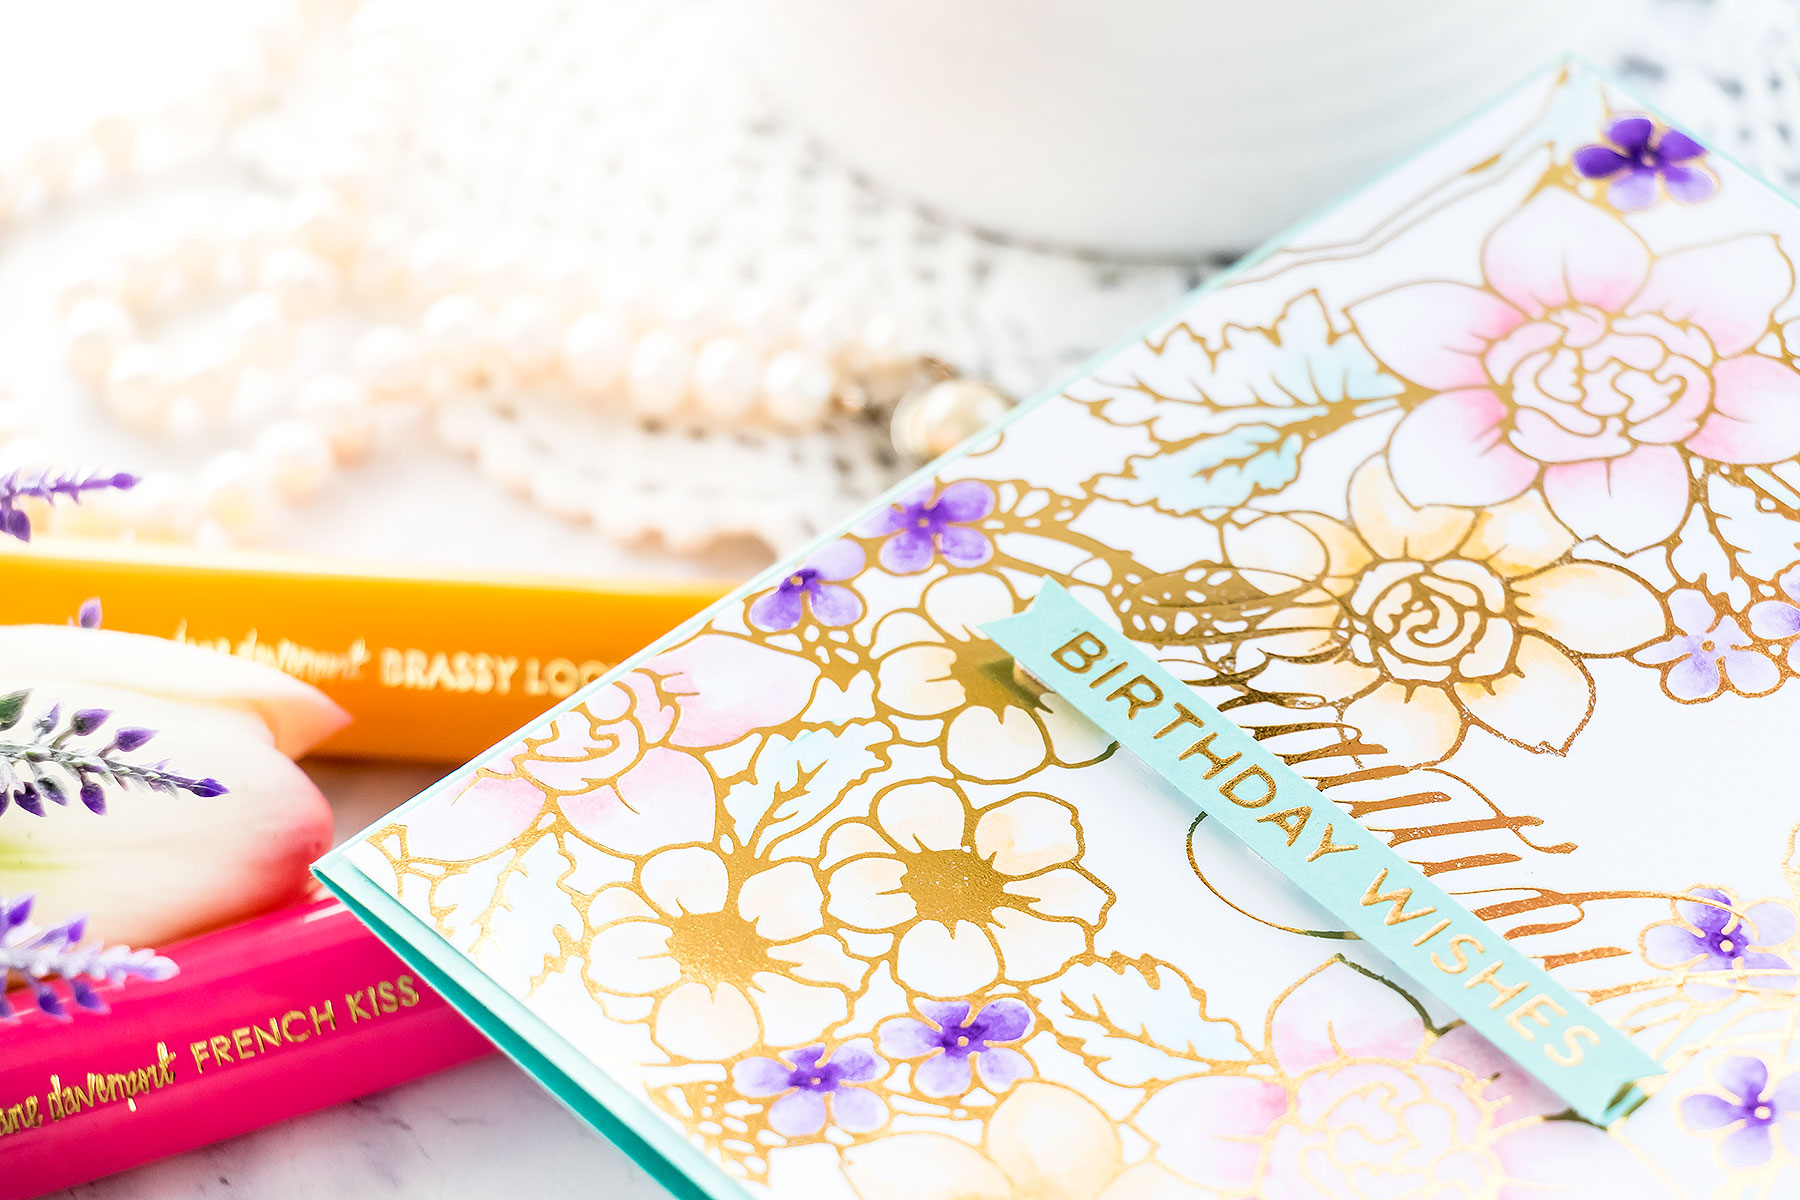
To begin, I foiled
Flower Pattern Glimmer Hot Foil Plate
in
Polished Brass foil
on
white card stock
. Next, I picked several colors of
Jane Davenport ColorSticks
to watercolor my piece with.
ColorSticks are very creamy sticks of gorgeous colors that you can use for mixed media projects, journals, and also for your handmade cards. You can color with these directly on paper or use a water brush to pick up the color and apply it onto the paper for a lighter look.
I used ColorSticks in French Kiss, Brassy Looks, Violet Eyes, and Aquamarine.
I used regular card stock for this piece, not watercolor paper. You certainly can foil on watercolor paper, it is best to use smooth paper or hot pressed paper for best results. I would not recommend using cold pressed watercolor paper as it has texture and the texture will prevent you from having a perfect foil transfer.
That being said because I was coloring on regular, non-watercolor paper I was being mindful of how much water I added to the paper. Regular paper can’t take and hold a lot of water without buckling heavily, so make sure you use just a bit of water here when applying colors using the color sticks.
I trimmed my panel to 4 1/8" x 5 3/8” and adhered to a
Cool Pool card base
. Next, I foiled a sentiment directly on my colored panel. I should have foiled it before I adhered the panel to the card base, but regardless, it worked out great in the end.
I picked the Beautiful Hot Foil plate from
Hey Beautiful set by Paul Antonio
and foiled it in same color foil. I finished this card by adding a “
Birthday Wishes
” sentiment foiled on the same Cool Pool card stock cut to a thin strip and foam mounted on a card.
VIDEO TUTORIAL
Watch the video tutorial below or on
YouTube
to learn how to make this project:
Create a charming autumn card featuring an adorable squirrel dressed in overalls and surrounded by pumpkins, apples, hay bales, colorful leaves, and harvest-themed accents. In this step-by-step tutorial, you'll learn how to assemble layered character dies, create dimensional autumn accessories, stamp a coordinating sentiment, and build a cheerful fall scene full of seasonal details. This project is perfect for cardmakers who enjoy character-based die-cut scenes...
Create a fun birthday card featuring Chompster enjoying his favorite snack. In this step-by-step tutorial, you'll learn how to assemble the Chompster character, create dimensional cookies, build a colorful propeller hat, and arrange all the die-cut pieces into a playful birthday card design. This project is perfect for cardmakers who enjoy character-based die cutting and whimsical birthday cards. By combining the Top It Off and...
A handmade felt Santa ornament is a colorful way to add stitching, texture, and personality to your Christmas décor. In this detailed tutorial, you’ll learn how to die cut wool felt, organize and layer the individual pieces, add embroidery stitches and beads, and finish the project with a secure backing and hanging loop. The Festive Santa Etched Dies create a playful Santa holding a decorated...