Video Friday | Stenciled Scene Shaker Backgrounds
on February 02, 2018

Video Friday | Stenciled Scene Shaker Backgrounds

Hello everyone. This is Nichol Spohr and thank you for joining me! Today I’m sharing how to layer stencils to create a seasonal background scene for a die cut image. I’m layering inking and stenciling with embossing paste and stencils and finishing it all with an interactive shaker element!
Video Friday | Stenciled Scene Shaker Backgrounds with Nichol Spohr for Spellbinders using S3-229 Deer S3-320 Picket Fence SCD-012 Pierced Rectangles dies #spellbinders #neverstopmaking #diecutting #cardmaking #handmadecard

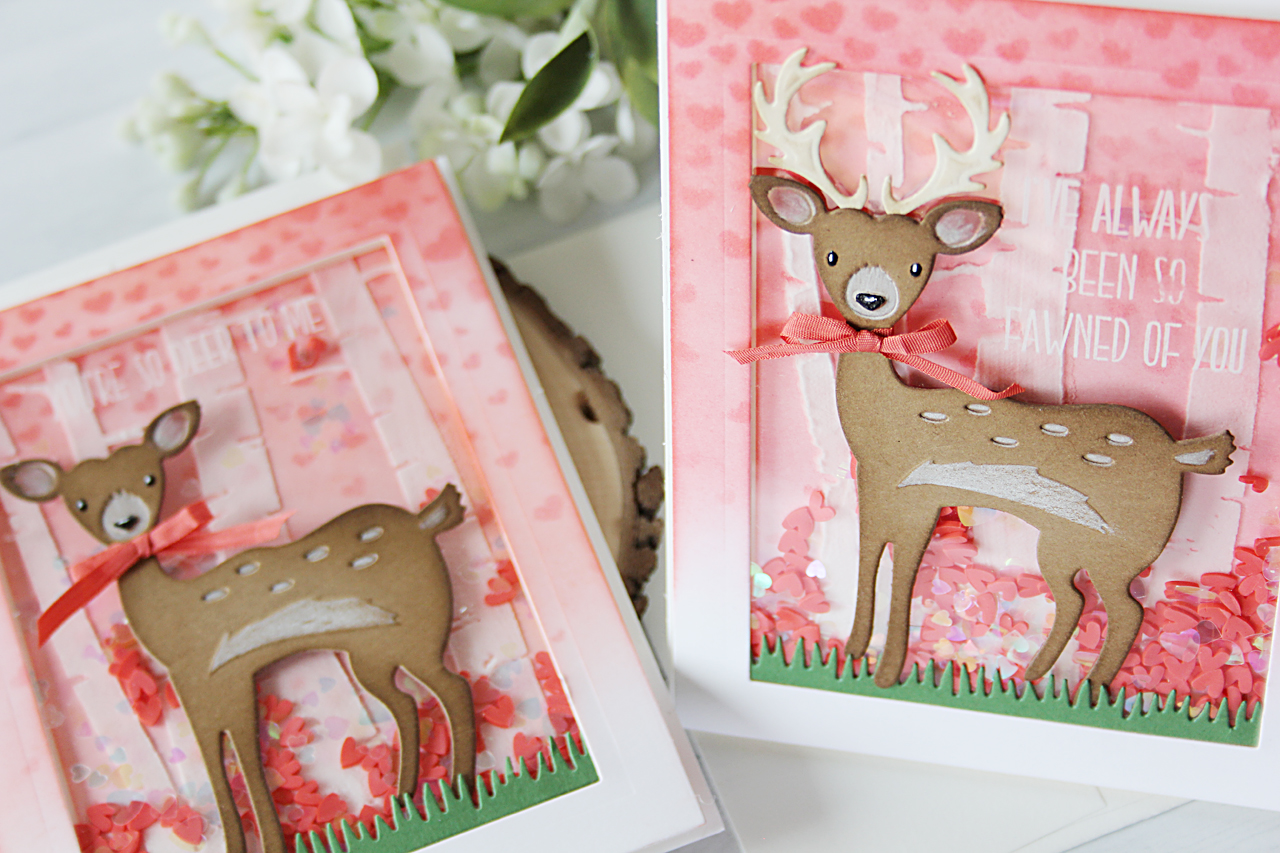
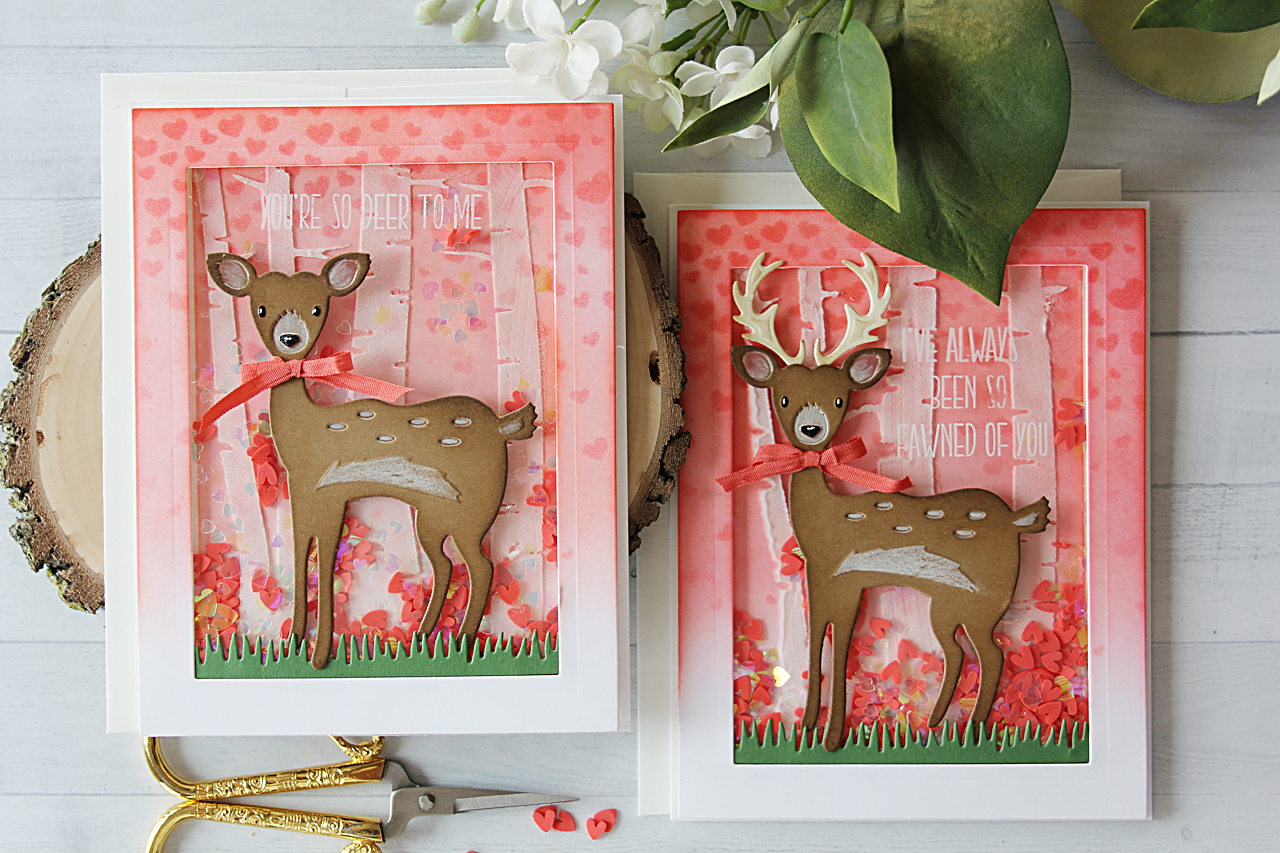
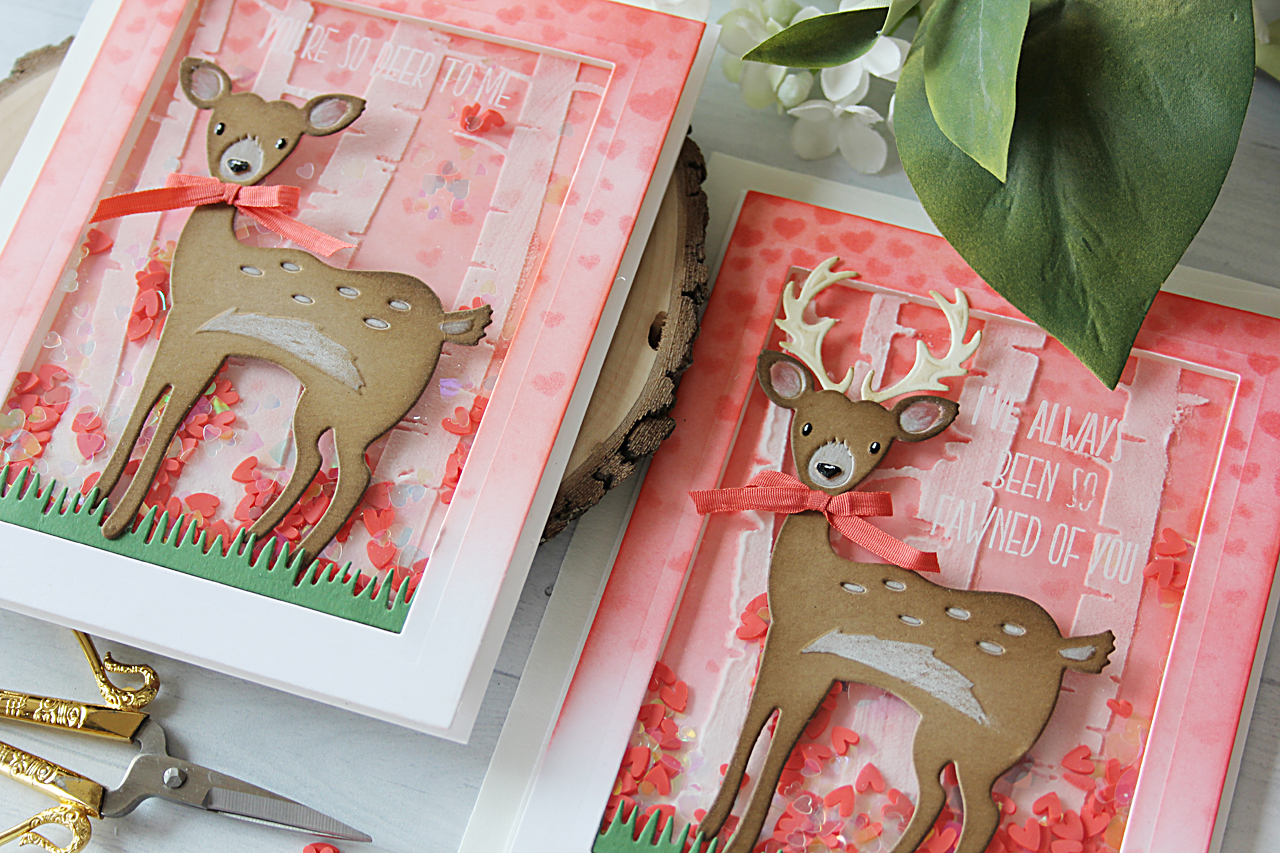
Creating a scene card is one of my very favorite styles of card to create. The Deer dies are the perfect focal point of these love-themed shaker cards. The grass die from the Picket Fence set gives the deer something to stand in and the Pierced Rectangles make a great frame and shaker background. For the background of both cards, I used the Pierced Rectangles to die cut a background and frame for my scene card. I inked the background up with Spun Sugar Distress Ink and then stenciled over the inked background with Candied Apple Distress Ink and a hearts stencil. I inked over the stenciling with Candied Apple Distress Ink to soften the look and not have so much contrast.

Video Friday | Stenciled Scene Shaker Backgrounds with Nichol Spohr for Spellbinders using S3-229 Deer S3-320 Picket Fence SCD-012 Pierced Rectangles dies #spellbinders #neverstopmaking #diecutting #cardmaking #handmadecard

Trees were stenciled over the heart backgrounds using white embossing paste. I set the backgrounds aside to air dry while working on the rest of the design. The Deer dies were die cut and embossed from brown cardstock and the antlers from ivory cardstock. The deer were inked with Gathered Twigs Distress Ink along the edges and colored pencils were used to add detail to the deer. A black pen was used for the eyes and noses to really make them pop. Ribbon was tied into a bow around both of the necks.

Video Friday | Stenciled Scene Shaker Backgrounds with Nichol Spohr for Spellbinders using S3-229 Deer S3-320 Picket Fence SCD-012 Pierced Rectangles dies #spellbinders #neverstopmaking #diecutting #cardmaking #handmadecard

The background panel was adhered directly to a white top fold card base and framed with two layers of foam adhesive to create a well for the shaker cards. The shaker was filled with red and iridescent heart confetti. Grass was die cut from green cardstock using the Picket Fence dies . Greetings were stamped on a transparency using white StazOn Ink and the transparency was adhered to the back of the frame.

Video Friday | Stenciled Scene Shaker Backgrounds with Nichol Spohr for Spellbinders using S3-229 Deer S3-320 Picket Fence SCD-012 Pierced Rectangles dies #spellbinders #neverstopmaking #diecutting #cardmaking #handmadecard

The grass image was placed along the bottom edge of the frame and the deer adhered to look like it is standing in the grass. The backing paper was removed from the foam tape and the frame was secured in place.

Video Friday | Stenciled Scene Shaker Backgrounds with Nichol Spohr for Spellbinders using S3-229 Deer S3-320 Picket Fence SCD-012 Pierced Rectangles dies #spellbinders #neverstopmaking #diecutting #cardmaking #handmadecard

VIDEO TUTORIAL

Watch video tutorial below or on Youtube to learn how to make this project:

Spellbinders Supplies:

Other supplies:

Cardstock: Neenah Solar White 110 lb cardstock, Lawn Fawn Noble Fir cardstock, Lawn Fawn Paper Bag cardstock, Lawn Fawn Vanilla Malt cardstock, Judikins Embossable Plastic; Stenicils: Honey Bee Stamps Outdoor Scene Builder, Fall Showers Stencils; Simon Says Stamp So Deer Stamp Set; Tsukineko Cotton White Staz-On Ink; Faber Castel Polychromos colored pencils; Ranger Distress Ink in Spun Sugar, and Candied Apple; Sakura black and white gel pens; Embossing Paste: Studio 490 Wendy Vechi White Embossing Paste; Adhesive: Scotch Foam Tape, Ranger Multi Matte Medium; ribbon; Confetti: Honey Bee Stamps Little Love Heart Sequins, Kiss Me Candy Hearts I hope this has given you a few ideas on how to create a background stenciled and shaker scene for your die cut images. Thank you so much for joining me today and I hope you’ll join me again next month for another video tutorial!

Leave a comment

Your email will not be published. Please note, comments need to be approved before they are published.

2 comments

M. Carmen Rodriguez,

I love both of the cards they are very pretty, I wanted to buy this die but did not think that after I cut it looked good. After seeing how you cut it and colored it, I just love It, needless to say, I will get it. Thank you for the tutorial.

Kirsten,

Great cards, Nichol. Love the color. The deer is awesome as is the grassy border die you used. I love how short the grass is as most grassy border dies are much longer and don’t always work for some designs. Thanks for sharing.


  • How to Make a Funny Christmas Penguin Card: Merry & Barely Holding It Together, SDS-243

    Categories:Die Cutting

    How to Make a Funny Christmas Penguin Card: Merry & Barely Holding It Together

    Create a hilarious holiday card featuring an exhausted penguin, a spilled glass of wine, and the all-too-relatable sentiment "Merry & Barely Holding It Together." In this step-by-step tutorial, you'll learn how to assemble layered die-cut characters, create a dramatic winter sky with ink blending, add embossed sentiments, and finish the design with snowy splatter effects. This project is perfect for cardmakers who enjoy humorous Christmas...

  • November 2026 Stencil of the Month Preview & Tutorials – Banana Bread

    Categories:Kits & Clubs>Stencil of the Month

    November 2026 Stencil of the Month Preview & Tutorials – Banana Bread

    Our November 2026 Stencil of the Month Club preview & tutorials are here! Here’s a look at the design for this month – Holiday Harmony: Please note, new Subscription Sign-Up Window will now open on the 6th of each month and close on the 27th (once existing club members subscriptions have been processed.) If there is additional inventory remaining, then they will be made available...

  • November 2026 2D Embossing Folder of the Month Preview & Tutorials – Wonky Check

    Categories:Kits & Clubs>Embossing Folder of the Month

    November 2026 2D Embossing Folder of the Month Preview & Tutorials – Wonky Check

    Our November 2026 2D Embossing Folder of the Month preview & tutorials are here! Exclusive 2D Embossing Folder adds texture and dimension to any project. Size will generally be 5.5" x 8.5" and can be used to make slimline, 5" x 7", and a variety of sized projects. Spellbinders Monthly Clubs are exclusively designed by our in-house creative team, curated with care, and delivered with...