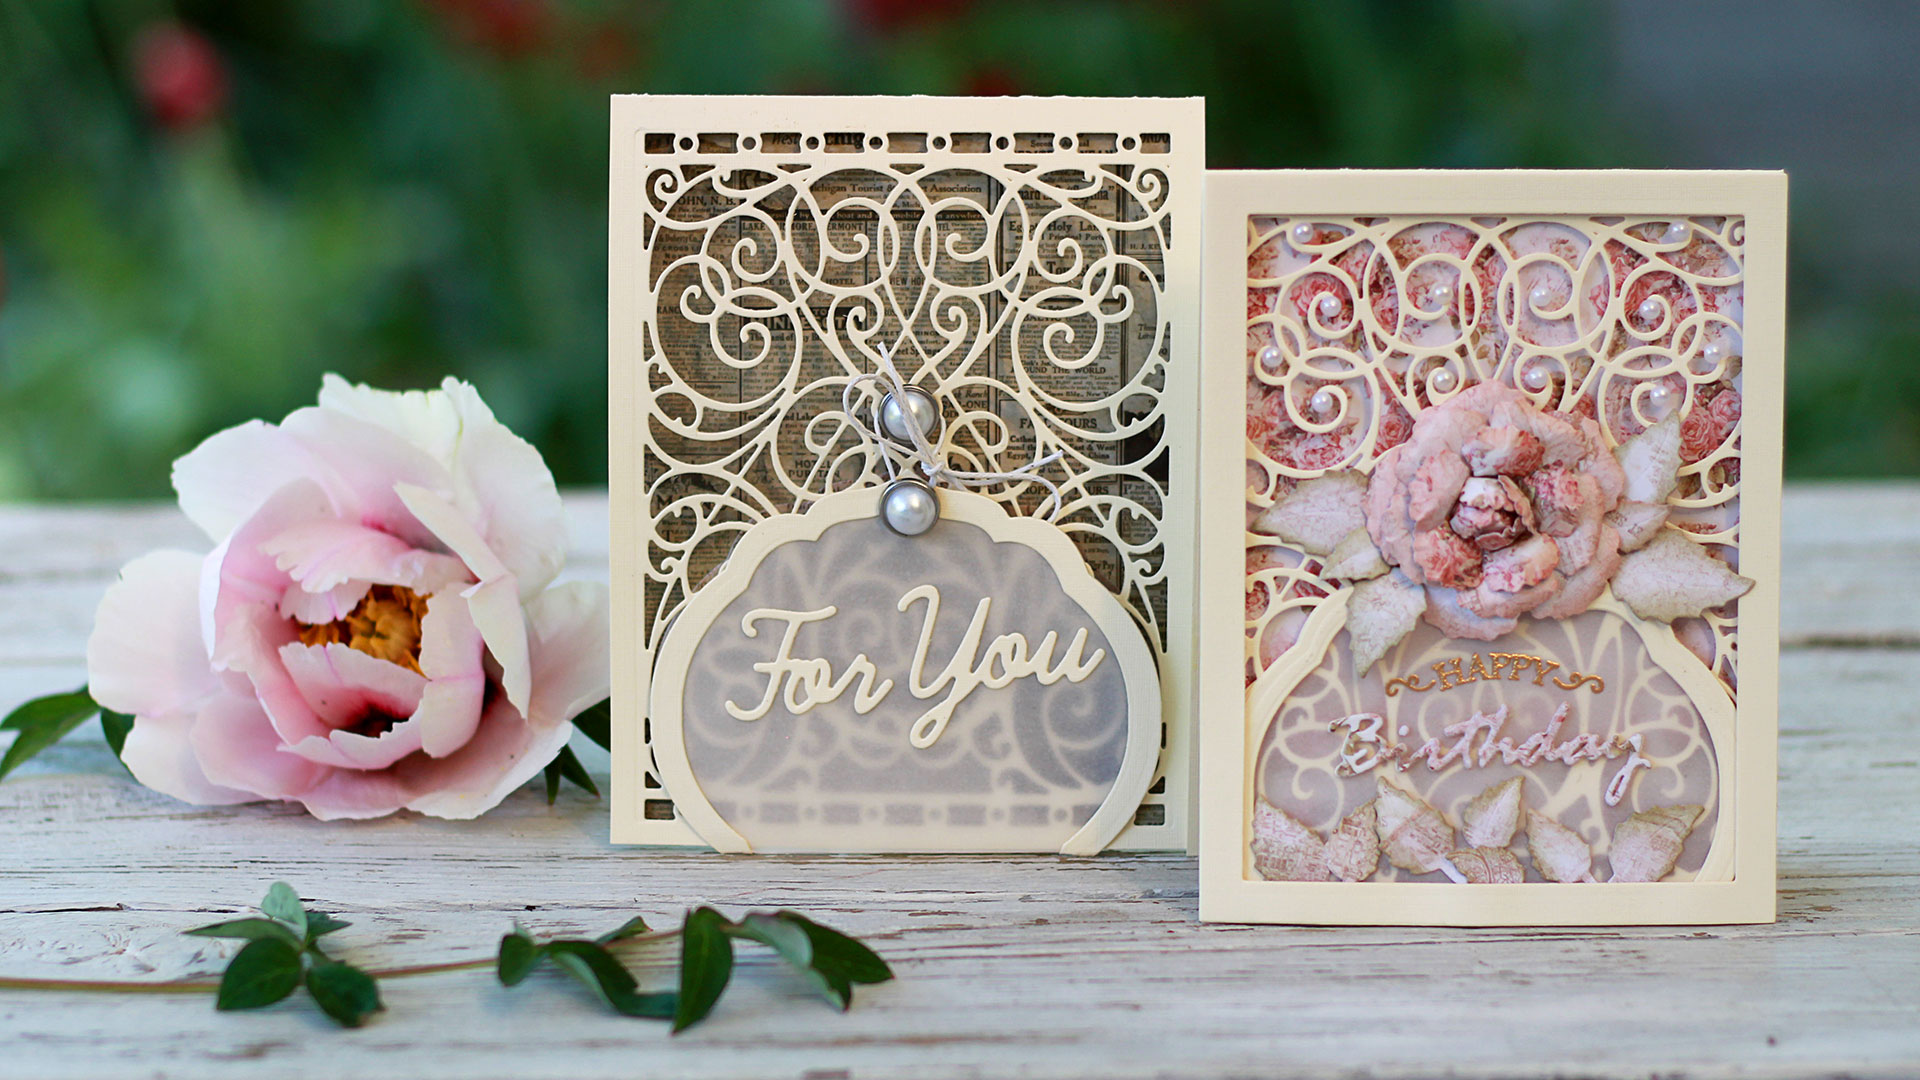
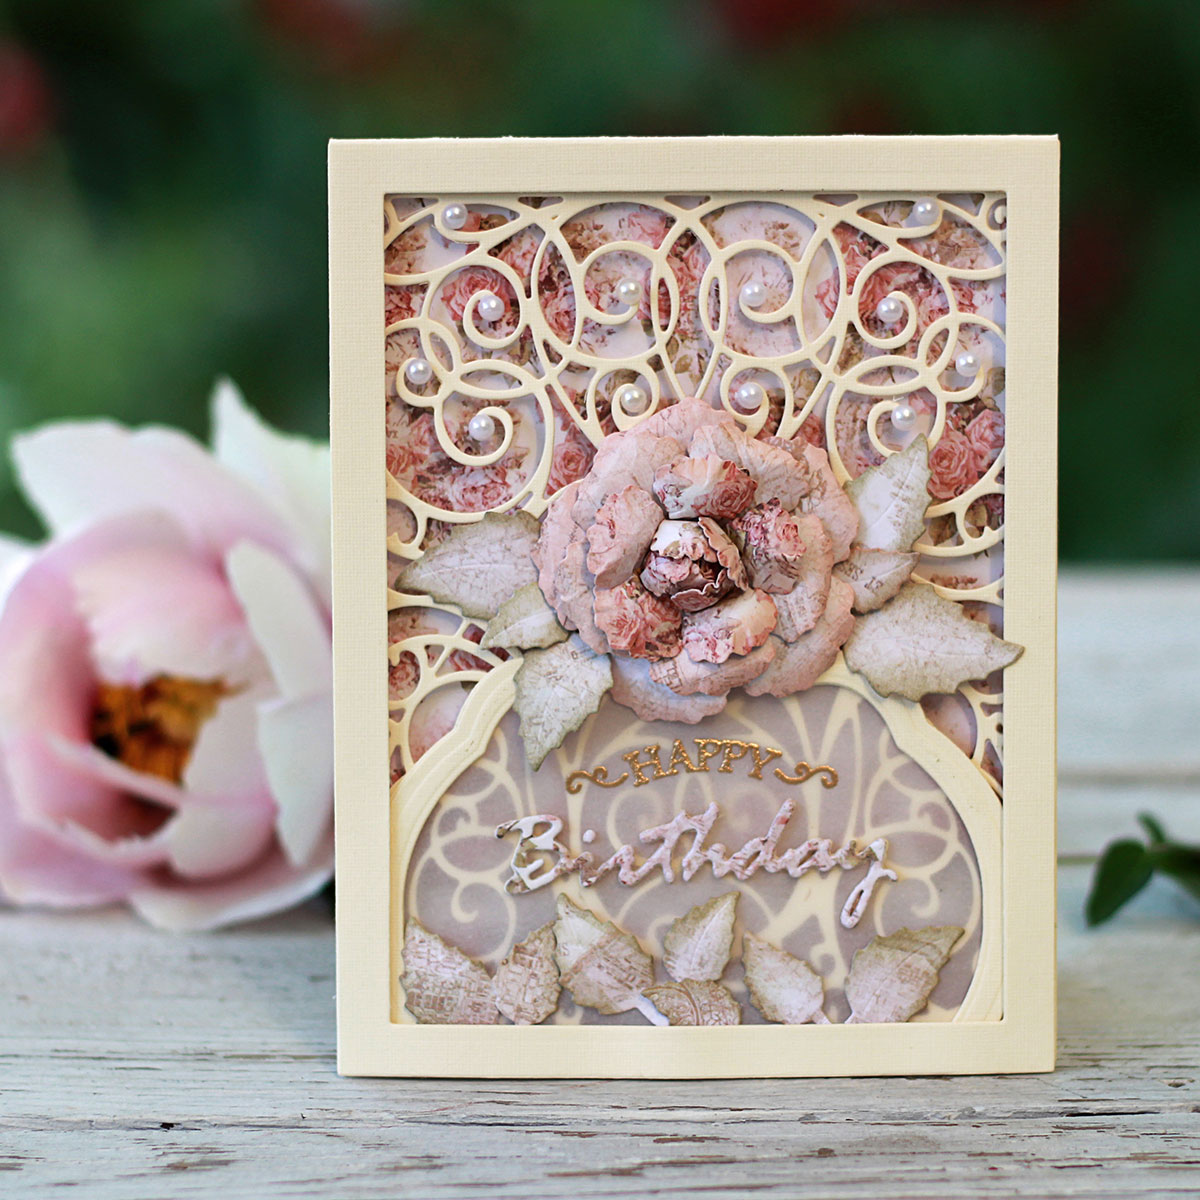
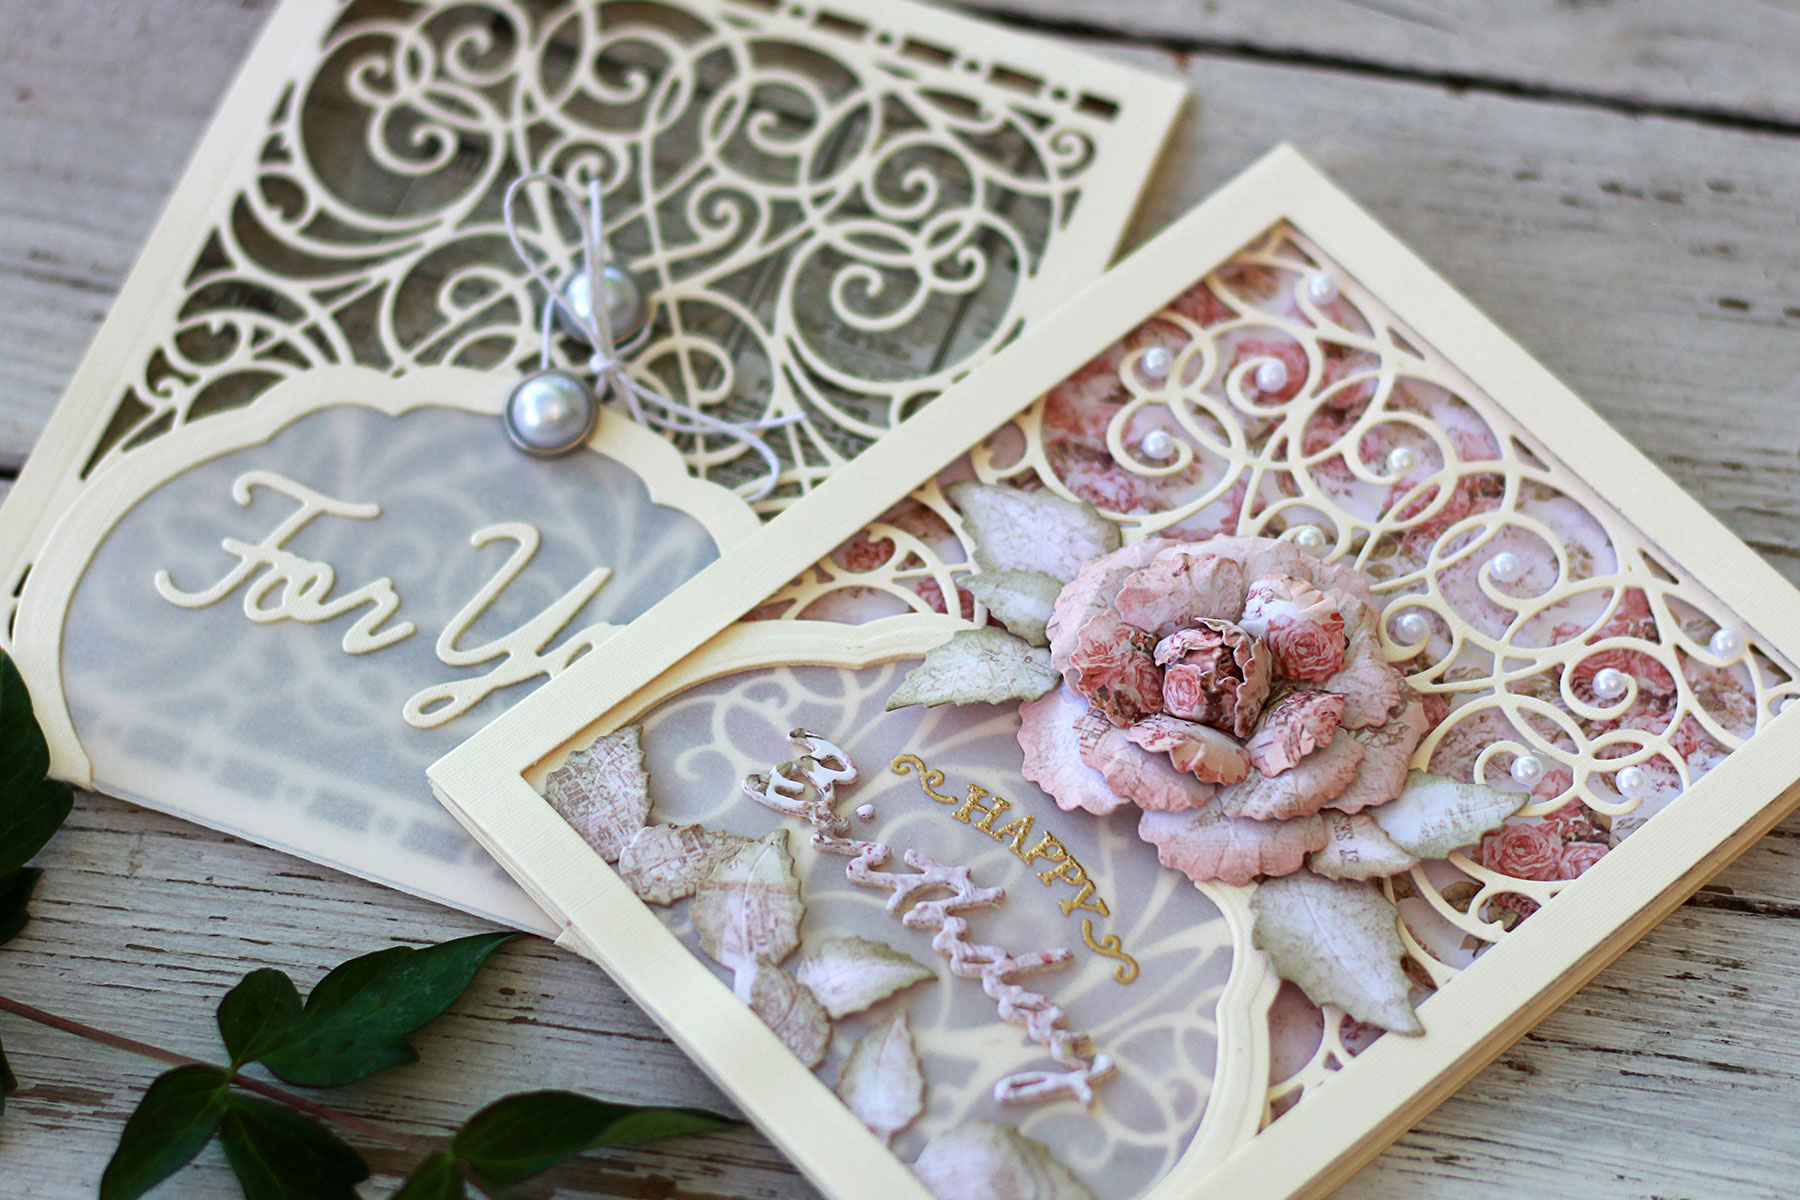
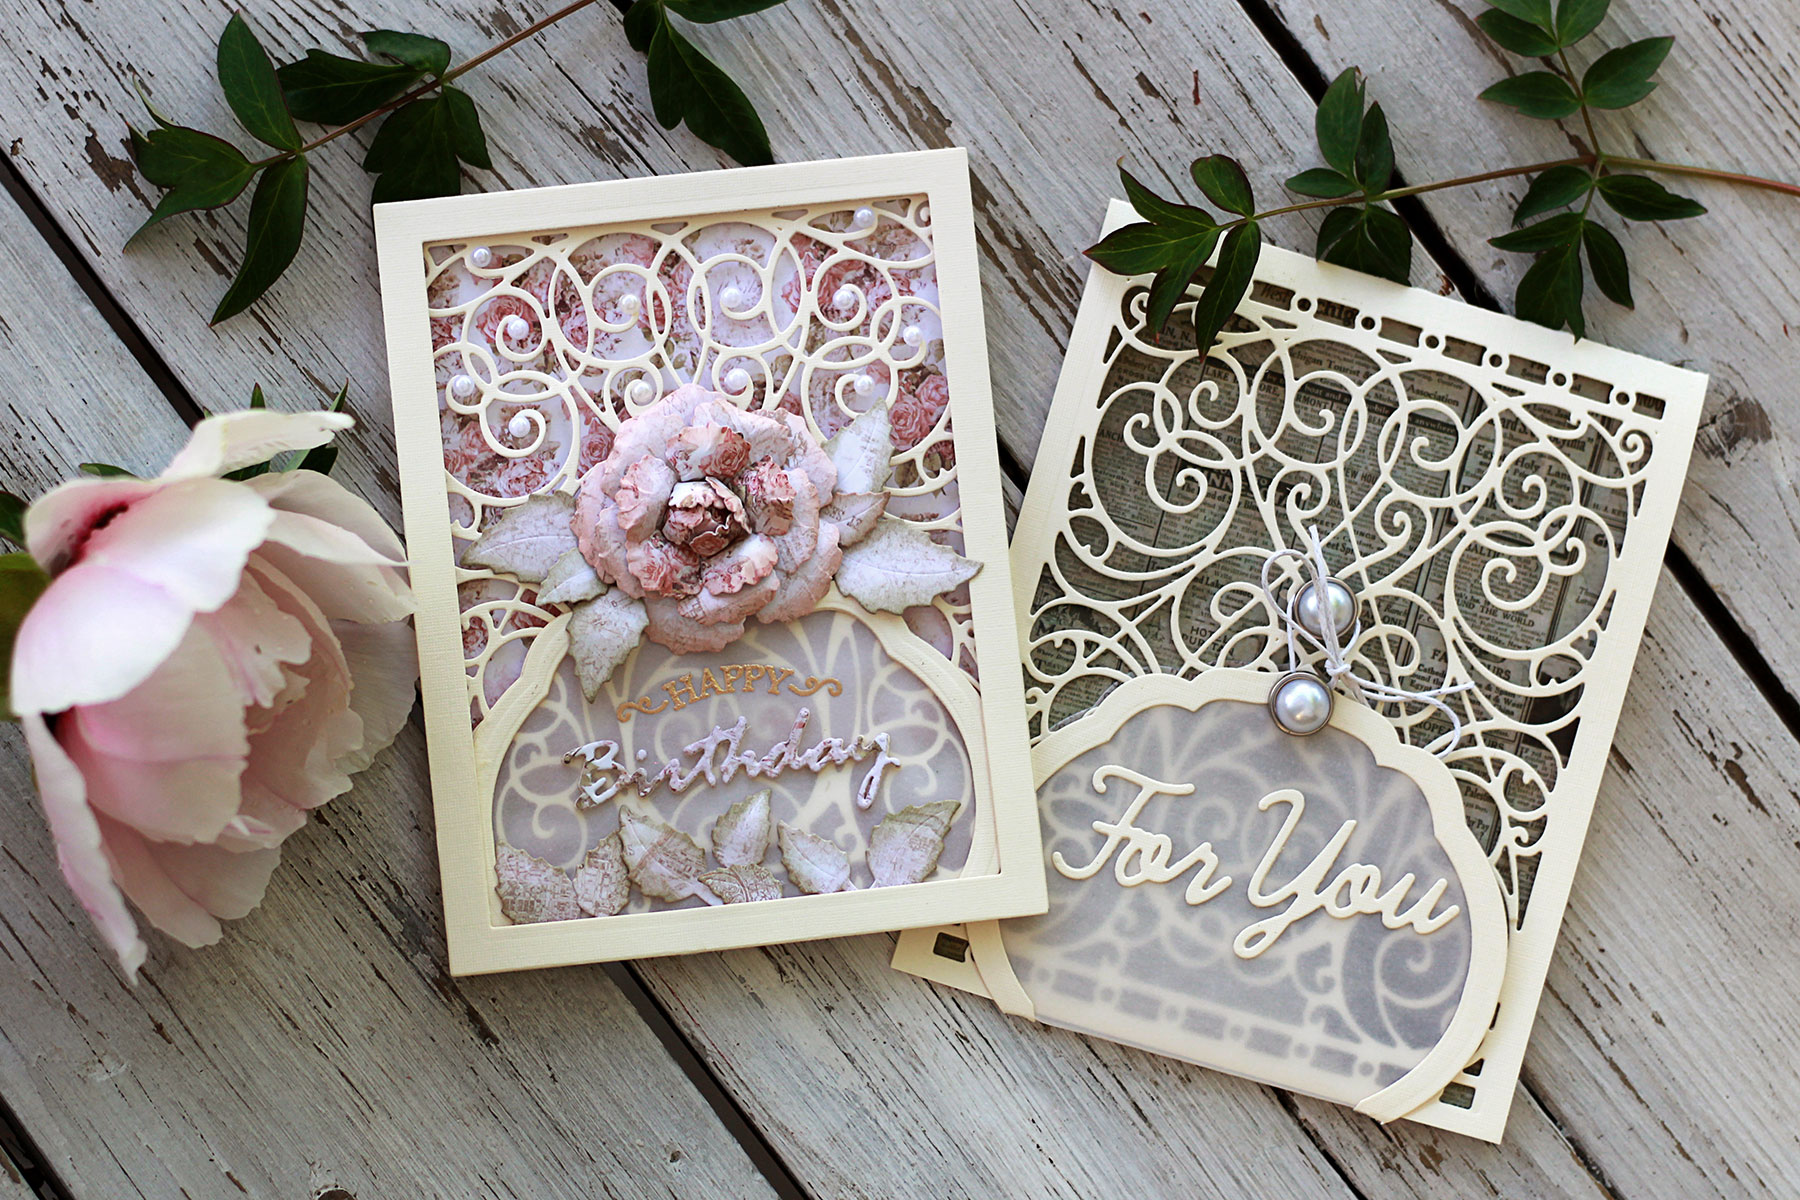
The project #1 is a multi-layered framed card decorated with a large flower made with
Blooming Rose die set
. For the background I used a sheet of paper with small floral pattern in subdued pink shades.
The project #2 is a trifold card that has a little pocket inside so it can be used as a money holder or a gift card holder. You can also slip a note with a message into that pocket. This card is also much quicker and easier to create than the previous one.
I have used vellum to create a background for labels on both cards. Semi-transparency is such a unique property of this material - although a label covers up almost half of a card you can still see how that gorgeous swirl background pattern spreads throughout the card front.
I have also used some die cut sentiments from both Phrase Set One and Phrase Set Two sets to add on top of labels. The first one is die cut from the same patterned paper that I used for the background and the second one is plain cream cardstock.
VIDEO TUTORIAL
Want to know exactly how both cards were created? You can find a full the step by step guide in a video tutorial. Watch below or on
YouTube
:
Patterned papers by Prima and Tim Holtz, silver rimmed pearl brads, half pearls, gold embossing powder.
Thanks again for stopping by today, I hope you enjoyed the tutorial. Have a beautiful spring weekend! See you again soon!
Share this article
4 comments
Brilliant tutorial, clear and concise, I can’t wait to try it.
Create a charming autumn card featuring an adorable squirrel dressed in overalls and surrounded by pumpkins, apples, hay bales, colorful leaves, and harvest-themed accents. In this step-by-step tutorial, you'll learn how to assemble layered character dies, create dimensional autumn accessories, stamp a coordinating sentiment, and build a cheerful fall scene full of seasonal details. This project is perfect for cardmakers who enjoy character-based die-cut scenes...
Create a fun birthday card featuring Chompster enjoying his favorite snack. In this step-by-step tutorial, you'll learn how to assemble the Chompster character, create dimensional cookies, build a colorful propeller hat, and arrange all the die-cut pieces into a playful birthday card design. This project is perfect for cardmakers who enjoy character-based die cutting and whimsical birthday cards. By combining the Top It Off and...
A handmade felt Santa ornament is a colorful way to add stitching, texture, and personality to your Christmas décor. In this detailed tutorial, you’ll learn how to die cut wool felt, organize and layer the individual pieces, add embroidery stitches and beads, and finish the project with a secure backing and hanging loop. The Festive Santa Etched Dies create a playful Santa holding a decorated...
4 comments
Brilliant tutorial, clear and concise, I can’t wait to try it.
I love the cards! They’re keepsakes!
Thanks Pooja!
Gorgeous cards !