Happy Labor Day, crafty friends! Our offices are closed on Monday, Sept. 7. Support returns Tuesday, Sept. 8. Until then, stay crafty!
20% off Sitewide*
20% off Sitewide*
20% off Sitewide*
20% off Sitewide*
20% off Sitewide*
20% off Sitewide*
20% off Sitewide*
20% off Sitewide*
20% off Sitewide*
20% off Sitewide*
Item added to your cart
Shop by
Posted by Spellbinders Team on January 19, 2018
Video Friday | Dimensional Valentine with Kelly
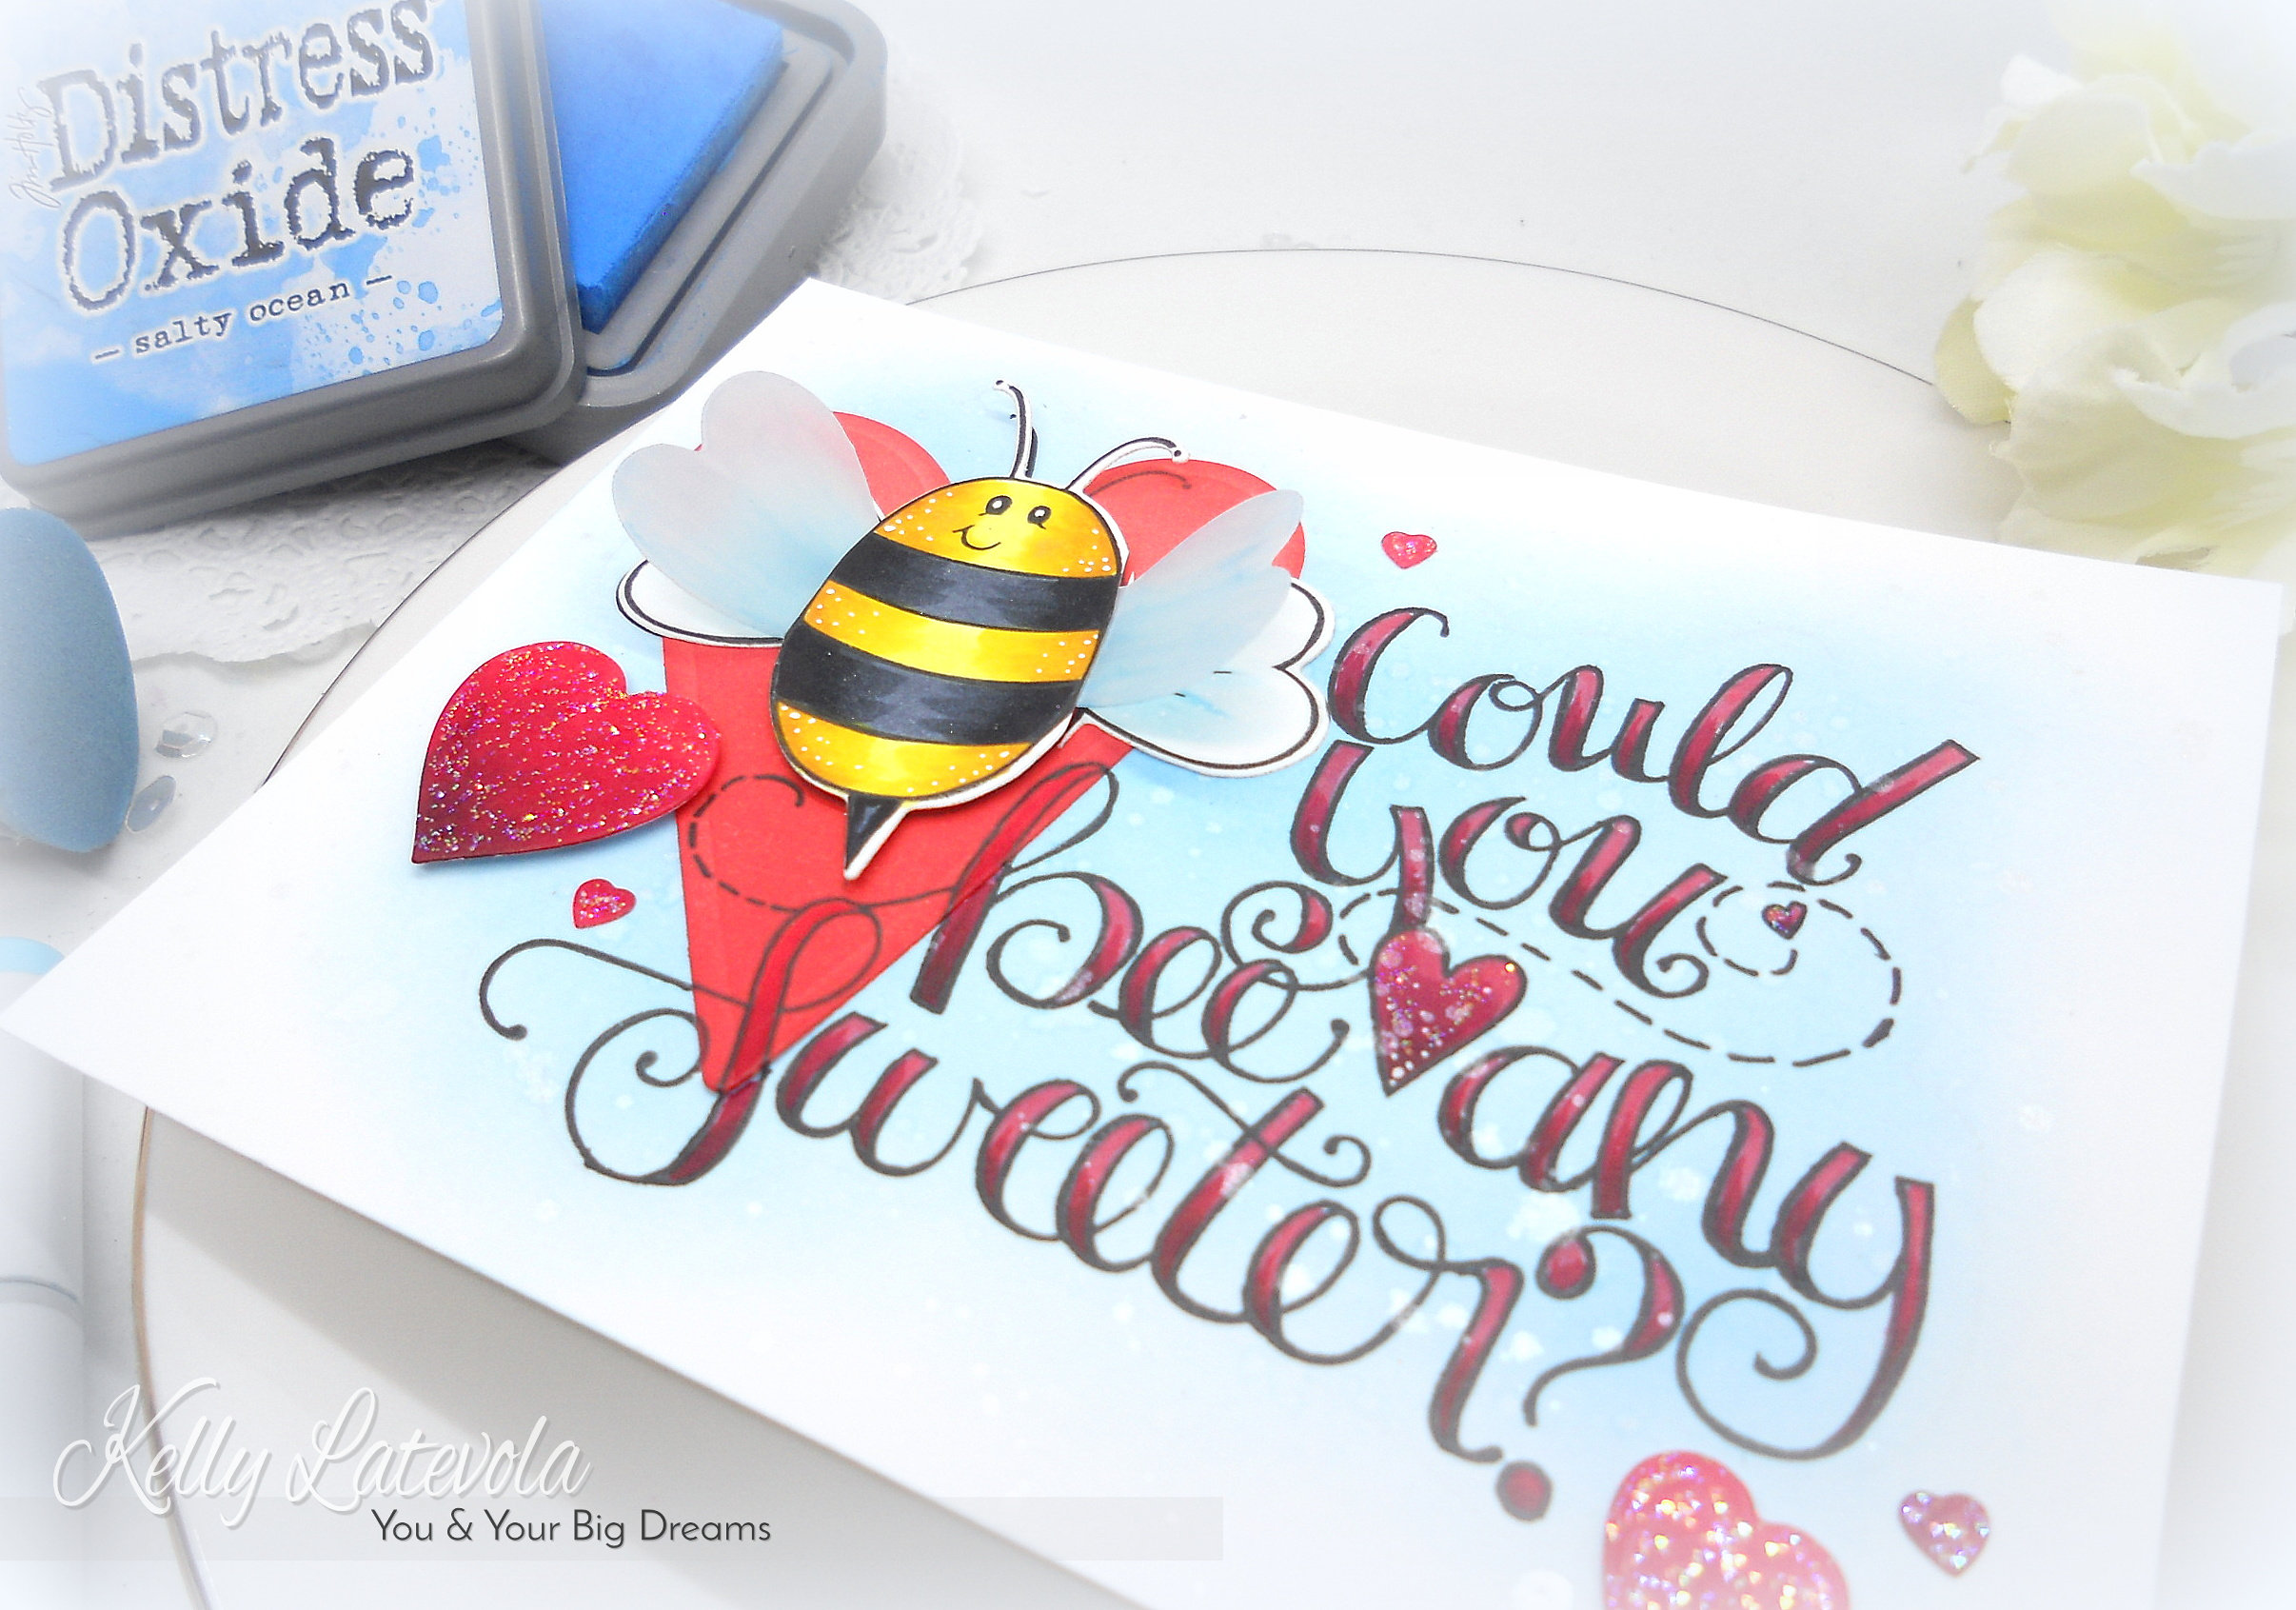
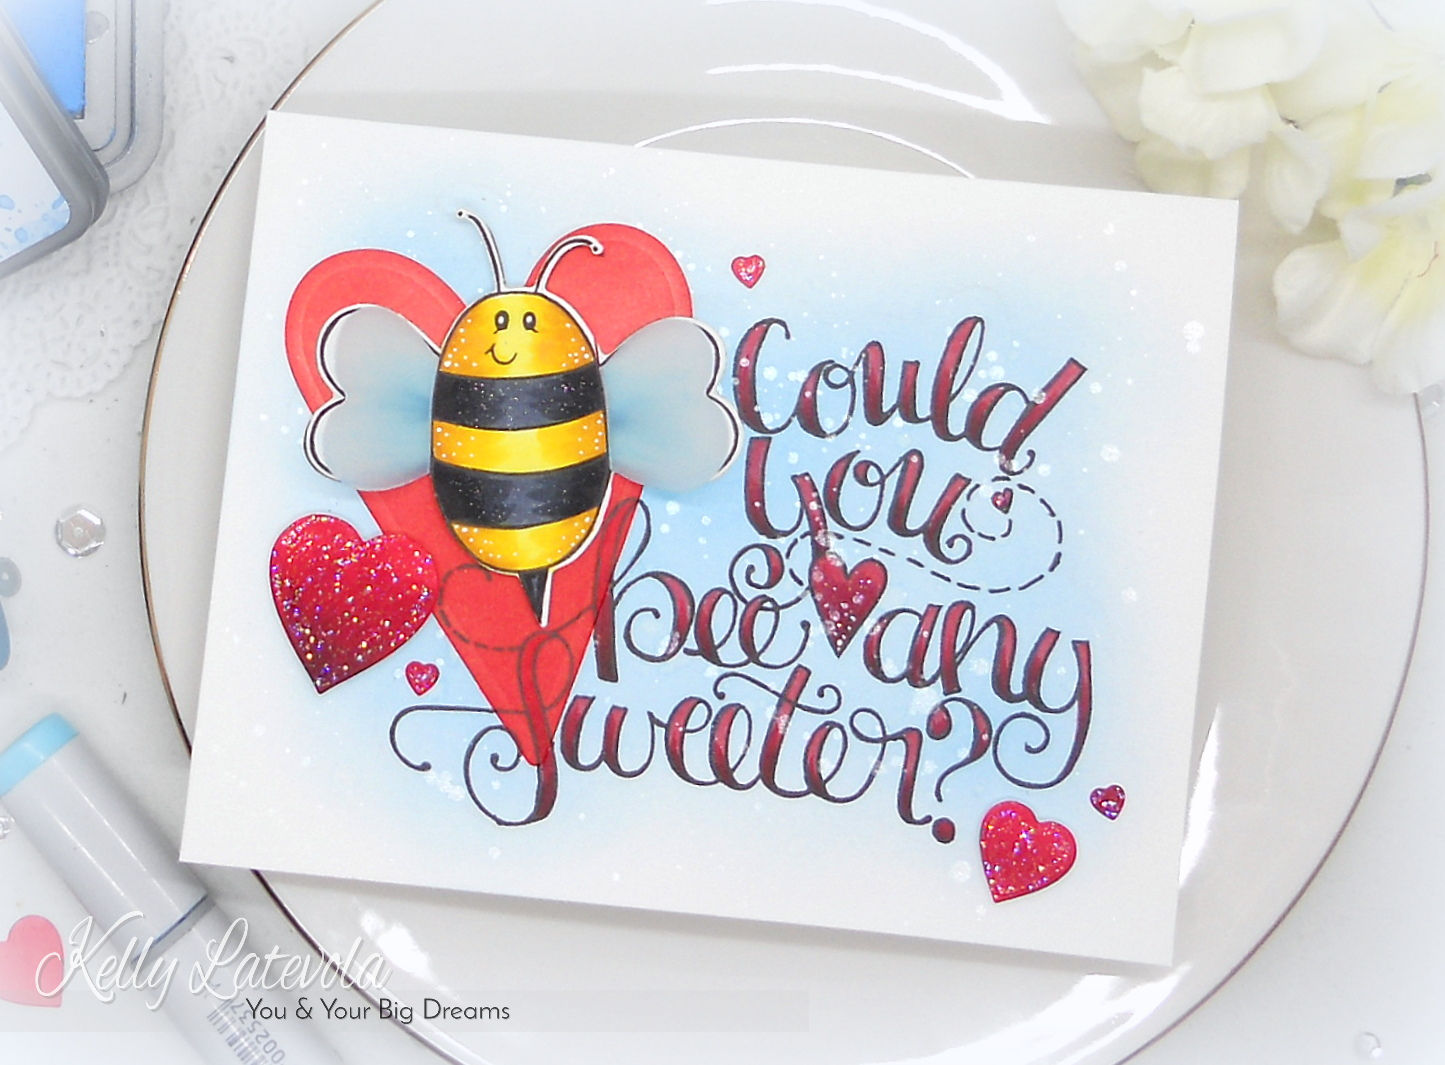
It's Kelly Latevola here and I'm so excited to be sharing a fun dimensional valentine with you today. Valentine's have been on the forefront of my mind lately. Once I saw this set, with that font, I was sold!
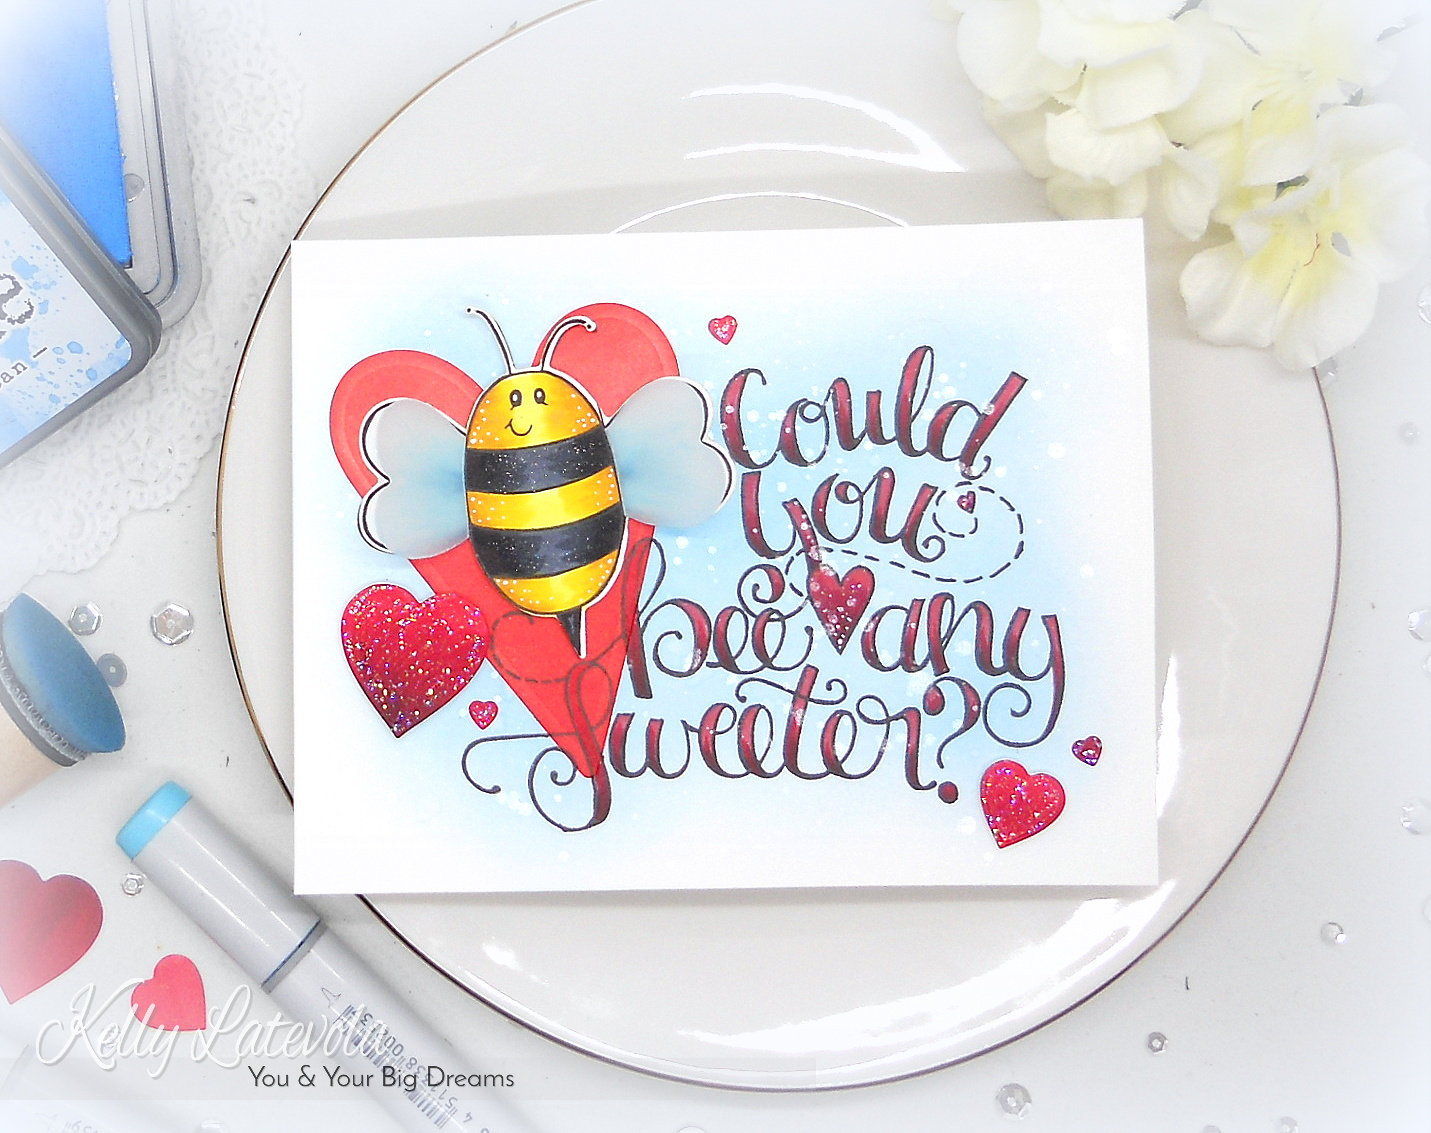
I started by laying down a super light blend of Salty Ocean Distress Oxide. I flicked on a bit of clean water and perfect pearls to add some interest to the background.
I stamped the Bee Any Sweeter Stamp three times. Once on white, once on my background, and again on the background after I adhered the heart. This makes sure all the lines for the sentiment are flush. I did a bit of copic coloring to both my bee and my sentiment. Then I got busy cutting them out with the coordinating dies.
In the Bee Any Sweeter set there is a die that just cuts out an extra pair of wings. I cut them out with vellum and added a bit of shading on the back with my copic markers. I cut the actual wings off my bee and adhered them down flat. The body of the bee with the attached vellum wings were popped up with foam tape.
You can watch the entire card from start to finish in the video below. You can also learn a bit about me too :)
VIDEO TUTORIAL
Watch video tutorial below or on Youtube to learn how to make this project:
I love all the shimmer on this sweet card. Plus the bright colors with the contrast of the bright red and soft blue make my heart go pitter patter. The wings by far are my favorite part though! It adds such a fun element to the card.
Neenah 80lb Solar White Card Stock, Distress Oxide Ink: Salty Ocean, Distress Ink: Candied Apple and Abandoned Coral, Ink Blending Tool, Ranger Craft Mat, Copic Markers, B0000, B00, B02, R20, R35, R29, R59, Y02, Y08, YR24, C5, C9, 100, Clear Wink of Stella, Stardust Stickles, Scotch Foam Tape, Perfect Pearls, #2 Round Brush, White Gel Pen, EK Success Journaling Pen Tombow Mono Multi Glue, Vellum.
Thank you so much for dropping by! I hope you've found a little bit of something you'd like to try.
Hi, crafty friends! Lisa Tilson here, and I'm delighted to be with you today sharing a fun interactive birthday card featuring the new Spellbinders Card Spinners. If you've ever wanted to add movement to your handmade cards without complicated mechanisms, these spinners make it incredibly easy! For today's project, I'm using the Large Card Spinner to create an adorable birthday monster that spins with just a...

Turn layered scalloped frames into a colorful Halloween gallery wall! This step-by-step tutorial shows how to emboss and arrange the Scalloped Frames, assemble the adorable Drac character from Simon Hurley's Halloween Hugs Collection, and create a playful handmade Halloween card full of dimension and color.
Celebrate treasured memories with a handmade vintage journal featuring interactive pages, pockets, vintage photos, and layered embellishments. This step-by-step tutorial showcases creative ideas for building meaningful double-page spreads with Esther Glas' Turn the Page collection.