The Perfect Match Inspiration | Getting All Mushy with Gemma
Posted by Spellbinders Team on May 01, 2018

The Perfect Match Inspiration | Getting All Mushy with Gemma

Hello everyone, this is Gemma from mygirllollipop.com. I am thrilled to be guest designing on the Spellbinders blog this week. I'll be sharing projects highlighting the Perfect Match Collection by Debi Adams.
The Perfect Match Collection by Debi Adams - Inspiration | Getting All Mushy by Gemma for Spellbinders using SDS-129 Getting All Mushy #spellbinders #stamping #copiccoloring #neverstopmaking #diecutting #handmadecard

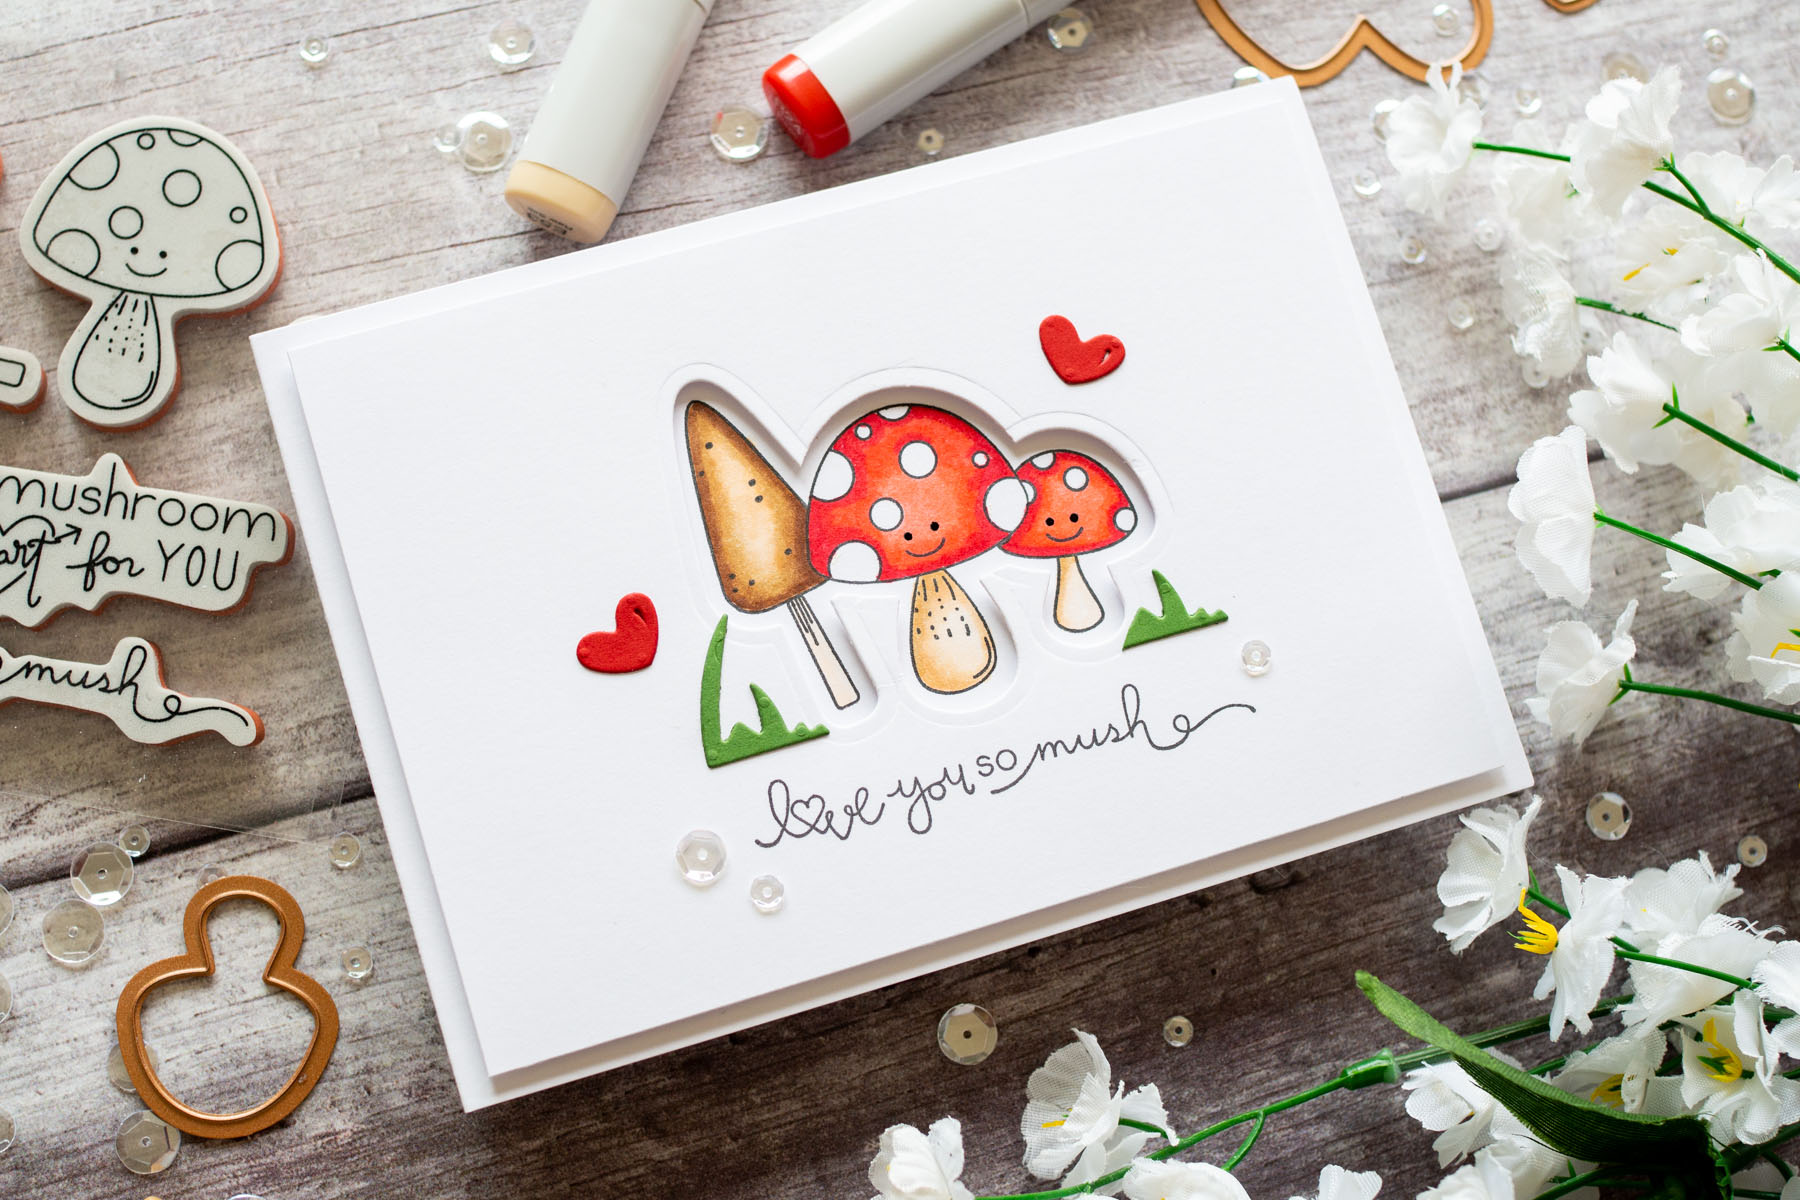
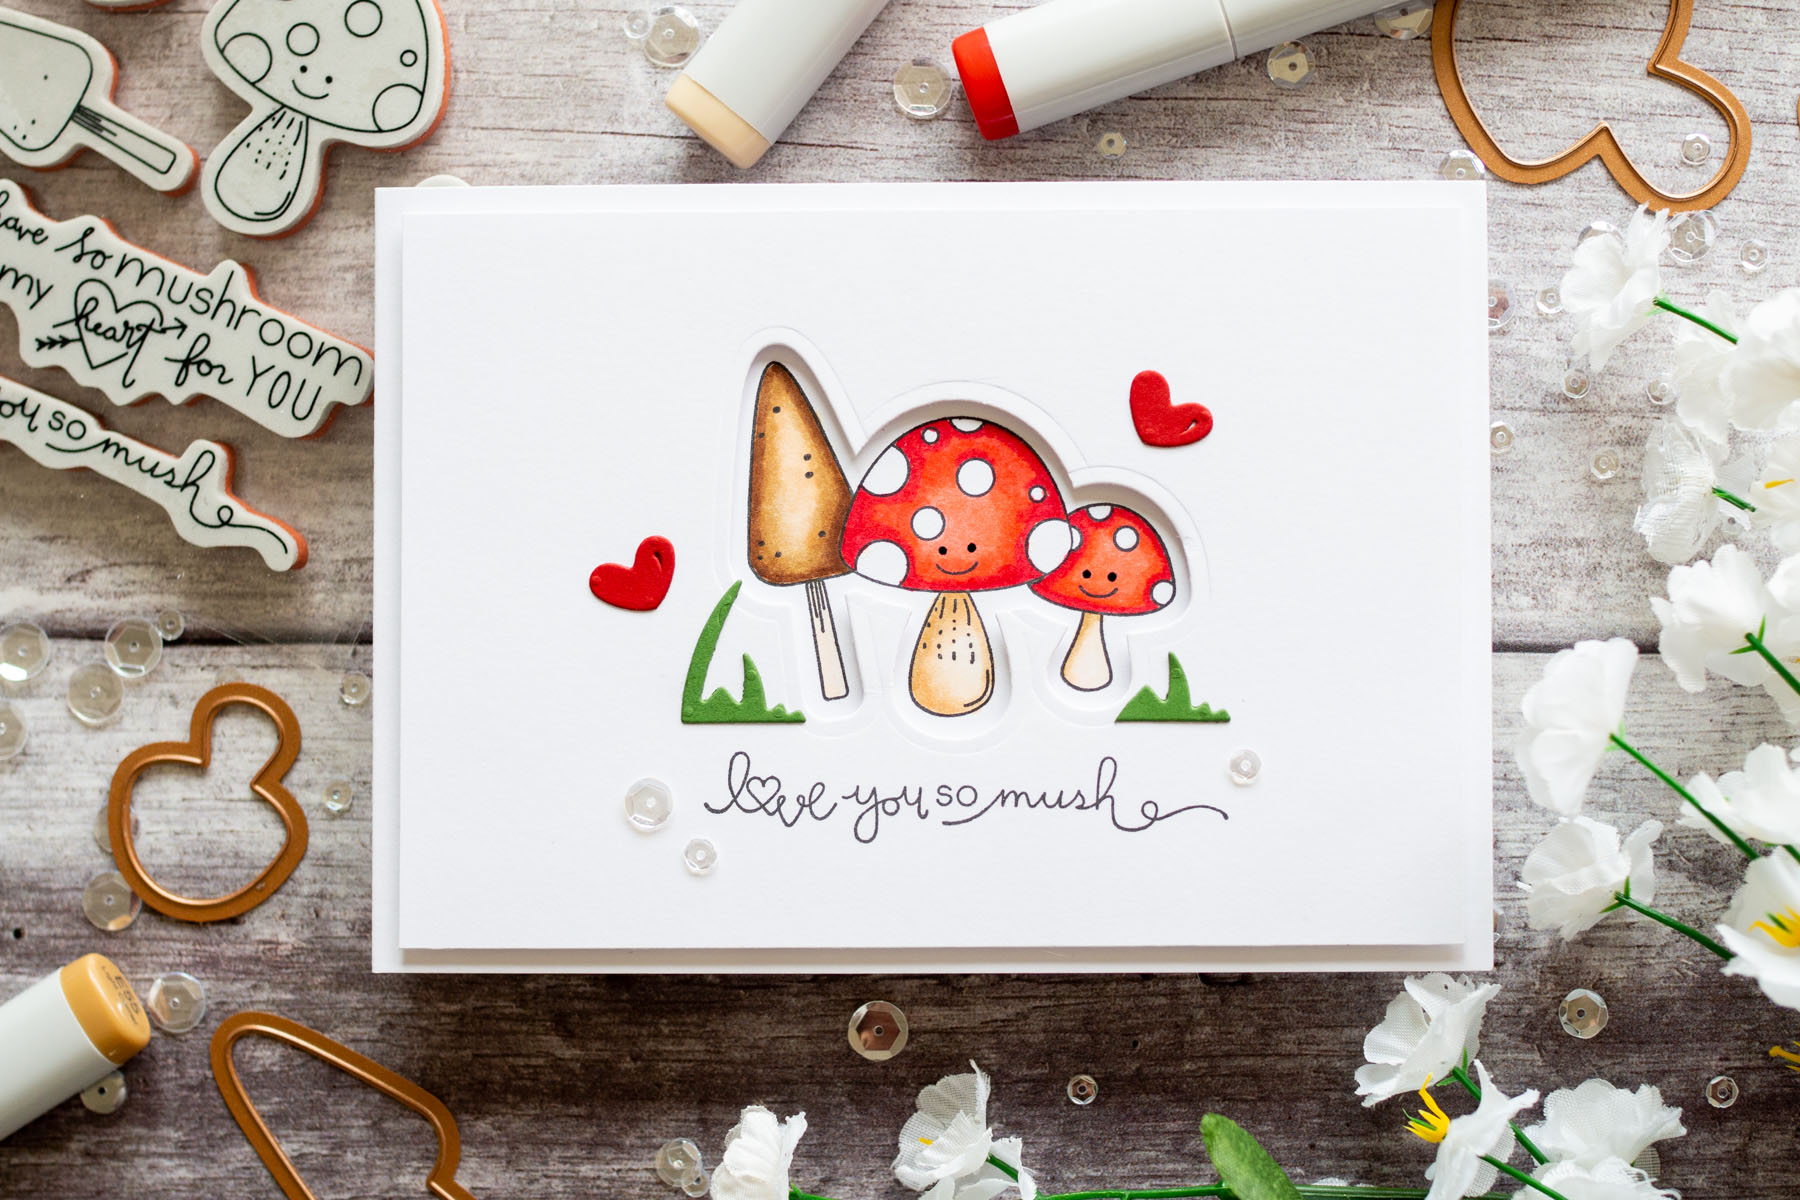
My card today features the adorable Getting All Mushy stamp and die set. I was drawn to this set by one of the sentiments. My 3 year old niece is really sweet as she’s always saying 'I love you so much!', so I just had to make her a card with the cute mushrooms and fun sentiment. I began by stamping the mushroom images on to a white card base. I did some masking so the middle mushroom would stand in front of the others. I also stamped the same arrangement of mushrooms on a separate piece of white card stock. Using a stamp positioner helped me to get the stamping in exactly the same place, which is important when it comes to lining up the panel over the card base later.

The Perfect Match Collection by Debi Adams - Inspiration | Getting All Mushy by Gemma for Spellbinders using SDS-129 Getting All Mushy #spellbinders #stamping #copiccoloring #neverstopmaking #diecutting #handmadecard

I used copic markers to colour the images on the card base, and added some black gel pen to the eyes to help them stand out. To create the window opening, I used the coordinating dies to cut out the images from the separate piece of cardstock. I trimmed down the panel so it was slightly smaller than my card base, then stamped the sentiment under the window opening.

The Perfect Match Collection by Debi Adams - Inspiration | Getting All Mushy by Gemma for Spellbinders using SDS-129 Getting All Mushy #spellbinders #stamping #copiccoloring #neverstopmaking #diecutting #handmadecard

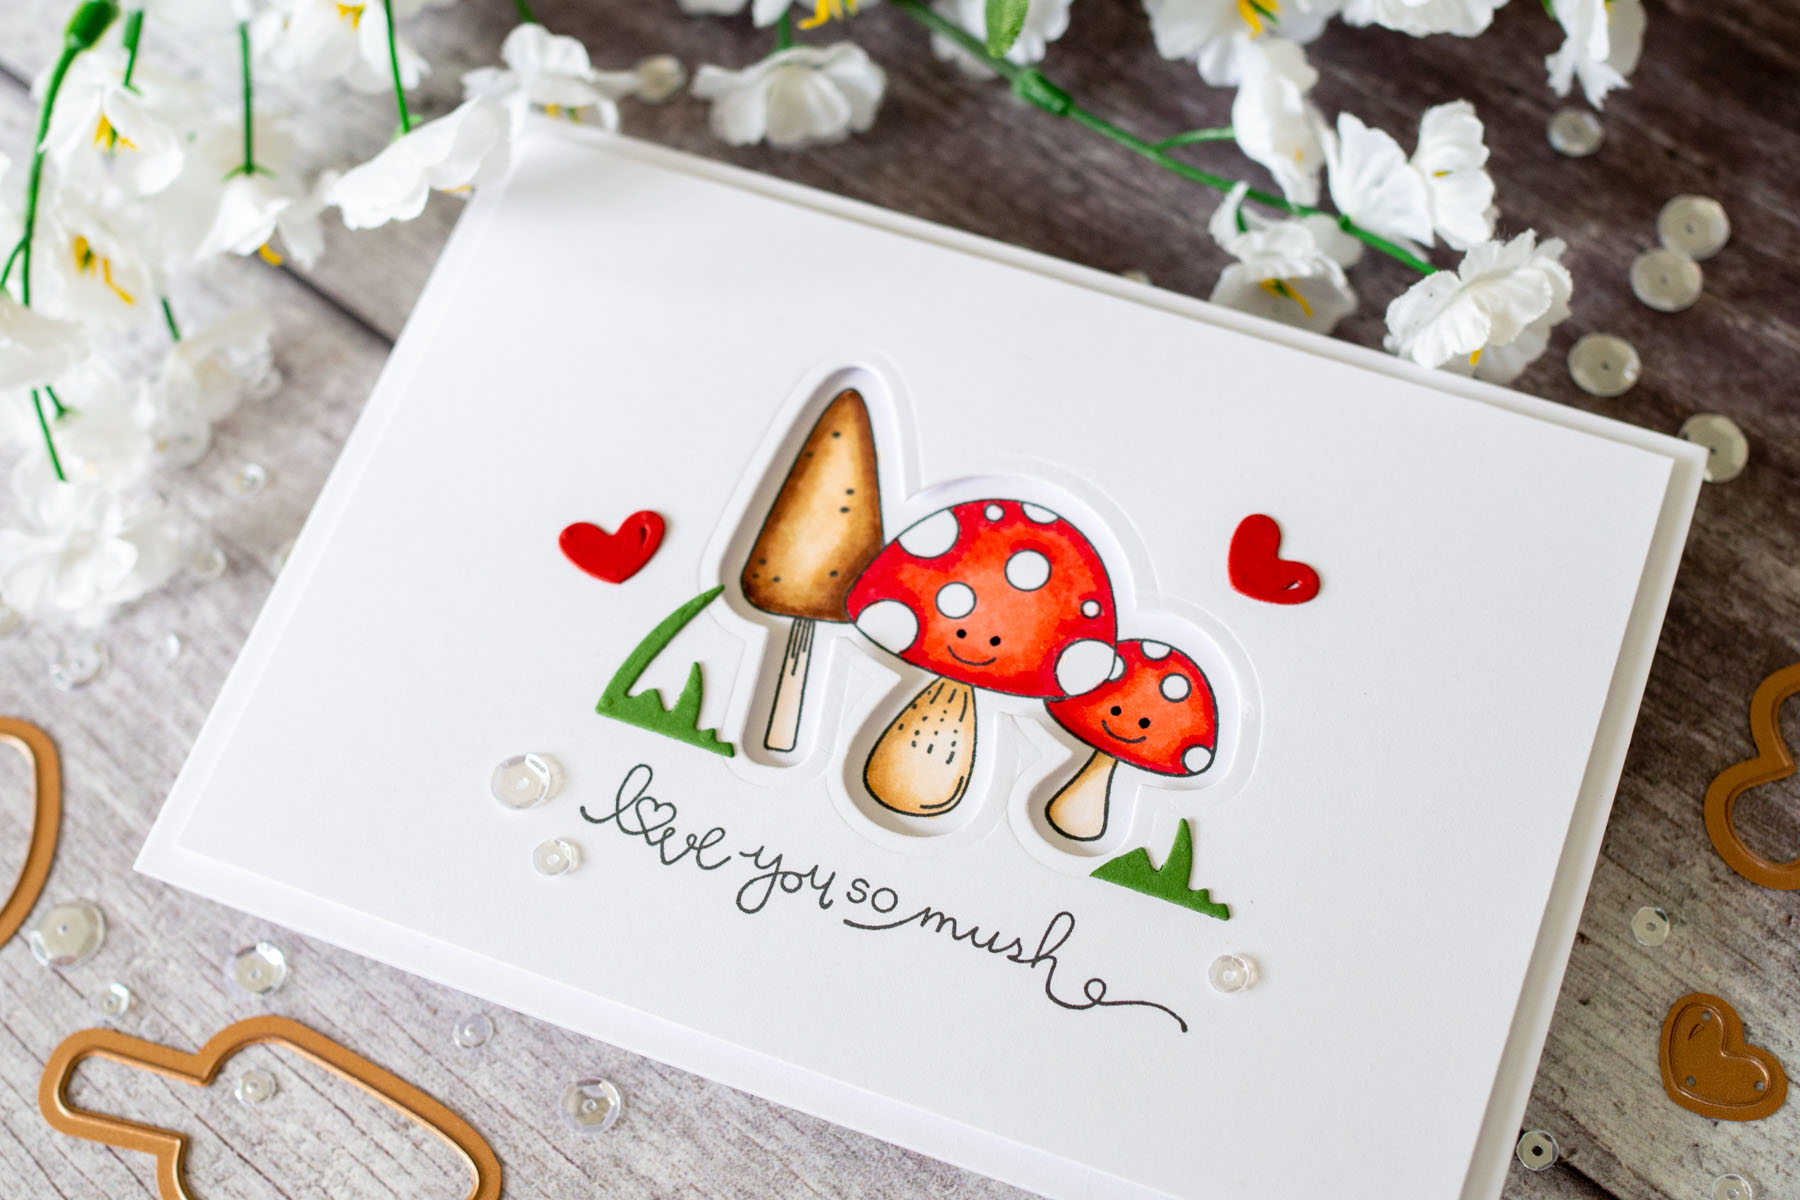
I added lots of foam tape behind the panel, then layered it over the card base so the coloured images showed through the die cut window. I love the dimension of the panel with the stamped images set back.

To add some finishing touches to the card, I die cut two grass pieces and two hearts from coloured card stock, using dies from the set. I then trimmed down one of the grass pieces to be slightly smaller. I added them to the card with liquid glue, along with a few sparkling clear sequins around the sentiment.
The Perfect Match Collection by Debi Adams - Inspiration | Getting All Mushy by Gemma for Spellbinders using SDS-129 Getting All Mushy #spellbinders #stamping #copiccoloring #neverstopmaking #diecutting #handmadecard

Spellbinders Supplies:

Other Supplies:

White cardstock; Copic markers; Lawn Fawn Noble Fir and Chili Pepper cardstock; Pretty Pink Posh clear sparkling sequins; MFT Extreme Black hybrid ink; Mini Misti stamping tool; Lawn Fawn glue tube; Foam adhesive; Black gel pen. Thank you for joining me today. I hope you’ll join me for more posts later this week. Have a lovely day.

Leave a comment

Your email will not be published. Please note, comments need to be approved before they are published.


  • Just Add Cake, S3-495, S4-1522, S5-635, S4-1450, S4-1476

    Spellbinders Blog

    Create an Easy Interactive Birthday Card with Spellbinders Card Spinners

    Hi, crafty friends! Lisa Tilson here, and I'm delighted to be with you today sharing a fun interactive birthday card featuring the new Spellbinders Card Spinners. If you've ever wanted to add movement to your handmade cards without complicated mechanisms, these spinners make it incredibly easy! For today's project, I'm using the Large Card Spinner to create an adorable birthday monster that spins with just a...

  • Colorful Halloween Card Tutorial with Scalloped Frames, E3D-180, S6-272

    CS-8-101

    Halloween Card with Embossed Scalloped Frames and Drac Die Set

    Turn layered scalloped frames into a colorful Halloween gallery wall! This step-by-step tutorial shows how to emboss and arrange the Scalloped Frames, assemble the adorable Drac character from Simon Hurley's Halloween Hugs Collection, and create a playful handmade Halloween card full of dimension and color.