Hello everyone! This is Hussena from
Quill and Punch Works, and I am really excited and honoured to be guesting today on the Spellbinders Paper Arts blog. This post is a part of a series featuring dies from the
Special Moments collection by Marisa Job. You can check out my first and second post using the dies from the Special Moments collection
HERE and
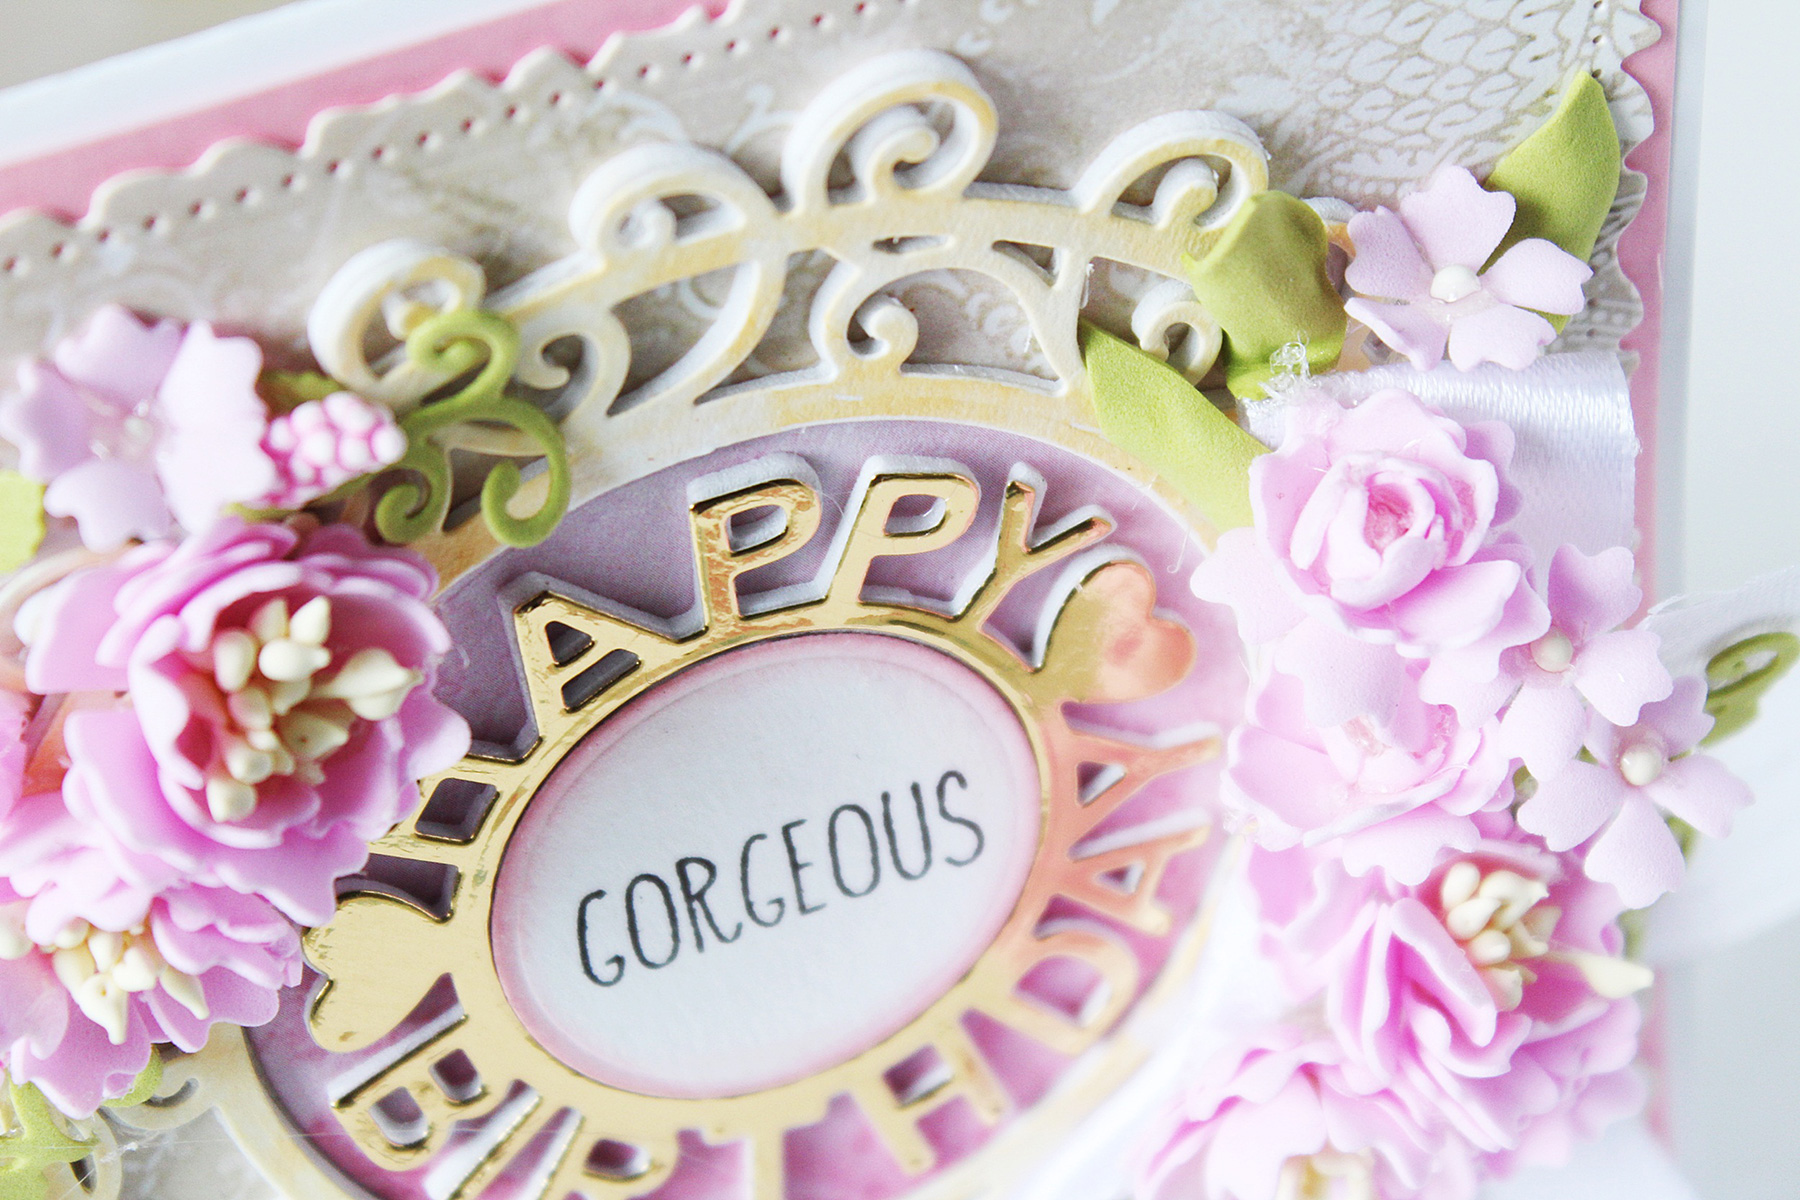
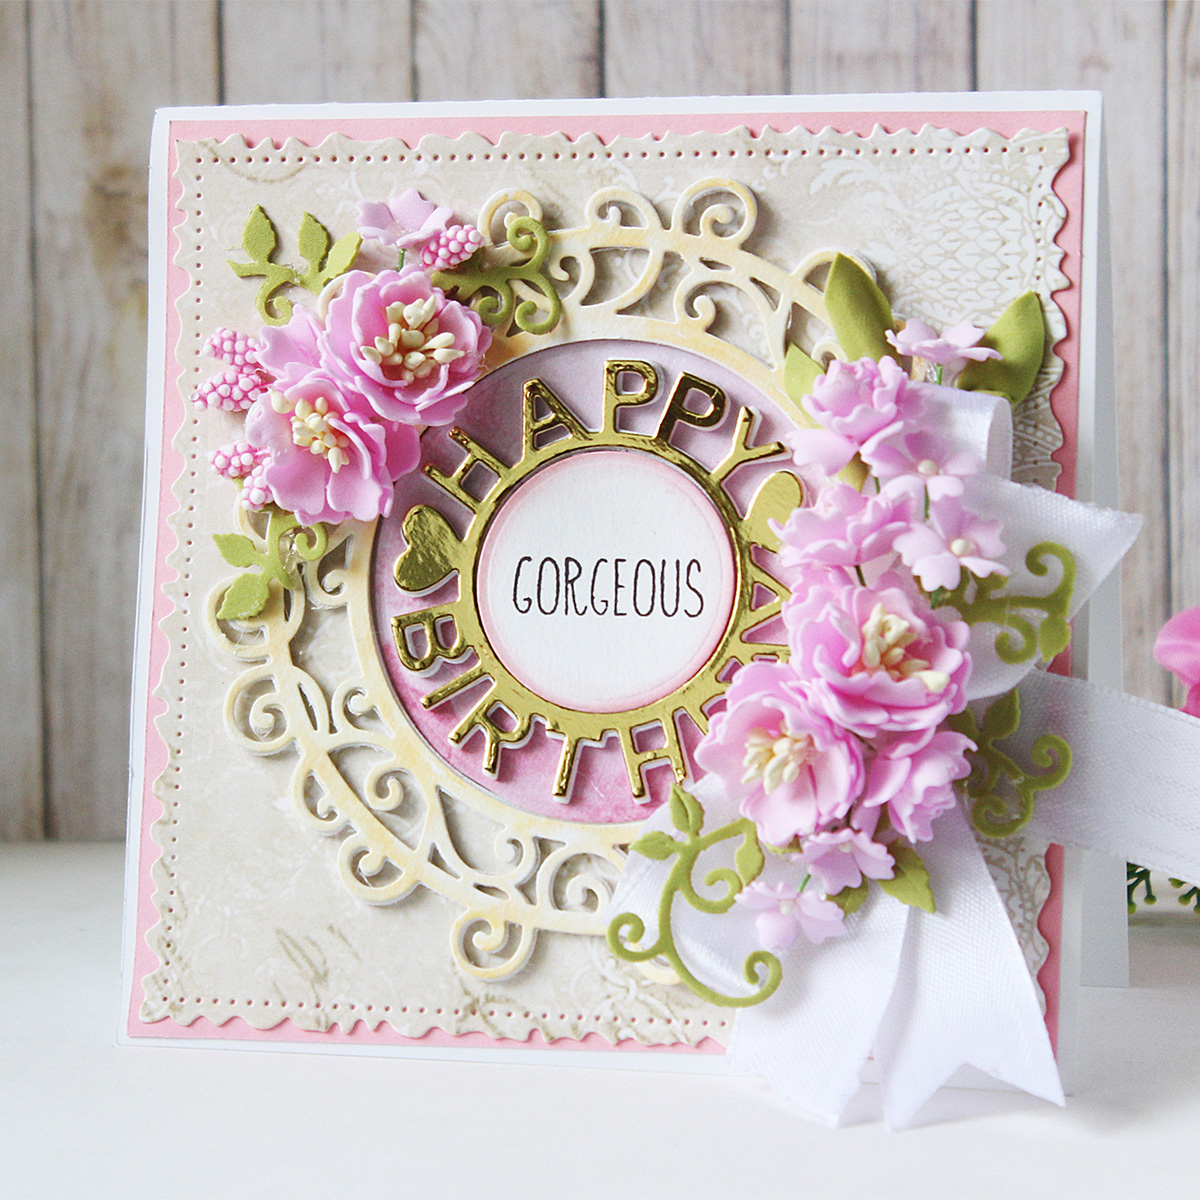
HERE. I love how there a number of different dies in this collection, and there is something for everyone! Today, I have a floral, layered card to share. Here's what I have created:
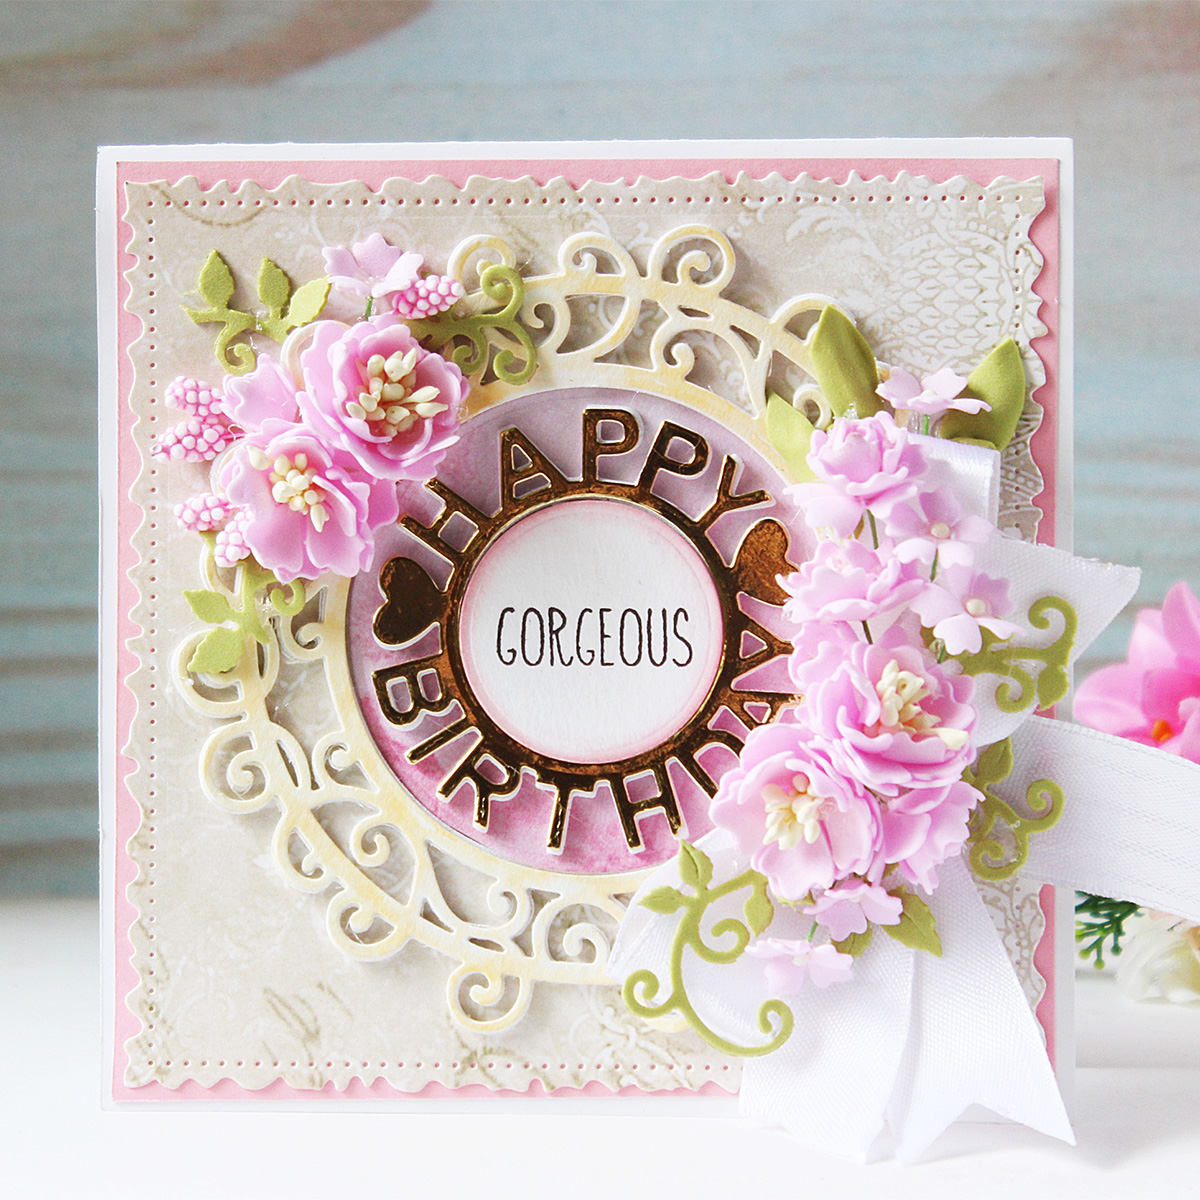
To create my card, I first took a White card base and matted some light pink cardstock over it. Once my base was ready, I started by die cutting the second largest die from the
Vintage Stitched Squares Etched die set from a light cream patterned paper. Next, using White 80 LBS cardstock, I cut out the swirl frame using the Outer Circle die from the
Miss You Swirl Etched Die set.

I wanted this frame to be dimensional, so I die cut it four-times from white cardstock, and adhered one frame on top of the other to create a thick die cut. This is a great way to create your own dimensional, die cuts if you don't have white fun foam on hand. I colored the frame using a light beige marker.

For the focal of my card, I decided to use the Happy BDay frame die from the
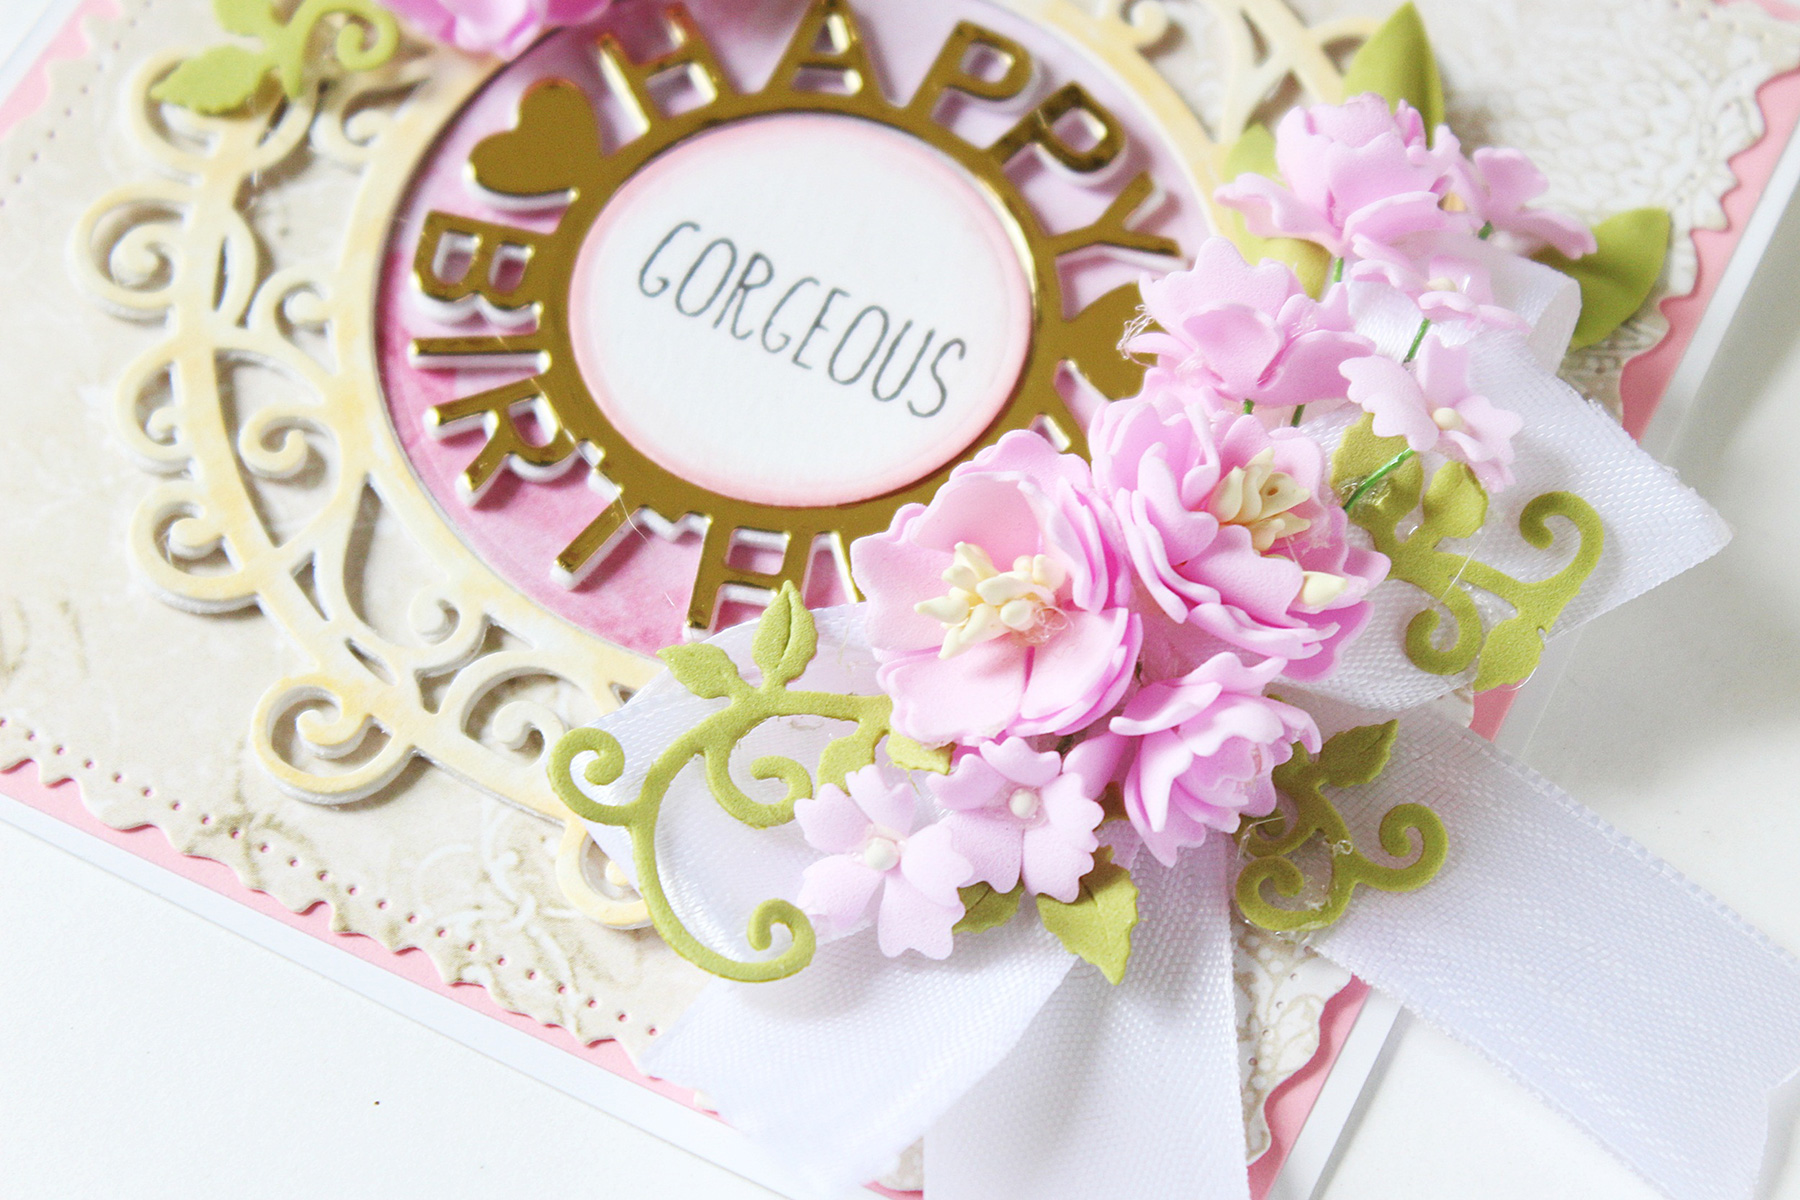
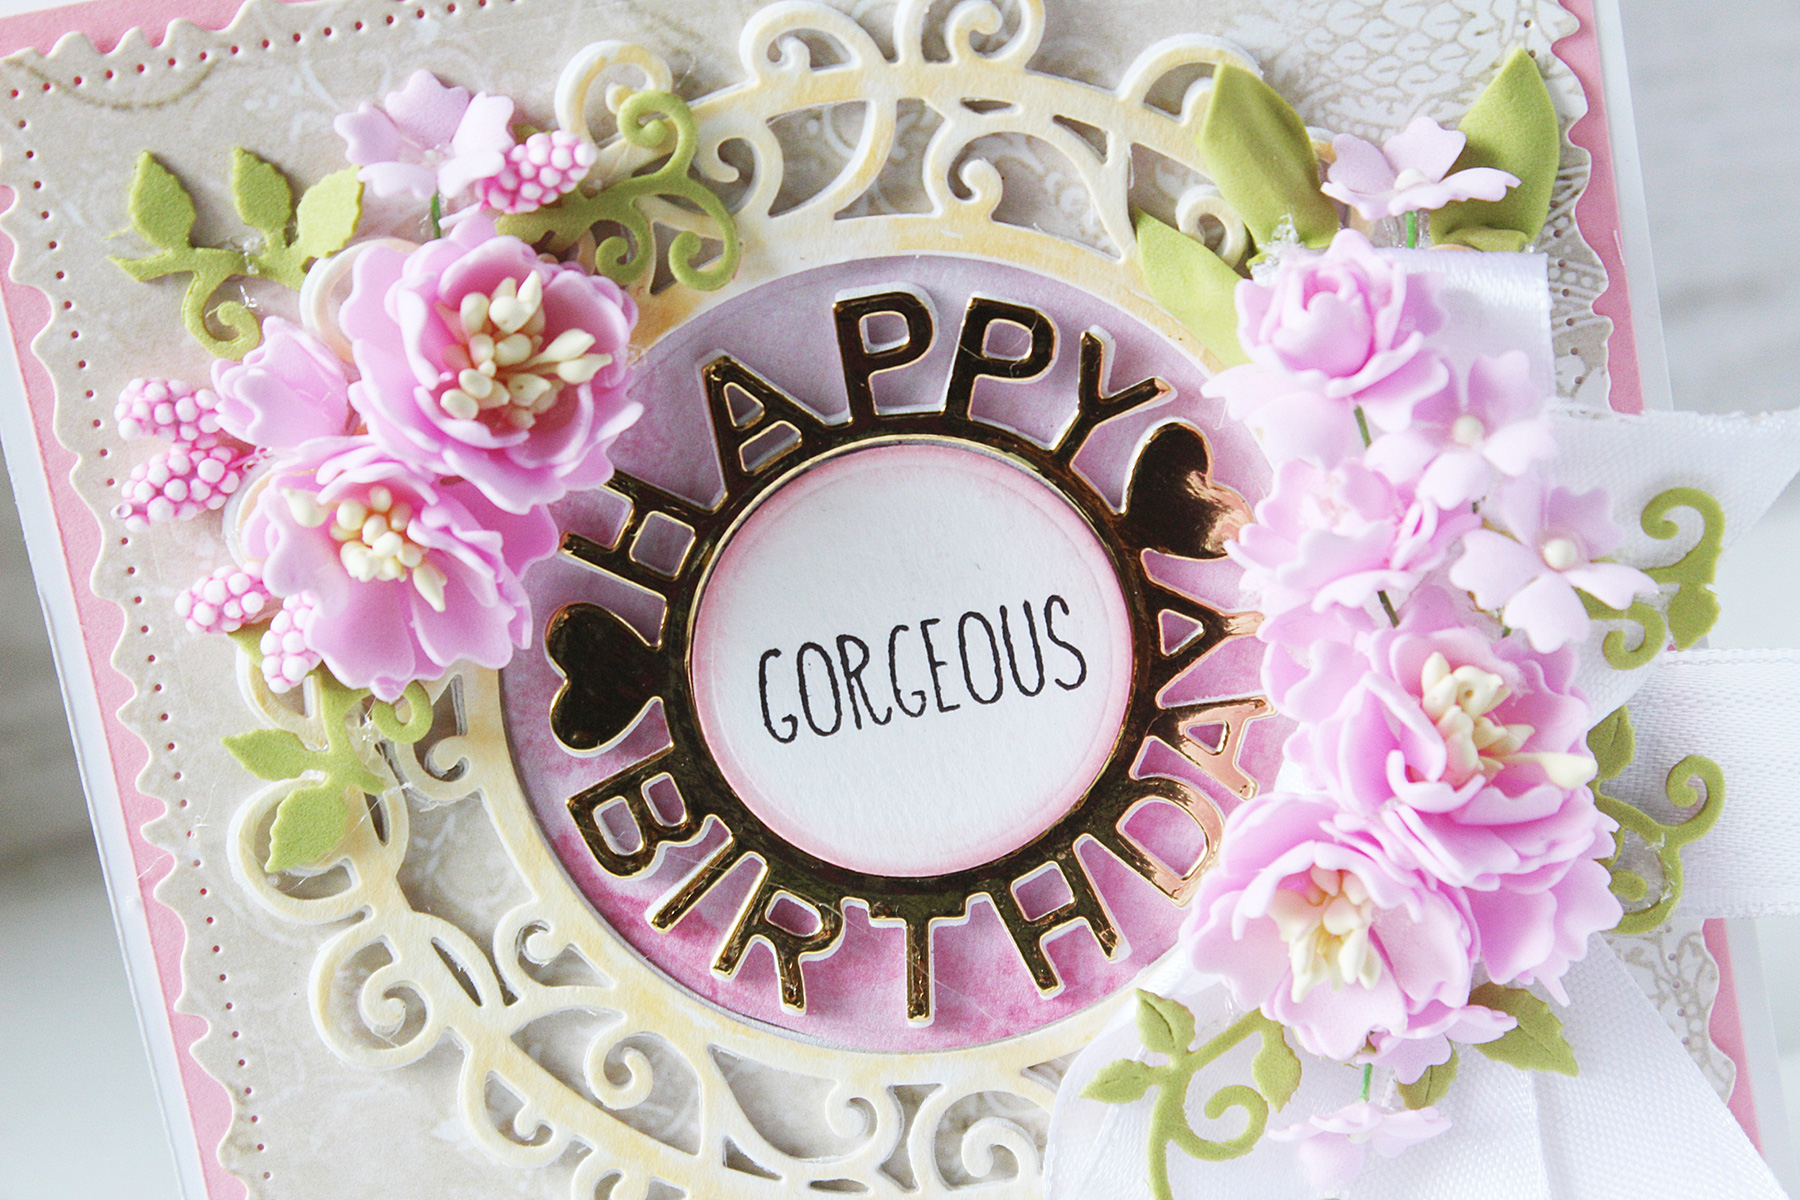
Happy Birthday W/ Numbers Etched Die set. It was cut from gold foil cardstock, and I also die cut it once from White Fun Foam so that I could pop it on my card panel. I also used the mini circle die which is included in this die set to die cut the circle and stamp my sentiment "gorgeous" on it. I lightly inked the edges of the circle with pink dye ink.

Now for my most favourite part - creating handmade flowers! I used Pink Foamiran sheets to create the flowers. I used the
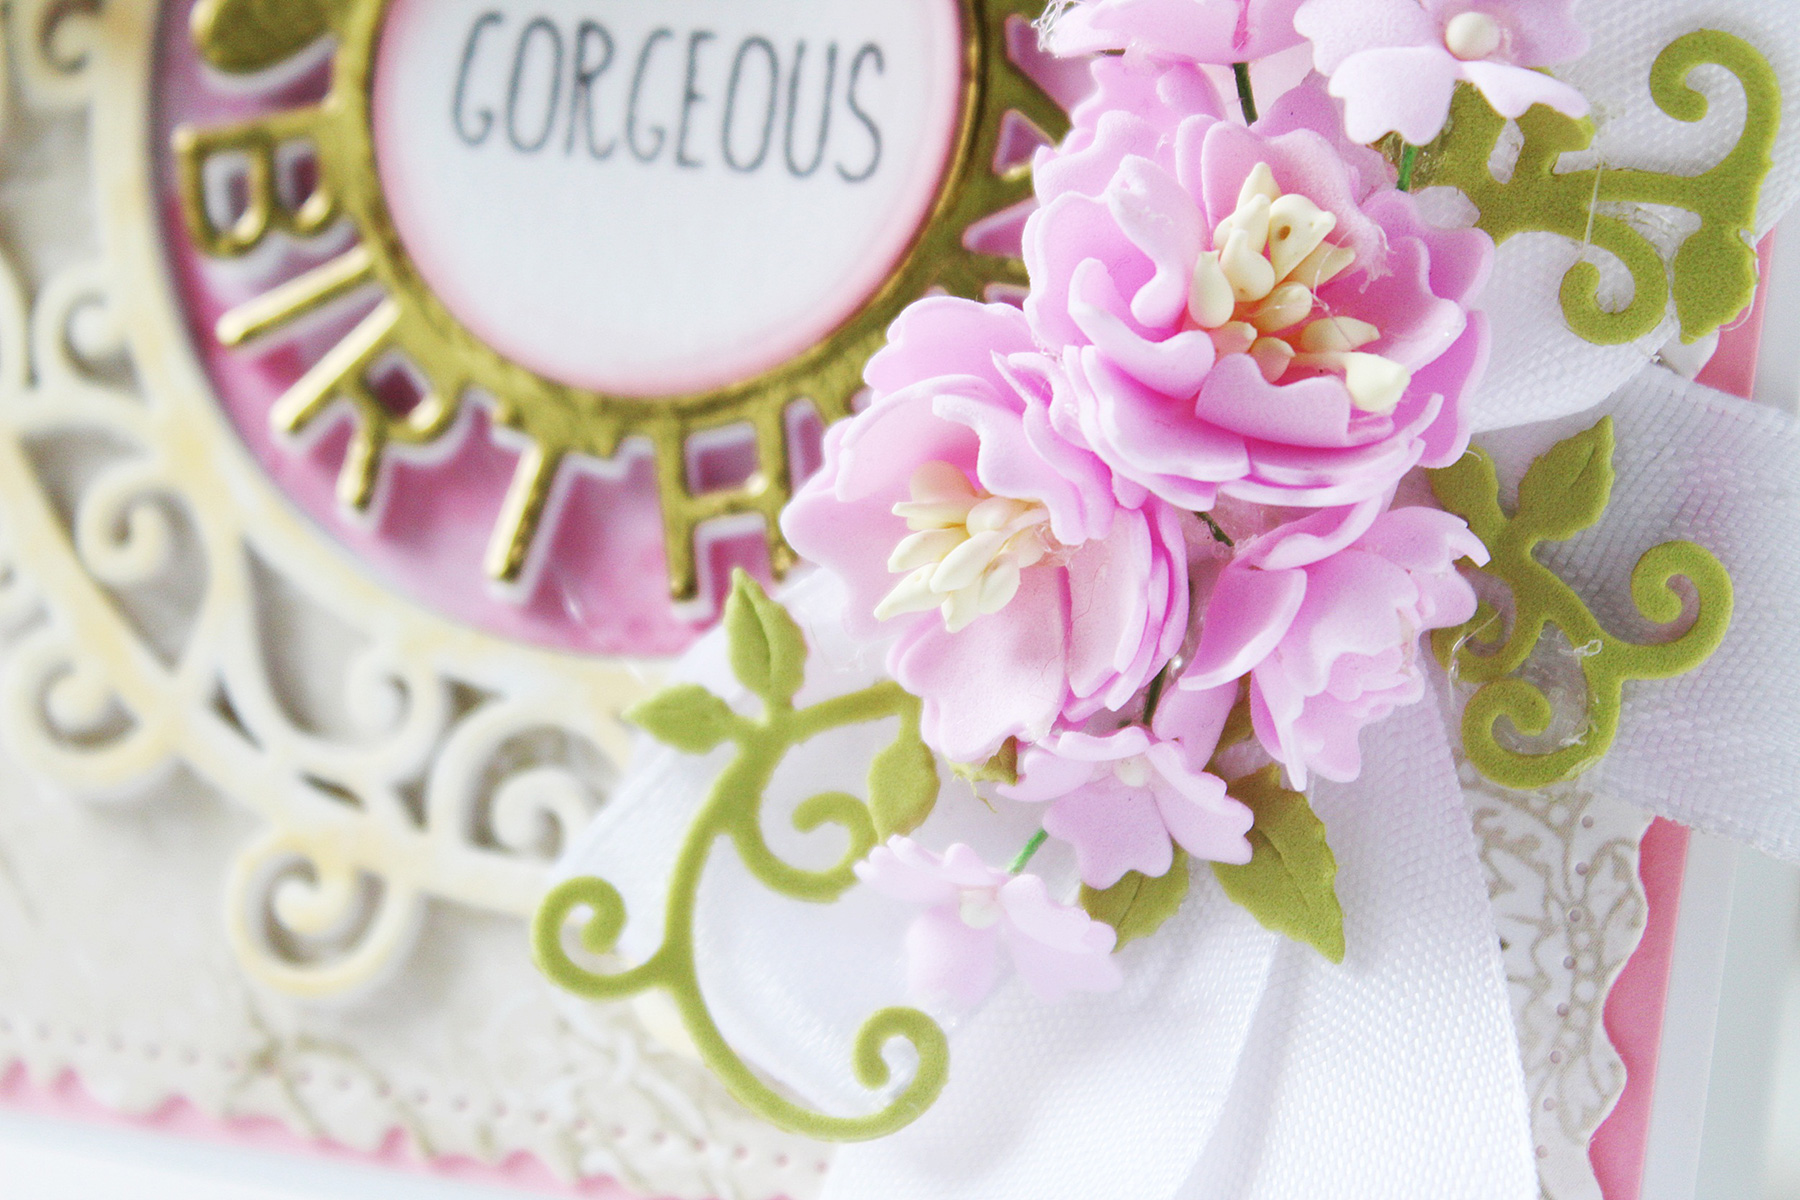
Floral Oval Etched Die set to die cut my flowers. I added cream thread pollens in the centre of the flowers to give them a fuller look. For the leaves and foliage, I used the flower crescent die from the same die set. I die cut the leaves from Olive Foamiran to match with my pink flowers.

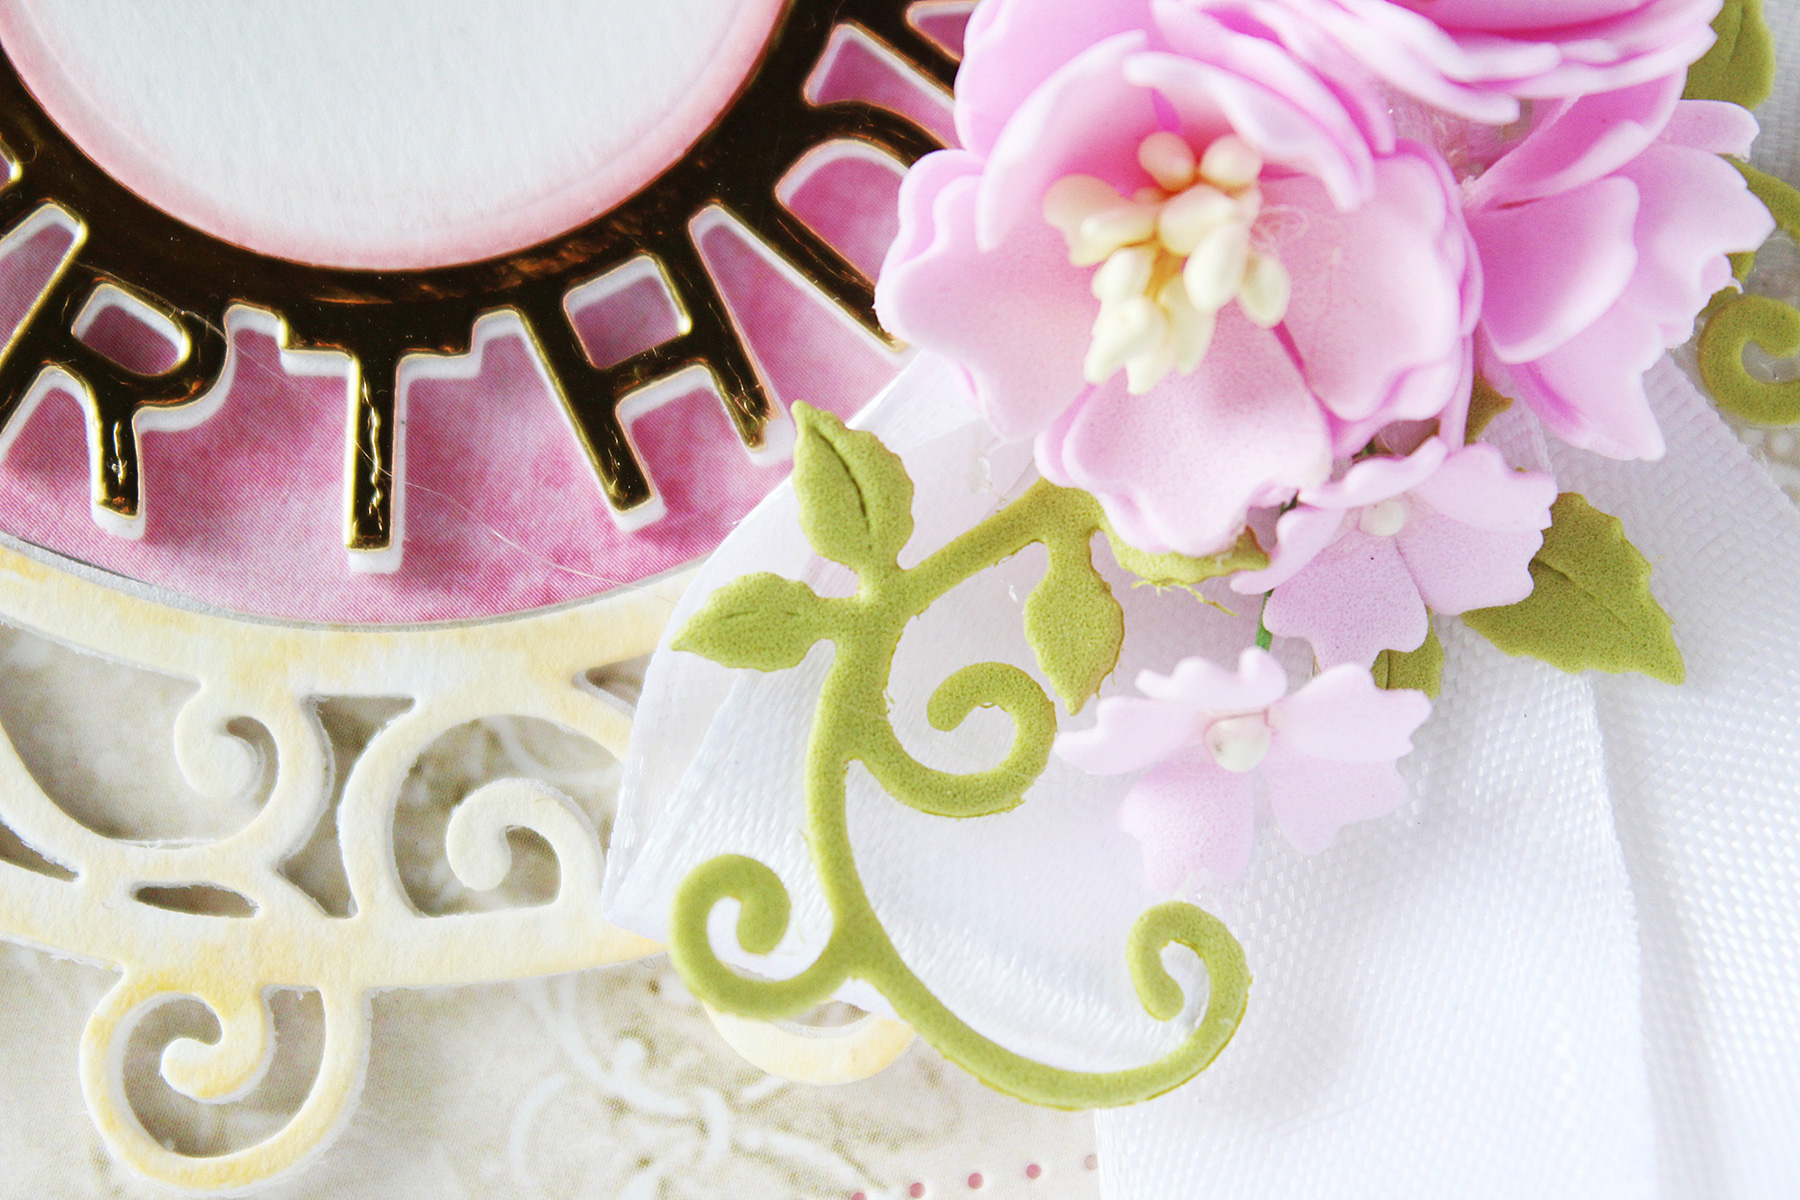
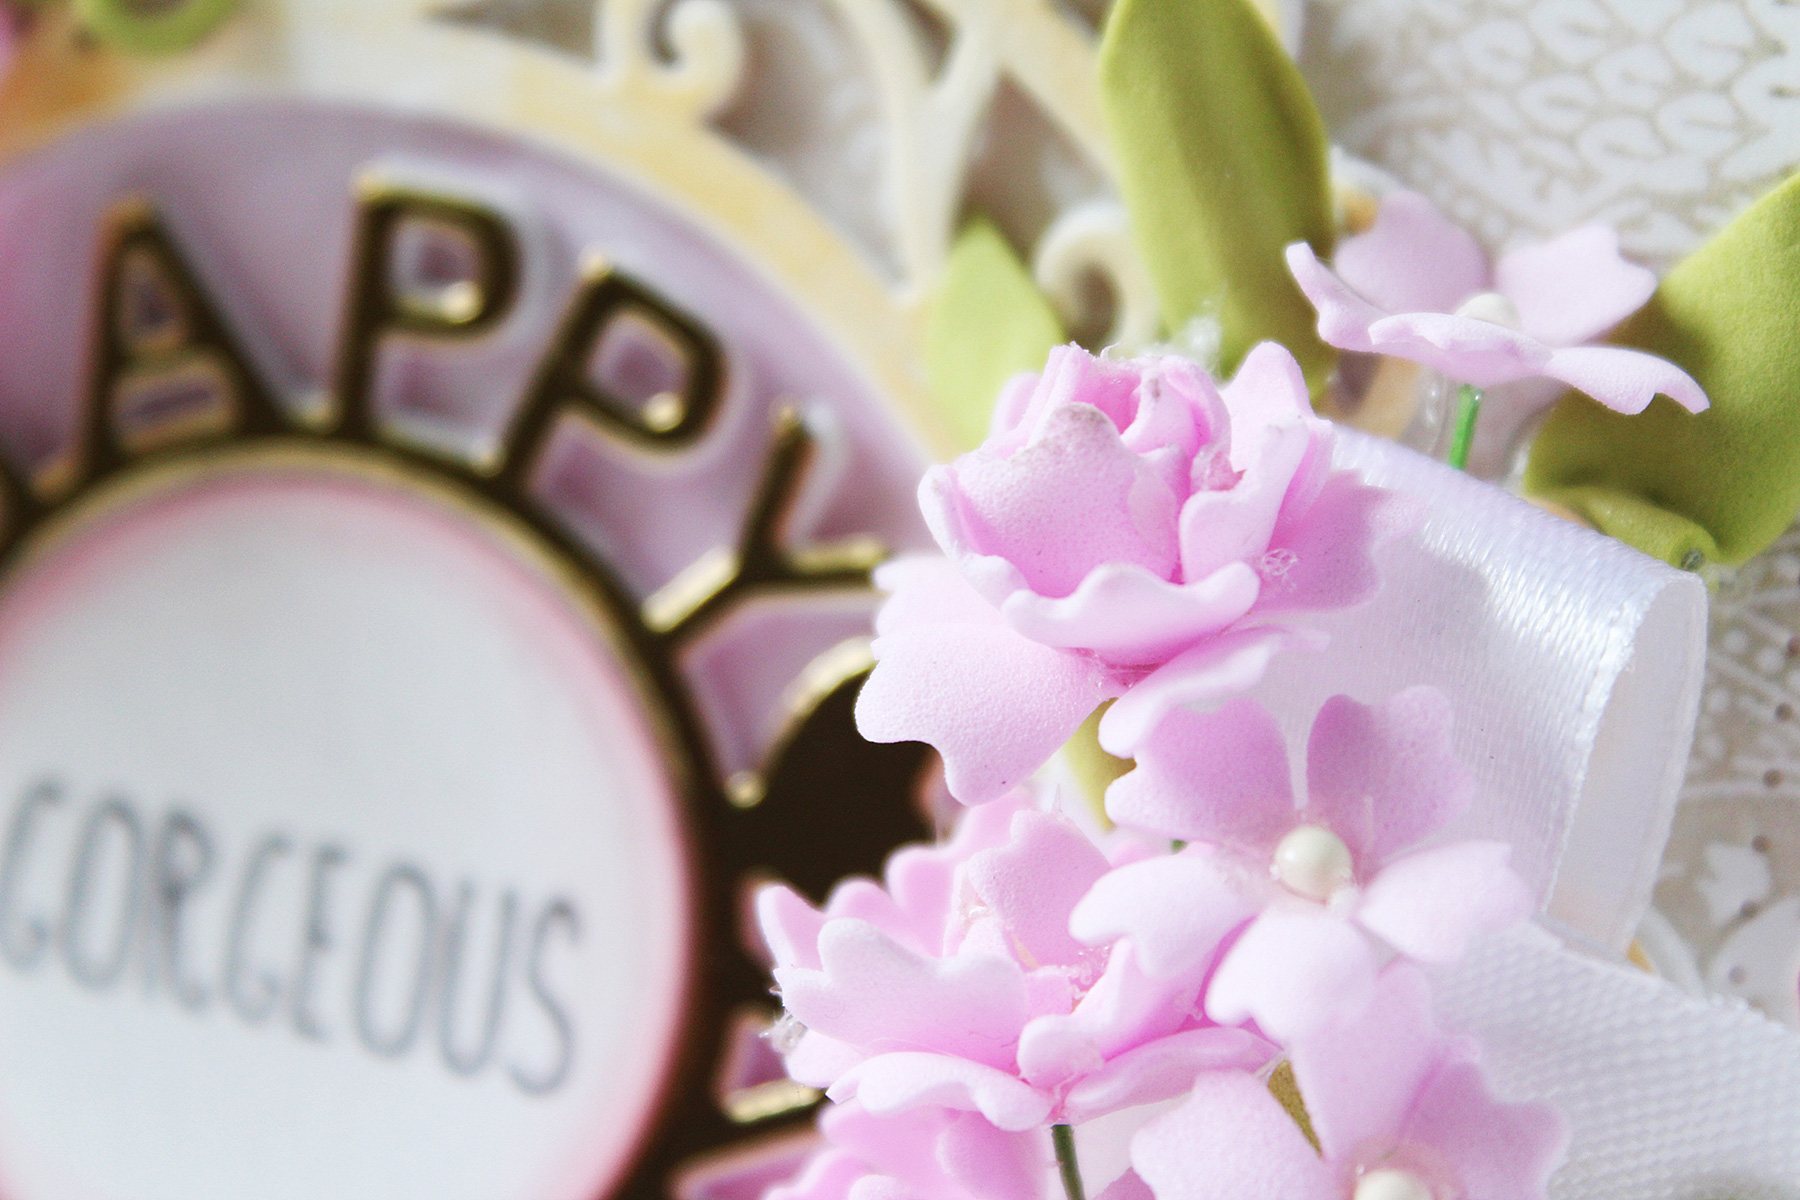
I also created a small flower cluster on the other side of my card. I added a huge White Satin Bow over which I have adhered my flowers and leaves. I also added some of my handmade mini filler flowers here and there.

Here's a closer look at one of the flowers.

And here are the fillers. Please excuse the Hot Glue Gun strings which seem to be all over the place. I forgot to remove them from my card before photographing.

A flat-lay close up of the arrangement. You can see the gold foil sentiment in its full glory here. :)

And here's my card. I hope you like it!

Spellbinders Supplies:
Other Supplies:
Neenah Solar White 110 LB cardstock, White 80 LBS Cardstock Sheets, Gold Foil Cardstock, Papericious The Wedding 12" X 12" Patterned Paper, Pink Foamiran Sheets, Olive Foamiran Sheets; Adhesive: 3D Foam Squares, Tombow Mono Multi Liquid Glue, Double Sided Foam Tape, Hot Glue Gun; Stamps, Dye Inks, Versafine Onyx Black ink pad; Tombow Dual Brush Pen Set: 10 Pastel; Embellishments: White Satin Ribbon, Pink Fillers, Pollens
Thank you so much, for taking out time and reading my post. If you liked my card, please do leave me a comment below.
Have a nice day everyone!