


Posted by Spellbinders Team
on June 02, 2019

Hi, it’s Mona Toth here, with a step by step face coloring photo tutorial. In this post I am featuring the newest products by Jane Davenport. I hope you will enjoy my post. Let's see my creations.
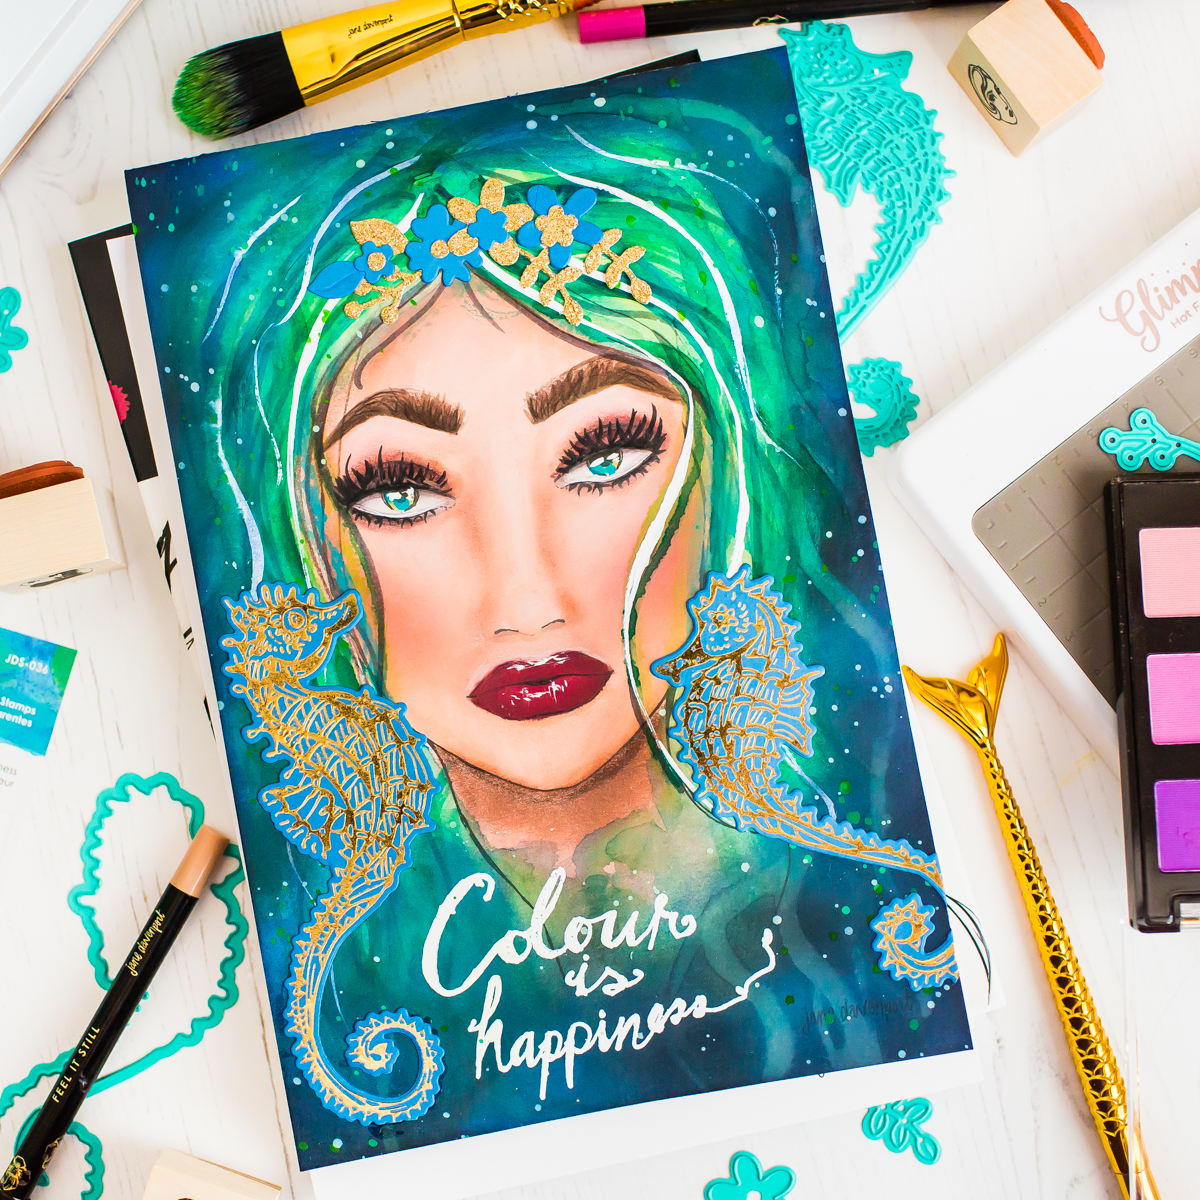
Step By Step Instructions:
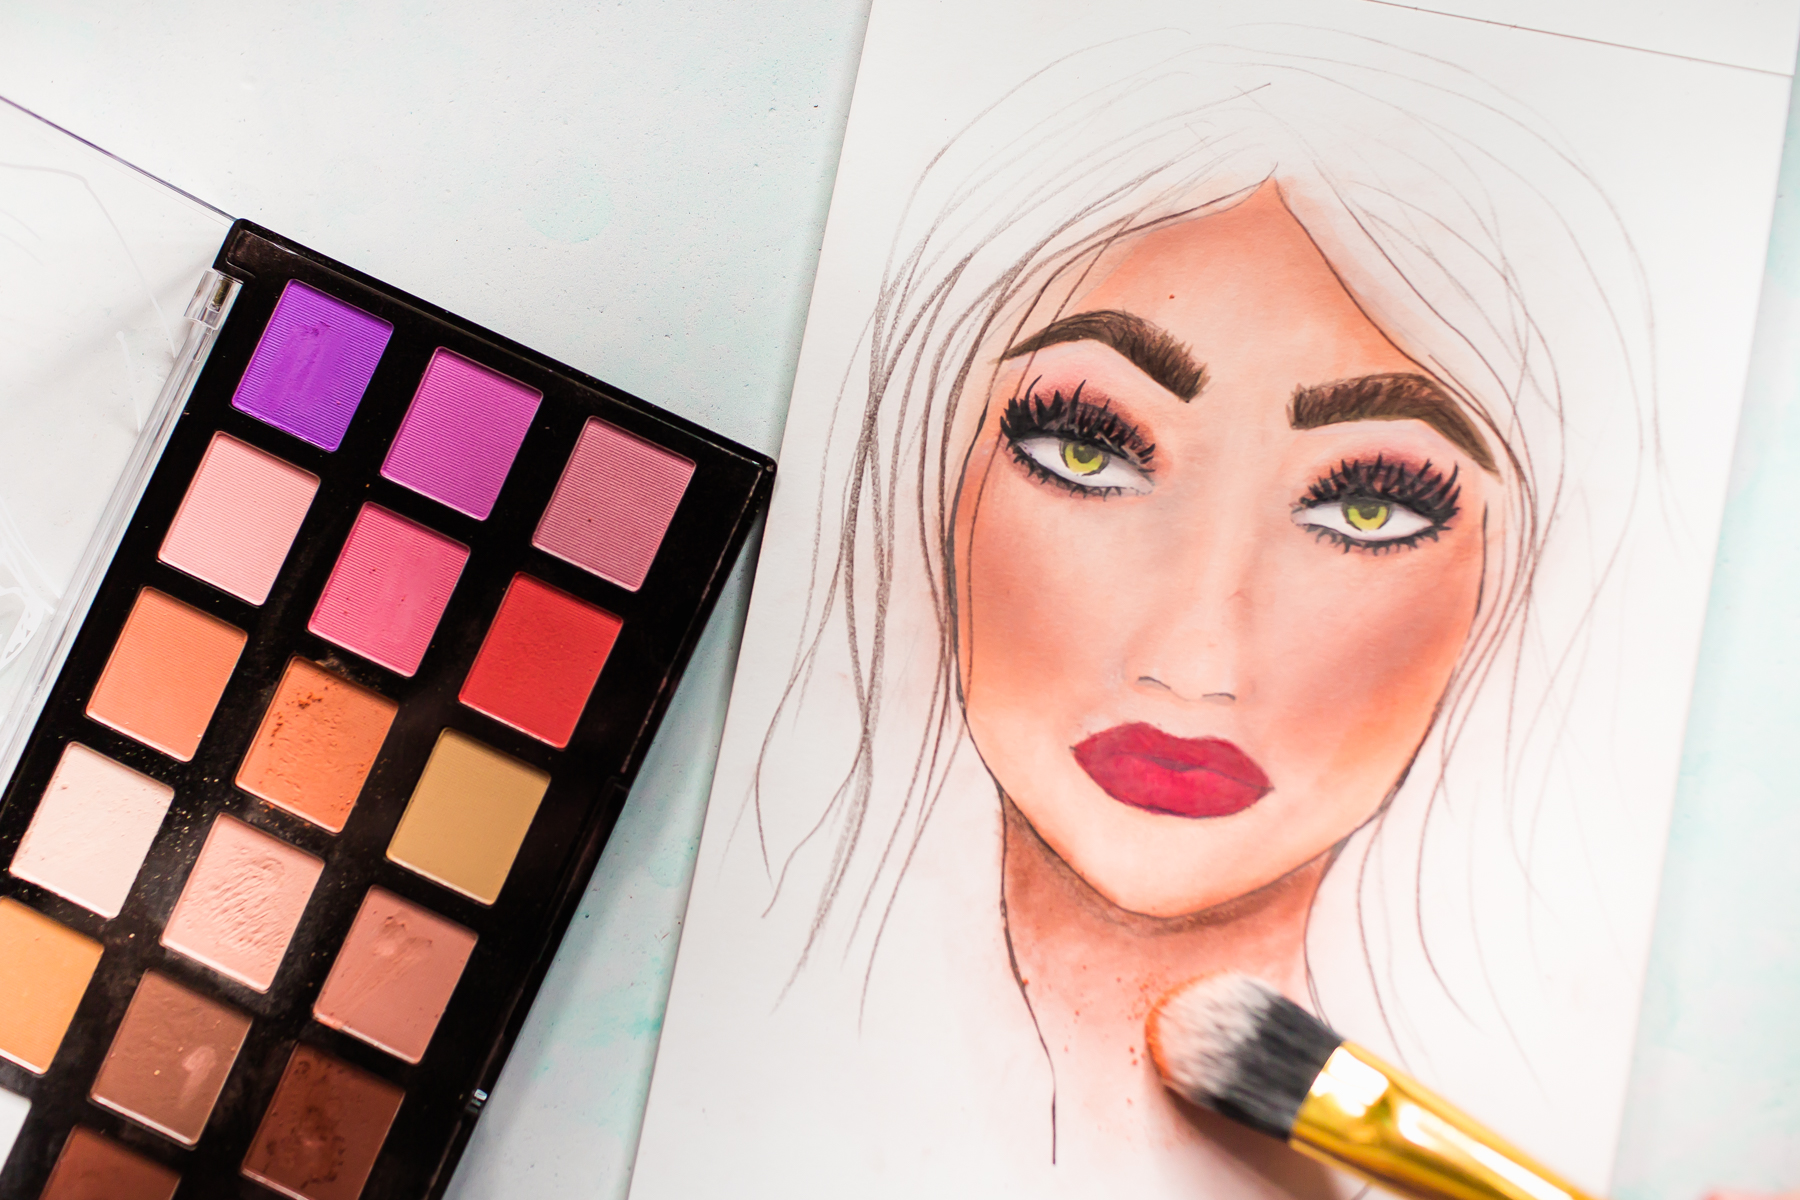
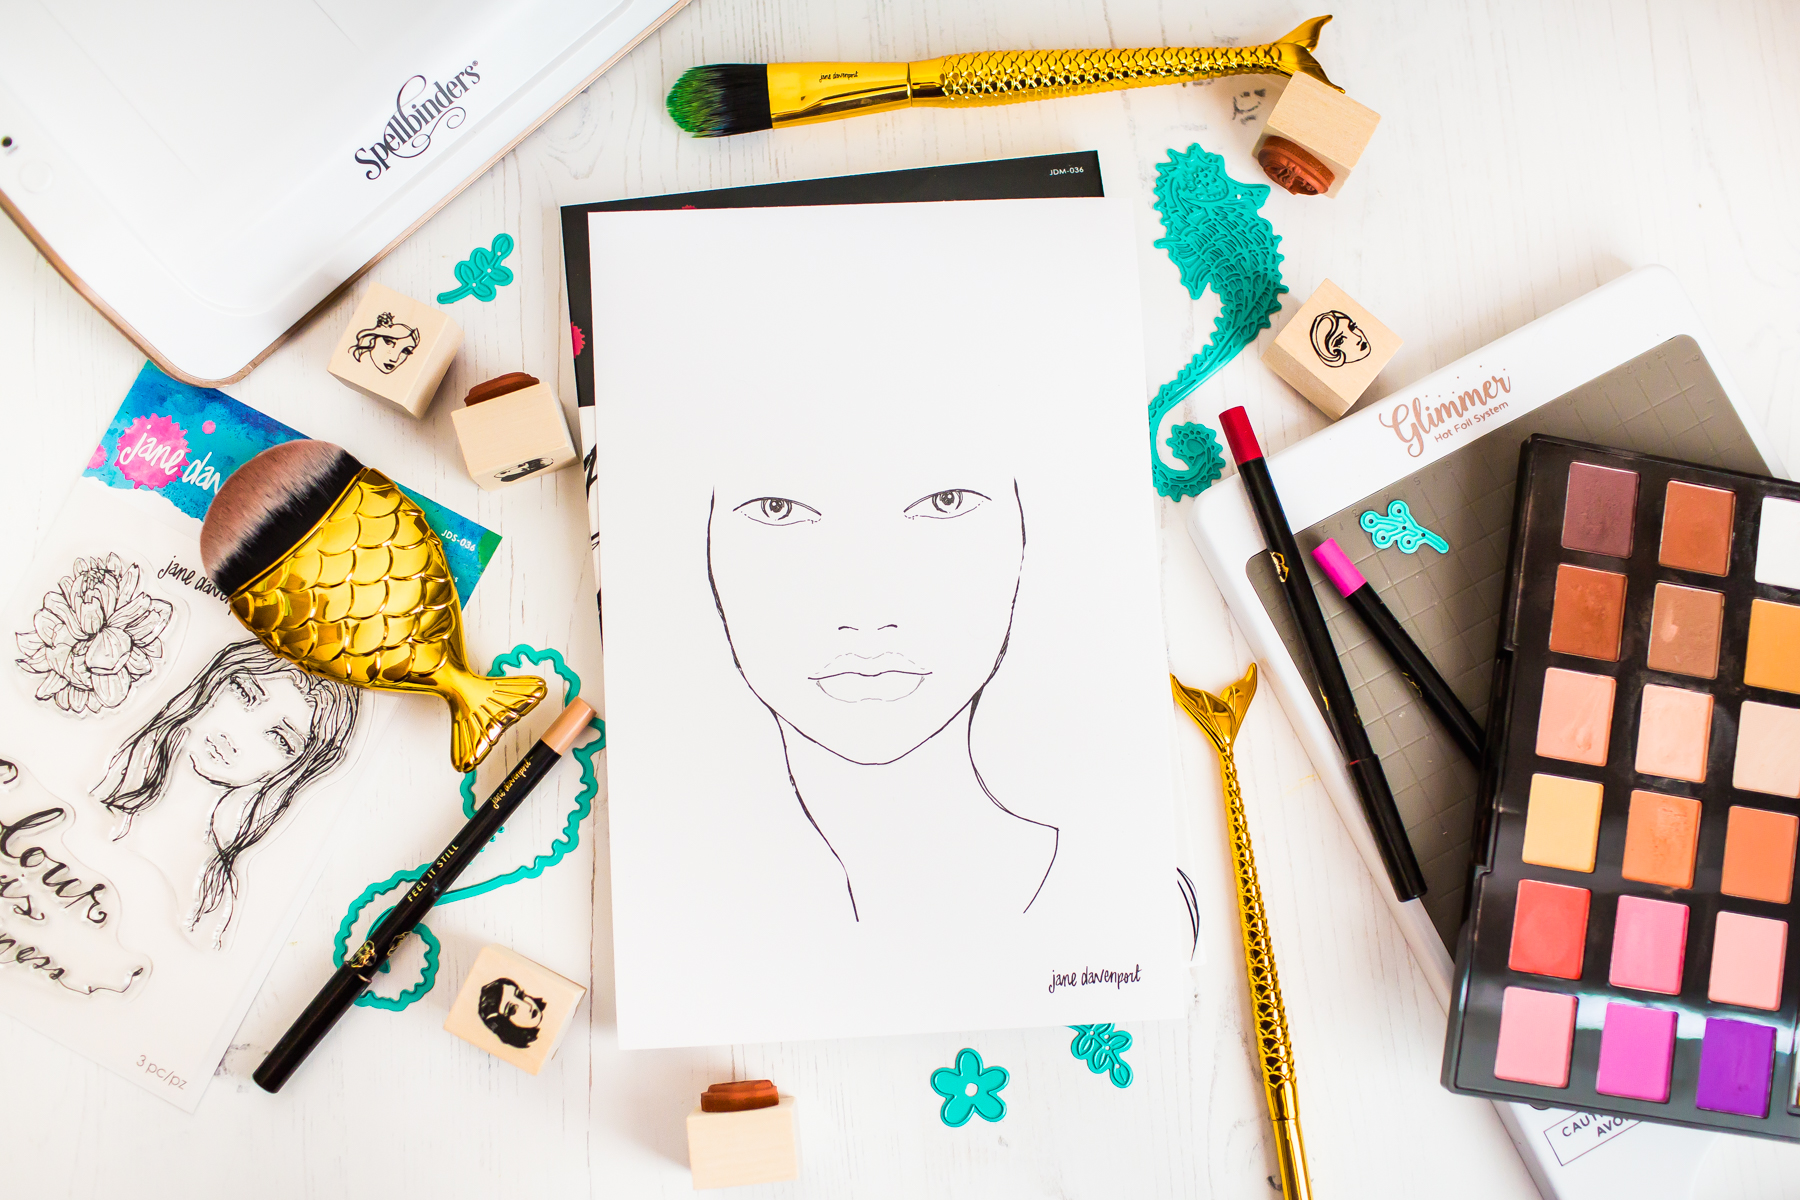
Check out the step by step instructions below for this project. Click images to enlarge.- I prepared the face chart layout with sketch detailing.

- I made tone mapping with Smooth Markers. This will help me where to contour and where to highlight.
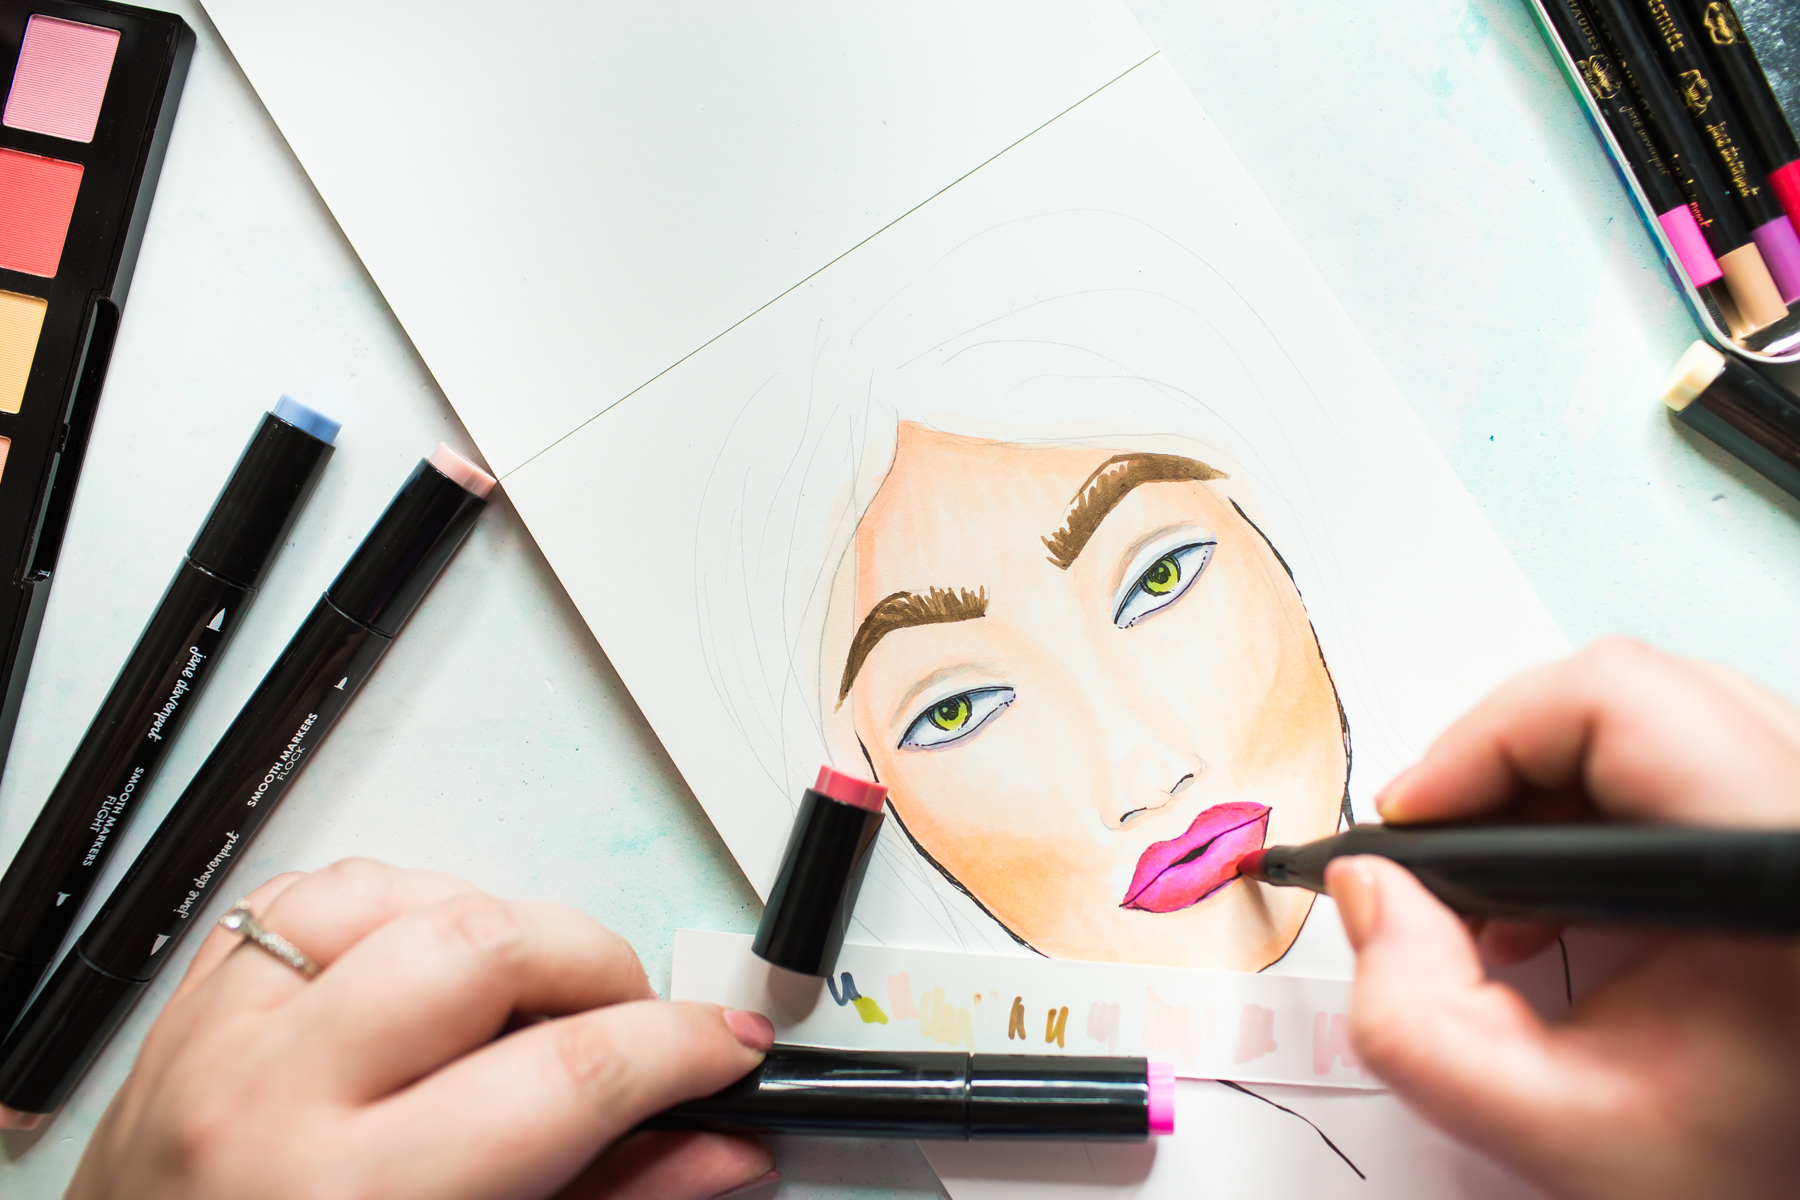
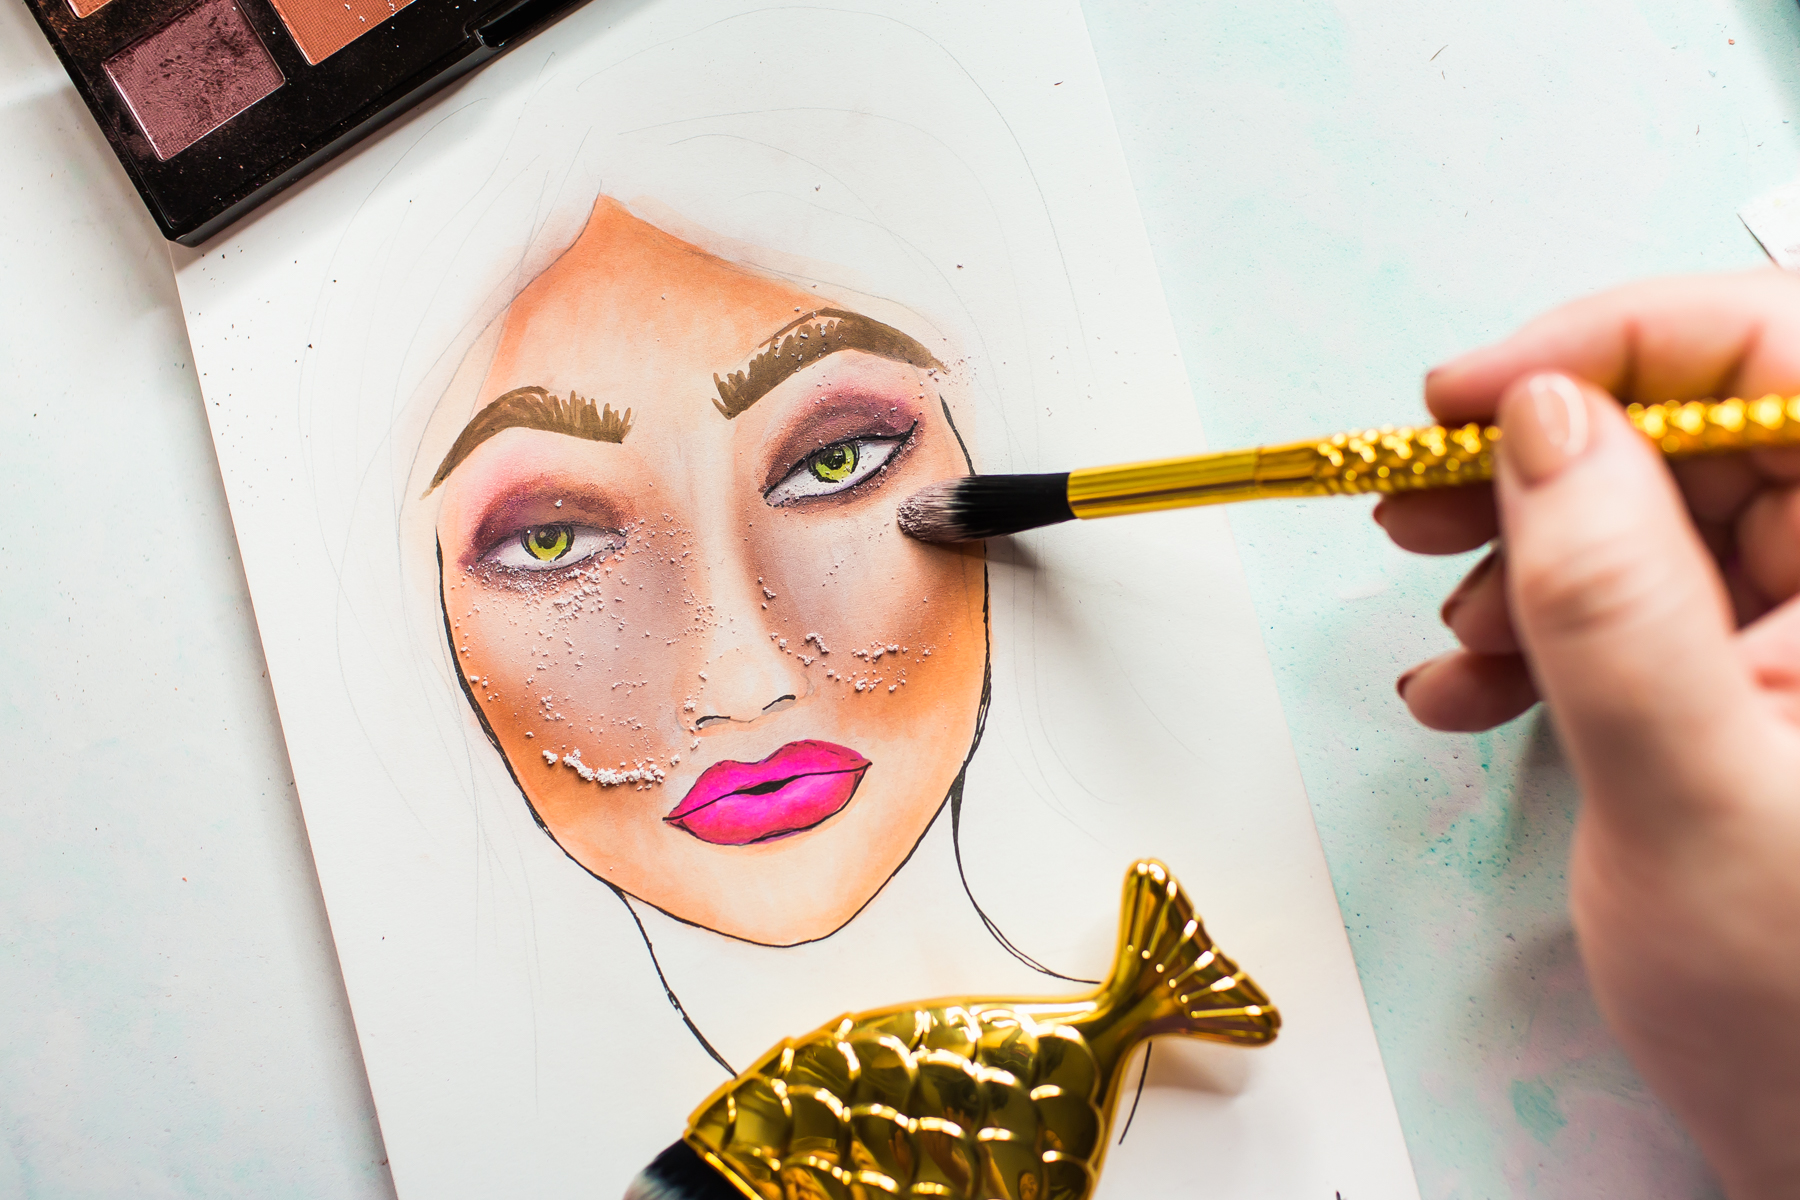
- I colored the eyes and the full face with Palette Pastel paints. These makeup inspired colors are easy to use. If you want to apply an intensive coat, "paint" with your fingers, but if you want to make nice and smooth blending then use the Mermalicious Brush Set.


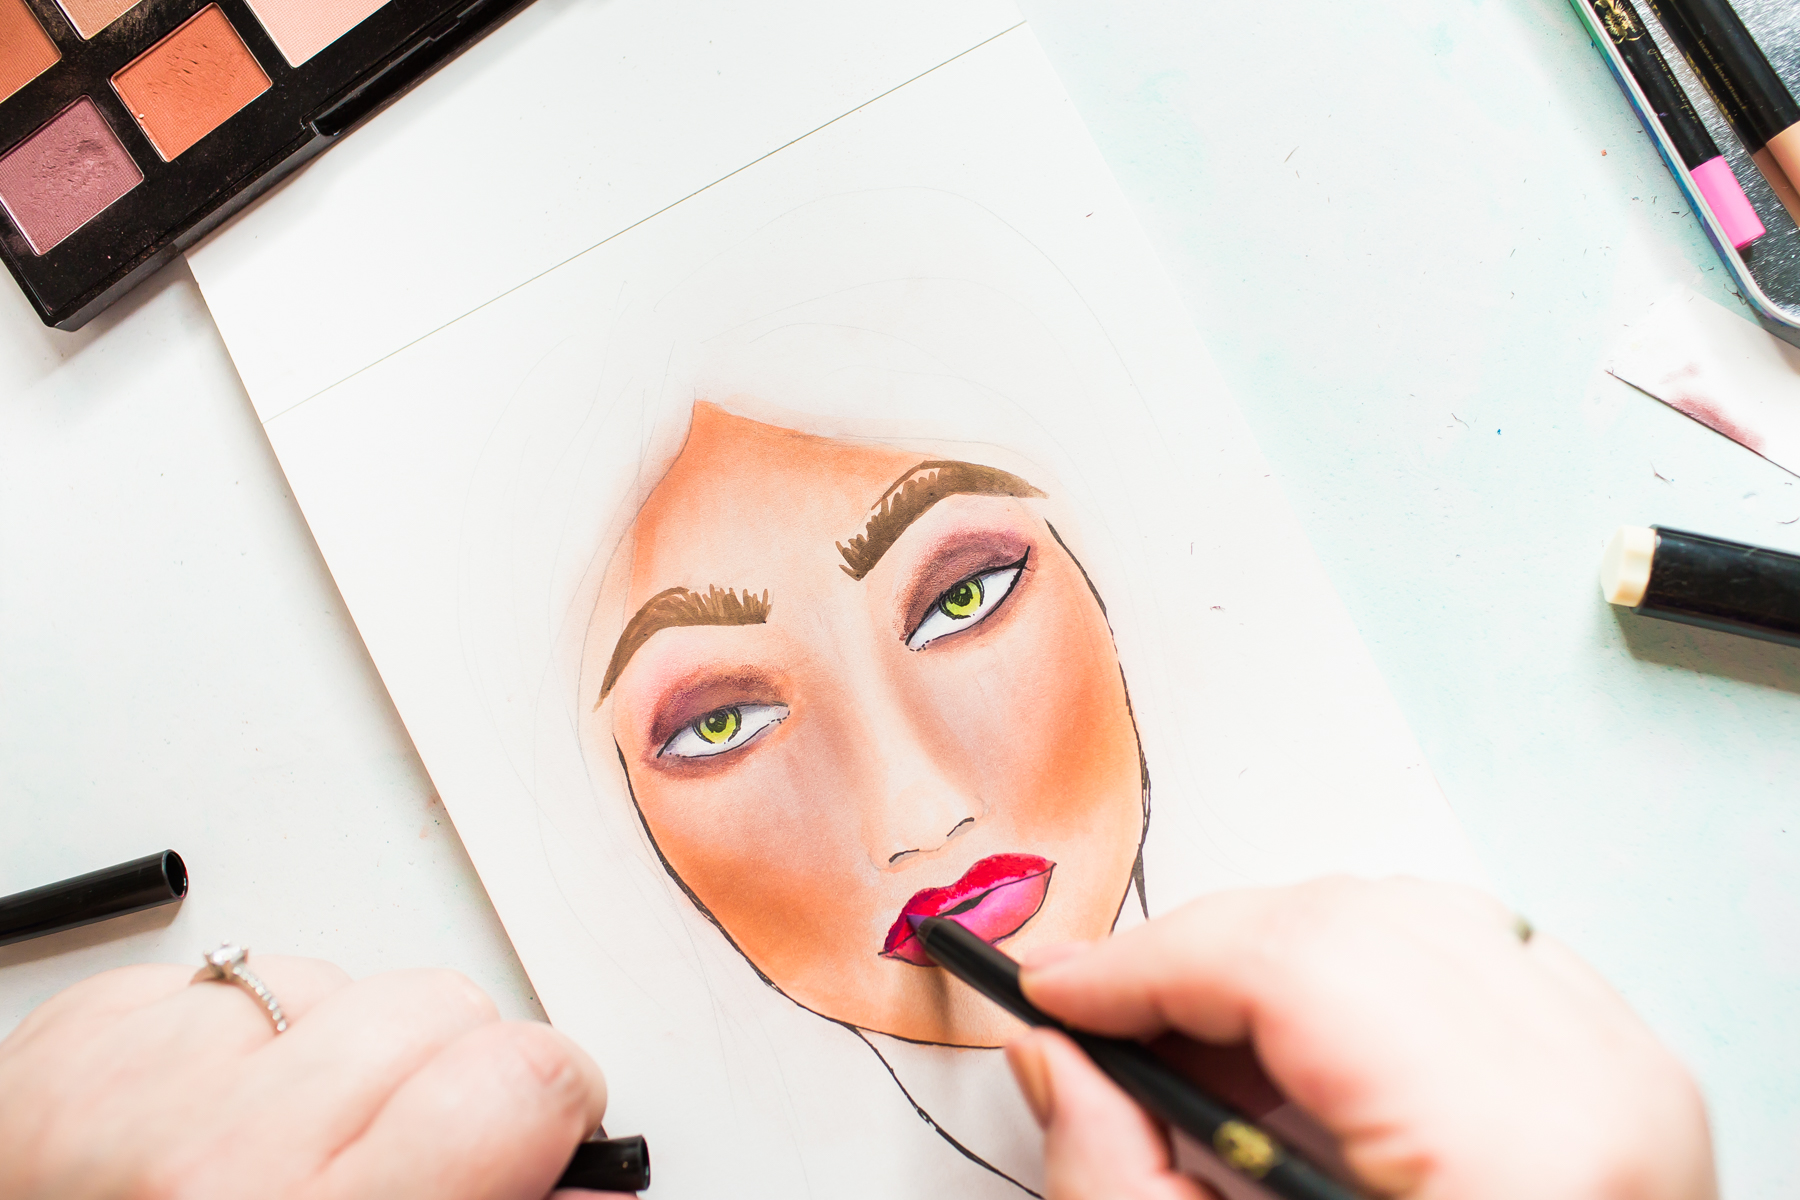
- Finished the makeup look with Dramasticks. I used them as lipstick and eye camouflage.
- Next, I added details to the eyes and eyebrows with alcohol markers and colored pencils.
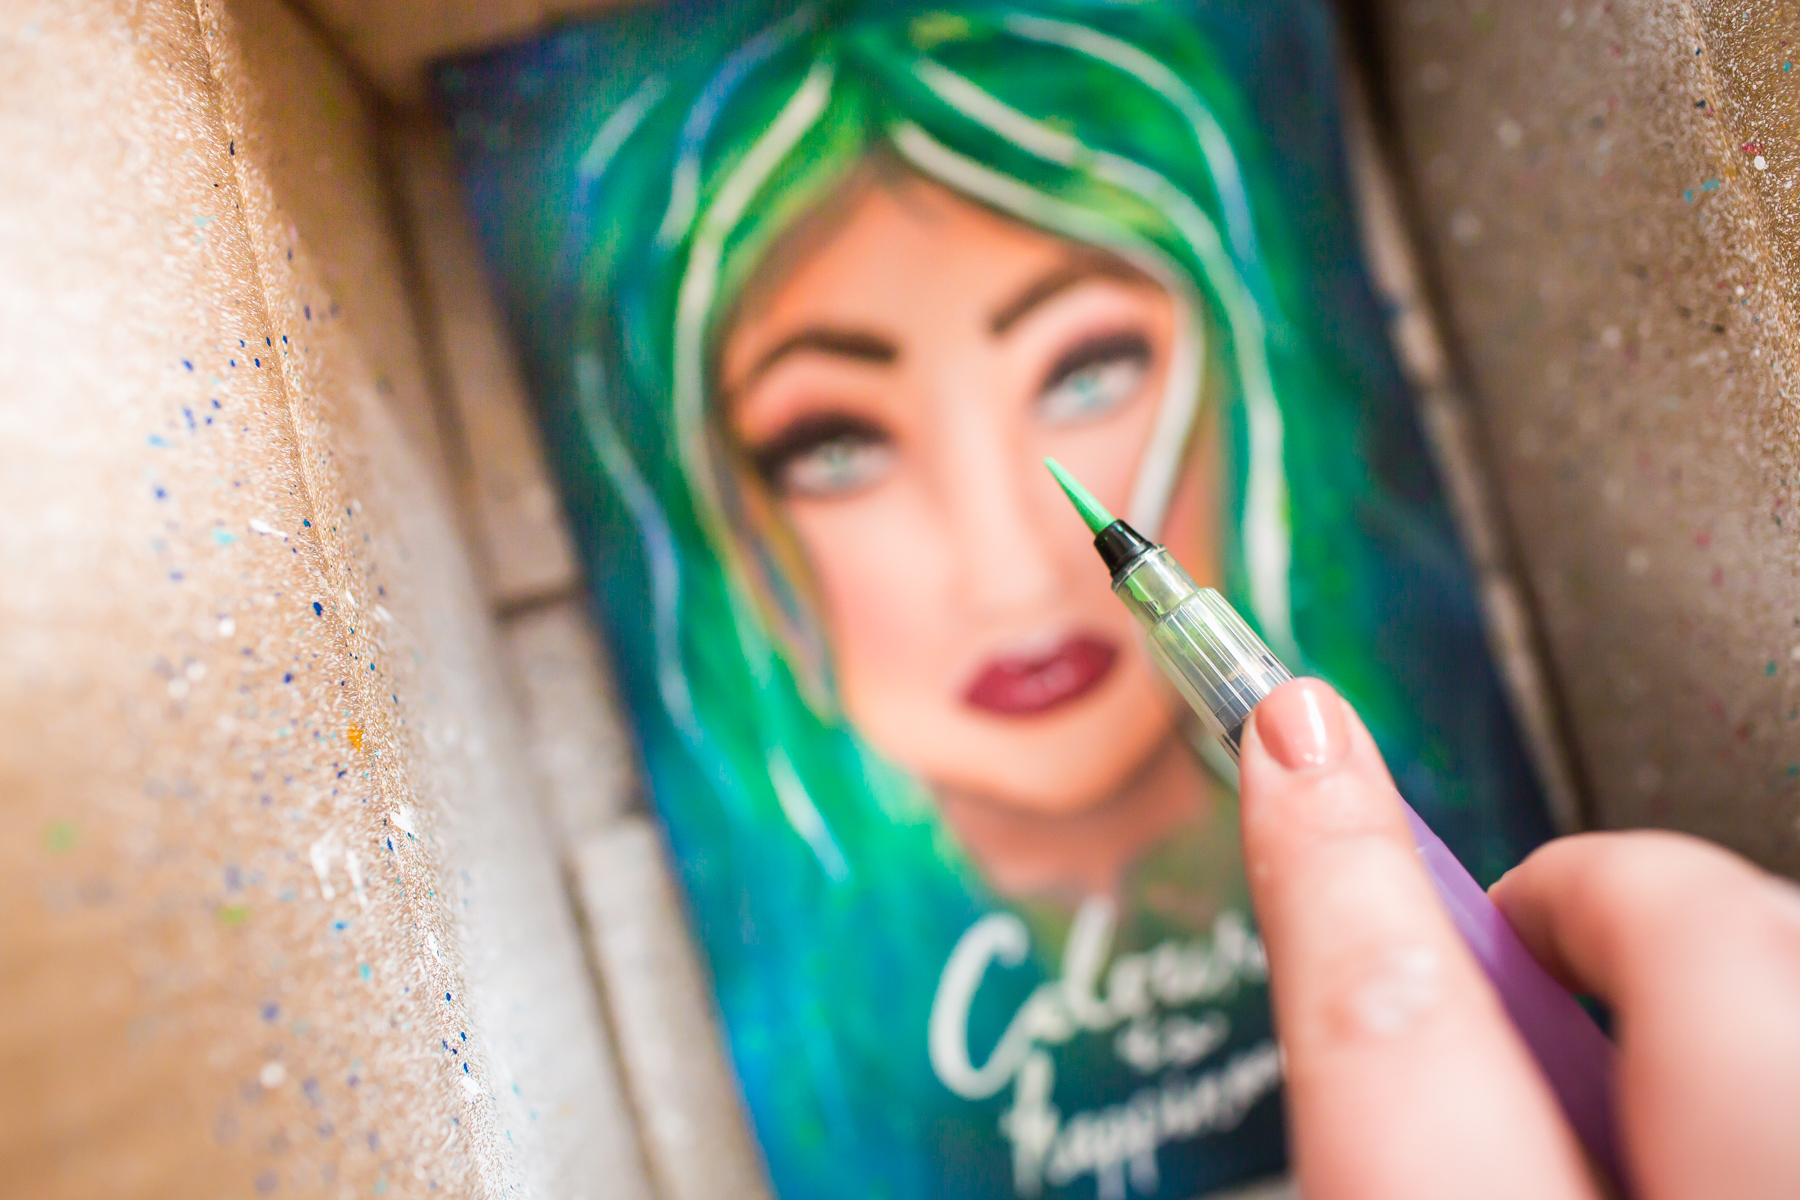
- Next, I made water coloring on the page. I used green, blue and teal colors. Then I made highlight detailing with white paint.

- After a quick ink blending I added watercolor splatters to the image.
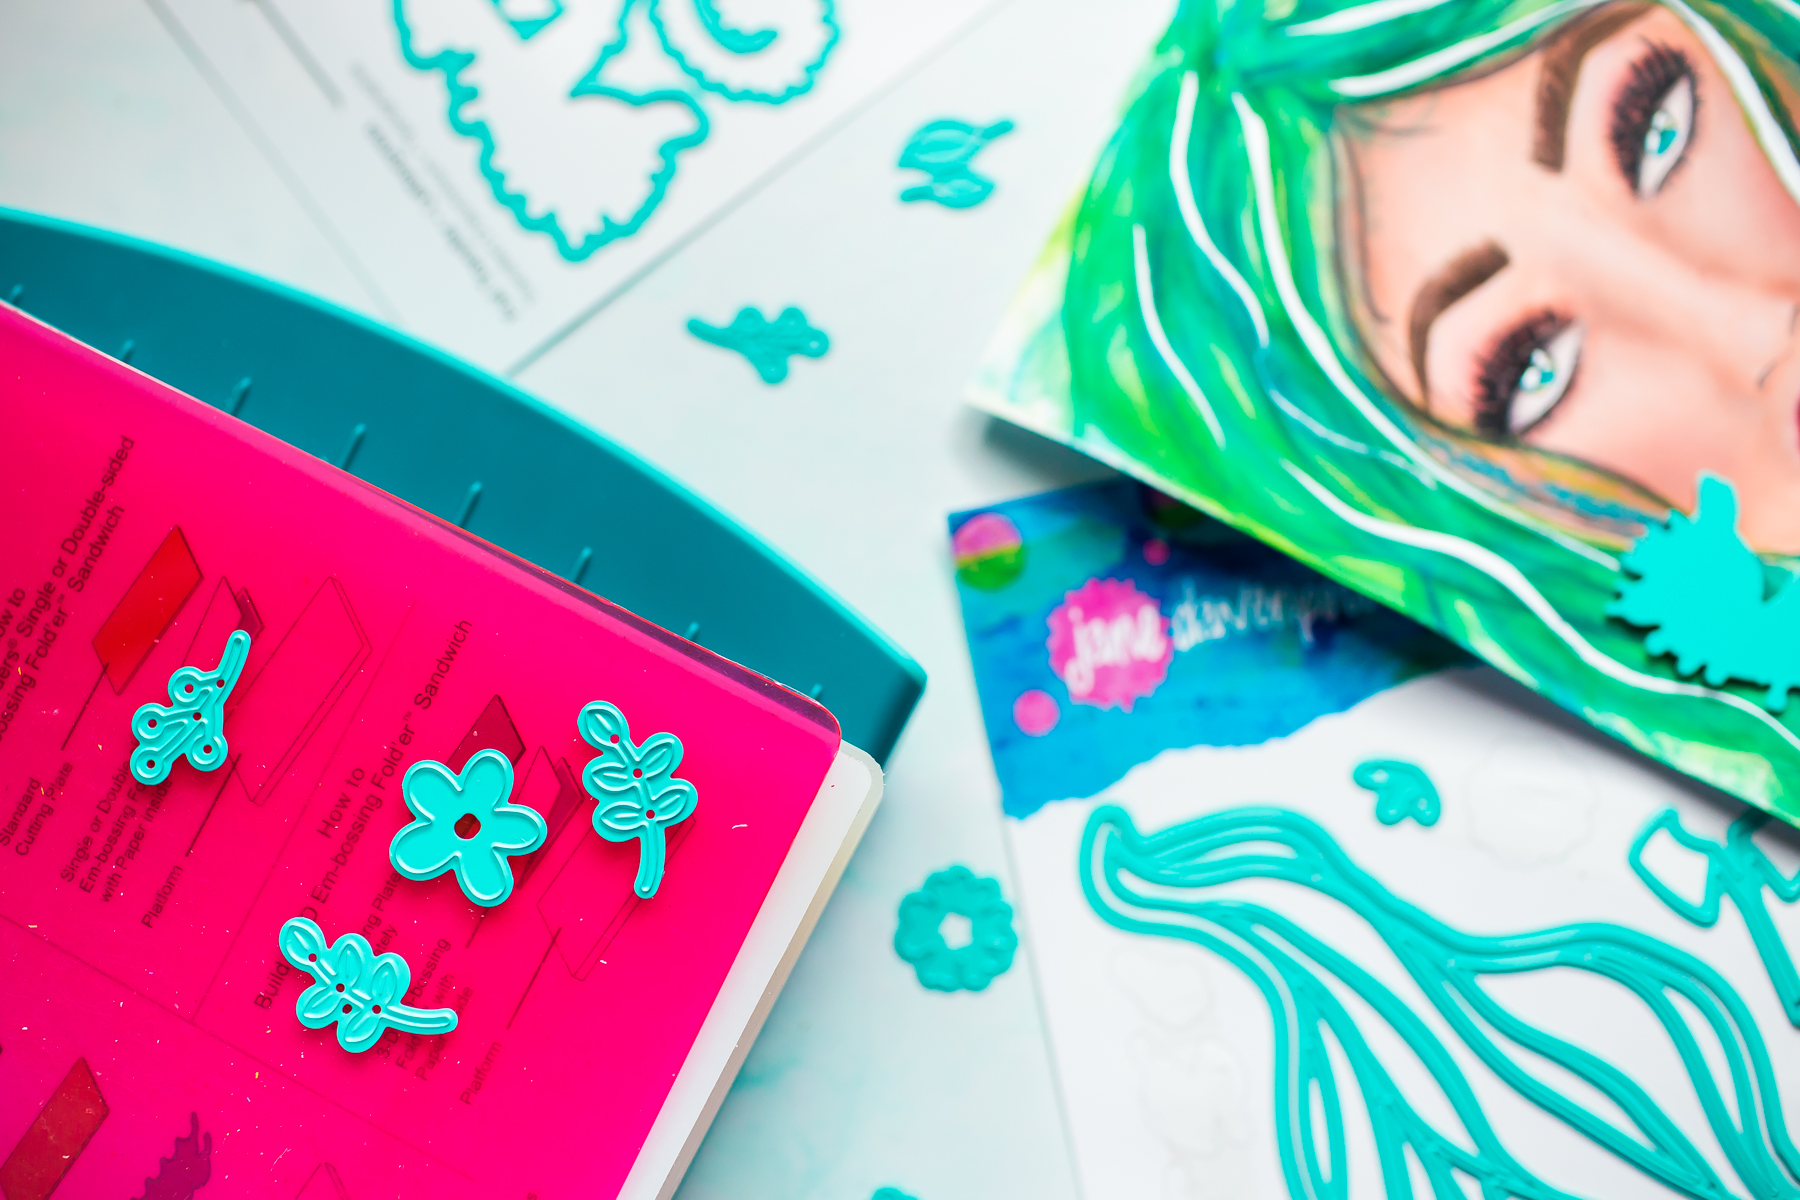
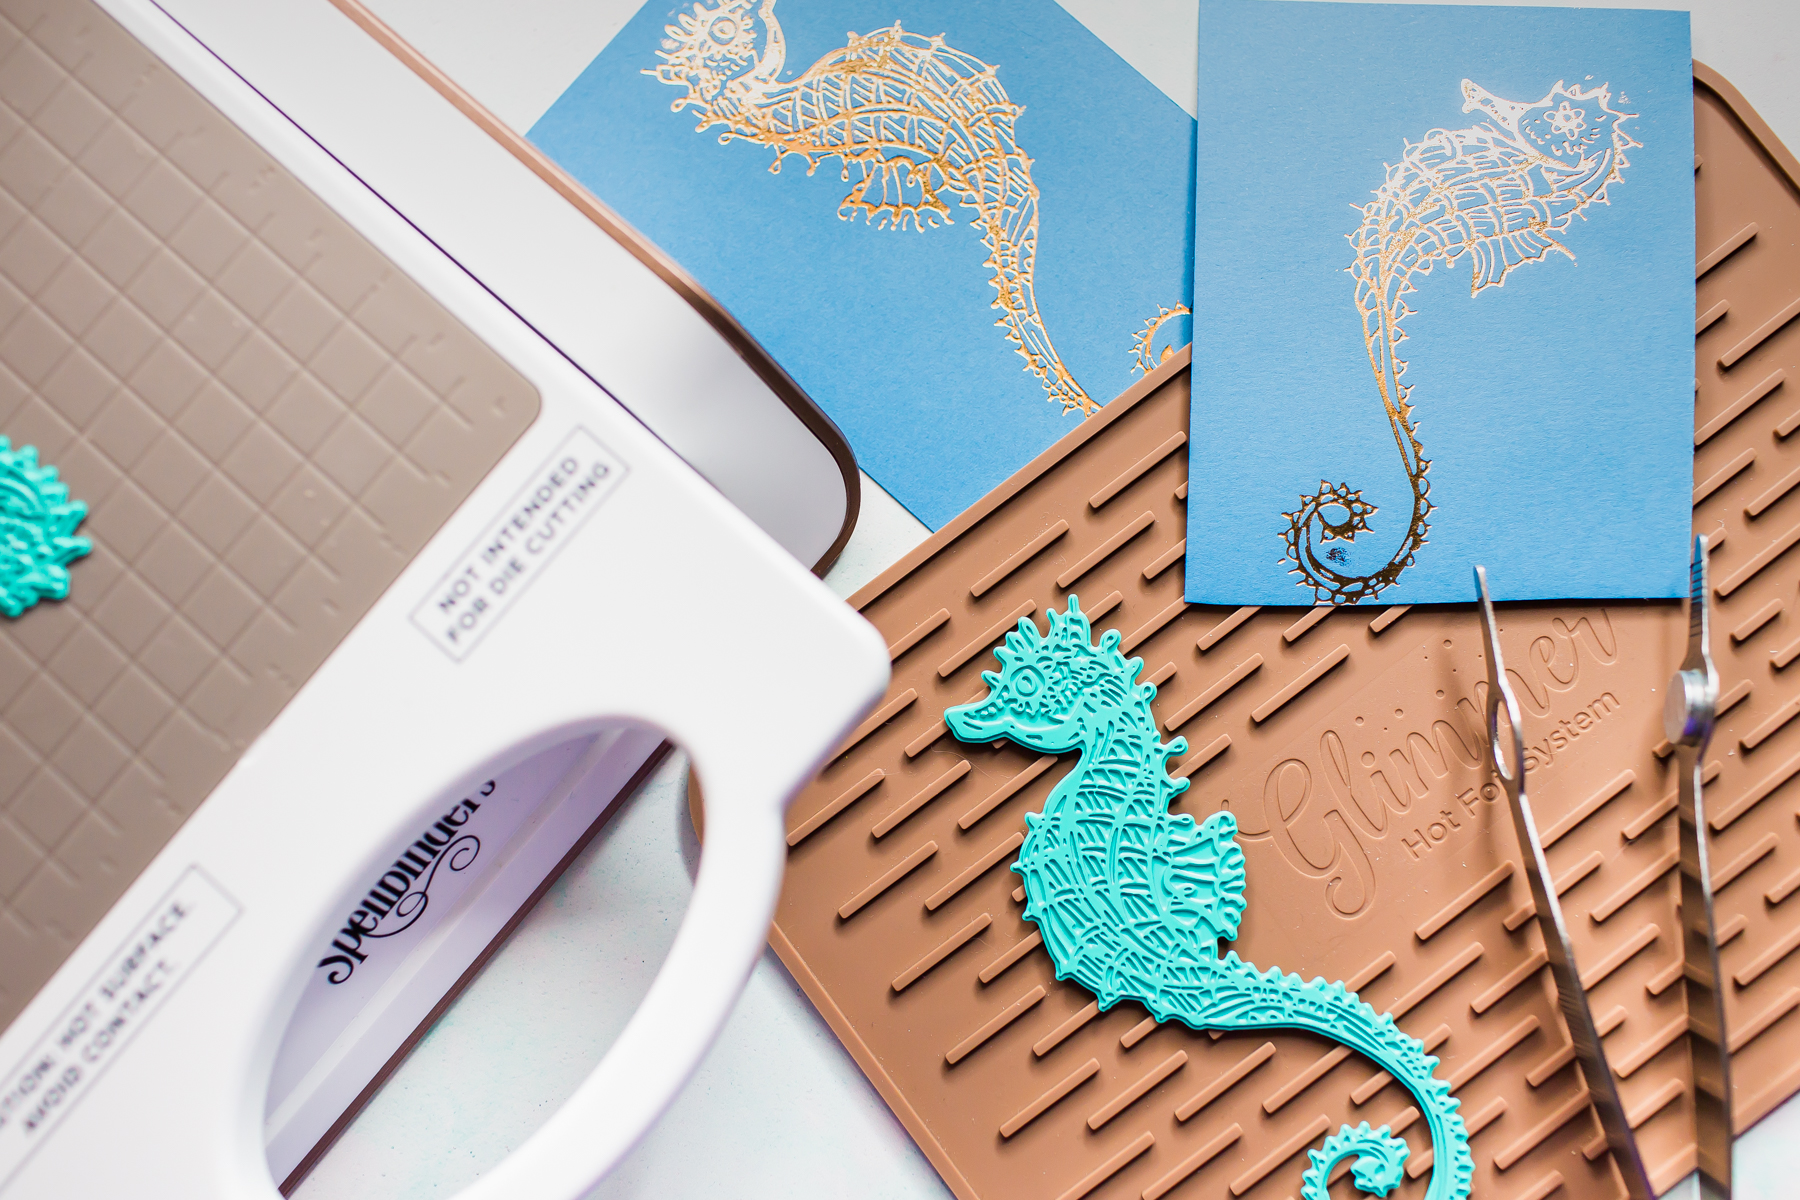
- Next I made a few die-cuts with the Marcia's Makeover dies and Hot Foiling with the Show Ponies + Glimmer Hot Foil set and styled my card.

























































































3 comments
She is stunning, Mona! I love every detail. Jane’s products are so much fun.
Going to have to try this with that face, I was wondering what looks it can have.
These faces are gorgeous! I can’t wait to get my hands on there die cuts!