Cut & Emboss Folders Inspiration | Mixed Media Card Tutorial by Nadya Drozdova
Posted by Spellbinders Team on April 03, 2019

Cut & Emboss Folders Inspiration | Mixed Media Card Tutorial by Nadya Drozdova

Hello everyone! My name is Nadya Drozdova, I am mixed media style crafter from Estonia. I love to mix paints and papers adding some embellishments to my projects. You may find my other creations in my Instagram. I am so honored to be a Guest designer on Spellbinders blog. I prepared for you Mixed media card with small step-by-step tutorial.

Spellbinders Cut & Emboss Folders Inspiration | Mixed Media Card Tutorial by Nadya Drozdova

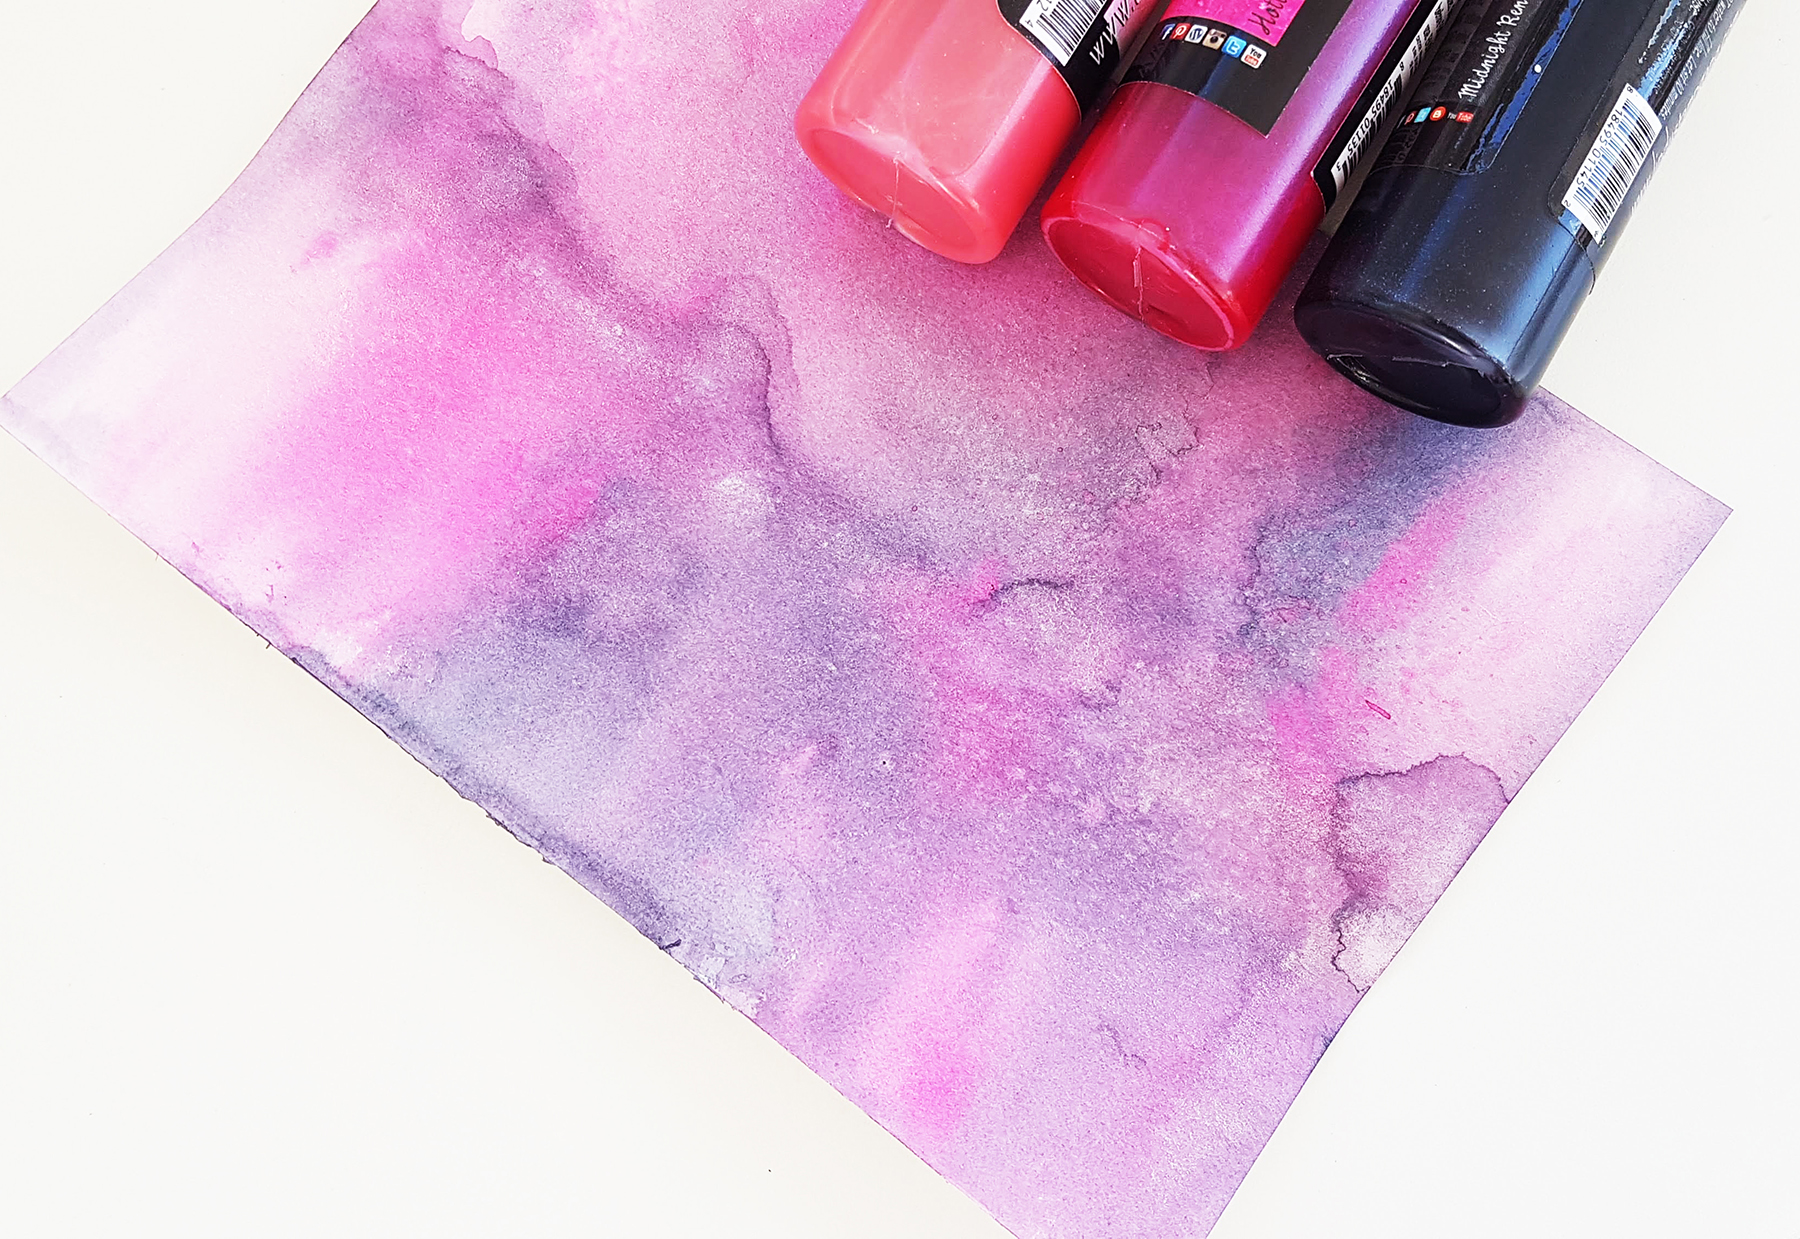
To make background more complicated and interesting I used watercolor paper instead of cardstock and some sprays. I sprayed paper with water first, then added the lightest spray and in the end added the darkest one. Dried it with a heat tool.

Spellbinders Cut & Emboss Folders Inspiration | Mixed Media Card Tutorial by Nadya Drozdova

Then I used Floral Reflections Cut and Emboss Folder by Spellbinders. To make my background brighter I used black cardstock as a bottom layer and distressed watercolor sheet`s edges with a black ink pad.

Spellbinders Cut & Emboss Folders Inspiration | Mixed Media Card Tutorial by Nadya Drozdova

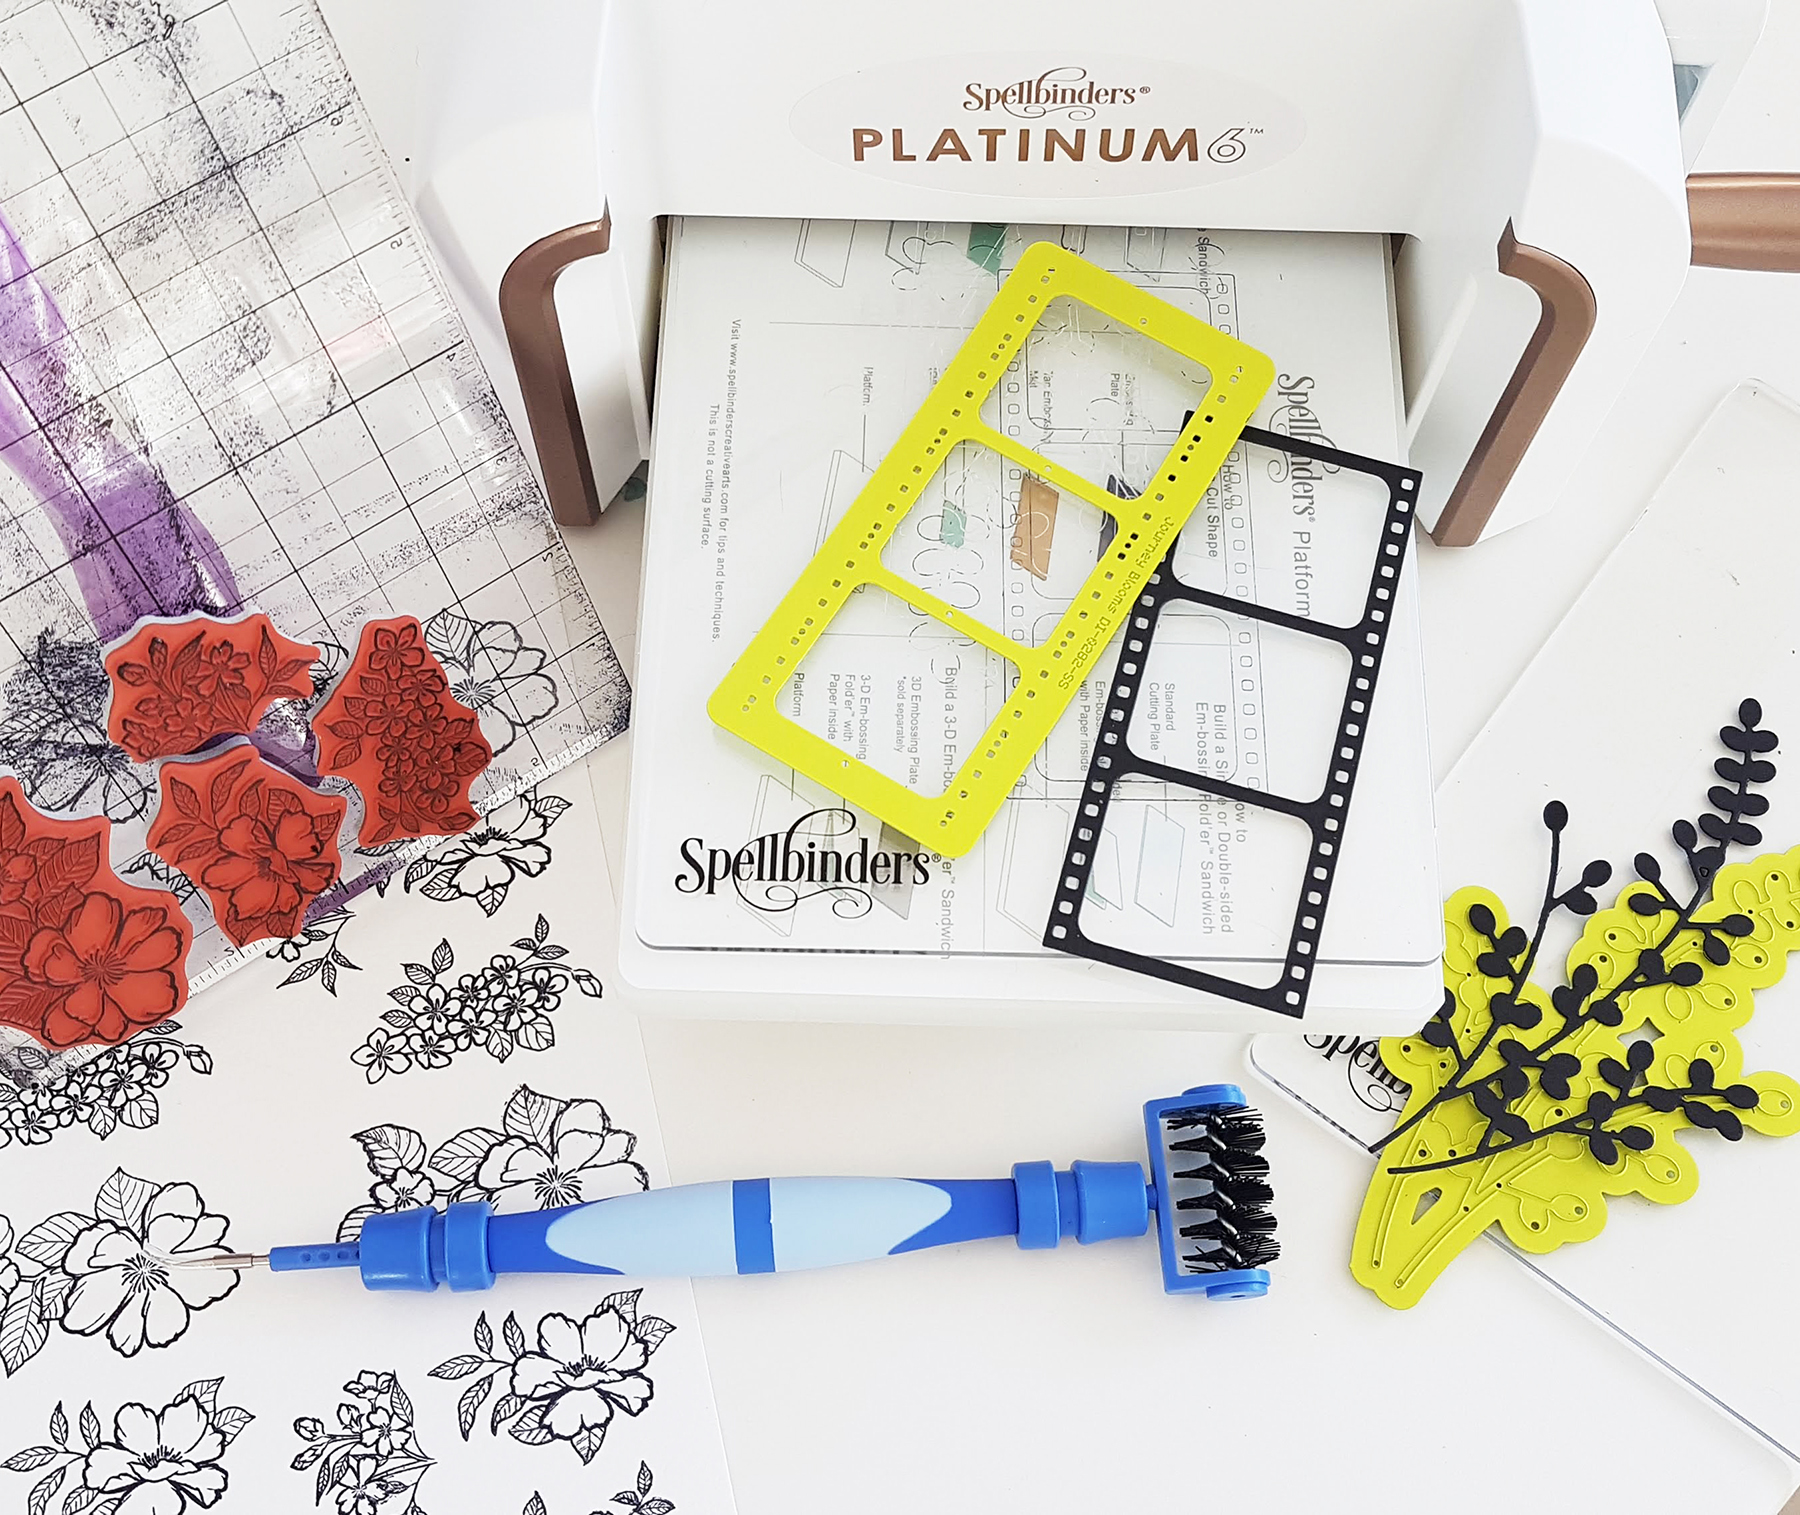
For my card I needed some additional elements and embellishments. I used Film capture die and Bloom cluster die. I stamped some flowers with archival ink using Peonies blossoms cling stamps and cut die-cuts from black cardstock.

Spellbinders Cut & Emboss Folders Inspiration | Mixed Media Card Tutorial by Nadya Drozdova

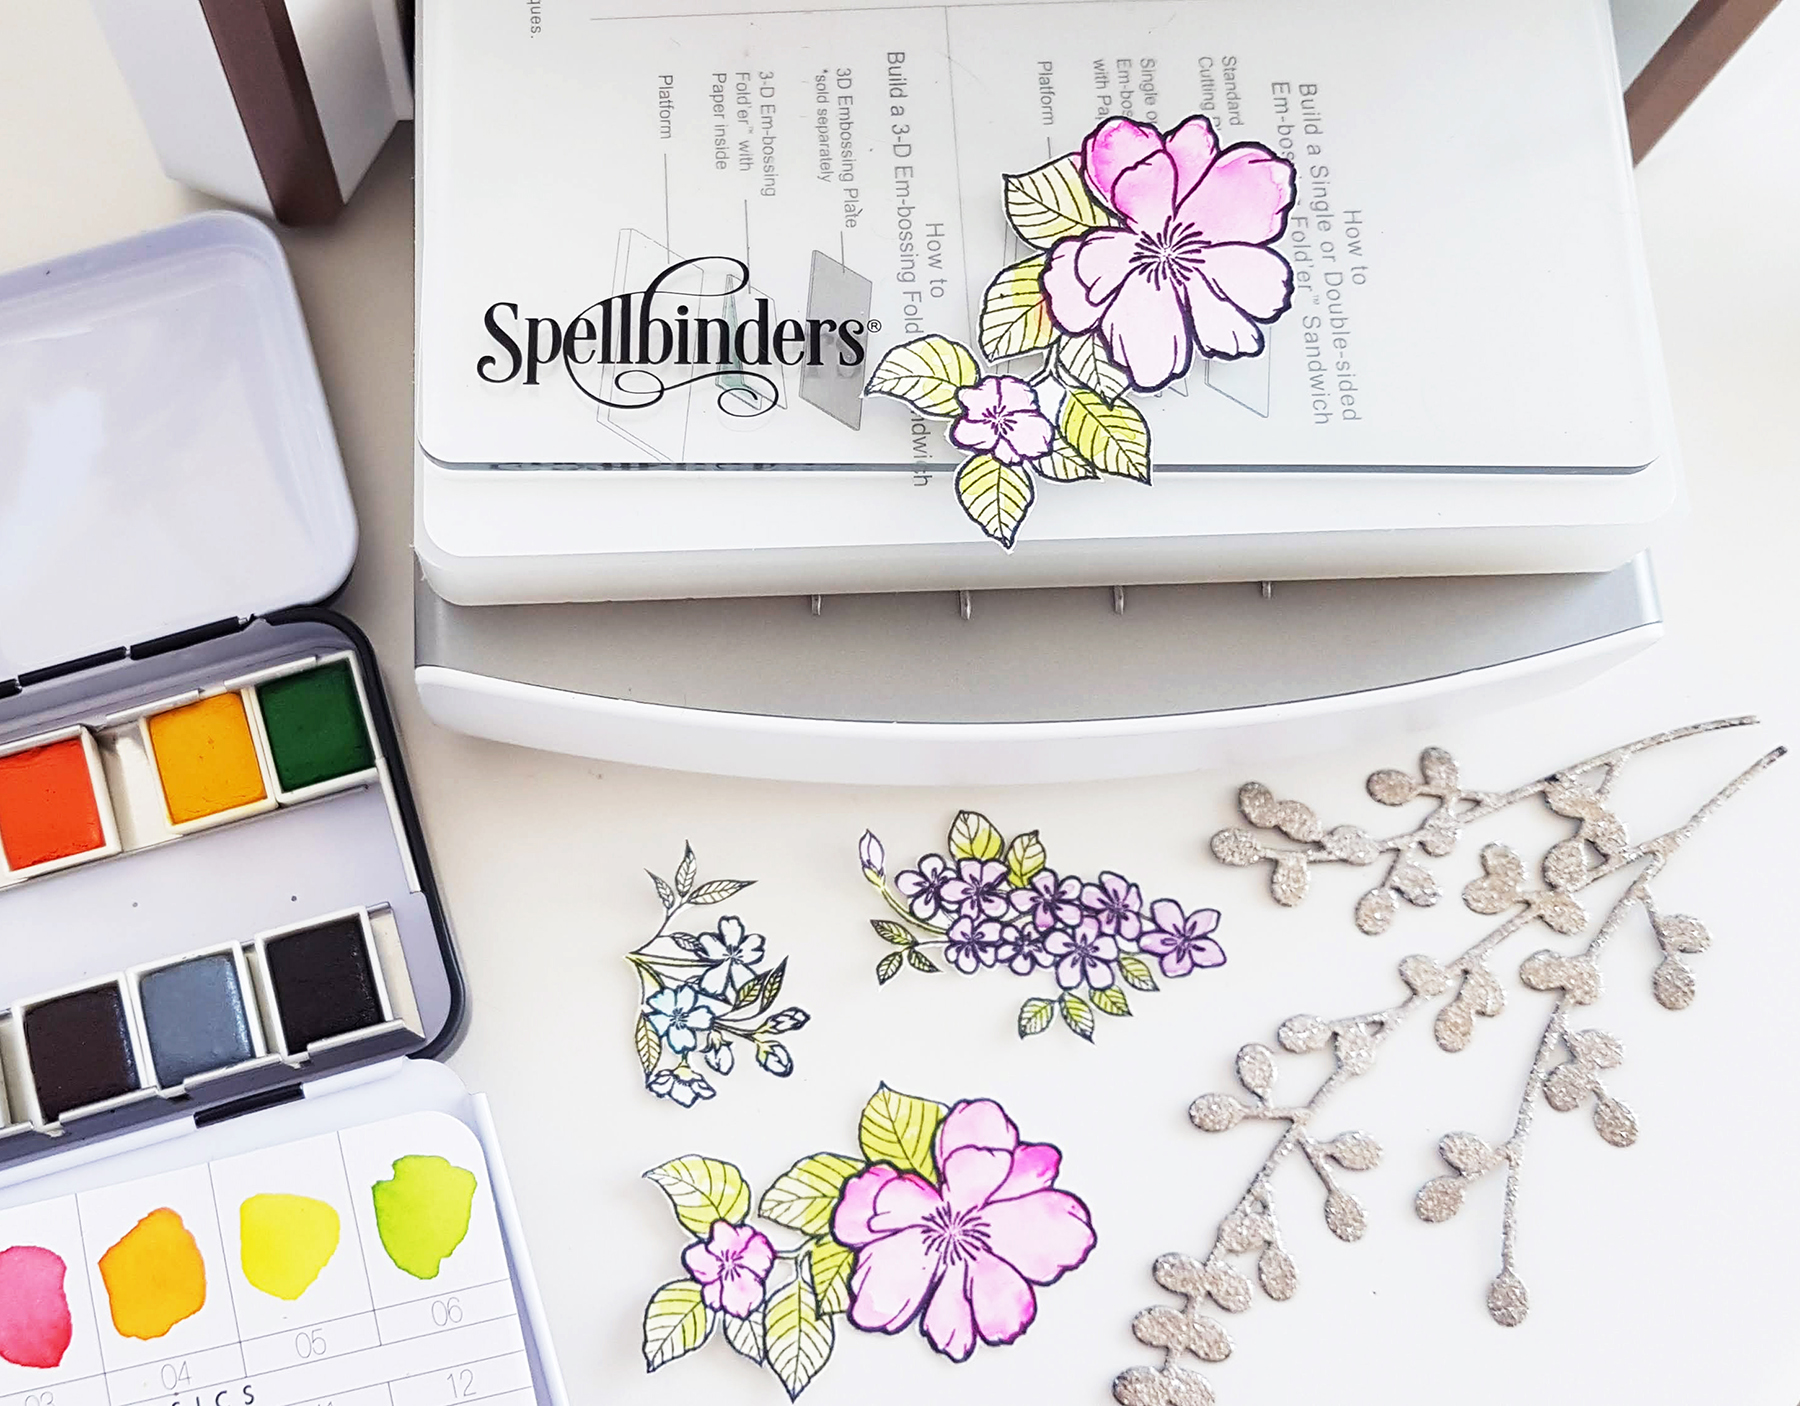
To color my stamped images I used watercolors;  to make the die cut branch more interesting I treated it with platinum embossing powder.

Spellbinders Cut & Emboss Folders Inspiration | Mixed Media Card Tutorial by Nadya Drozdova

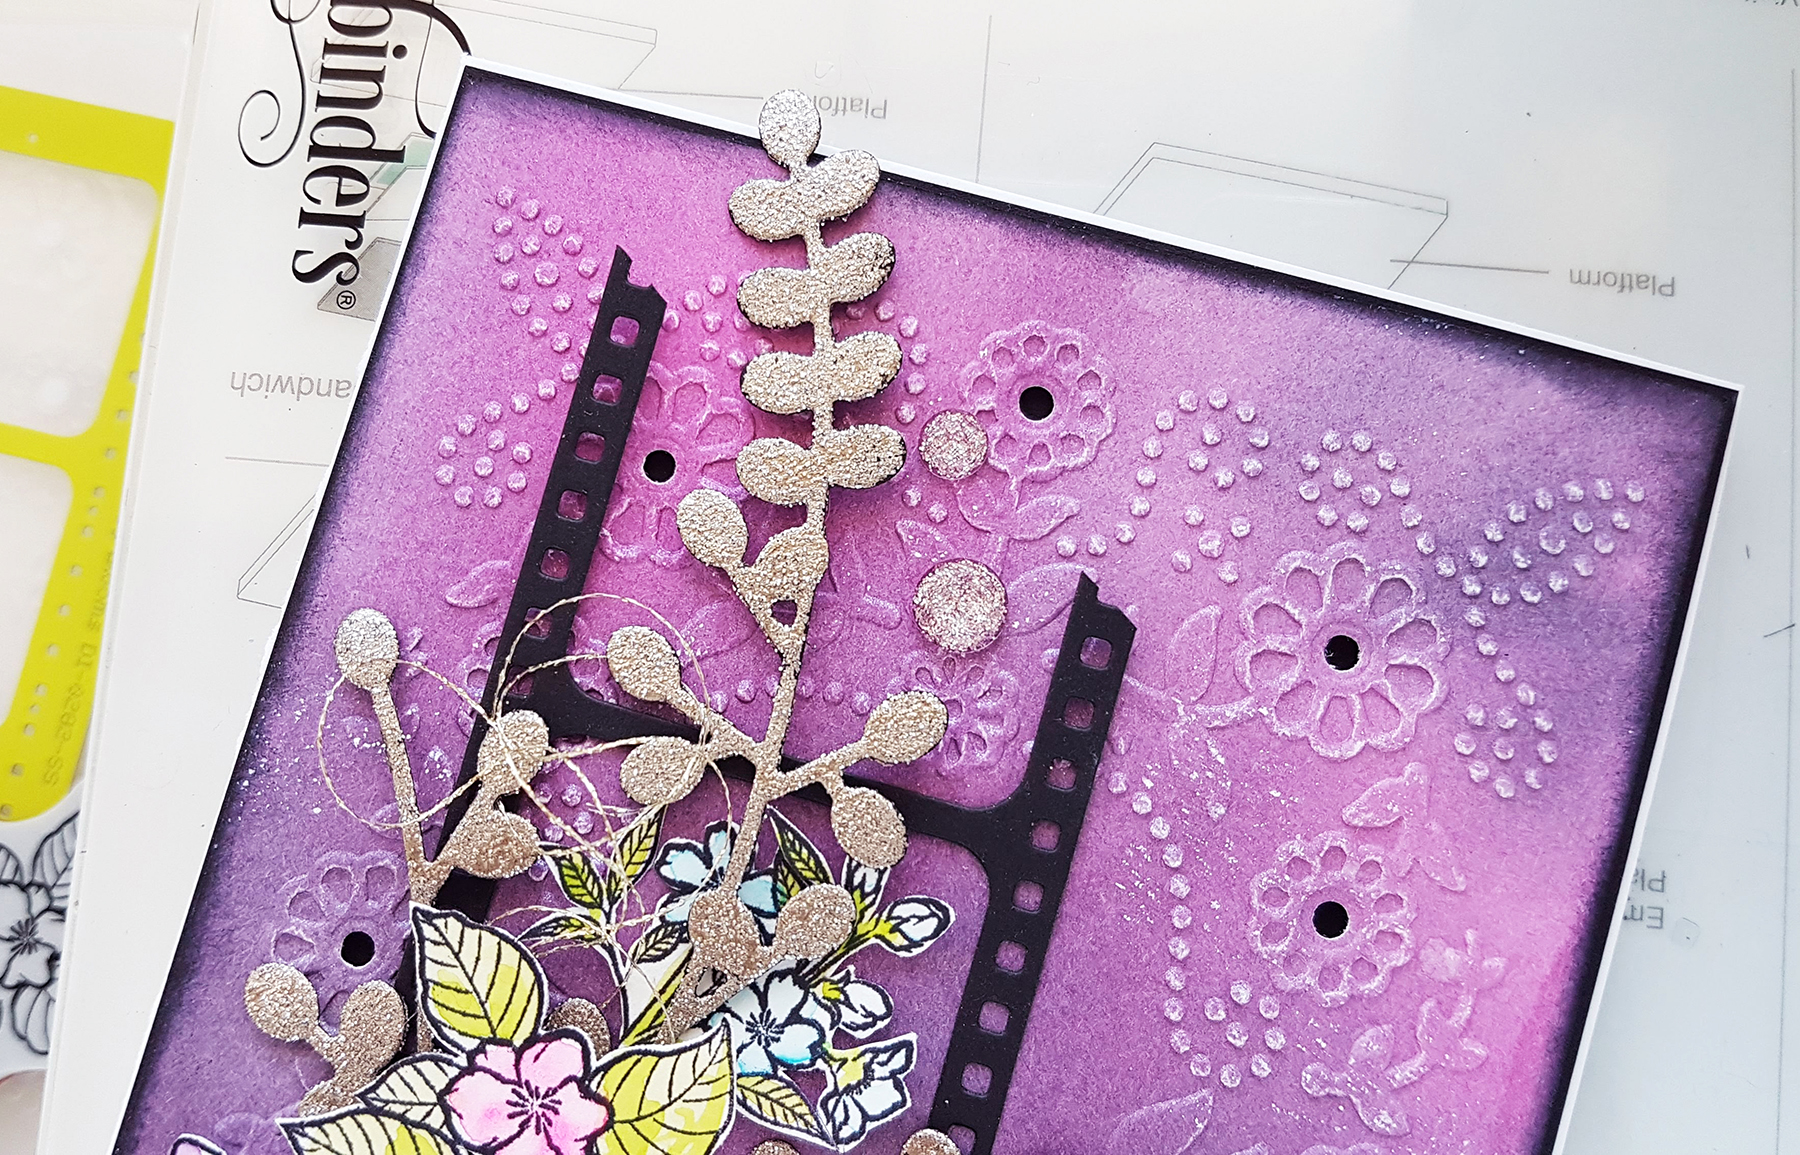
Then I started to build my composition. First I put Film die cut, I cut off an upper part of it. Next, I put branch and then I added some golden thread between stamped flowers. To make my card look more dimensional I foam mounted the biggest flower. Also, I put stick foam between black cardboard and colorful background. Finally, I added a quote sticker and a few adhesive crystals.

Spellbinders Cut & Emboss Folders Inspiration | Mixed Media Card Tutorial by Nadya Drozdova

And here is my card, that was so fun to create. Often to make something nice we do not need plenty of materials, only a few nice dies and stamps. Embossing folders are a great tool to use to create interesting backgrounds without spending much time. To see some techniques and other projects you may visit my YouTube channel.

Spellbinders Cut & Emboss Folders Inspiration | Mixed Media Card Tutorial by Nadya Drozdova

Spellbinders Supplies:

Thank you so much for your attention! Hope you like my simple card and it could be a source of inspiration for you! Wish you happy crafting!

Spellbinders Cut & Emboss Folders Inspiration | Mixed Media Card Tutorial by Nadya Drozdova

Leave a comment

Your email will not be published. Please note, comments need to be approved before they are published.


  • Just Add Cake, S3-495, S4-1522, S5-635, S4-1450, S4-1476

    Spellbinders Blog

    Create an Easy Interactive Birthday Card with Spellbinders Card Spinners

    Hi, crafty friends! Lisa Tilson here, and I'm delighted to be with you today sharing a fun interactive birthday card featuring the new Spellbinders Card Spinners. If you've ever wanted to add movement to your handmade cards without complicated mechanisms, these spinners make it incredibly easy! For today's project, I'm using the Large Card Spinner to create an adorable birthday monster that spins with just a...

  • Colorful Halloween Card Tutorial with Scalloped Frames, E3D-180, S6-272

    CS-8-101

    Halloween Card with Embossed Scalloped Frames and Drac Die Set

    Turn layered scalloped frames into a colorful Halloween gallery wall! This step-by-step tutorial shows how to emboss and arrange the Scalloped Frames, assemble the adorable Drac character from Simon Hurley's Halloween Hugs Collection, and create a playful handmade Halloween card full of dimension and color.