Hello, there! It’s
Marge here with you today again. Have you enjoyed
my previous posts for
Spellbinders New Classics March Collection? As the third theme for this week, I'm going to share how to use die cut layering to create dimensions on your card. Here are the examples that I made geometric blossoms using various nested circle-shaped dies. By doing this, you can also build up your favorite color palette on the card.
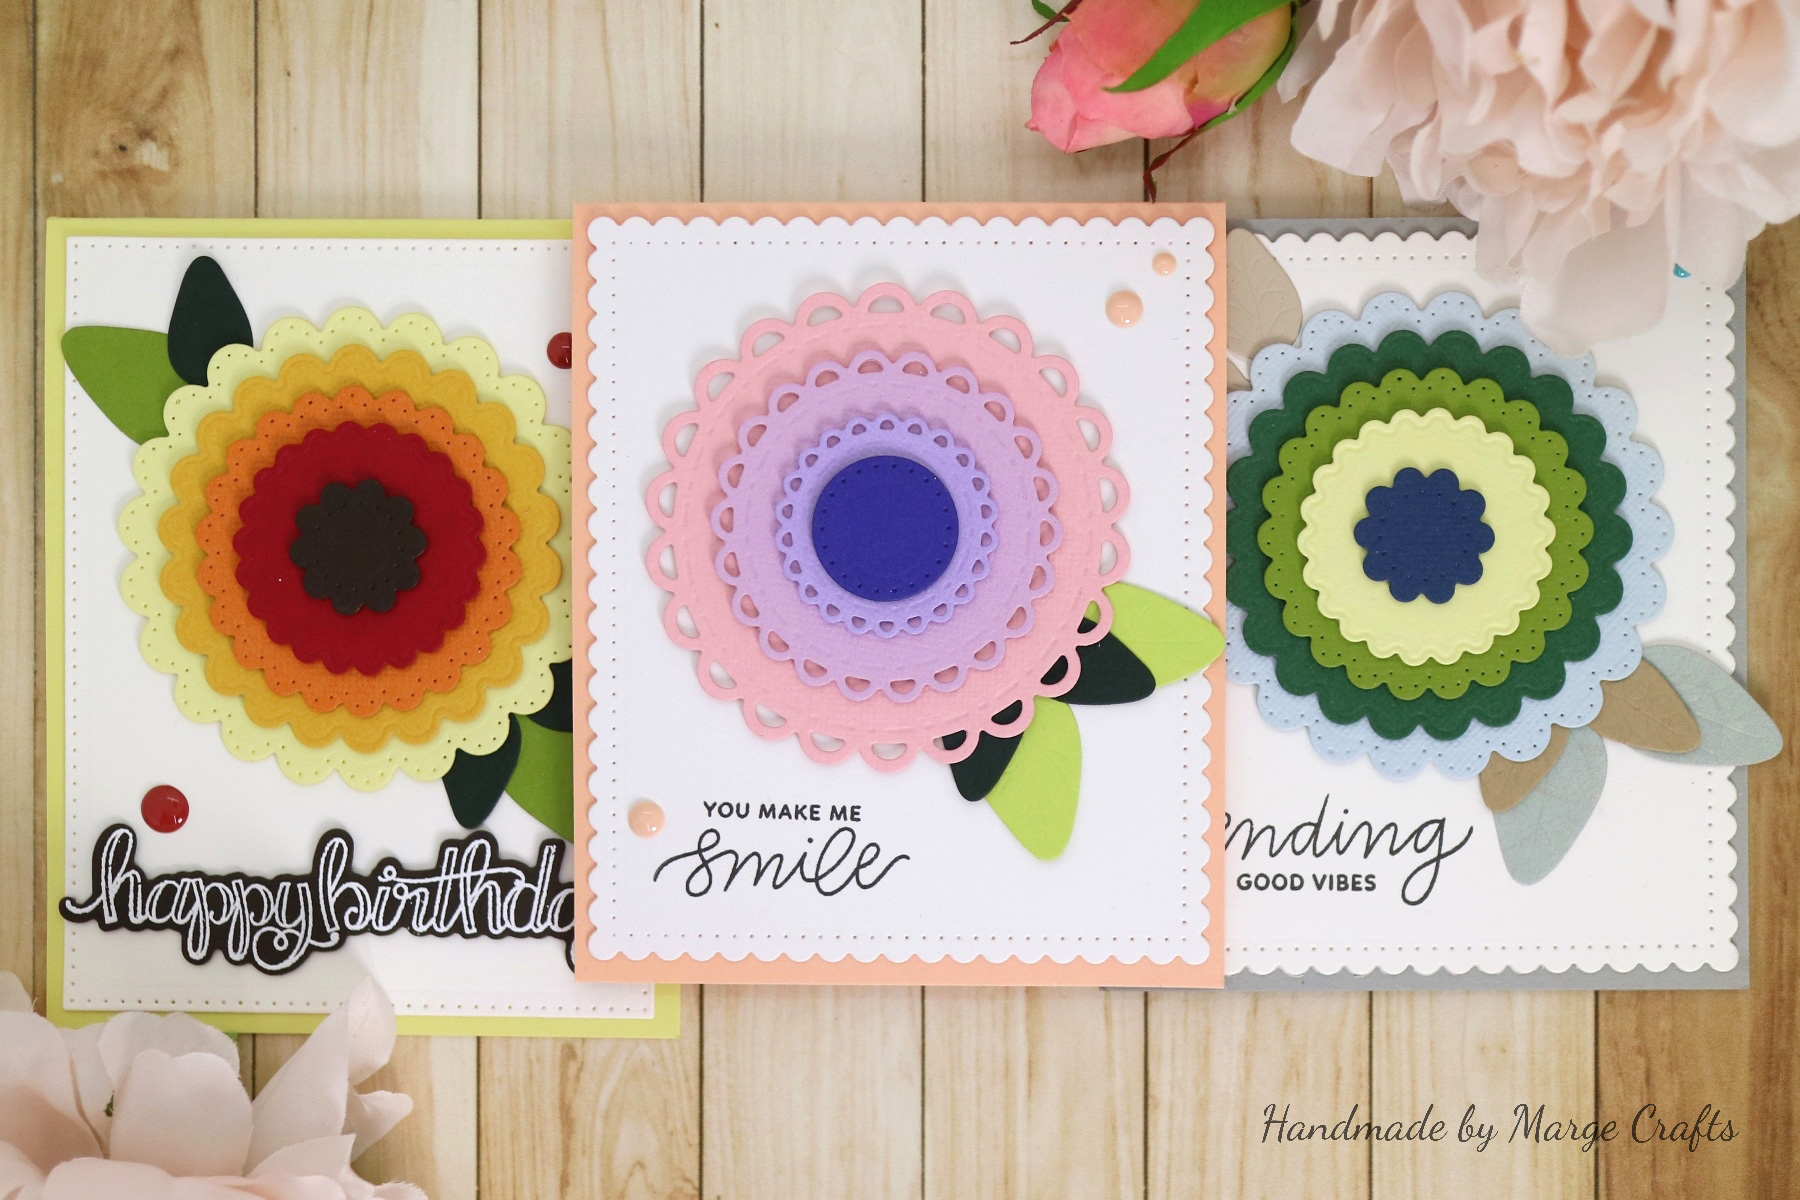
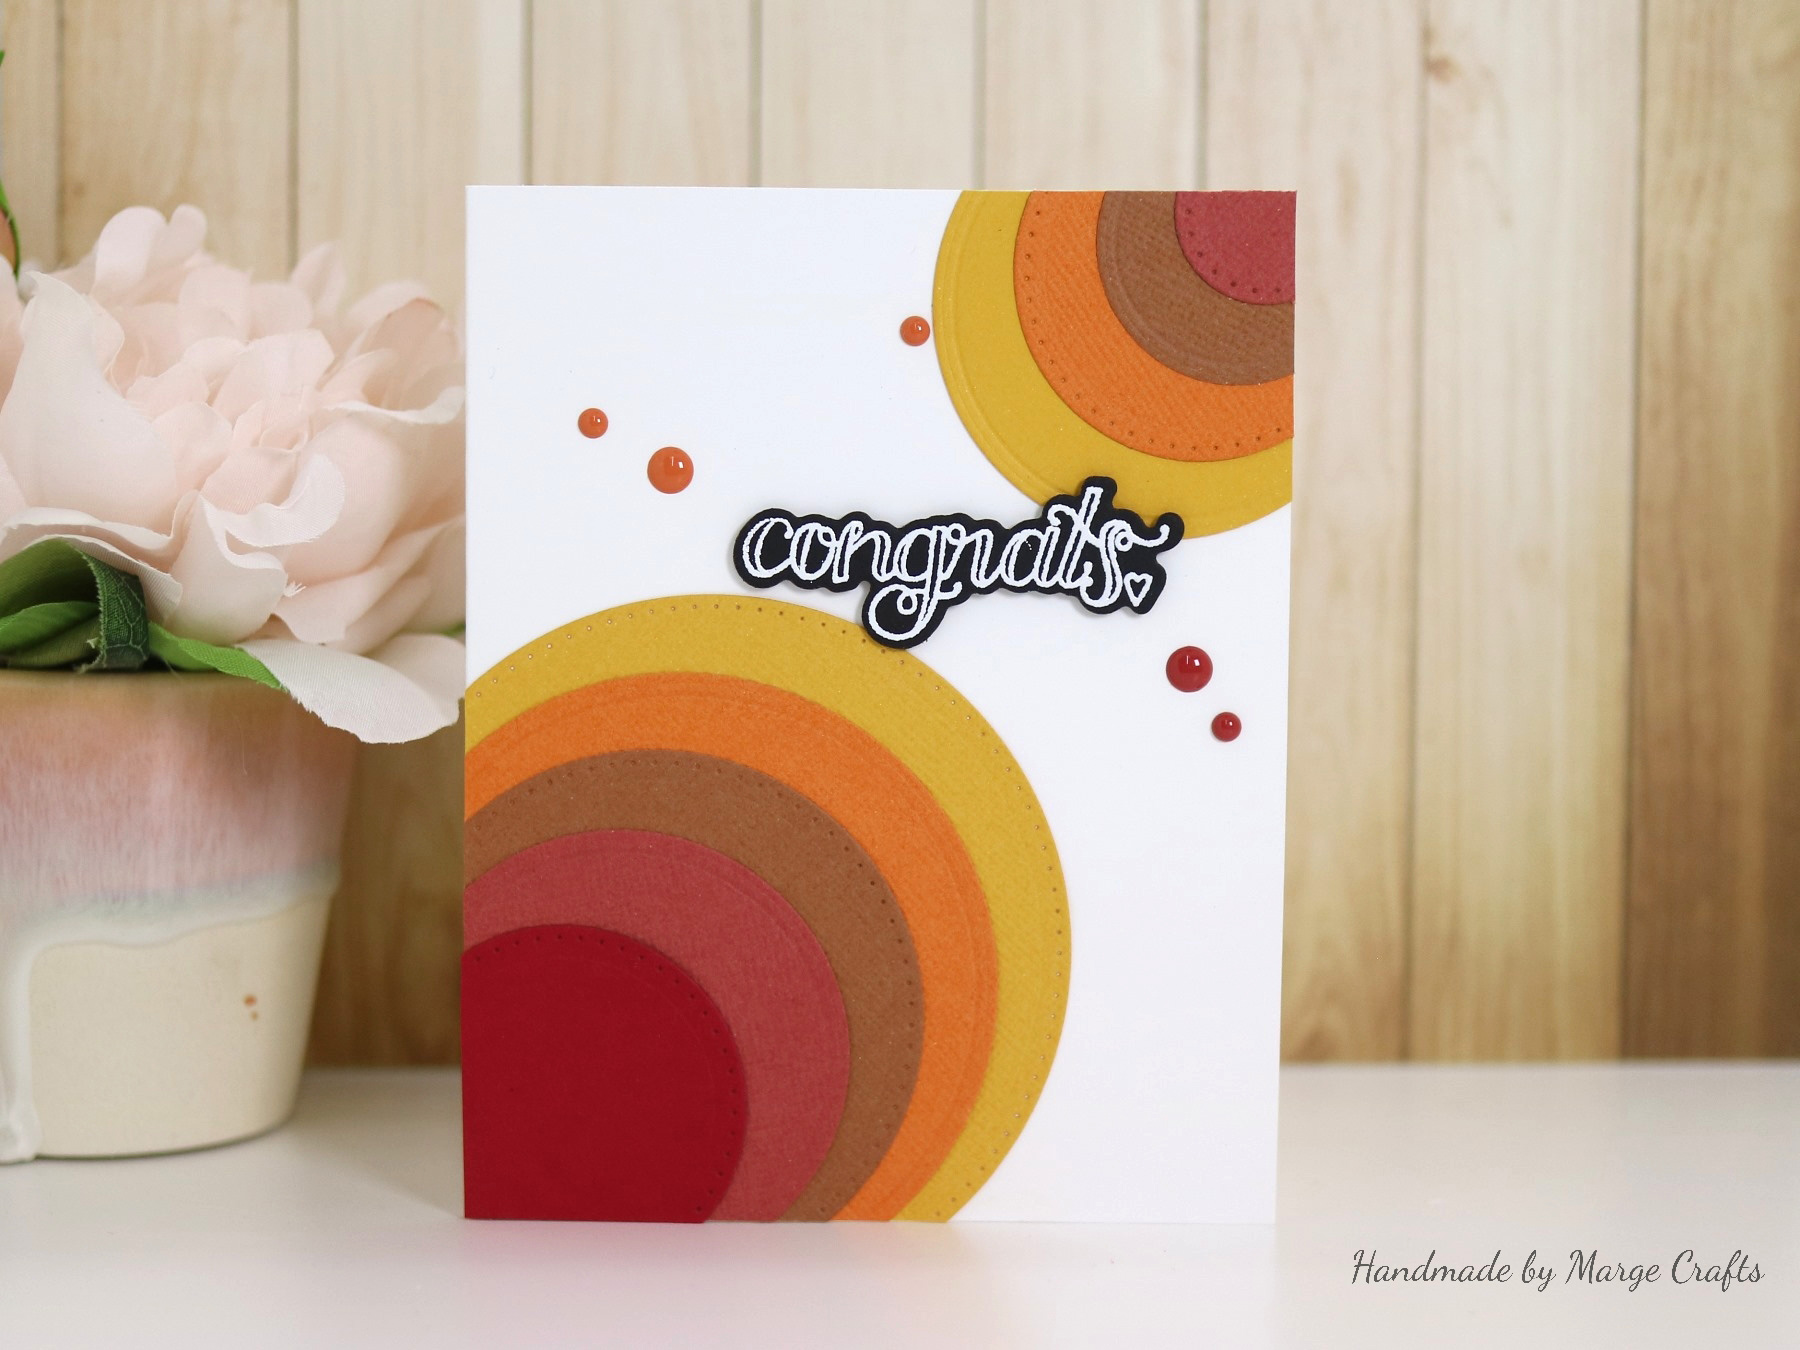
To begin the first card, I made various sizes of die cuts out of several colors of papers using
Fancy Scallop Edge Circles Dies. I gave them color gradation from yellow to orange and brown by selecting different colors of cardstocks. The smallest brown colored circle in the center was cut using the smallest die from
Fancy Edged Circles Dies set. Then I layered the cuts one by one using thin (1 mm thick) double sided foam adhesives to build up a blossom. I also made two- tone leaves using
Textured Flowers Dies by Marisa Job. Sentiment was heat embossed on dark brown cardstock with white embossing powder and was cut using the coordinating die from
Sentiments 1 Stamp & Die Set by Tammy Tutterow.

I put the blossom, leaves, and sentiment on a white rectangle panel which was cut using
Scored and Pierced Rectangles Dies, then I adhered it on an A2 sized top folded light yellow cardstock. To maintain clean geometric look, I finished it off with minimal embellishment by adding some enamel dots.
I love the how the frame patterns change alternatively at a closer look. It is so fun and delightful to look at.

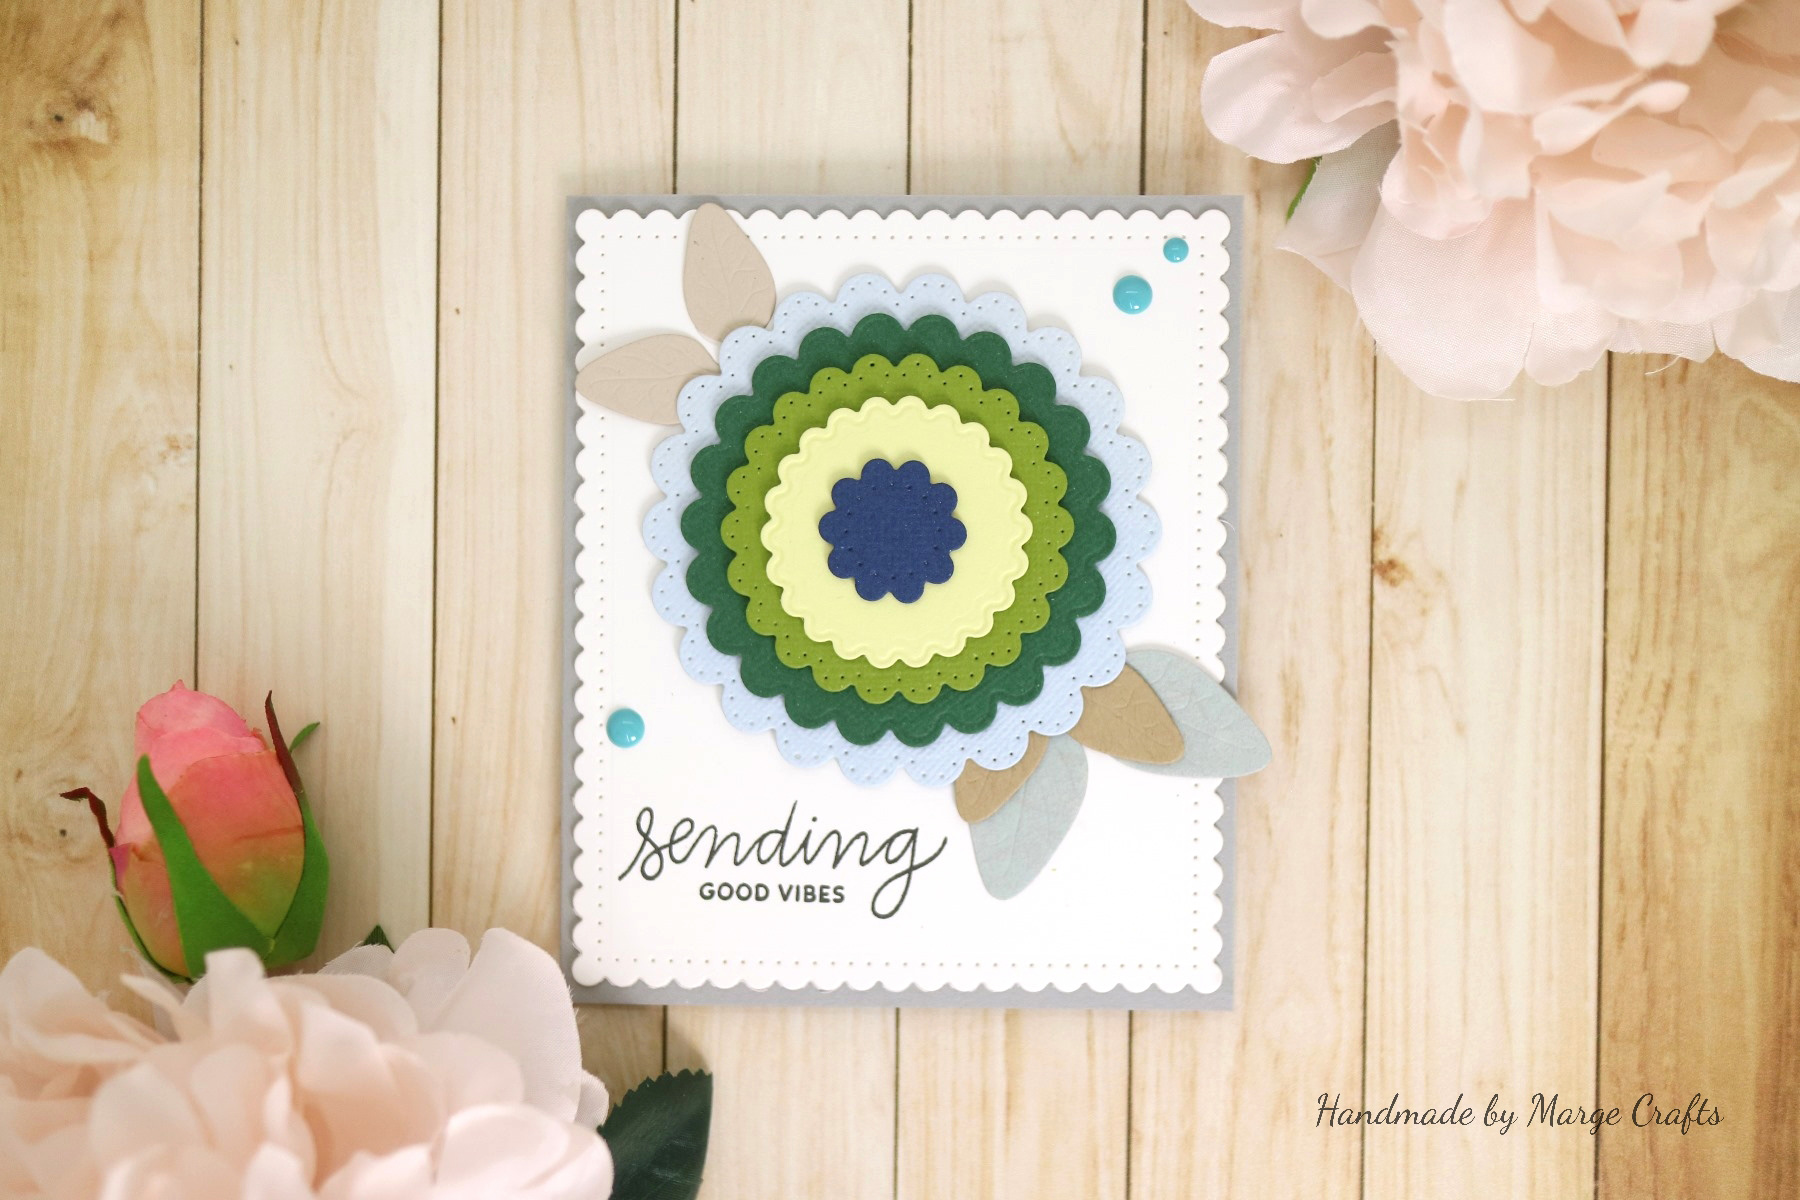
For my second card, I made the same blossom with different color palette using
Fancy Scallop Edge Circles Dies,
Fancy Edged Circles Dies and,
Textured Flowers Dies by Marisa Job. Background scalloped panel was made from
Fancy Edged Rectangles Dies.
I chose a sentiment from Encouraging Greetings Stamp set by Pretty Pink Posh, then stamped it on the white panel using Versafine Ink Onyx Black.

For my third card, I used
Open Scallop Edge Circles Dies to build up a blossom. Other process was similar with previous card. The smallest pierced blue circle in the center was made from
Scored and Pierced Circles Dies.

Before closing up, I’m showing you other examples for die cut layering. In the fourth card, I used
Scored and Pierced Circles Dies and
Sentiments 1 Stamp & Die Set by Tammy Tutterow.

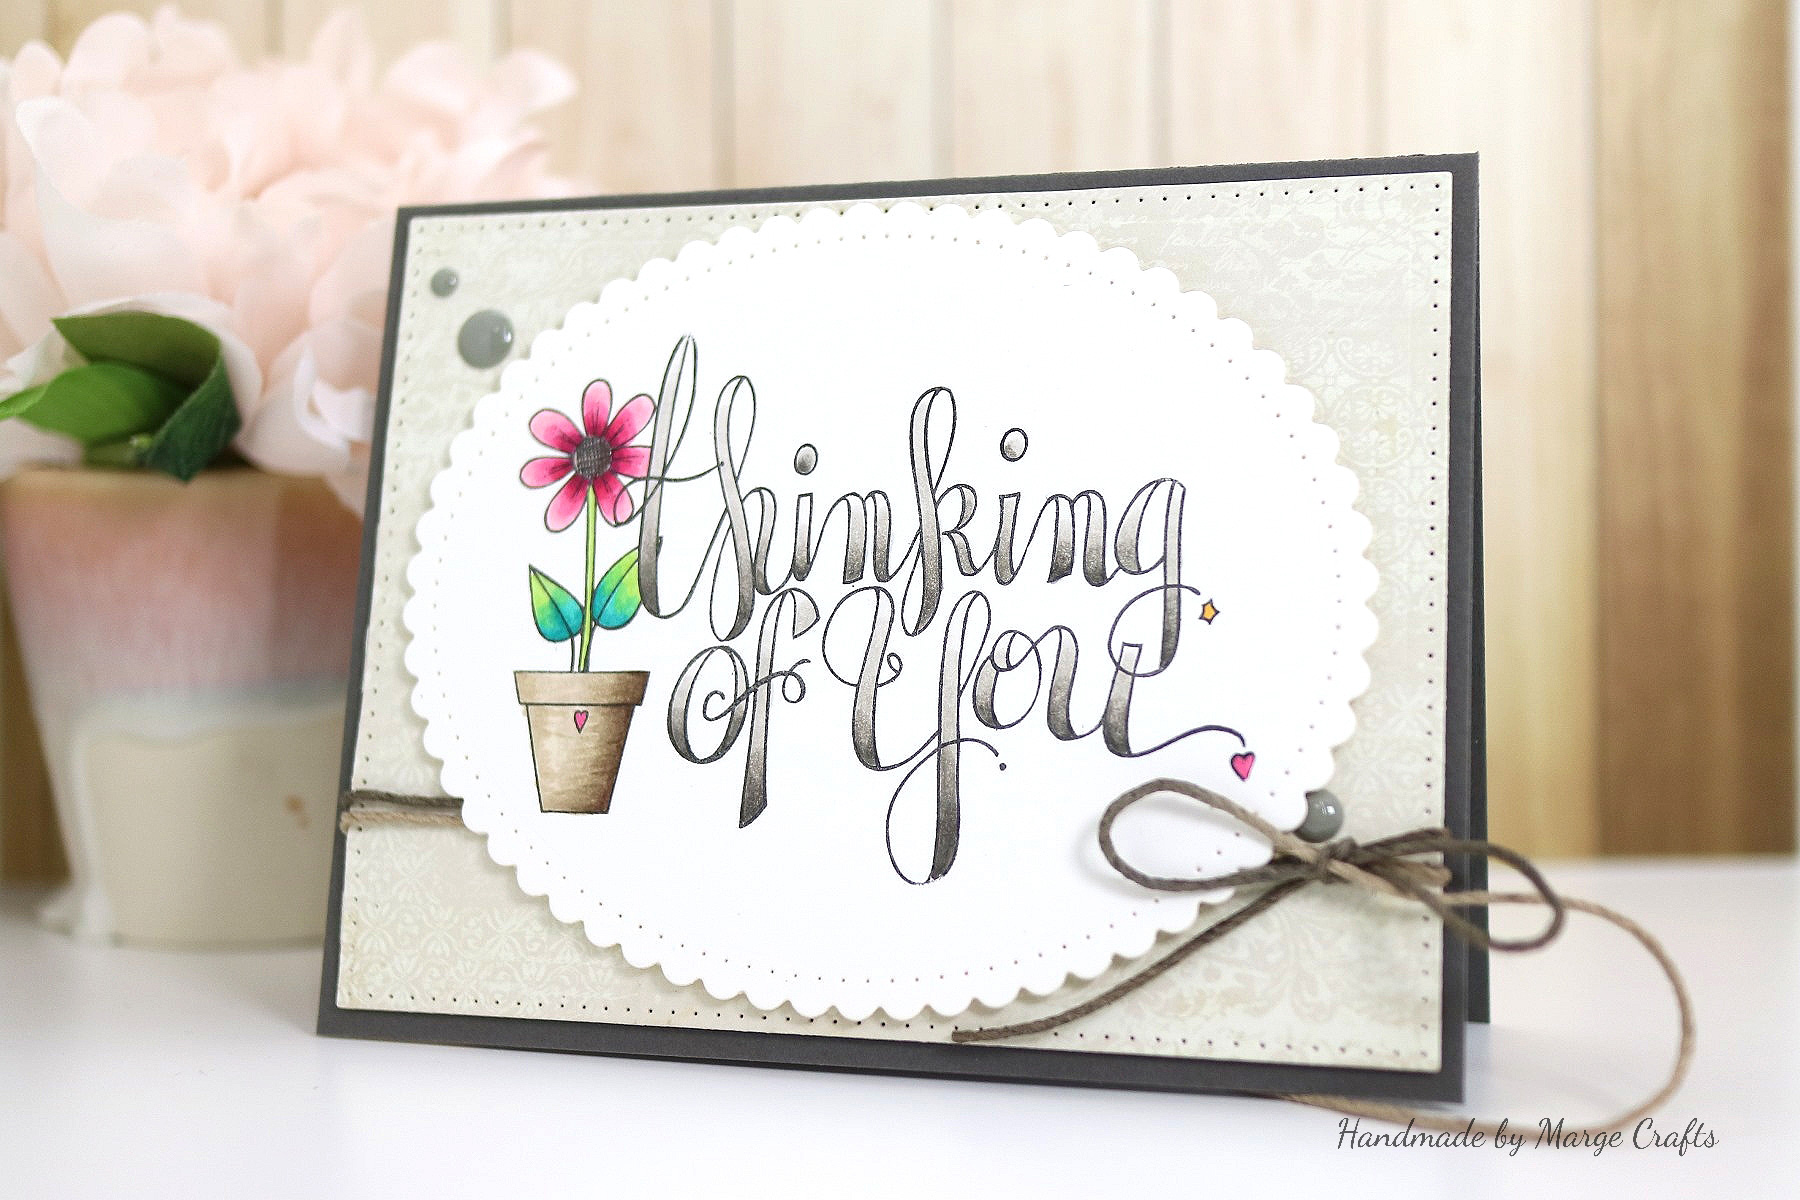
In the fifth card, I stamped
Thinking of You by Tammy Tutterow on a Copic friendly white cardstock, colored the images using Copic markers, and then cut the panel in scalloped oval shape using
Fancy Edged Ovals Dies. I then foam mounted the oval on a pierced rectangle panel made from
Scored and Pierced Rectangles Dies with twines and enamel dots as embellishment.

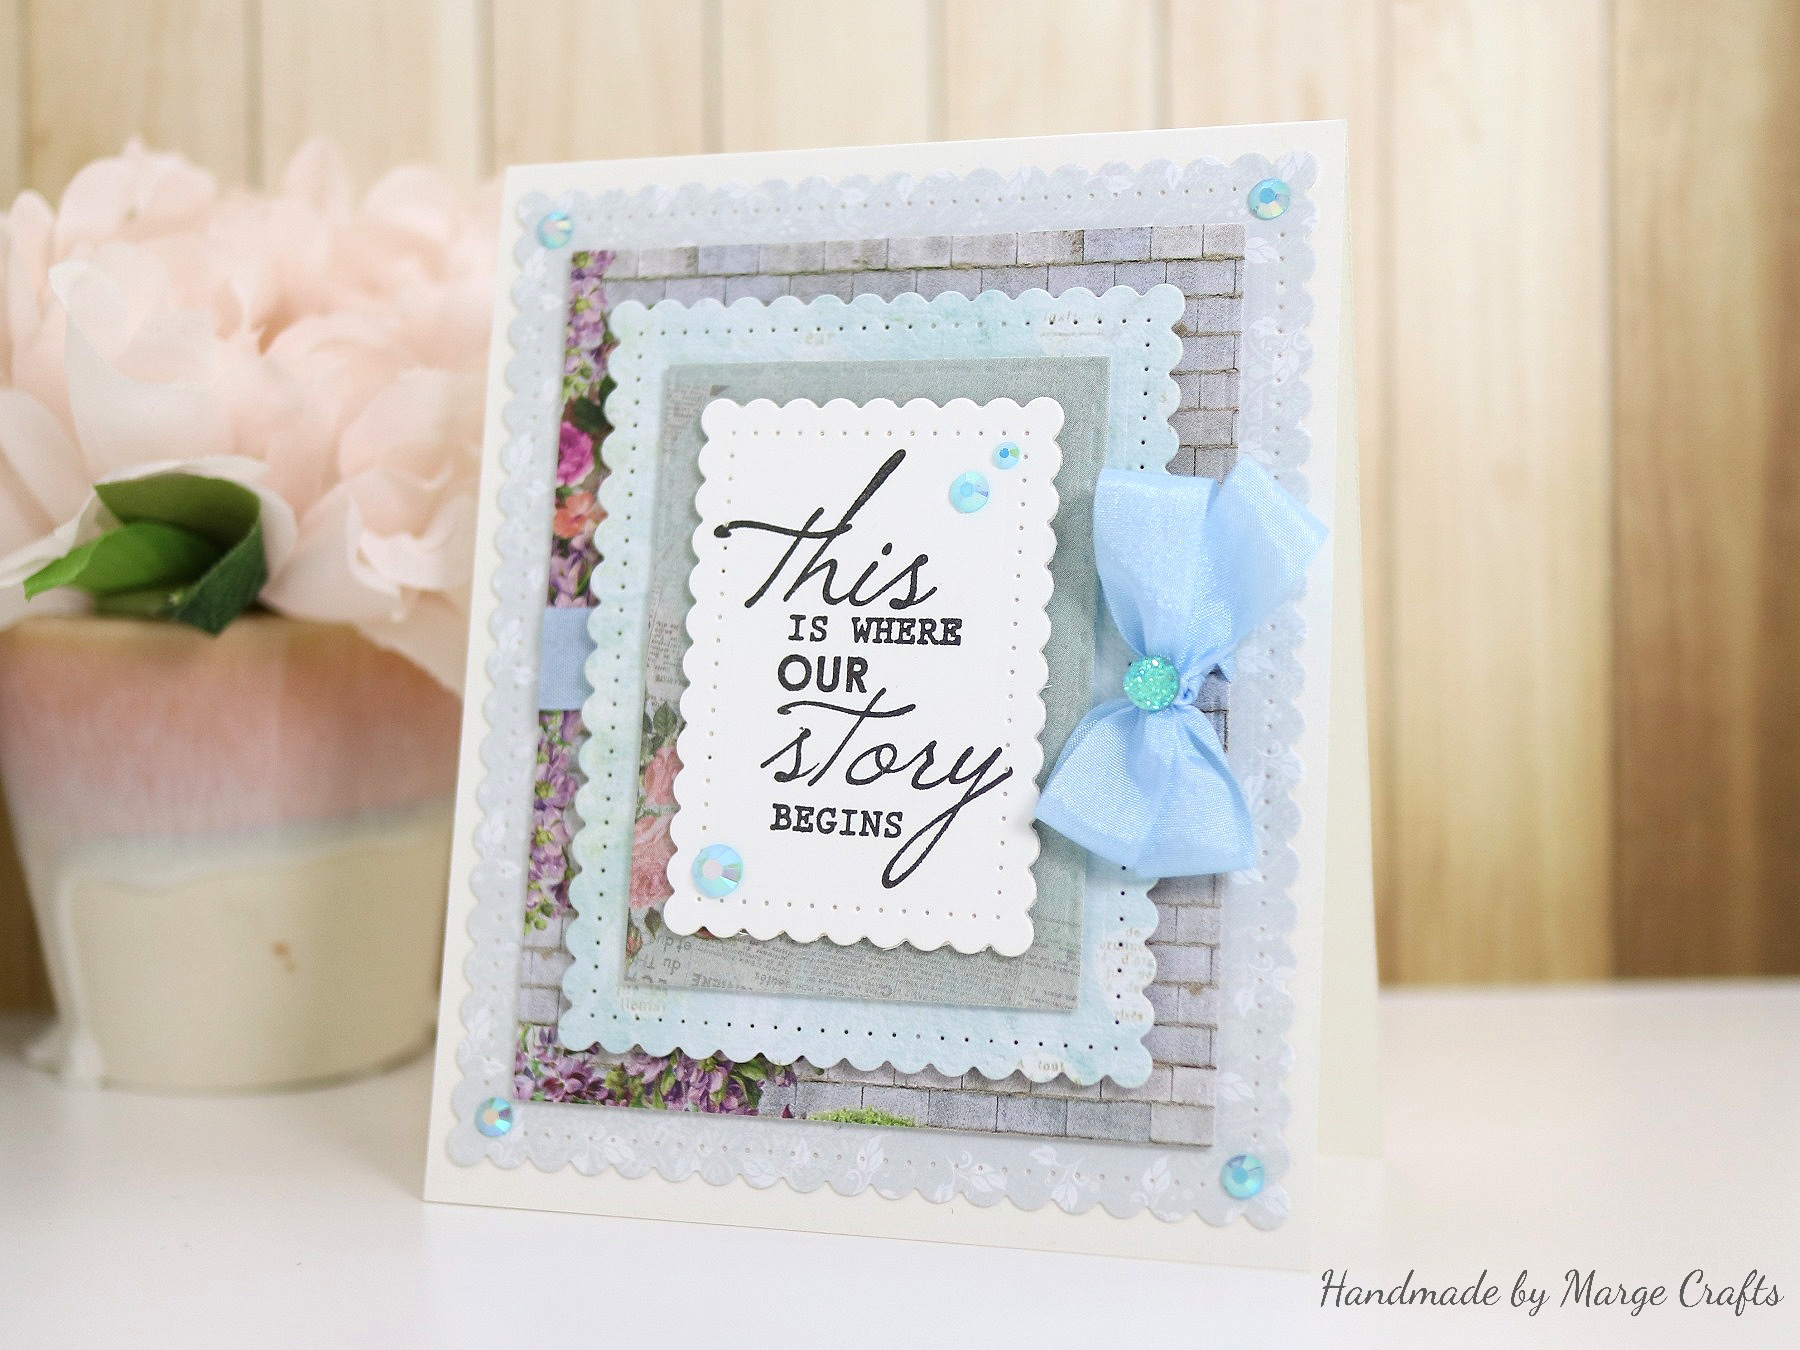
In the last card, I die cut different pattern papers to give visual interest on the die cut layers, then I layered them one by one using thin double sided foam adhesives or double sided tapes.
Fancy Edged Rectangles Dies were used for this. I added a blue ribbon, gemstone and jewels as embellishment.

Spellbinders Supplies:
Other Supplies:
Pretty Pink Posh Encouraging Greetings Stamp Set, Pretty Pink Posh Jewels Bundle, Color Enamel Dots from various companies, ScrapBerry’s French Journey 6x6 Paper pad, American Crafts 12x12 Cardstock Pastel, American Crafts 12x12 Cardstock Earth Tone, May Arts Ribbon
Thank you for your visiting here and reading all the posts for
New Classics March Collection this week. I hope you have enjoyed the journey with me. Thank you all the readers and Spellbinders. It was my great honor to be with you at Spellbinders Blog. Hope you are having a wonderful day and I hope to see you again in the future. Blessings!
Marge