
 />
/>

Project created by in-house designer Yana Smakula
Step By Step Instructions:
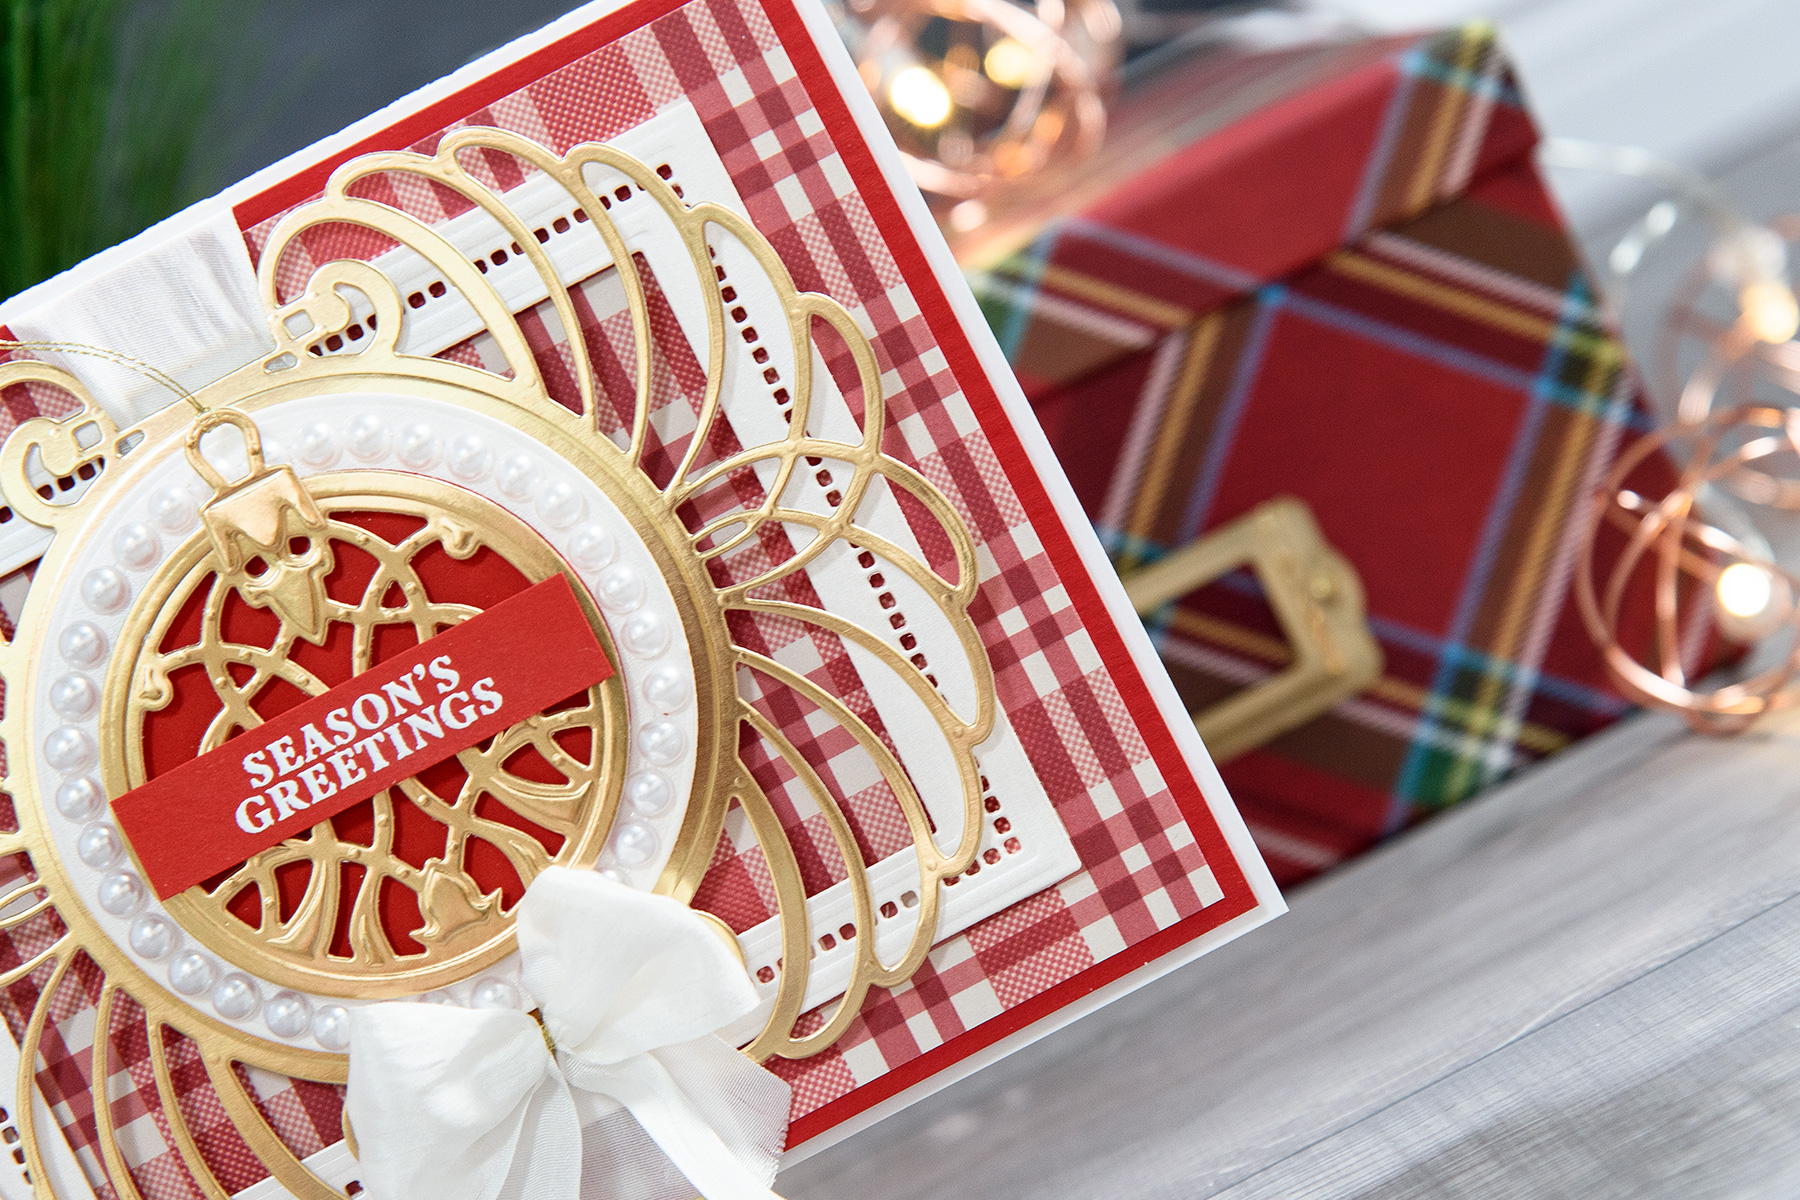
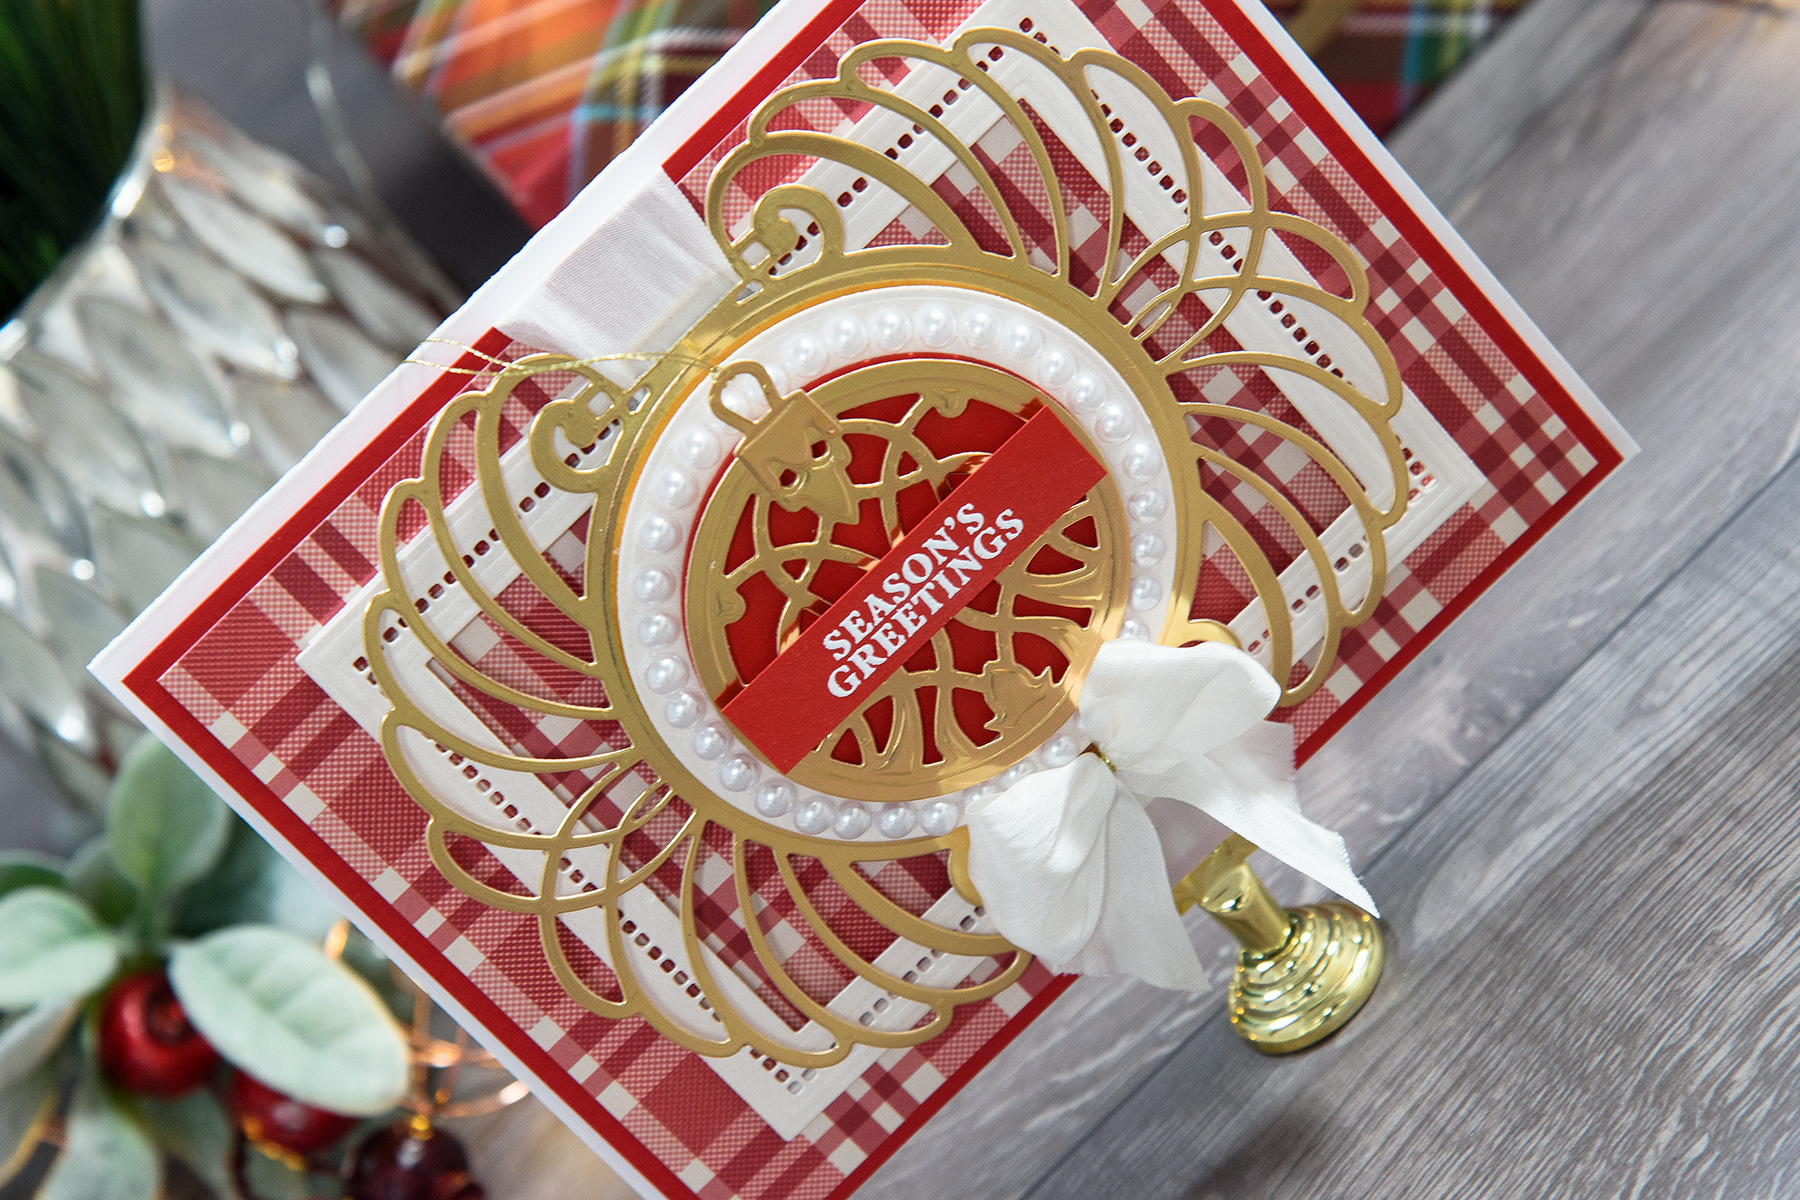
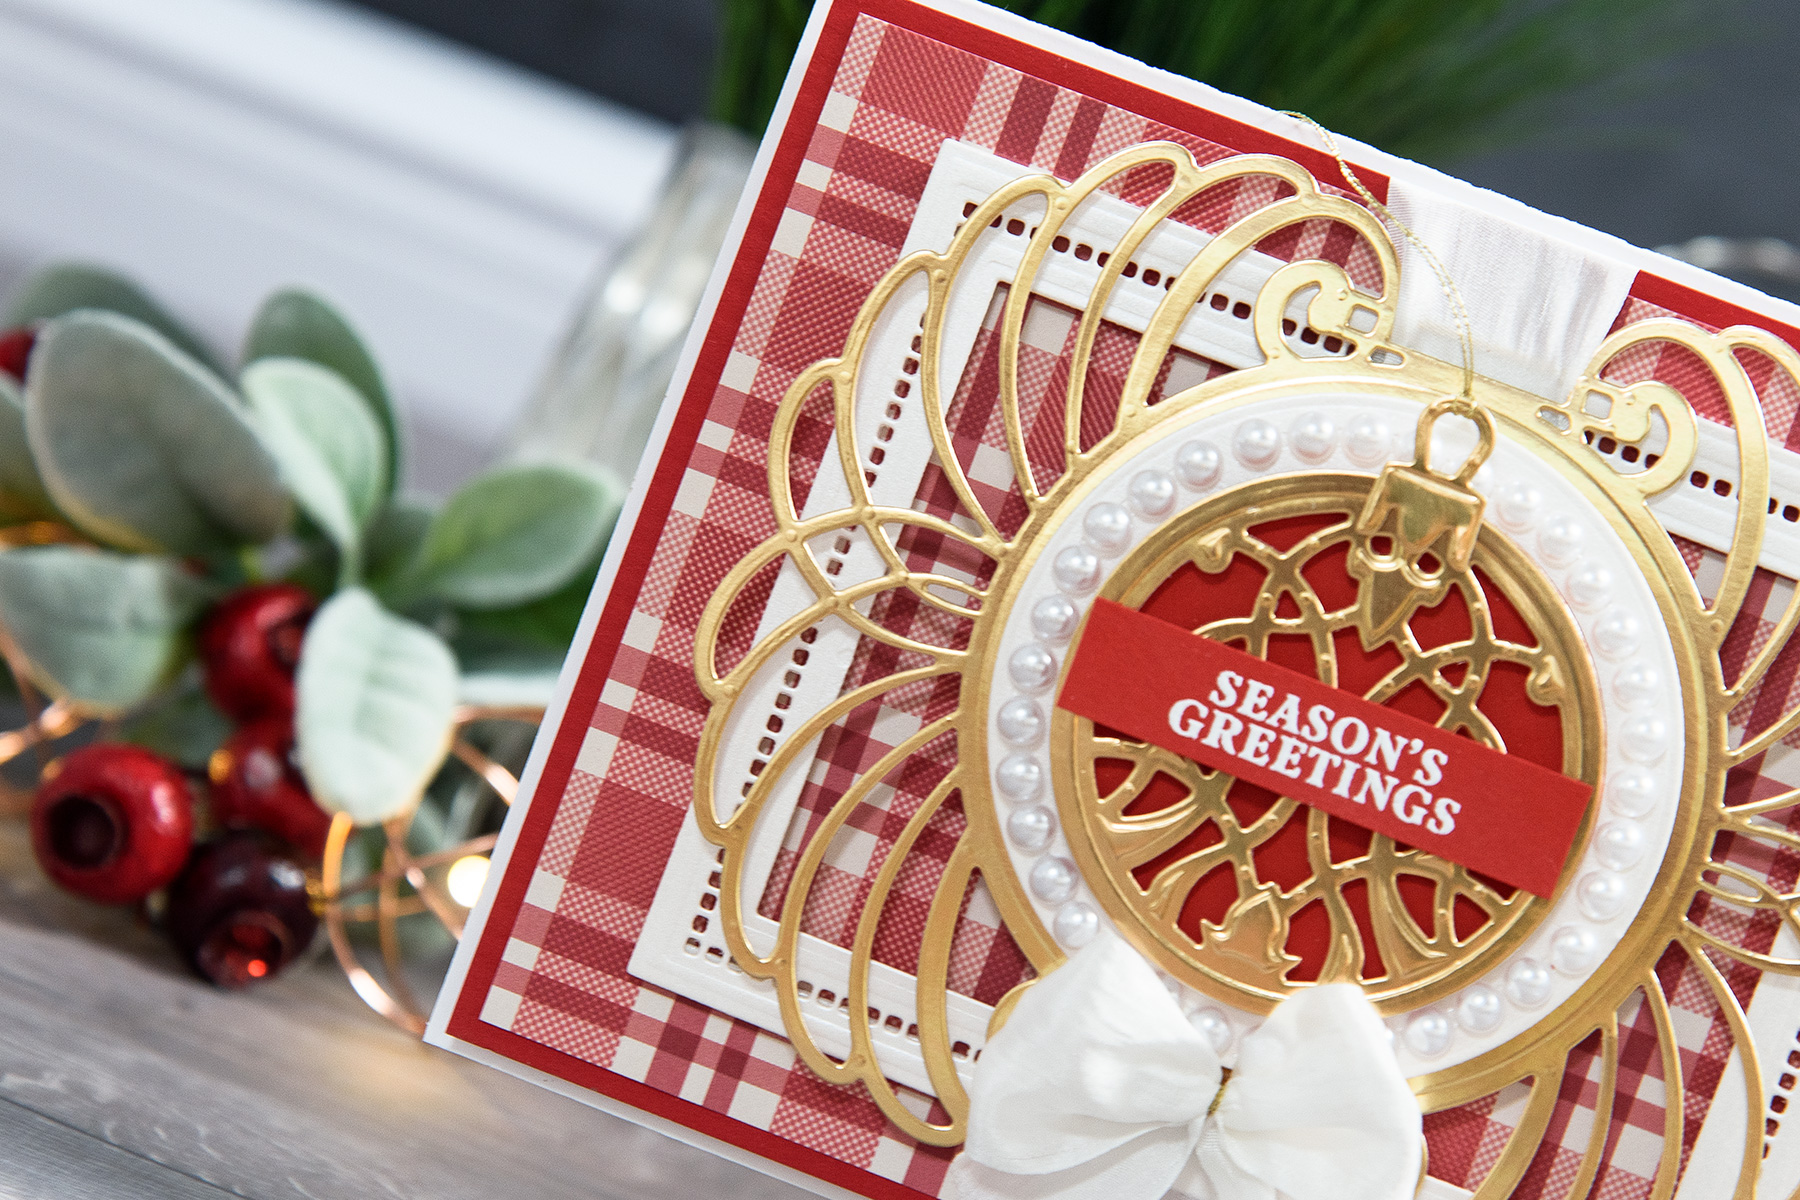
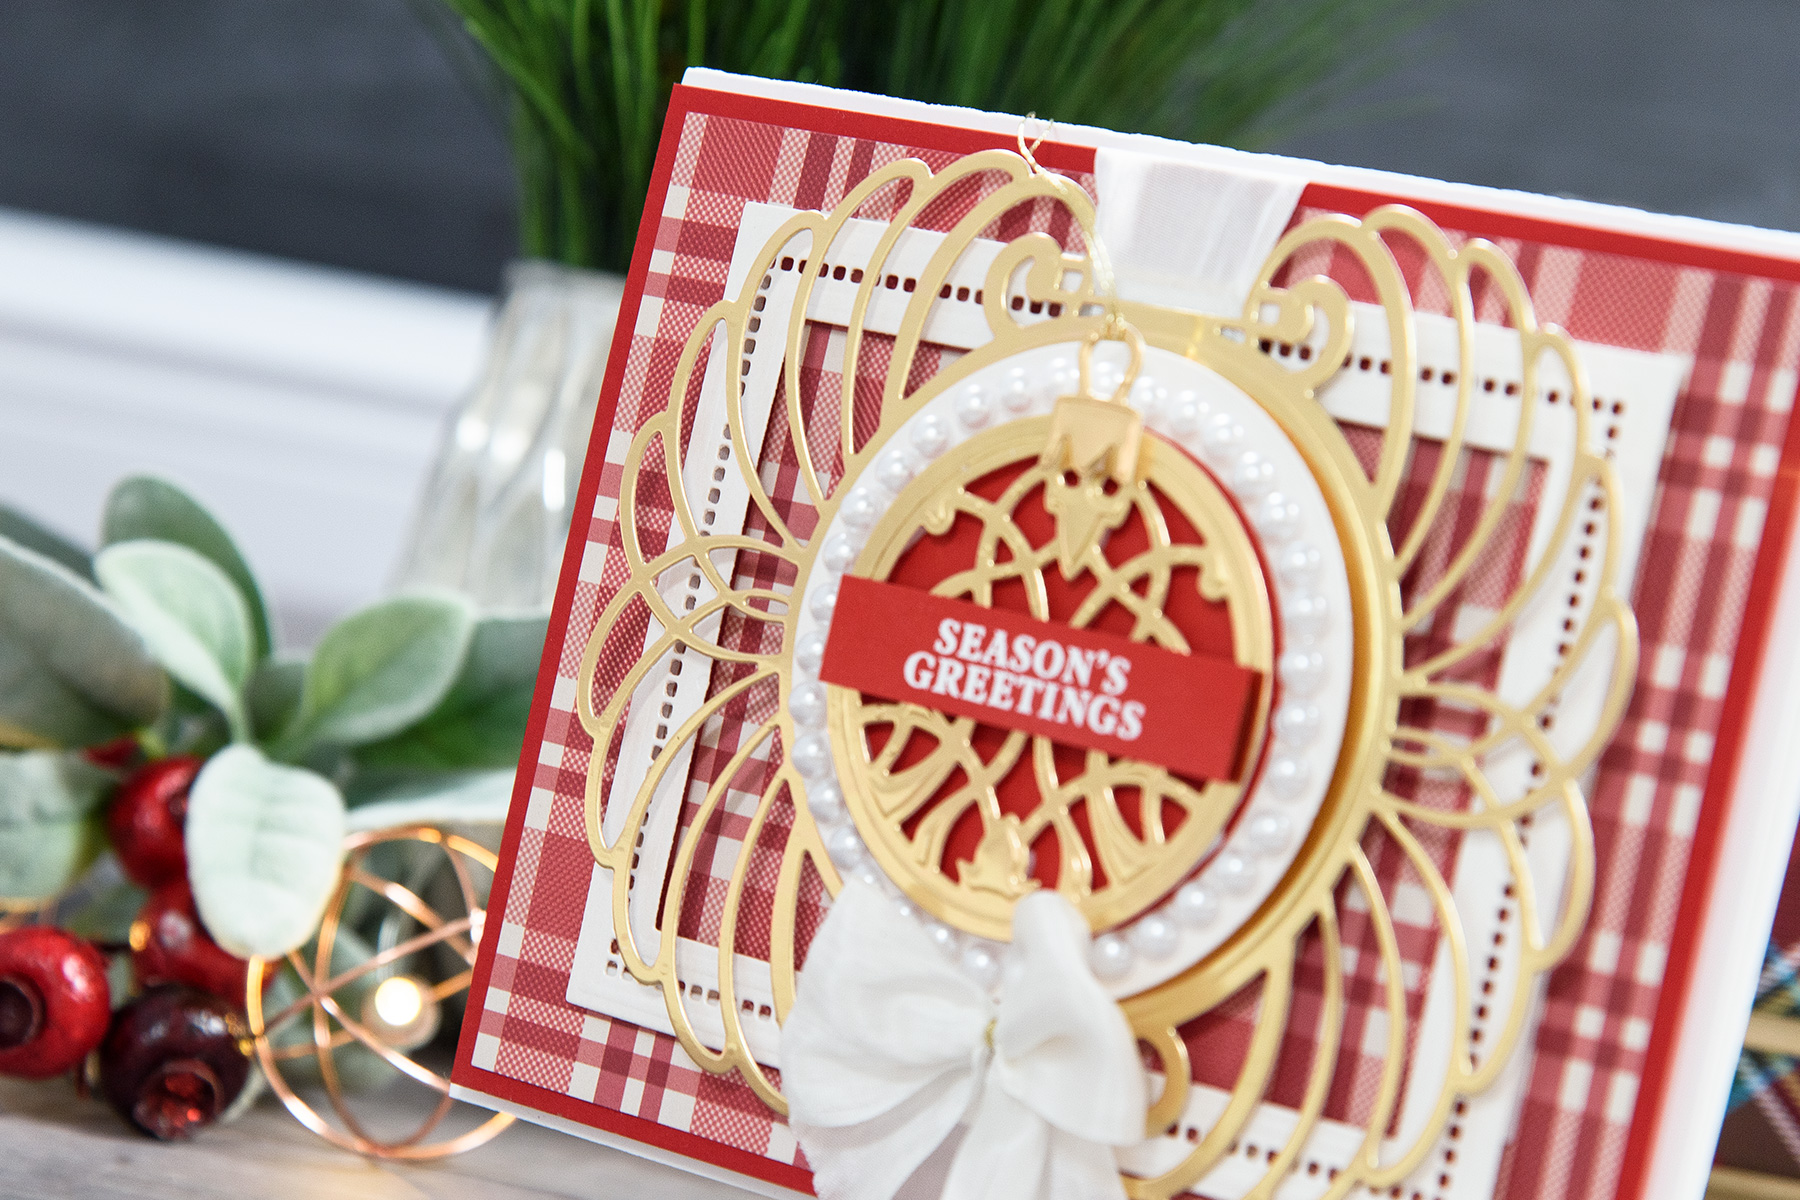
We have a full set of step by step instructions describing how to create this card.- Create 5 ½ x 7” card base out of white cardstock. Set aside.
- Cut red cardstock panel to 5 ¼ x 6 ¾ “. Set aside.
- Cut patterned paper panel to 5 x 6 ½ “, adhere onto the red panel. Set aside.
- Die-cut frame out of pearlescent cardstock using dies from the Hemstitch Rectangles set. Foam mount onto the patterned paper panel.
- Die-cut label out of gold mirror cardstock using die from the Marcheline Plume set. Thread ribbon through the die, adhere two pieces of foam adhesive together for extra dimension and adhere die cut onto the panel. Wrap ribbon around the panel, secure from the back. Foam mount entire cluster onto the card.
- Die-cut circle out of pearlescent cardstock using circle die from the Marcheline Plume set. Foam mount onto the card.
- Die-cut ornament and ornament topper out of gold foil and red cardstock using dies from the Gilded Ornaments set. Foam mount gold layer onto red, foam mount topper onto ornament. Adhere onto the card.
- Heat emboss sentiment in white embossing powder, foam mount onto the card.
- Tie a bow, adhere. Embellish with white pearls.
Spellbinders supplies:
- S4-760 Gilded Ornaments
- S5-308 Hemstitch Rectangles
- S5-309 Marcheline Plume
- PE-100 Platinum 6 Die Cutting And Embossing Machine - 6" Platform
- T-001 Tool 'N One
Other Supplies:
First Edition Christmas Wishes 8x8 Paper Pad; Cardstock: Neenah Solar White 110 LB cardstock, My Colors Cardstock Red Cherry 12x12 cardstock, White pearlescent cardstock, Gold Mirror Cardstock; May Arts 1 ¼” wide Silk Ribbon - White; Self Adhesive White Pearls; Adhesive: Scrapbook Adhesives 3D Foam Squares, Hot Glue Gun; Heat Gun; Simon Says Stamp Merry Everything Clear Stamp; Hero Arts White Embossing Powder; Versamark Embossing Ink Pad; Scrapperfect Embossing Powder Buddy.