
Video: Using a Background Stamp as Part of a Focal Point - Hero Arts
Posted by Michelle Short on October 15, 2018

Video: Using a Background Stamp as Part of a Focal Point

Hello there, Michelle here and today I have a card and video to share using the Holiday Foliage Bold Prints . Instead of using it as a background, I thought it would be nice to incorporate it into the focal point.
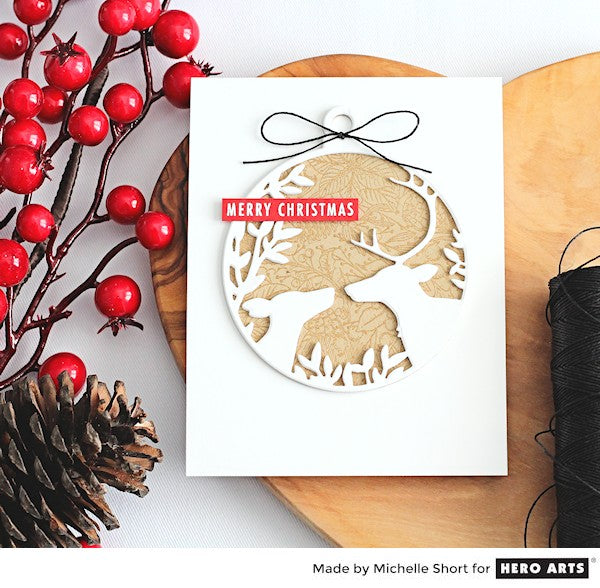
Holiday Foliage Ornament by Michelle Short for Hero Arts

You can watch the video tutorial below to see how I made the card:

If you are having trouble viewing the video, please try watching it here over on YouTube.

I started off by stamping the Holiday Foliage Bold Prints on to Kraft cardstock with Versamark Ink. I applied clear Ultra Fine Embossing Powder and heat set. I cut this piece using the outside die (just the ornament layer) from the Deer and Ornament Fancy Die . I then placed the inside piece back in and die cut this three times from white cardstock.
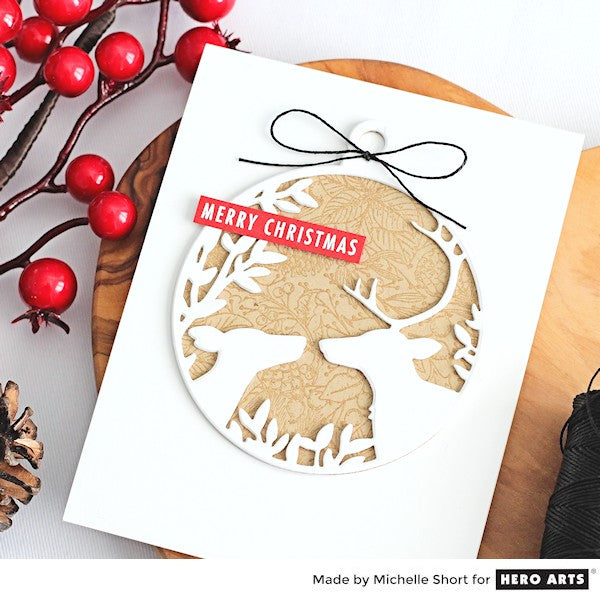
Holiday Foliage Ornament by Michelle Short for Hero Arts

I adhered the white deer layers on to the background ornament piece with liquid glue. This piece was then added to a white A2 card base with tape runner. I took the 'Merry Christmas' sentiment from the Off-Beat Holiday Messages and stamped this on to a piece of red cardstock with Versamark Ink . I applied White Detail Embossing Powder and heat set. This was cut in to a strip with a ruler and craft knife.
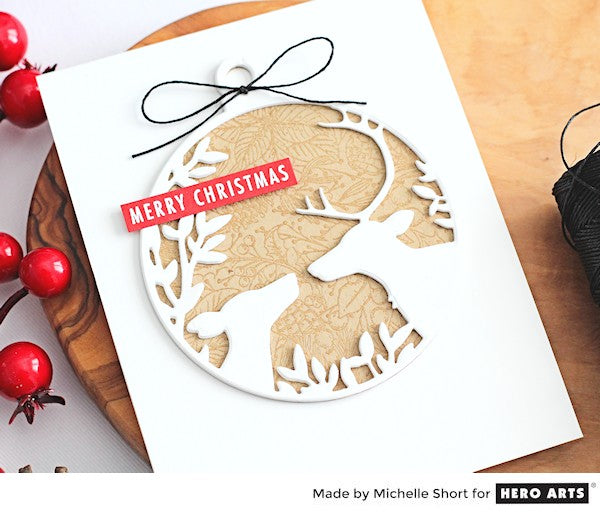
Holiday Foliage Ornament by Michelle Short for Hero Arts

The sentiment was added to the card with foam tape and then I added black twine to the top of the ornament to finish.

Happy stamping!

Leave a comment

Your email will not be published. Please note, comments need to be approved before they are published.

14 comments

Suzi Metcalfe,

OH, I’ve done this and forgot! Thanks for the reminder of a truly great technique! Yana does such beautiful work!

Jan Castle,

LOVELY!!!!!

Barbara Smith,

A wonderful card!

Isabelle,

Beautiful and very elegant card ! Thank you for sharing.

Margaret,

This is lovely! Using the background die in this way is a great idea – I love finding new ways to use my supplies – thanks for the inspiration!


  • CREATE AN ELEGANT CHRISTMAS APARTMENT USING CHRISTMAS CITY HOLIDAY, S4-1575, BP-386, S7-277

    Categories:Die Cutting

    Learn How to Use the Mansard Roof Etched Dies

    Hello there, Michelle Short here to share a step-by-step tutorial with you using the new Mansard Roof Etched Dies from the Yana Smakula Christmas City Holiday collection. This set works to add a mansard roof to the existing City Holiday Etched Dies apartment building. I love how it completely changes the look of the building! I went with a pink, red, and black colour palette...

  • Create A Holiday Card using Wrapped Up City Holiday Etched Dies, S4-1574, BP-386, S7-277, S4-1537

    BP-386

    How to Create a Wrapped Up Christmas House Card with City Holiday Dies

    Hello, crafty friends! It’s Lisa Tilson here with you on the blog today to share a card using the Wrapped Up City Holiday Etched Dies from the Christmas City Holiday Collection designed by Yana Smakula. This is a beautiful set of dies that expand on the original City Holiday Etched Dies set. The dies create a gorgeous ribbon and bow that you can use to...

  • Christmas City Holiday Collection Introduction with Yana Smakula

    Categories:Die Cutting

    Christmas City Holiday Collection Introduction with Yana Smakula

    The holidays are returning to the city! The Christmas City Holiday Mini Collection expands the original City Holiday Etched Dies with new architectural details, festive decorations, and coordinating sentiments designed to bring even more personality to your paper-crafted buildings. The original City Holiday Collection introduced the basic building, followed by the Everyday City Holiday Collection with windows, awnings, and flower boxes, and Halloween City Holiday for creating...






























