

Posted by Ilina Crouse
on November 20, 2023

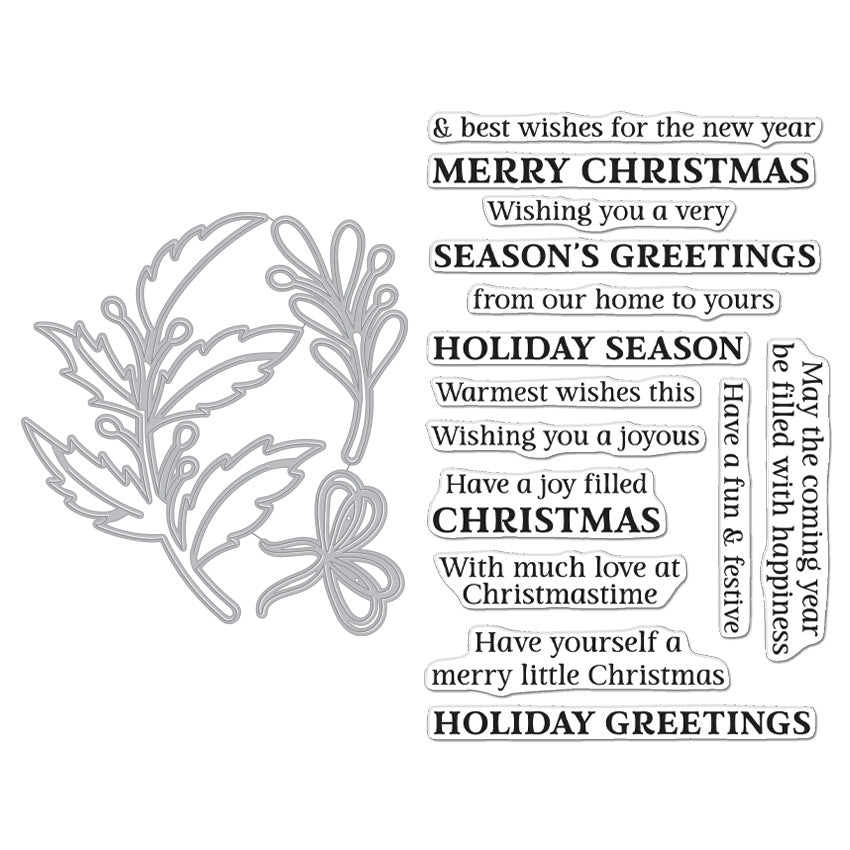
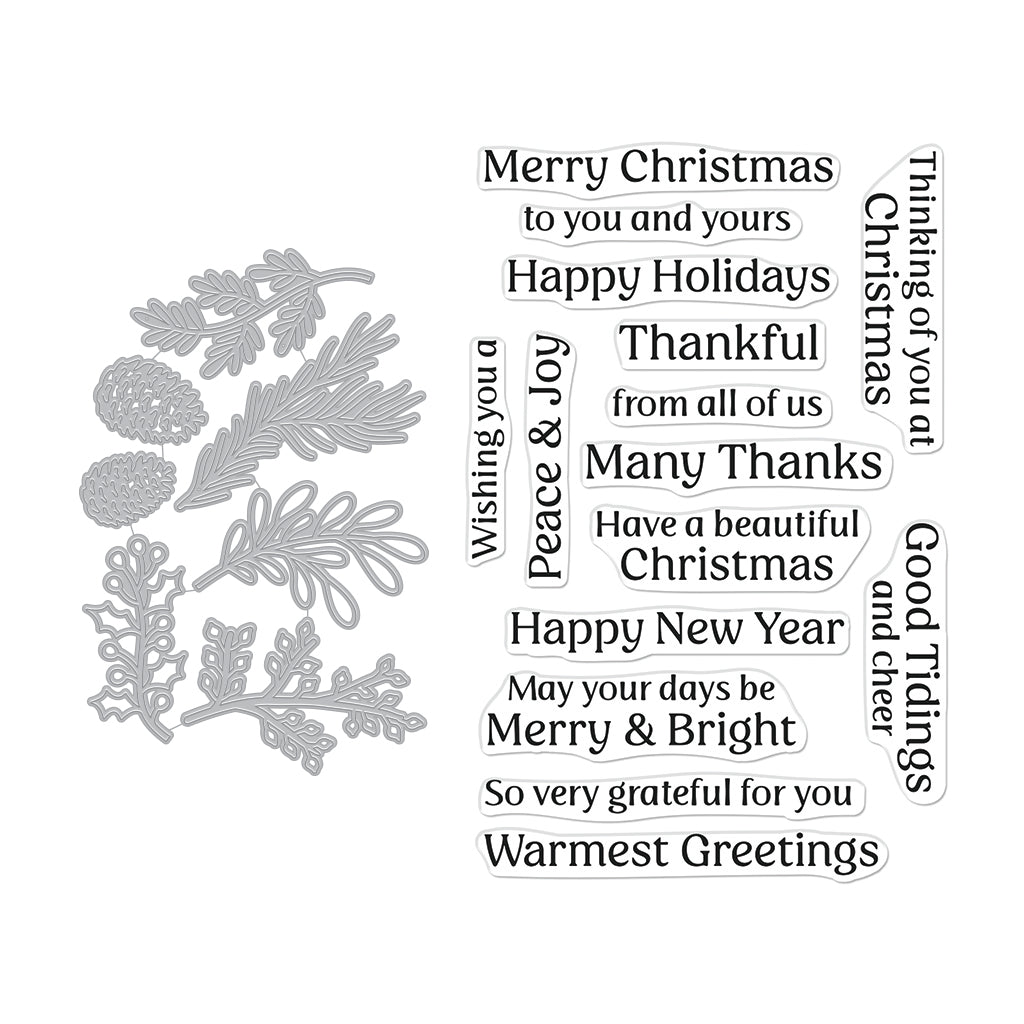
Hi everyone! Ilina here. Today I am sharing a couple of shaker tags that are fairly simple to make using the Bulb Ornaments Infinity Dies along with the Circle Infinity Dies . I also added few elements from the Holly Berries Stamp & Cut XL set (the bows) and the foliage to decorate the ornaments is from the Winter Foliage Stamp and Cut XL (this set is temporarily out of stock, but you can use any foliage dies you have in your stash. The ones from the Holly Berries Stamp & Cut XL would work nicely too.

To make the tags start by die cutting the largest ornament from Nautical cardstock and from an Acetate Card Panel . I made two of each since I was making two tag). Next use the same die and one of the Circle Infinity Dies and cut the "frame" using Arctic cardstock. Adhere the acetate on the back side of the frames using Precision Glue . You can also use double-sided tape.
Watch the video below (or click HERE to watch on YouTube) to find out how these tags came to be.
Set them aside to dry. In the meantime, die cut the elements to decorate the ornaments from Kiwi cardstock, Cup O' Joe cardstock and White Glitter Paper.

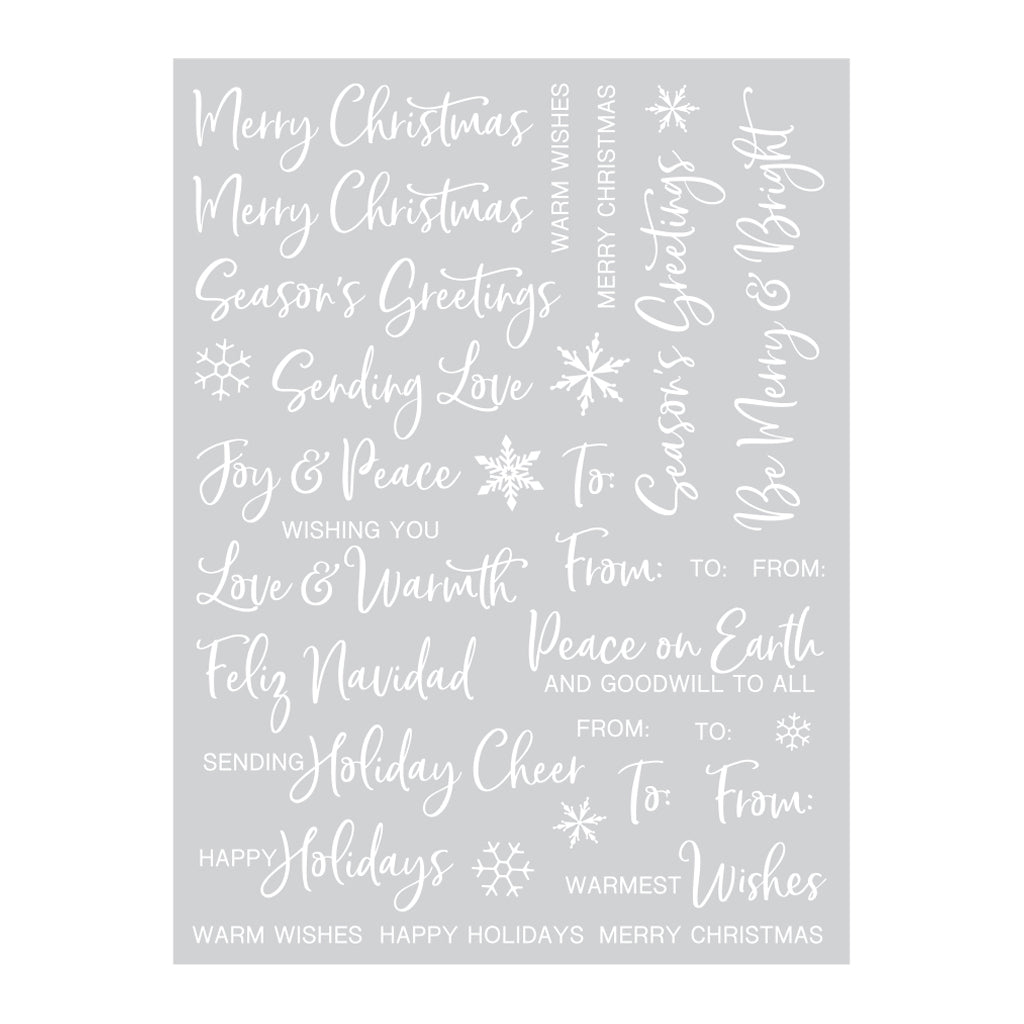
Use the Winter Script Messages Hero Transfers to add sentiments on the shaker window. The Hero Transfers work amazingly well on acetate!

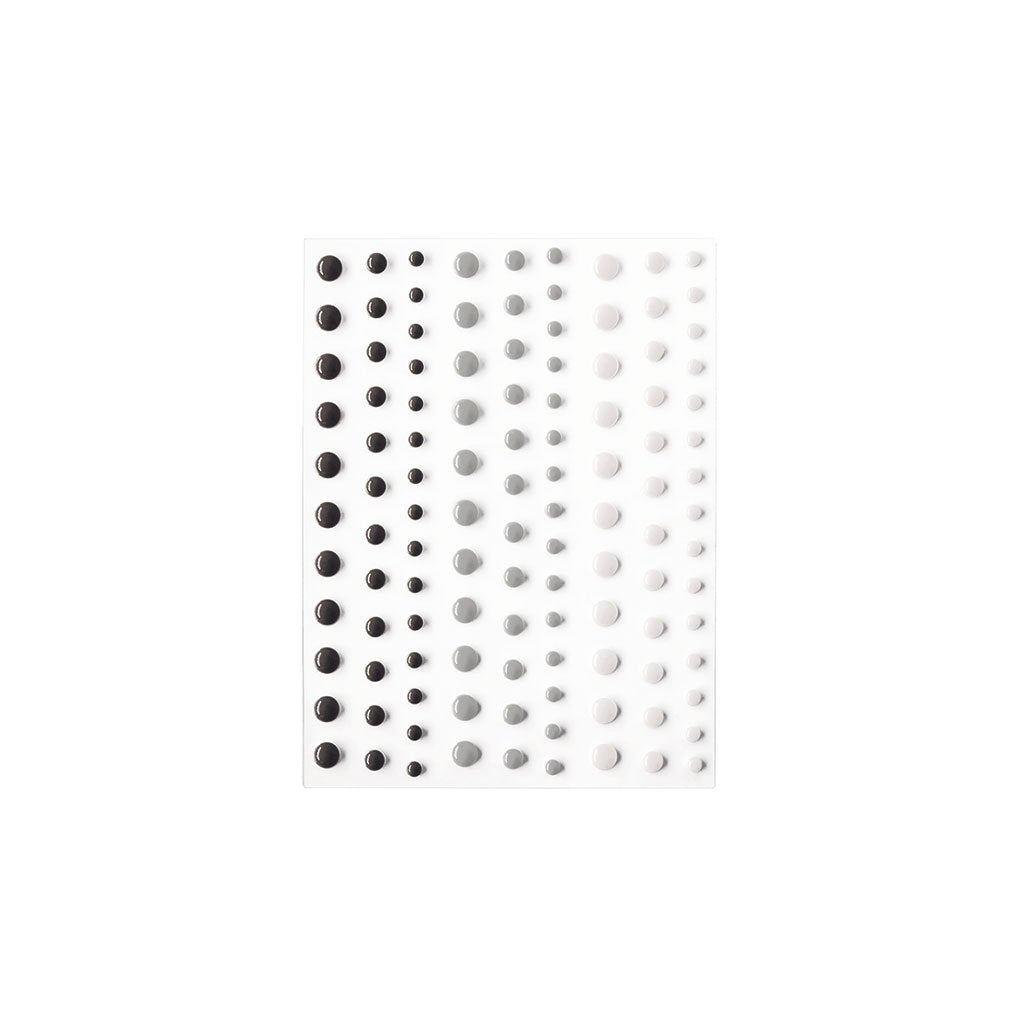
Add foam tape on the back of the ornament window frame, add some Mini Clay Snowflake Embellishments and close the shaker with the Nautical ornament die cut. Decorate with the die cuts and add twine to finish it off. Repeat the same process for the second tag. For the second tag, I also used a few white enamel dots from the Neutral Enamel Dots assortment.

Thank you so much for stopping by! Hope you have an amazing day.
 \Click on products to shop:
|
































































































1 comment
These tags are brilliant, Ilina! TFS !! Love them.
Lori S in PA