

Posted by Michelle Short
on October 31, 2022

Hello there, Michelle here and today I am sharing how to enhance stenciling by dry embossing first. I also share how to partially die cut the Small Penguin Tag Fancy Die so that it is no longer a tag. You can watch the video below.
(If you are having trouble viewing this video, please watch HERE on YouTube.)
I have found that by dry embossing stencils first, it really enhances the look and makes the pattern stand out more. I first dry embossed the Sweater Pattern Stencil onto a circle of Paradise cardstock by running it through the Platinum 6 .
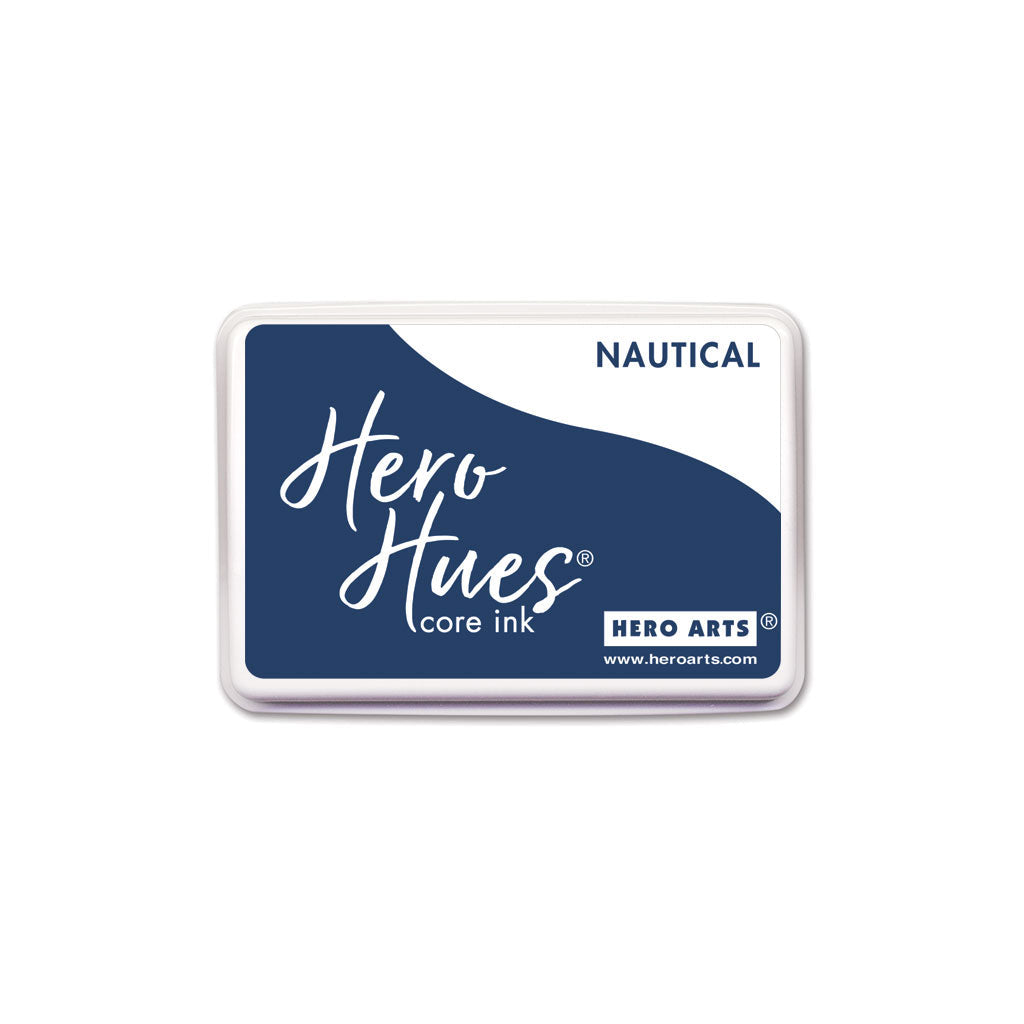
Keeping the stencil in place, I added ink blending on top with Aquatic and Nautical Core Inks and a Large Ink Blending Brush .

I removed the stencil and added more ink blending to the edges.
For my focal point, I wanted to use the Small Penguin Tag Fancy Die , but I didn't want the hole in the top, so I partially die cut it from Pitch Black cardstock using the Compact Cutter . I then cut the top part of the head with scissors. Watch the video to see how I did this!

I cut the penguin again from Deluxe Smooth White cardstock and also from Papaya cardstock, cut the pieces apart and layered them onto the bottom layer with Precision Glue .
I made a circle card base by cutting two circles of Deluxe Smooth White cardstock using Nesting Circle Infinity Dies (one size up from the stenciled piece). They were adhered together using the hinge method.

The stenciled panel was adhered on top with thin foam tape, followed by the penguin. For the sentiment, I used Holiday Sentiment Strips , stamped onto black cardstock with Clear Embossing & Watermark Ink .
I applied White Detail Embossing Powder and heat set. It was cut in to strips with the Sentiment Strips Fancy Die and adhered to the card with more thin foam tape. I finished off by embellishing with enamel dots .
I hope I have inspired you to try embossing with stencils. Thanks so much for stopping by today, happy crafting!

|


























































































2 comments
Absolutely adorable card. The stenciling technique is something I definitely need to try.
Adorable card, Michelle! I love the look of the embossed, then inked, stencil – must try it!!