


Posted by Michelle Short
on May 28, 2025

Hello there, Michelle Short here sharing a card using the new Miss Detective Stamp & Cut Set, along with transfers for a quick and easy background.

I started off my card by stamping Miss Detective's body/head, hand and magifying glass onto a panel of Deluxe Smooth White Cardstock using Intens-ified Black Ink. I stamped her lips using Taffy Reactive Ink.
I then coloured the images using Copic Markers before die cutting out using the coodinating dies.
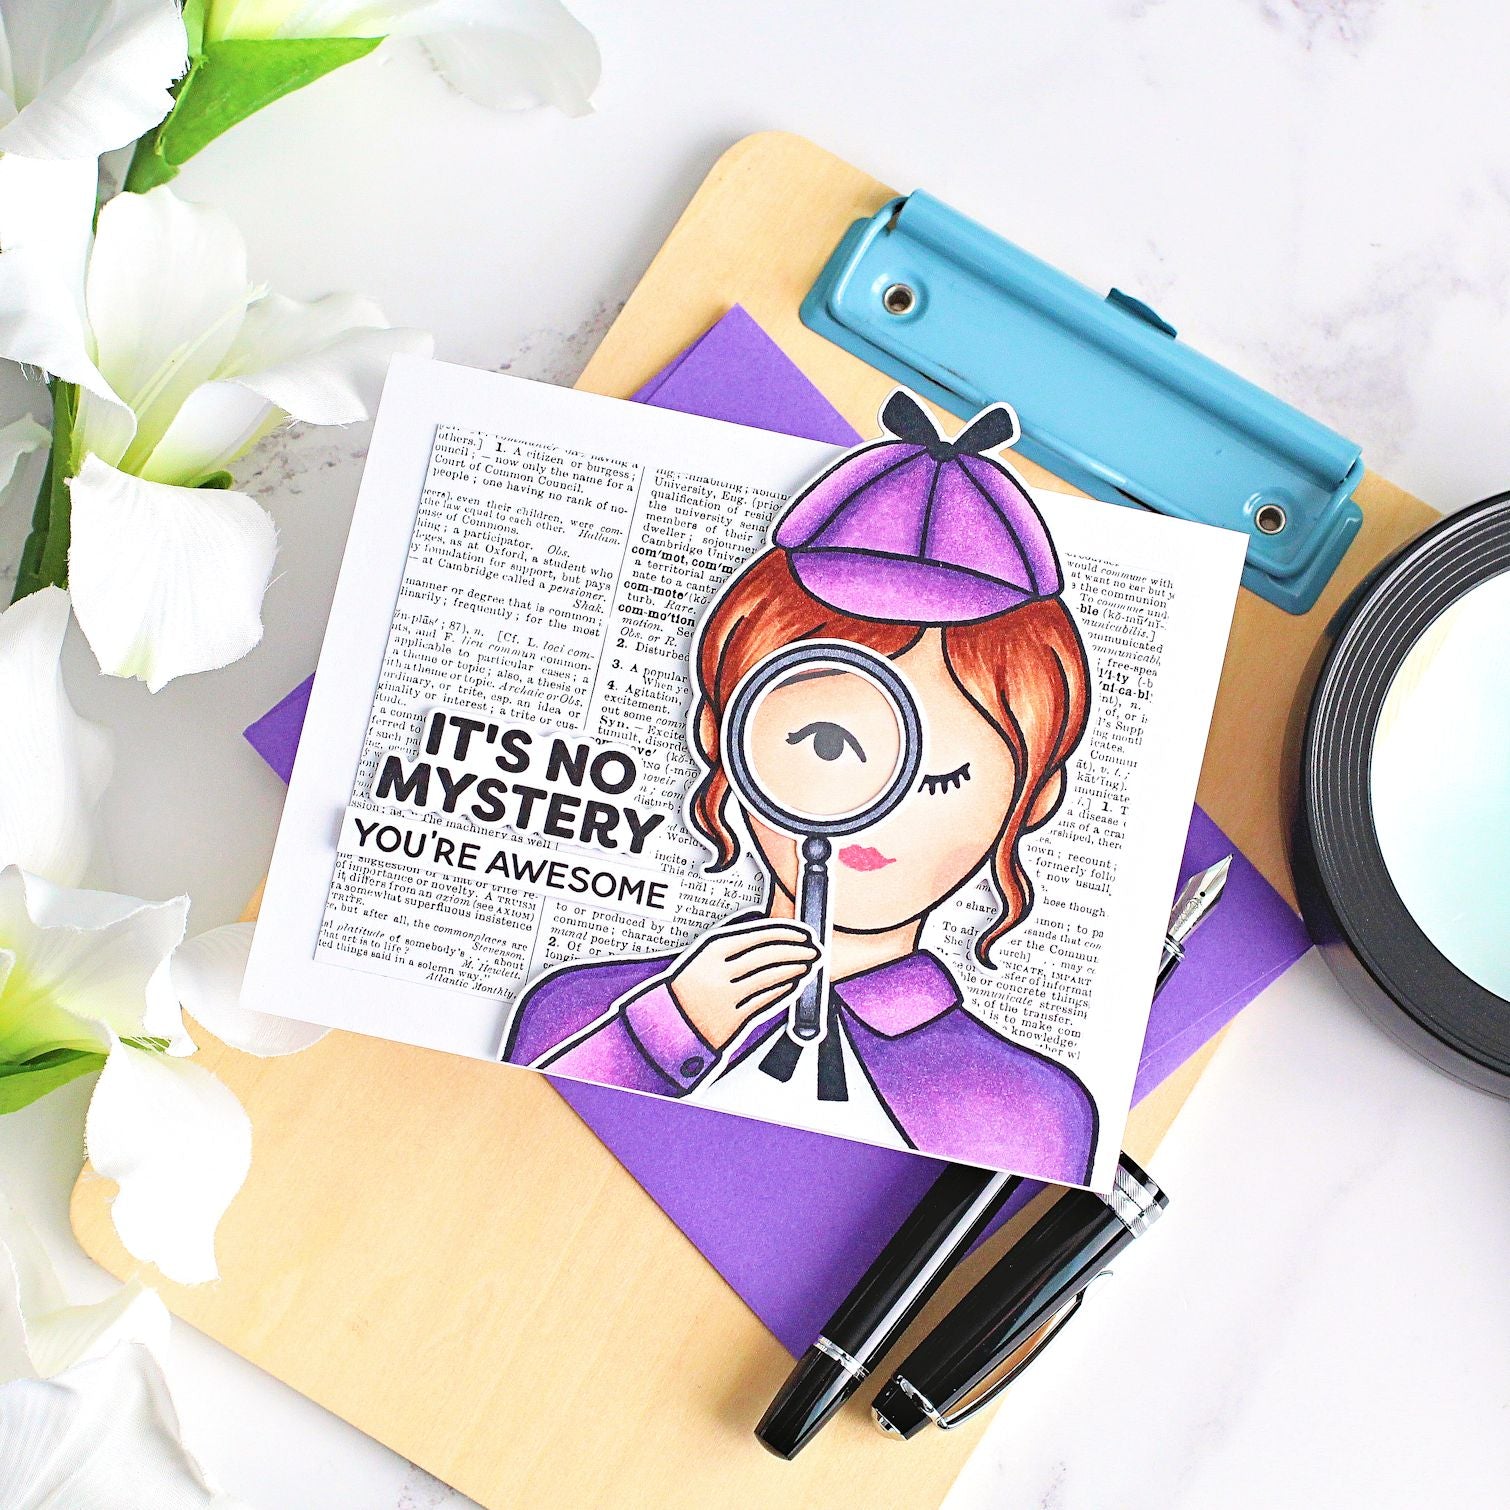
I die cut the frame for the magnifying glass again, but this time, from acetate. I adhered the acetate to the back of the magnifying glass and then set the pieces aside while I worked on my background.
I took one of the sheets from the Collage Backgrounds Hero Transfers Set and cut it down to 3.5" x 4.75". I removed the backing and placed it onto a panel of Deluxe Smooth White Cardstock of the same size.

Using the popsicle stick provided, I pressed the transfers onto the cardstock and then peeled away the top coating. I then like to just go over the transfers again to make sure they are well stuck down.
The panel was adhered to an A2 sized white card base with tape runner adhesive. I stamped two sentiments from It's No Mystery Stamp & Cut Set onto Deluxe Smooth White Cardstock using Intens-ified Black Ink. They were die cut out using the coodinating dies.

I die cut another of the dies for Miss Detective and adhered it behind her (this is to hide the marker colouring seeping through the cardstock which you would see when it overlaps the top of the card base). She was then adhered to the card using thin foam tape. I adhered the magifying glass on top with Precision Glue, followed by the hand.
To finish, I adhered the sentiments using more thin foam tape.
I love using transfers in this way for a quick and easy background! You can add ink blending to them, or any other medium, but I thought they looked great as is for this card. Thank you so much for stopping by today, I hope you have a wonderful day!
























































































