


Posted by Michelle Short
on May 01, 2020


It's time for our next countdown peek! The May My Monthly Hero kit will be available to pre-order on Monday, May 4 at 1pm Eastern/10am Pacific. Now let’s join Michelle, who is sharing some more fabulous inspiration using this month's kit!
Hello there! Although this month's kit is geared towards all things happy mail, including decorating envelopes, I think the tendency is to decorate the front of the envelope, but I thought it would be fun to decorate the backs of them today instead!
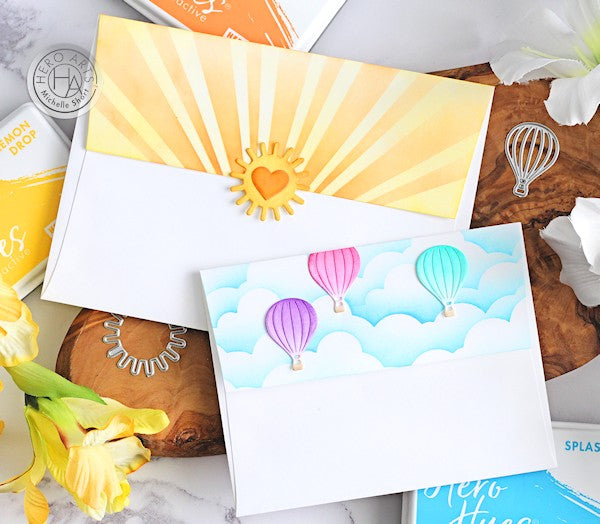
You get both A2 and A7 envelopes in the kit, so I thought it would be fun to use one of each on my post today. For the A2 envelope, I started off by die cutting the Cloudy Sky Scene Dies (which is an add-on this month) from acetate to create a DIY stencil.
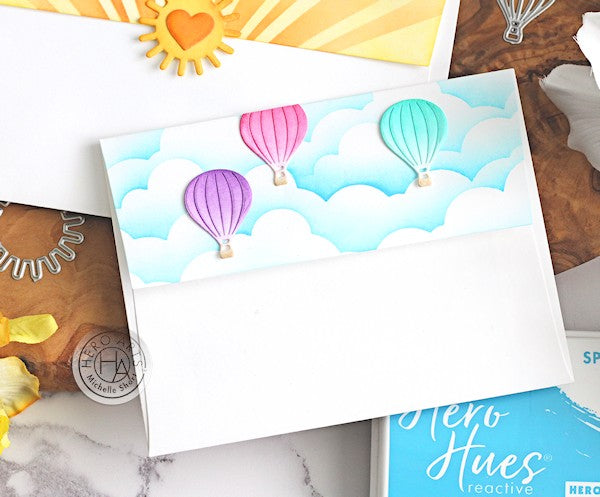
I took a piece of scrap paper and placed this under the flap of the envelope to protect the bottom portion. I then placed the DIY stencil over the flap of the envelope starting at the bottom. Using an ink blending brush, I blended Splash Reactive Ink on to the envelope to create a cloudy background, moving the stencil up as I went.
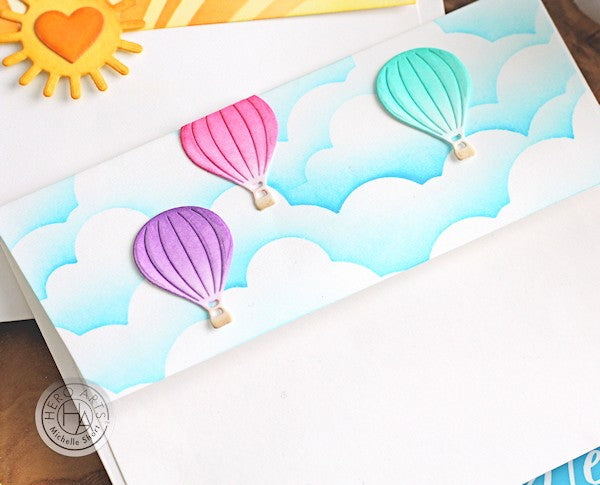
I then took the hot air balloon die that comes in the kit and die cut this three times from Hero Hues Dove White Premium Cardstock. I blended Soft Brown Shadow Ink at the bottom for the baskets and then bright colors for the tops. I used Thistle and Grape Slush Reactive Inks for the purple balloon, Taffy Reactive Ink for the pink and Pool Party Reactive Ink for the aqua one. I then adhered them on to the envelope using Precision Glue.
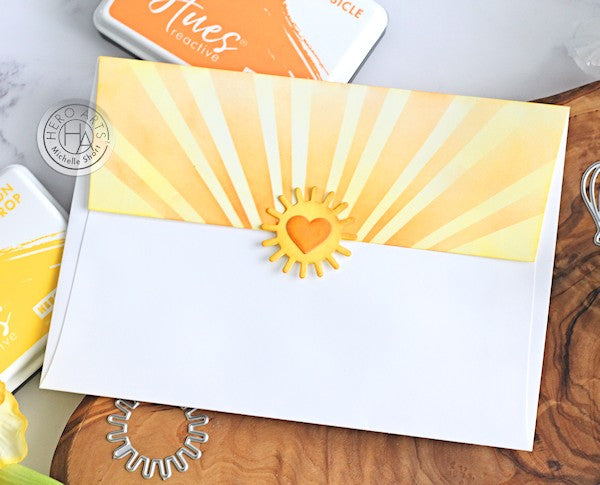
For the A7 envelope, I started off by adding a piece of scrap paper under the flap again, ready for ink blending. I blended on a light layer of Lemon Drop Reactive Ink across it and then placed the Sun Background Stencil (another add-on this month) on top. This time I blended on Creamsicle Reactive Ink.
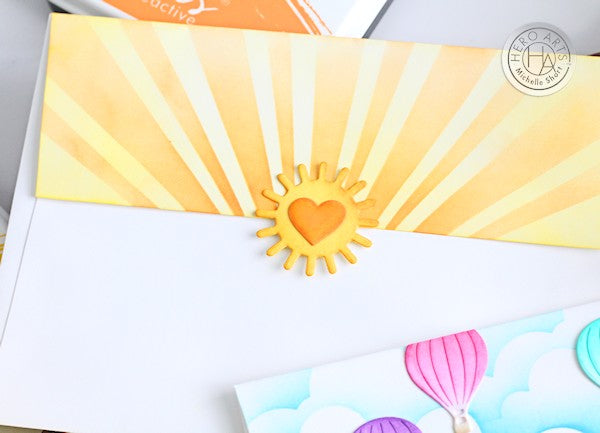
I then die cut the sun die from the kit from Hero Hues Canary Premium Cardstock and added ink blending to it with the same yellow and orange inks. I cut a heart from the Nesting Hearts Infinity Dies set from the same Canary Cardstock and blended on Creamsicle Ink. It was adhered to the center of the sun with Precision Glue. The sun was then adhered on to the flap of the envelope, applying adhesive to the top only so that it can be used as an envelope seal. To finish off, I added a layer of Crystal Clear Lacquer on to the heart.
You can seal these envelopes with a sealant or fixative, but I will likely hand deliver these ones. I think these envelopes would be sure to brighten up anyone's day and adds that bit extra to sending a handmade card!
*** Win a kit before you can buy it *** Just leave a comment on this (and every) Countdown to Creativity post. We’ll randomly draw one lucky winner from all the comments left across all countdown posts. The winner will be announced first thing Monday morning, May 4, before the kit launches at 10am Pacific. The more you comment, the more chances to win!
Good luck!
























































































338 comments
Wonderful envelope art!
Cute idea!
Great ideas!
Michelle. Great card. Love the coordinating envelope!
I love the idea of decorating the back of the envelope! Thanks for the idea, this month’s kit looks really versatile.