


Posted by Michelle Short
on March 03, 2019


Hello and welcome as we continue the countdown to the release of the March My Monthly Hero Kit! Release day is Monday, March 4th at 1pm Eastern/10am Pacific. We will be here for the rest of the weekend, sharing inspiration before the launch. Now let's join Michelle for another look at this fabulous kit.
What another wonderful kit! I love underwater creatures and this kit has an abundance of them! I thought I would make a little under water scene that you could look through a window to see. I went with blues for the images so that it looked like it might be at night and you would only see the silhouettes. The darker silhouettes would be at the front, the lighter, further back.
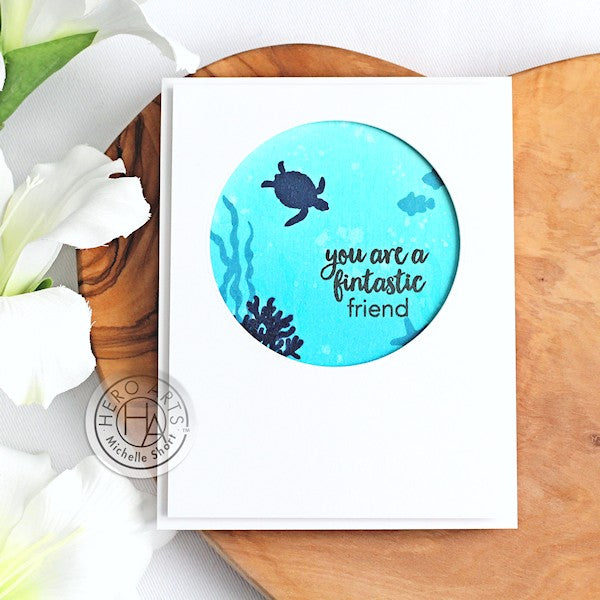
I started off by taking a panel of watercolour paper (I like using this for ink blending) and blended over the Reactive Sea Glass and Reactive Blue Water inks that are in the main kit. I then splattered on some water to create the reaction. Once the panel was dry, I stamped the elements from the main stamp. I stamped the coral at the front, as well as the turtle with Navy Mid-Tone Shadow Ink. I then stamped the seaweed, fish and starfish with Pool Mid-Tone Shadow Ink. I used the Mini MISTI for this so that I could stamp them a couple of times. I did also add some more seaweed with the Soft Pool Shadow Ink but in the photo you cannot really see it, sadly.
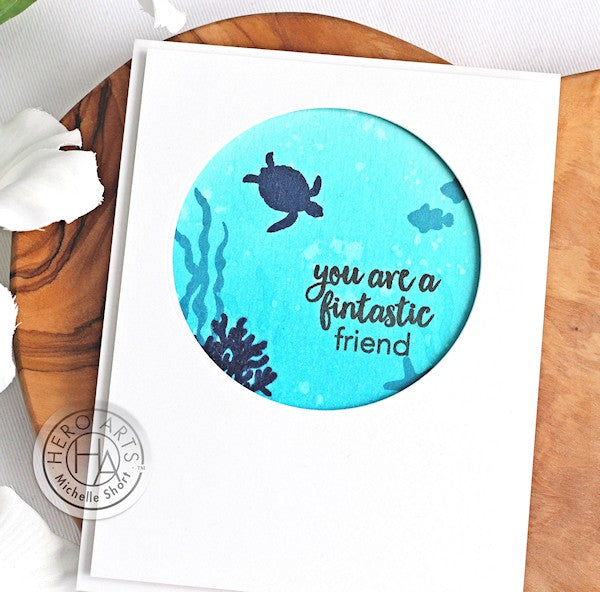
I took the sentiment from the main stamp set and stamped this on to the panel with Intense Black Ink for some contrast. The panel was added to the front of an A2 white card base. I then took a panel of white cardstock and die cut a Nesting Circle Infinity Die in to the top center. I added foam tape to the back of this piece and adhered it to the front of the card.
Win a kit before you can buy it! Just leave a comment on this (and every) Countdown to Creativity post! We’ll randomly draw one lucky winner from all the comments left across all countdown posts, and announce the winner first thing Monday morning, March 4th, before the kit launches at 10am Pacific. The more you comment, the more chances to win!
Good luck!
























































































349 comments
This card feels incomplete!
I really like your underwater night scene. Love the sea turtle. This is just a wonderful kit & I am an ocean girl. Thanks Michelle!
Loving this kit, and the cute pun sentiments. Super excited to create with this kit.
Such a pretty and serene card.
Simple and very cute!