Leafy Branches Hot Foil Plate - Hero Arts
on September 13, 2022

Leafy Branches Hot Foil Plate

Hey friends! This is Mindy here with you today to share some inspiration using the new Leafy Branches Hot Foil Plate.

I absolutely love hot foiling! It brings cards a step up and adds such shine. I especially love using hot foiling in my Fall and Winter projects.

I've played with this set a few times already but this time, I am going very clean and simple with a hint of color.

I foiled the Leafy Branches Hot Foil Plate onto our Deluxe White cardstock using Champagne Glimmer Foil (it's my fav!)

Really, foiling looks good on any color of cardstock.

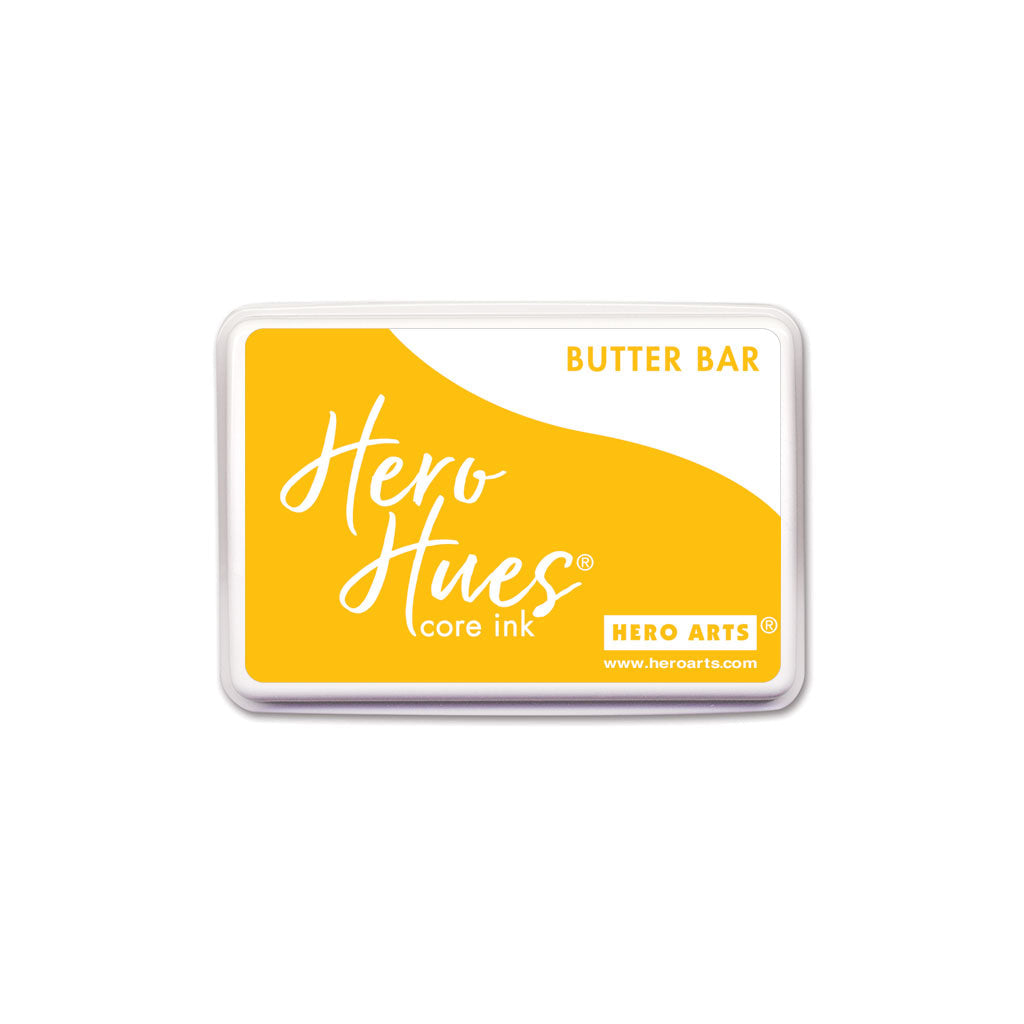
I then took some leaves from the Autumn Leaves Fancy Dies, cut them from white cardstock and added a bit of color with an ink blending brush. The colors I used are Pumpkin, Butter Bar and Soft Olive for some Fall tones.

The only thing missing is a sentiment. I went with a strip sentiment from the Message Strips Stamp & Cut XL which is a great go-to set for me. This sentiment is heat embossed in gold embossing powder onto Woodland cardstock and trimmed out with a coordinating die.

The gold heat embossing ties in nicely with the gold foiling and the Walnut cardstock finishes off the Fall color palette.

Have you tried hot foiling yet? Peeling the foil back to reveal your foiled design is as magical as watching heat embossing.

Thanks for joining today!

Click on products to shop:
HF106 Leafy Branches Hot Foil Plate...
HA ]
DI951 Autumn Leaves Fancy Dies (D) |...
HA ]
DC286 Message Strips Stamp & Cut XL |...
HA ]
AF651 Butter Bar Core Ink | Hero Arts
HA ]
AF642 Pumpkin Core Ink | Hero Arts
HA ]
AF660 Soft Olive Core Ink | Hero Arts
HA ]
MI005 Hero Tools Ink Blending Brush...
HA ]
PW100 Gold Embossing Powder | Hero Arts
HA ]
PS334 Hero Hues Premium Cardstock...
HA ]
PS782 Deluxe Smooth White Cardstock...
HA ]

Leave a comment

Your email will not be published. Please note, comments need to be approved before they are published.


  • How to Make an Autumn Kokeshi Doll Card with Layered Die Cuts, SDS-239, E3D-189, BP-379

    BP-379

    How to Make an Autumn Kokeshi Doll Card with Layered Die Cuts

    Create a stunning autumn-inspired card featuring layered Kokeshi dolls, warm ink-blended colors, elegant embossing, and touches of gold. In this step-by-step tutorial, you'll learn how to build dimensional paper-pieced dolls, create a blended autumn background, add texture with embossing, and assemble a beautifully layered design inspired by the colors of fall in Kyoto. This project is perfect for cardmakers who enjoy die cutting, ink blending,...

  • How to Make an Easy Friendship Card with House Mouse Stamps, RSC-083, E3D-183, S5-647

    AF471

    How to Make an Easy Friendship Card with House Mouse Stamps

    Create a sweet handmade friendship card featuring one of the adorable images from the House Mouse Tangled Collection. In this step-by-step tutorial, you'll learn how to color stamped images with alcohol markers, add subtle background ink blending, create texture with embossing, and assemble a clean and dimensional card design. This project is perfect for cardmakers who enjoy coloring and want to create an encouraging handmade card...

  • How to Sew a Felt Santa Ornament: Step-by-Step Tutorial | Spellbinders

    Categories:Die Cutting

    How to Sew a Felt Santa Ornament: Step-by-Step Tutorial | Spellbinders

    Handmade felt ornaments add warmth, texture, and a nostalgic touch to Christmas decorating. In this detailed tutorial, you’ll learn how to die cut, stitch, assemble, and embellish a vintage-style Santa using wool felt and embroidery floss. The project can be finished with classic stitched details and holly or dressed up with beads and sparkling embellishments. The Vintage Santa Etched Dies cut the individual felt layers...